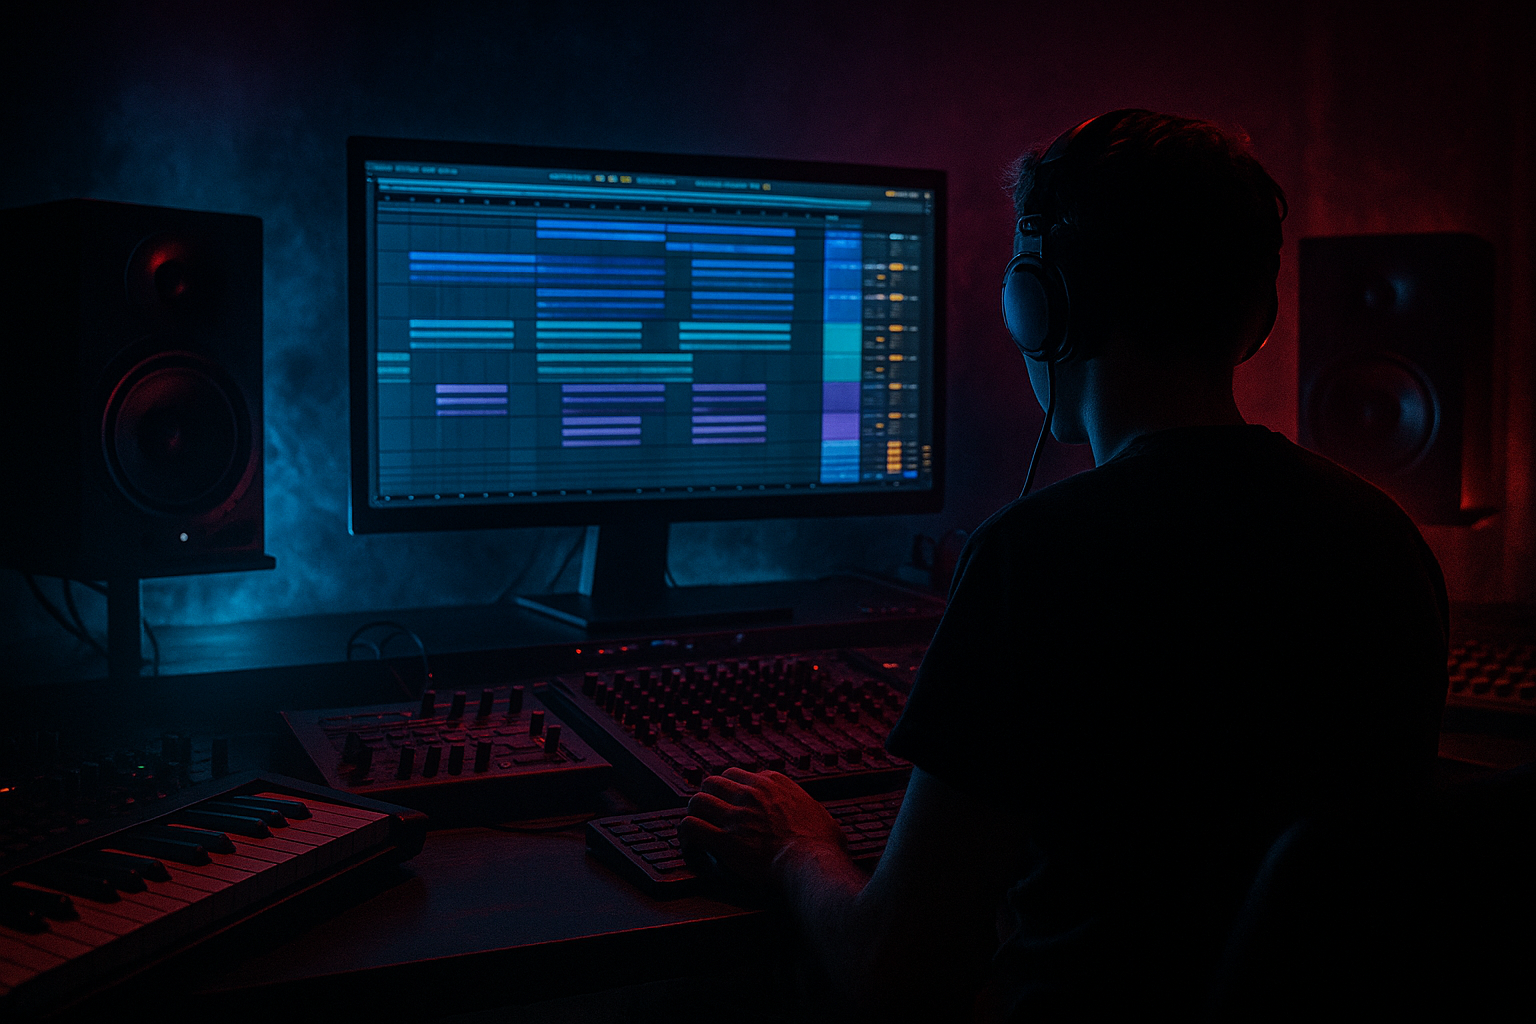
Main tutorial
Layer an Amen-Style Sampler Rack for 90s-Inspired Darkness in Ableton Live 12 (Beginner, Arrangement)
1. Lesson overview
In this lesson you’ll build an Amen-style layered Drum Rack/Sampler Rack that hits like classic 90s jungle—crunchy top, snappy mid, weighty low, and dark room ambience—then you’ll learn how to arrange it into a rolling drum & bass section in Ableton Live 12. ⚡️🥁
We’ll stay 100% in Ableton stock devices, and focus on practical settings + workflow you can reuse in every DnB project.
---
2. What you will build
You’ll end up with:
- A single Rack that plays an Amen break with 3–4 layers:
- Macros for fast control: Drive, Punch, Low Weight, Crunch, Room, Break Tightness
- A simple arrangement: intro → drop → 16-bar roll → 8-bar switch → 16-bar second phrase
- Mode: One-Shot
- Warp: On
- Trigger: Trigger (not Gate)
- Snap: On
- Set Length to your loop length (1 or 2 bars)
- Start with ROOM/AIR layer mostly on (Macro “Room” up a bit)
- Keep LOW THUMP down
- Add Auto Filter slowly opening (or closing for tension)
- Add sparse hits: maybe every 2 bars trigger the rack instead of every bar
- Bring MAIN + TRANSIENT + LOW up together
- Make the first bar hit hard:
- Keep variation every 4 bars:
- For 1 bar, trigger the rack once and let it ride
- Drop “Punch” and push “Room” briefly
- Then slam back with full transient + low layer
- Do a more aggressive “darkening” automation:
- Optional: add a new MIDI pattern where you re-trigger the break every half bar for intensity (very old-school rinse-up energy).
- Everything full-range: If every layer has lows/mids/highs, it turns to mud. Assign each chain a job with EQ.
- Too much reverb on the main break: Keep reverb mostly on the ROOM chain, not the whole rack.
- Over-crunching: Redux + Saturator + Drum Buss can destroy transients fast. Add grit gradually.
- No gain staging: Each chain should peak reasonably. Aim for the rack output around -12 to -6 dB before mastering.
- Forgetting arrangement variation: A perfect rack still sounds looped if nothing changes every 4–8 bars.
- Parallel distortion (inside the rack): Duplicate the MAIN chain, distort it harder, then low-pass around 3–6 kHz and blend quietly for thickness.
- Make darkness with filtering, not just distortion: Automate a low-pass down to 6–10 kHz during tension moments, then open at the drop.
- Use subtle pitch for menace: In Simpler, try Transpose -1 to -3 semitones on the ROOM chain only (keeps groove but feels heavier).
- Mono the low layer: Put Utility on LOW THUMP and set Width = 0% (tight center punch).
- Break “breathing” with sidechain: Sidechain the ROOM chain using Compressor keyed from your kick (or the LOW chain) so ambience ducks slightly.
- You layered an Amen-style break using an Instrument Rack with focused chains: MAIN / TRANSIENT / LOW / ROOM.
- You used stock devices (EQ Eight, Drum Buss, Redux, Hybrid Reverb, Glue Compressor) to hit a dark 90s jungle tone.
- You tied it to arrangement by building Macros and automating them across 4–8 bar phrases for movement.
1. Main Amen (character + groove)
2. Transient layer (extra snap)
3. Sub/low thump layer (kick weight)
4. Dark room/air layer (grime + space)
---
3. Step-by-step walkthrough
Step 0 — Session setup (DnB-friendly defaults)
1. Set tempo to 170–174 BPM (start at 172).
2. Turn on Warp preferences if you like, but we’ll control warp per sample.
3. Create a group track called DRUMS (Ctrl/Cmd+G later when you have tracks).
---
Step 1 — Load your Amen and prep it correctly
1. Create a MIDI Track.
2. Drag in an Audio sample of an Amen-style break (classic: 2-bar or 1-bar loop).
3. In the Clip View:
- Set Warp: ON
- Warp mode: Beats
- Preserve: Transients
- Envelope: start around 40–60
- Set loop length to 1 bar or 2 bars (whatever your sample is)
4. Right-click the clip → Slice to New MIDI Track…
- Slicing preset: Built-in → Slice to Drum Rack
- Slice by: Transient
- This gives you a playable Drum Rack (great for rearranging later).
Why slice first?
Because it sets you up for proper jungle edits (re-triggers, stutters, switching snares) instead of being stuck with a static loop. 🎛️
---
Step 2 — Convert to a layered “Amen Rack” (clean workflow)
We’re going to build a single pad that plays the break (or a key slice group) with layers. Two easy approaches:
#### Option A (Beginner-friendly): Layer the full break in Simpler
1. Create a new MIDI Track called AMEN RACK.
2. Drop in Instrument Rack.
3. Inside the rack, create 4 Chains:
- Chain 1: `Amen MAIN`
- Chain 2: `TRANSIENT`
- Chain 3: `LOW THUMP`
- Chain 4: `ROOM/AIR`
Now add a Simpler to each chain and load the same Amen loop into each Simpler.
In each Simpler:
Now your rack will play all layers together from one MIDI note.
MIDI Programming Tip:
Make a 1-bar MIDI clip with a single note (e.g., C3) at the start of each bar. That “fires” the break each bar and keeps arrangement simple.
---
Step 3 — Shape each layer (the secret is frequency roles)
#### Chain 1 — Amen MAIN (the groove + identity)
Devices on the chain:
1. EQ Eight
- High-pass around 35–50 Hz (remove useless rumble)
- Gentle dip 250–400 Hz if it’s boxy (start -2 to -4 dB)
2. Drum Buss
- Drive: 5–15%
- Crunch: 5–20%
- Boom: 0–10% (keep subtle; we’ll make low end elsewhere)
- Transients: +5 to +20 (adds bite)
3. Saturator (optional)
- Mode: Analog Clip
- Drive: 1–4 dB
- Soft Clip: On
Goal: keep it authentic and mid-forward, not overly clean. 🧱
---
#### Chain 2 — TRANSIENT (extra snap + cut)
This layer is about “click” and “edge.”
1. EQ Eight
- High-pass 300–600 Hz
- Add a small bell boost around 2–5 kHz if needed (+2 to +5 dB)
2. Redux (classic 90s grit)
- Downsample: 2–6
- Bit Reduction: 0–3 (don’t overdo; you want texture, not white noise)
3. Gate (tighten)
- Threshold: adjust until tails reduce noticeably
- Return: 0 ms
- Hold: 5–15 ms
- Release: 30–80 ms
Goal: make snares/hats speak without raising the whole break volume.
---
#### Chain 3 — LOW THUMP (fake the low end like old-school dubs)
Amen breaks often don’t have modern sub weight. This layer adds controlled low punch.
1. EQ Eight
- Low-pass around 120–180 Hz
- Optional bell boost 60–90 Hz (+2 to +6 dB) if there’s usable thump
2. Drum Buss
- Boom: 20–40%
- Frequency: 55–75 Hz
- Drive: 5–10%
- Damp: 20–40% (controls boom ring)
3. Compressor
- Ratio: 4:1
- Attack: 10–30 ms
- Release: 60–120 ms
- Aim: 2–5 dB of gain reduction on peaks
If the Amen has no low energy, consider replacing this chain’s Simpler with a short kick sample (still triggered with the same MIDI note). That’s very common in rolling DnB.
---
#### Chain 4 — ROOM / AIR (darkness + atmosphere)
This gives that “warehouse corridor” vibe. 🕳️
1. EQ Eight
- High-pass 500–900 Hz (no mud)
- Optional boost 7–10 kHz for air (+2 dB)
2. Hybrid Reverb
- Algorithm: Room or Hall
- Decay: 0.6–1.5s
- Pre-delay: 10–25 ms
- Dry/Wet: 10–25% (keep controlled)
3. Auto Filter
- Filter type: Low-pass
- Freq: 4–10 kHz
- Res: low (0.7–1.2)
- Automate the cutoff down in darker sections.
---
Step 4 — Glue the rack (bus processing inside the Instrument Rack)
Click the Instrument Rack’s chain list and add devices after the chains (the rack output stage):
1. EQ Eight (final cleanup)
- Gentle low shelf -1 to -3 dB under 80 Hz if it’s too heavy
- Notch harshness if needed around 3–6 kHz
2. Glue Compressor
- Attack: 3 ms
- Release: Auto
- Ratio: 2:1
- Threshold: aim 1–3 dB gain reduction
3. Limiter (safety)
- Ceiling: -0.5 dB
- Just catching spikes, not smashing
---
Step 5 — Create Macros (fast “dark DnB” control)
In the Instrument Rack, map these:
1. Macro 1: “Drive” → Drum Buss Drive (MAIN + LOW), Saturator Drive
2. Macro 2: “Punch” → Drum Buss Transients (MAIN), Compressor Threshold (LOW)
3. Macro 3: “Crunch” → Redux Downsample (TRANSIENT), Drum Buss Crunch (MAIN)
4. Macro 4: “Room” → Hybrid Reverb Dry/Wet (ROOM)
5. Macro 5: “Tightness” → Gate Threshold (TRANSIENT), Simpler Decay (optional if using envelopes)
6. Macro 6: “Dark LPF” → Auto Filter cutoff (ROOM or whole rack)
Now you can perform arrangement changes just by automating Macros. 🎚️
---
Step 6 — Arrangement: turn a loop into a rolling 90s-style section
Here’s a beginner-proof structure rooted in jungle/DnB phrasing:
#### A) Intro (8–16 bars)
#### B) Drop (first 16 bars)
- Automate Drive + Punch slightly higher on bar 1
- Bar 4: mute TRANSIENT for half a bar
- Bar 8: add a 1/16 retrigger (duplicate note) for a quick stutter
#### C) 8-bar switch / turnaround
Classic move: half-time feel for 1 bar then snap back.
#### D) Second phrase (16 bars)
- Pull down Dark LPF gradually across 8 bars
- Increase Crunch slightly for “tape-eaten” energy
---
Step 7 — Optional: quick jungle edits (beginner-safe)
If you want that chopped Amen feel without getting lost:
1. Duplicate your MIDI clip.
2. Add one extra trigger note 1/8 before the snare (listen and place by ear).
3. Add a 1/16 retrigger at the end of bar 4.
4. Use Velocity to accent the “call and response” (e.g., 110 → 90 → 110).
Even small re-triggers scream 90s. 🔥
---
4. Common mistakes
---
5. Pro tips for darker/heavier DnB
---
6. Mini practice exercise (15–20 minutes)
1. Build the 4-chain Amen Rack as described.
2. Create a 32-bar arrangement:
- Bars 1–8: intro (ROOM up, LOW down)
- Bars 9–24: full drop
- Bars 25–32: switch (dark LPF down + crunch up)
3. Add two automation lanes:
- Macro “Room” (build tension into drop)
- Macro “Crunch” (increase slightly across the second phrase)
4. Export a quick bounce and listen on low volume. If the groove disappears, your TRANSIENT chain is too loud or too harsh.
---
7. Recap
If you want, tell me what kind of DnB you’re aiming for (jungle tekno, roller, neuro-ish, atmospheric) and I’ll suggest macro ranges + an 8-bar MIDI trigger pattern that matches that style.

