DNB COLLEGE

Drum & Bass Ableton Live 12 Tutorials

LESSON DETAIL

Layer a Dillinja snare top in Ableton Live 12 with automation-first workflow (Advanced · Vocals · tutorial)

An AI-generated advanced Ableton lesson focused on Layer a Dillinja snare top in Ableton Live 12 with automation-first workflow in the Vocals area of drum and bass production.

Back to lessons
Layer a Dillinja snare top in Ableton Live 12 with automation-first workflow (Advanced · Vocals · tutorial) cover image

Narrated lesson audio

The voice track includes the tutorial plus extra teacher commentary.

Open audio file

Main tutorial

1. Lesson Overview

This lesson shows you how to Layer a Dillinja snare top in Ableton Live 12 with automation-first workflow. We’ll create a multi-layered snare top (click/metallic/air) that sits on a heavy D&B snare body and use an automation-first approach: map expressive parameters to macros and draw automation lanes before committing to static edits. The goal is a punchy, pitch-bendy, saturated snare top that reads like a classic Dillinja top but is fully editable via automation.

2. What You Will Build

  • A 3-part snare-top stack (body + crisp click + metallic “Dillinja” top).
  • An Instrument/Audio Rack with mapped macros controlling:
  • - pitch-bend amount (short downward pitch sweep),

    - filter cutoff (brightness contour),

    - saturation/drive,

    - transient emphasis.

  • An automation-first Arrangement where pitch, cutoff, and saturation are drawn as automation lanes for fine rhythmic control, plus a resampled, ready-to-use snare-top audio file.
  • 3. Step-by-Step Walkthrough

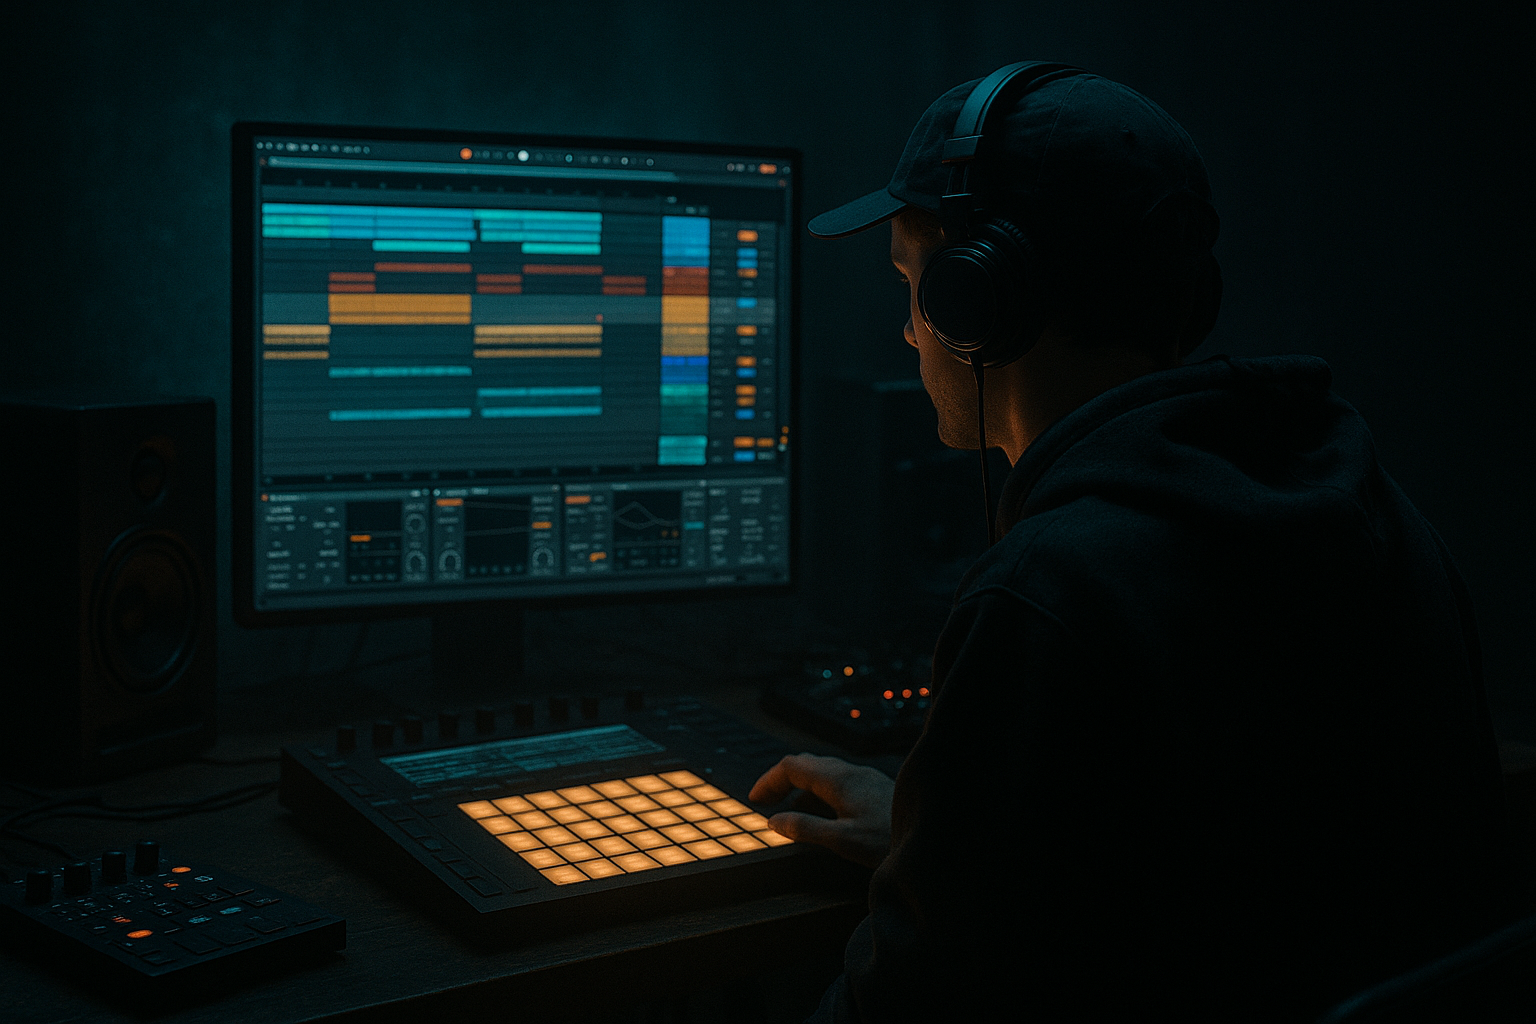
    Prereqs: A snare body sample (large, mid-heavy), a click/top sample (short click or rimshot), and a metallic/hi-hat-ish top sample (short metallic hit). Use Ableton Live 12 stock devices: Simpler or Sampler, Drum Buss, EQ Eight, Saturator, Multiband Dynamics, Utility, Glue Compressor. Work in Arrangement view for clear automation lanes.

    A. Session Setup and Routing

    1. Create three Audio tracks named: Snare-Body, Snare-Top-Click, Snare-Top-Dilli (or use simpler Sampler-based Midi/Audio tracks if you prefer).

    2. Put your main snare body on Snare-Body. Keep this aside (we’re focusing on the top). Optionally compress/eq the body with Drum Buss and EQ Eight (low cut under ~80 Hz if the body has sub-low).

    3. Load the click sample into Simpler on Snare-Top-Click; load the metallic/snare-top sample into Sampler or Simpler on Snare-Top-Dilli. Use Simpler (Classic mode) for simple one-shots; use Sampler if you want to use its pitch envelope later.

    B. Create a Rack for the Top Layers (automation-first focus)

    4. Group the top two tracks into a Drum Rack or an Audio Effect Rack idea: If using Audio tracks, create a new Audio Track called Snare-Top-Rack. Route the outputs of Snare-Top-Click and Snare-Top-Dilli to this track (set their output to Snare-Top-Rack). On Snare-Top-Rack, create an Audio Effect Rack (right-click > Group Devices).

    5. In the Rack, chain the processing in order: Utility (stereo/phase), EQ Eight (clean up), Drum Buss, Saturator, Multiband Dynamics, (optional) Redux for grit, and final Glue Compressor. This keeps processing centralized and macro-controllable.

    C. Map Macros (the automation-first controllers)

    6. Map these device params to macros:

    - Macro 1: “Pitch-Bend Amount” -> map to Sampler Pitch Envelope Amount or Simpler Transpose. If you mapped Simpler Transpose directly, you’ll automate transpose in semitones/cents. If you use Sampler’s Pitch Envelope, map the envelope Amount parameter.

    - Macro 2: “Top Cutoff” -> map to EQ Eight frequency (for a gentle low-pass/high-shelf blend) or Auto Filter cutoff if you prefer resonant movement.

    - Macro 3: “Drive” -> map to Saturator Drive (or Dry/Wet for Saturator).

    - Macro 4: “Transient” -> map to Drum Buss ‘Transient’ knob or use Transient Shaper gain. (If using Drum Buss, map the Transient parameter.)

    - Macro 5: “Width” -> map to Utility’s Width to animate stereo spread.

    7. Rename macros with meaningful names and set Macro Min/Max ranges for musical values:

    - Pitch-Bend Amount: min 0 cents, max -1200 cents (mapping can be -1200 to 0 so max gives a -12 semitone downward drop).

    - Top Cutoff: min 3.5 kHz, max 14 kHz.

    - Drive: min 0, max ~6 dB (or 0–100% wet).

    - Transient: min -6, max +8 (tweak for Drum Buss).

    - Width: min 0.7 (mono-ish) to max 1.2 (wider).

    D. Program the internal pitch envelope (fast bend) — automation-first twist

    8. In Sampler (preferred for the Dillinja-style bite), set a short pitch envelope:

    - Enable Pitch Envelope, Amount ~ -12 semitones (-1200 cents), Decay 60 ms, Sustain 0.

    - Set Envelope Velocity to 0 (we’ll control amount via macro).

    - Map the Sampler Pitch Envelope Amount to the Rack Macro “Pitch-Bend Amount”.

    This way the short downward bend exists as a device feature but its magnitude is controlled by our macro automation.

    E. Arrangement: Draw automation lanes before editing hits

    9. Open Arrangement view and insert the snare hits where you want them.

    10. Select the Snare-Top-Rack track and reveal device macros in the track's automation chooser (click the device title and choose the macro).

    11. Create automation lanes for:

    - Macro 1 (Pitch-Bend Amount): draw short, steep values at each snare hit. For a typical Dillinja effect draw a downward curve that falls to max (e.g., -1000 to -1200 cents) within 40–80 ms, then quickly back (or let the Sampler envelope handle return). Use a fast ramp or an exponential shape for a natural pitch drop. If hits are in 16th-note positions, quantize the automation edges to milliseconds for repeatable results.

    - Macro 2 (Top Cutoff): automate to open slightly at the first hit of a bar or for fills—subtle rising on snare hits (brief 40–120 ms boost in cutoff) then back.

    - Macro 3 (Drive): automate increases on emphasized hits (e.g., chorus/bridge hits) to add harmonic content.

    - Macro 4 (Transient): boost transient for specific hits to change attack perception.

    - Macro 5 (Width): automate width to collapse on heavy parts (mono center) and widen on breakdowns.

    F. Fine-tune per-layer processing

    12. On Snare-Top-Click:

    - Use EQ Eight high-pass at ~500–900 Hz to isolate the click. Boost narrow band around 3–6 kHz +3–5 dB for presence.

    - Add a small amount of Saturator soft clip (Drive ~2–3).

    - Shorten sample start or use transient shaper for a sharper attack.

    13. On Snare-Top-Dilli:

    - Use a band-pass shape: low-cut ~200–300 Hz, high-cut ~10–12 kHz. Emphasize 800 Hz–2.5 kHz for smack and 4–8 kHz for bite depending on sample.

    - Use Sampler pitch envelope as above; set sample to no-warp or warping off.

    - Add gentle bit reduction (Redux) with low rate to add D&B grit if desired.

    G. Sidechain and transient control

    14. Add a short sidechain from kick to the Snare-Top-Rack (if you want snare to duck around kicks) using Compressor sidechain with attack 0–1 ms, release 40–80 ms, ratio moderate.

    15. If transient needs shaping per hit, automate the transient macro rather than adjusting device per hit.

    H. Rendering and final touches

    16. Once automated behavior is set and sounds correct in context, record-arm a new Audio Track and resample the Snare-Top-Rack output (set track input to Snare-Top-Rack and record the processed hits into arrangement). This gives you a fixed audio file you can further edit (cleanup, fades).

    17. Final EQ: high-pass under 350 Hz to keep low end clean, gentle wide-band compression (Glue) and a limiter if needed.

    4. Common Mistakes

  • Automating device internals directly without mapping to macros: makes it hard to visualize and edit multiple parameter changes together. Use macros as your primary automation targets.
  • Drawing long, linear automation ramps for pitch-bend: Dillinja-style bends are very short and exponential. Use steep curves over 40–80 ms.
  • Over-saturating the top layer: too much drive kills transient clarity. Automate Drive for moments rather than constant max.
  • Using warp on the snare top sample: warping can smear transients and break Sampler pitch envelopes — disable warp on one-shot transients.
  • Not grouping processing: scattering EQs and saturation across tracks makes global changes harder — centralize in a Rack.
  • 5. Pro Tips

  • Use Sampler pitch envelope for the core downward “snap” and then automate the envelope Amount via macro — this gives the best combination of device-level speed and automation flexibility.
  • For micro-variations between hits, copy the automation lane and slightly randomize Pitch-Bend Amount with tiny offsets (±20–50 cents) for a human feel.
  • If you want the top to feel more “Dillinja”, add a short, gated reverb tail on a return channel and automate the send on specific hits—don’t wash the top with long reverb.
  • To audition automation shapes quickly, assign the Rack Macro’s Macro Map Range right-click > “Map Range” to constrain extremes and toggle between two states using dummy clips for A/B.
  • Use Multiband Dynamics on the Rack to compress mid-high band slightly—this tightens the bite without squashing lows.
  • Commit to resampling: after getting the automation perfect, resample. Working with an audio file afterwards allows tempo-free micro-editing and faster arrangement.
  • 6. Mini Practice Exercise

  • Setup: Load one snare body, one click, one metallic top.
  • Task: Build the Rack, map 3 macros (Pitch-Bend, Cutoff, Drive), and draw automation for a short 4-bar loop with snare hits on beats 2 and 4.
  • Requirements:
  • - Pitch-Bend reaches -10 to -12 semitones within the first 60 ms of each snare hit.

    - Cutoff opens by ~2–3 kHz for the first 80 ms of every second bar snare.

    - Drive raises by 3–4 dB only on the 3rd bar snare.

  • Outcome: Resample the 4-bar loop to a single audio clip named “SnareTop_Auto_v1.wav”.

7. Recap

You now know how to Layer a Dillinja snare top in Ableton Live 12 with automation-first workflow: pick appropriate samples, build a centralized rack, map expressive controls to macros, program a short pitch envelope in Sampler, and draw automation lanes to sculpt bite and movement per hit. This automation-first approach gives you full dynamic control and makes it trivial to adapt the snare top across sections without re-editing device chains. Use resampling to freeze a great automated result into a stable audio top for mixing and arrangement.

Ask GPT about this lesson

Chat with the lesson tutor, get follow-up help, or use quick actions.

Bigup 👽 Ask me anything about this lesson and I’ll answer in context.

Narration script

Show spoken script
This lesson shows you how to layer a Dillinja-style snare top in Ableton Live 12 with an automation-first workflow. We’ll build a three-part snare top — body, crisp click, and a metallic “Dillinja” top — put expressive controls into macros, program a short pitch envelope, and draw automation lanes before committing to audio. The aim is a punchy, pitch-bendy, saturated snare top that behaves like a classic Dillinja top but stays fully editable.

What you’ll build:
- A 3-part snare-top stack: body, click, and metallic top.
- An Instrument/Audio Effect Rack with macros for Pitch-Bend Amount, Top Cutoff, Drive, Transient, and Width.
- An automation-first arrangement with pitch, cutoff, and drive automation per hit, and a resampled snare-top audio file at the end.

Let’s walk through it step by step.

Session setup and routing:
1. Create three audio tracks named Snare-Body, Snare-Top-Click, and Snare-Top-Dilli. You can use Simpler for one-shots or Sampler if you want a retriggerable pitch envelope.
2. Load your snare body on Snare-Body and set it aside for context. Optionally apply Drum Buss and EQ Eight — low cut under about 80 Hz if the body has sub-low energy.
3. Load the click into Simpler on Snare-Top-Click. Load the metallic top into Sampler or Simpler on Snare-Top-Dilli. Use Sampler if you plan to use its Pitch Envelope.

Create a rack for the top layers — automation-first:
4. Create a new audio track named Snare-Top-Rack. Route the outputs of Snare-Top-Click and Snare-Top-Dilli to Snare-Top-Rack.
5. On Snare-Top-Rack, create an Audio Effect Rack and chain processing in this order: Utility, EQ Eight, Drum Buss, Saturator, Multiband Dynamics, optional Redux, and Glue Compressor. Centralizing processing keeps everything macro-controllable.

Map macros — your automation targets:
6. Map device parameters to five macros:
- Macro 1: Pitch‑Bend Amount — map Sampler Pitch Envelope Amount or Simpler transpose.
- Macro 2: Top Cutoff — map EQ Eight frequency or Auto Filter cutoff.
- Macro 3: Drive — map Saturator Drive or its Dry/Wet.
- Macro 4: Transient — map Drum Buss Transient or a transient shaper gain.
- Macro 5: Width — map Utility Width.

7. Rename macros and set sensible ranges:
- Pitch‑Bend Amount: min 0 cents, max -1200 cents.
- Top Cutoff: min 3.5 kHz, max 14 kHz.
- Drive: min 0, max ~6 dB or 0–100% wet.
- Transient: min -6, max +8.
- Width: min 0.7, max 1.2.

Program the internal pitch envelope — the automation-first twist:
8. In Sampler, enable the Pitch Envelope and set Amount to about -12 semitones (-1200 cents) and Decay around 60 ms. Set Sustain to zero. Make sure Retrig is enabled. Map the Pitch Envelope Amount to the Rack Macro “Pitch‑Bend Amount.” This gives you a fast downward snap that you control via automation.

Arrangement — draw automation before committing:
9. Switch to Arrangement view and place your snare hits.
10. Select Snare-Top-Rack and reveal the Rack macros in the track’s automation chooser.
11. Draw automation lanes for the macros:
- Pitch‑Bend Amount: draw short, steep downward curves at each snare hit. Aim for a -1000 to -1200 cent drop happening within 40–80 ms. Use a fast ramp or exponential curve for a natural bend.
- Top Cutoff: open briefly on hits or section changes — short 40–120 ms boosts to add brightness.
- Drive: raise on emphasized hits to add harmonic content.
- Transient: boost on specific hits to alter attack perception.
- Width: collapse to mono for heavy parts and widen on breakdowns.

Fine-tune per-layer processing:
12. For Snare-Top-Click: high-pass around 500–900 Hz, boost a narrow band at 3–6 kHz by 3–5 dB, add light Saturator drive around 2–3, and shorten the sample or use a transient shaper for sharper attack.
13. For Snare-Top-Dilli: use a band-pass approach — low cut at 200–300 Hz, high cut around 10–12 kHz. Emphasize 800 Hz–2.5 kHz for smack and 4–8 kHz for bite. Disable warping, use Sampler pitch envelope as set earlier, and add subtle Redux for grit if desired.

Sidechain and transient control:
14. If needed, add short sidechain compression from the kick to Snare-Top-Rack to duck the snare around kicks. Use attack 0–1 ms, release 40–80 ms, moderate ratio.
15. Automate the Transient macro per hit rather than changing devices for each hit.

Rendering and final touches:
16. When automation feels right in context, create a new audio track, set its input to the Snare-Top-Rack, arm and resample the processed hits into a single audio clip. This gives you a fixed top you can edit freely.
17. Apply final EQ: high-pass under about 350 Hz to keep low end clean, gentle Glue compression and a limiter if needed.

Common mistakes to avoid:
- Don’t automate device internals directly without macros — mapping to macros keeps multiple parameters visible and editable together.
- Avoid long linear pitch ramps. Dillinja-style bends are short and exponential — use steep curves over 40–80 ms.
- Don’t over-saturate the top constantly; automate Drive for moments instead.
- Disable warping on one-shot top samples — warping smears transients and can break pitch envelopes.
- Centralize processing in a Rack rather than scattering EQs and saturation across tracks.

Pro tips:
- Use Sampler’s pitch envelope for the core downward snap and automate its Amount via macro for the best balance of device-level speed and automation control.
- For micro-variations, copy automation clips and slightly randomize Pitch‑Bend Amount by ±20–50 cents for a human feel.
- To get a more authentic Dillinja vibe, add a short gated reverb on a return and automate the send for specific hits.
- Use Macro Map Range to constrain extremes and create quick A/B toggles with dummy clips.
- Use Multiband Dynamics on the rack to tighten mid-high without squashing lows.
- Commit to resampling after nailing automation — working with audio files is faster and more stable.

Mini practice exercise:
- Load one snare body, one click, and one metallic top.
- Build the Rack, map three macros: Pitch‑Bend, Cutoff, Drive.
- Draw automation for a 4-bar loop with snares on beats 2 and 4.
Requirements:
- Pitch‑Bend reaches -10 to -12 semitones within the first 60 ms of each snare hit.
- Cutoff opens by ~2–3 kHz for the first 80 ms of every second-bar snare.
- Drive raises by 3–4 dB only on the 3rd-bar snare.
Outcome:
- Resample the 4-bar loop to a single audio clip named “SnareTop_Auto_v1.wav.”

Extra practical notes to keep in mind:
- Pick samples that already sit close tonally — the less extreme EQing you need, the more natural the result.
- Check phase alignment between body and top. Nudge start points by milliseconds or flip phase if the combined transient sounds thin.
- Trim tiny start offsets rather than large fades to preserve transients.
- Sampler vs Simpler: use Sampler for retriggerable pitch envelopes and fine control. Simpler is fine for quick one-shots but may be coarser for pitch automation.
- Draw automation in milliseconds where possible. At typical D&B tempos, 40–80 ms is very short, so use small grid divisions or temporarily change the grid.
- Use exponential curves rather than linear ramps for natural-feeling bends.
- You can map a coarse and a fine macro to the same parameter for section-level and per-hit control.
- Try layering two pitch envelopes — one very fast and one slightly longer — for added complexity.
- Automate Width gently; extreme stereo widening can introduce phase problems. Use M/S EQ if you need side-only air.
- In mixes with vocals, use dynamic EQ or automated cutoffs to avoid masking vocals; automation-first makes this easy.
- Keep CPU in check by resampling or freezing the rack once you’re happy.
- If the pitch envelope won’t retrig, check Retrig and polyphony settings in Sampler.
- If saturation kills the transient, use parallel saturation inside the rack and blend with a macro.
- Save the Snare-Top-Rack as a preset, and export multiple dynamic states of your resampled top to swap quickly in the arrangement.
- Always keep an unprocessed copy archived in case you need to revisit edits.

Recap:
You now know how to layer a Dillinja snare top in Ableton Live 12 with an automation-first approach. Pick appropriate samples, centralize processing in a rack, map expressive controls to macros, program a short Sampler pitch envelope, and draw tight automation lanes to sculpt bite and movement per hit. Resample your best automated take into a stable audio file for mixing and arrangement.

That’s it — build the rack, automate the macros, fine-tune each layer, and resample the result. Happy producing.

mickeybeam

Go to drumbasscd.com for +100 drum and bass YouTube channels all in one place - tune in!

Generating PDF preview…