Main tutorial
Lesson Overview
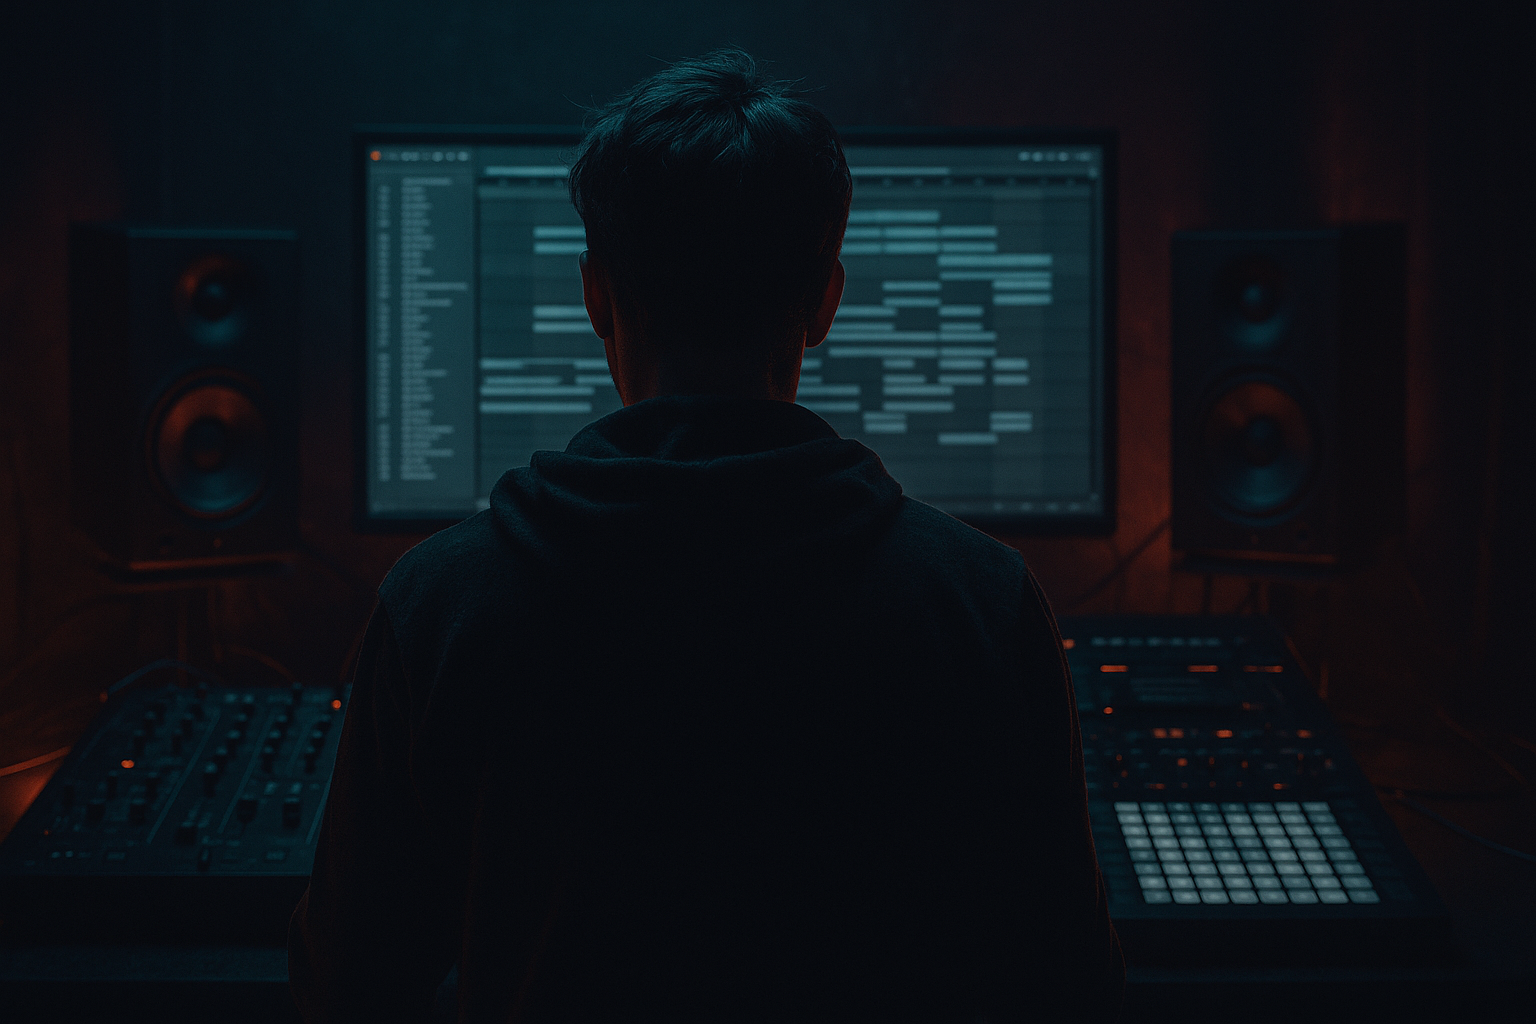
This lesson is about building a breakbeat edit lab in Ableton Live 12 using an automation-first workflow—meaning the groove, tension, and arrangement movement are driven mostly by automation, clip edits, and resampling decisions rather than endlessly piling on new sounds.
In Drum & Bass, especially in jungle, rollers, darker half-time switches, and neuro-adjacent edits, the edit section is where a track starts sounding expensive. It’s the moment between main drop phrases, or the area that bridges a 16-bar tension build into a new drum pattern, bass variation, or breakdown hit. A strong edit can make a familiar loop feel dangerous, alive, and intentional.
Why this matters: DnB moves fast. If your break edit is too static, the track collapses into repetition. If it’s too busy, the groove loses authority. An automation-first workflow lets you keep the break recognizable while constantly reshaping its energy with filter motion, transient changes, sends, resampling, and arrangement-level automation. That’s exactly the kind of movement that makes modern DnB feel detailed without becoming cluttered.
This approach is especially useful when you want:
- a moving break edit that evolves over 8 or 16 bars
- a call-and-response between drums and bass
- a darker, heavier edit section that still leaves room for the low end
- a workflow that helps you finish tracks faster instead of endlessly adding new layers
- a main break chopped into playable sections
- a drum edit bus with transient shaping, saturation, and glue
- an automation-driven filter and send system that animates the break across the phrase
- a sub/reese bass response layer that ducks and swells around the drums
- a transition rack with fills, reverses, and impact automation for phrase endings
- a final arrangement-ready edit that can sit in a drop, pre-drop, or switch-up section in a DnB track
- a roller where the drums keep shifting but the bass stays hypnotic
- a jungle-influenced drop with chopped break accents and ghost-note motion
- a darker neuro edit where the break gets filtered, distorted, and tightened for impact
- a DJ-friendly 16-bar phrase with clear energy ramps and release points
- Over-editing every bar
- Too much low-end in the break
- Automation that moves too wildly
- Bass fighting the kick/snare pocket
- Using too much stereo width in the low end
- Making the transition louder instead of more tense
- Use Saturator in parallel style thinking: keep the original break clear and add only enough drive to create urgency.
- Automate Auto Filter on the break bus with a slow close over 2 bars, then a fast reopen in the final 1/4 note. This creates a very DnB-friendly “suck and release” effect.
- Add a short reverb send only to ghost notes or fills, not the full drum loop. That keeps the main groove punchy while adding depth.
- For heavier rollers, let the bass phrase answer less often. Space can hit harder than constant motion.
- Use tiny clip gain dips on over-loud hits instead of compressing the whole loop harder.
- If the edit needs menace, resample it and process the audio with Drum Buss, then cut out one or two beats so the effect feels like a controlled rupture.
- Try a call-and-response where the drums lead in bars 1–2 and the bass dominates bars 3–4, then swap it every 8 bars.
- In darker neuro-leaning DnB, keep the transient detail clean but let the midrange distortion carry the aggression. Don’t destroy the snare clarity.
- Check the edit in mono occasionally. If the groove collapses, your stereo trick is too dependent on width instead of rhythm.
- For extra underground character, leave one micro-imperfection in the loop: a tiny flam, delayed ghost, or clipped tail. Controlled roughness often feels more human and more authentic in jungle and modern breakbeat DnB.
- build from a break that can survive strong editing
- automate the drum bus for movement and tension
- keep bass in conversation with the break, not against it
- resample your strongest phrases into new edit material
- use subtraction and contrast to make transitions hit harder
You’ll build an editable mini-system: a breakbeat loop, layered transient support, a bass slot that opens and closes around the drums, and a set of automation lanes designed to create tension, release, and switch-ups in classic DnB fashion 🎛️
What You Will Build
By the end, you’ll have a 4- to 8-bar breakbeat edit in Ableton Live 12 that works like a modular DnB phrase.
Specifically, you’ll create:
Musically, think of this as the kind of section you’d hear in:
Step-by-Step Walkthrough
1. Choose a break that can survive aggressive editing
Start with a break that has a clear transient profile and enough ghost-note detail to support movement. Good starting points are classic amen-style material, funk breaks with strong snare placement, or modern drum loops with roomy midrange texture.
In Ableton Live, drag the break into an audio track and immediately warp it so the project tempo locks cleanly. For DnB, set a sensible starting tempo around 172–174 BPM. If the break feels too smeared when warped, try switching warp mode:
- Beats for punchy, transient-heavy material
- Complex Pro for more tonal, roomy breaks that need preservation
- Tones only if the break is narrow and not too noisy
Then chop the break into a few useful slices with Slice to New MIDI Track or manually with Ctrl/Cmd+E in Arrangement. For advanced editing, don’t over-slice every transient immediately. Instead, identify 4–8 musically useful points:
- kick pickup
- main snare
- ghost snare or hat run
- fill hit
- end-of-bar crash/tail
Why this works in DnB: the best break edits feel like performance, not grid surgery. You want enough detail for groove, but enough restraint that the listener can still feel the pocket.
2. Build a break edit rack with layered control
Put your break slices into a Drum Rack or keep them as consolidated audio clips if you prefer Arrangement-first editing. For advanced workflow, I recommend a hybrid:
- audio clips for the main break feel
- a Drum Rack for extra hits, fills, and one-shot accents
Add these stock devices on the break bus:
- Drum Buss for density and low-end punch
- EQ Eight for cleanup
- Saturator for controlled edge
- Glue Compressor if you want glue and forward motion
Practical starting points:
- Drum Buss Drive: 5–15%
- Boom off or very subtle unless you need extra sub weight
- Saturator Drive: 1–4 dB with Soft Clip on
- Glue Compressor 1.5:1 to 2:1, slow-ish attack, medium release
Now route the break to a dedicated Break Edit Bus rather than leaving it floating on its own. This makes automation decisions easier and keeps your edit section coherent.
Focus on the edit philosophy here: don’t make every slice equally loud or equally important. In DnB, contrast is everything. A tiny ghost hit before the snare can be more musical than another huge transient.
3. Shape the groove with clip-level and arrangement-level edits
Open the Audio Clip view and use clip gain, fade handles, and warp markers to sculpt the break’s groove. This is where the “edit” part becomes the performance.
Use these moves:
- trim the tail of overly messy hits so the break stays tight
- slightly extend or crossfade a ghost note into the next phrase
- pull a snare forward or back by a tiny amount for swing
- duplicate the last two hits of a bar and mutate them into a fill
For advanced DnB feel, avoid perfect symmetry. A classic method is to let bar 1 feel more stable and bar 2 feel more destabilized. For example:
- bars 1–2: original break with light processing
- bar 3: add a snare ghost or reversed tail
- bar 4: add a fill with filter opening and delay send
If you’re in the Arrangement View, use the Consolidate function after making a strong edit shape so you can automate it cleanly as one phrase. This keeps your lane organized and makes later resampling simpler.
Concrete timing idea: if your main break loop is 2 bars, create a subtle variation every 4 bars and a bigger switch-up every 8 or 16 bars. That spacing feels natural in DnB and prevents the edit from sounding random.
4. Add automation-first movement to the drum bus
This is the core of the lesson: instead of adding more layers, automate the existing break so it evolves.
Focus automation on the Break Edit Bus:
- EQ Eight filter frequency for low-pass and high-pass sweeps
- Saturator drive for tension peaks
- Drum Buss transient or drive for short “push” moments
- Utility gain for micro-energy dips before drops
- Auto Filter for dramatic movement on selected phrases
Use specific ranges:
- Auto Filter low-pass cutoff around 180 Hz to 8 kHz
- Resonance around 0.20 to 0.45
- Utility gain dips of -1 to -3 dB before a fill or drop
- Saturator drive automation in small moves, around +1 to +3 dB
A powerful DnB trick: automate a gentle low-pass filter closing over 1–2 bars, then snap it open right before the snare or impact. This creates the sensation of the break “pulling back” and then lunging forward.
You can also automate reverb send amount on just one or two ghost hits, not the whole break. That gives space without washing out the groove.
Why this works in DnB: the ear locks onto movement. Since DnB is often loop-based, automation becomes the thing that makes the loop feel like a living arrangement instead of a static pattern.
5. Create bass call-and-response around the edit
Add a bass layer that doesn’t fight the break. For this lesson, keep it simple but functional: a sub layer plus a mid bass/reese layer.
On the sub:
- use Operator or Wavetable with a clean sine-based sub
- keep it mono with Utility
- let it follow the kick/snare logic of the break
- use short, intentional note lengths so it breathes
On the mid bass:
- use Wavetable, Operator, or a resampled bass patch
- keep movement centered in the mids, not the sub region
- add Saturator, Auto Filter, and maybe Corpus if you want a metallic undertone
Advanced phrasing idea:
- let the bass answer the snare with a short phrase
- leave the first half of the bar lighter
- hit more aggressively on offbeats or after the snare
- automate the bass filter to open slightly during the last 2 beats of each 4-bar phrase
Parameter suggestions:
- mid bass filter cutoff around 250 Hz to 2.5 kHz, depending on tone
- sub with minimal harmonics below 90 Hz
- reese width kept controlled; mono the sub and check stereo only above the fundamental region
Keep bass automation in dialogue with the break automation. If the break closes down, the bass can open up. If the drum edit hits hard, the bass can simplify. That contrast is what makes the section feel intentional.
6. Use resampling to turn the best moment into a new edit
Once you’ve created a strong 4- or 8-bar motion, resample it. Create a new audio track, set its input to Resampling, and record the best phrase while the automation plays.
This gives you a fresh audio asset you can:
- chop into micro-edits
- reverse for fills
- flatten into a transition hit
- layer under the original for extra density
After resampling, try these edits:
- reverse the final snare tail into a transition
- take a 1-beat slice and repeat it with decreasing volume
- create a stop/start edit for a pre-drop moment
- bounce a bass-and-drums moment, then cut it with fades for a cleaner arrangement tool
This is a huge workflow advantage in Advanced DnB production. Instead of infinite tweaking, you commit to a sound and then turn it into a new building block. That helps the track feel like it’s evolving rather than just looping.
7. Design a transition system for switch-ups and drop resets
Build a dedicated transition chain for the end of the phrase. This section should create tension without stealing the low end.
Use stock devices and clips:
- Reverb on a return for splash, not wash
- Echo with short feedback for a rhythmic tail
- Auto Filter for sweep automation
- a reversed cymbal or reversed break slice
- an impact hit layered with a sub drop or bass restart
Arrangement suggestion:
- bars 1–4: main break edit
- bars 5–8: bass opens up, break gets more filtered
- bar 8 last beat: reverse fill, short reverb tail, sub cuts for a breath
- next bar: new variation or drop entry
For darker DnB, a good transition often uses subtraction rather than extra noise. Try cutting the bass for a half-bar and letting only a filtered break slice and a tail remain. That tension makes the drop back in harder.
8. Refine the mix inside the edit, not just on the master
This lesson is edit-focused, so solve mix issues where they begin.
On the drum bus:
- use EQ Eight to reduce mud around 200–400 Hz if the break gets boxy
- tame harsh hats around 7–10 kHz if needed
- keep the main snare transient clear; avoid over-compressing it flat
On the bass:
- mono the sub with Utility
- keep stereo widening away from the low end
- if the reese is too wide, narrow it until the center feels stable
Check headroom. In DnB, if your edit section is already slamming into the master, your automation loses power. Leave space so the edit can breathe and the drop can still feel bigger. Aim for the edit bus to feel strong but not crushed.
A useful workflow: mute the bass for a moment and listen only to the break automation. Then mute the drums and listen only to bass movement. If each one works on its own, the combination will usually translate much better.
Common Mistakes
- Fix: keep one stable phrase and vary only one or two elements per 4 bars. DnB needs repetition to groove.
- Fix: high-pass the break bus gently if needed and let the sub own the true low end.
- Fix: use smaller ranges. A 1–3 dB change or a subtle filter move is often enough.
- Fix: shorten notes, simplify phrasing, and leave room on the snare hits.
- Fix: mono the sub and keep wide treatment above the fundamental.
- Fix: remove elements, filter them down, and reintroduce them with impact.
Pro Tips for Darker / Heavier DnB
Mini Practice Exercise
Set a 15-minute timer and build a 4-bar automation-first break edit:
1. Pick one break and warp it cleanly at 172–174 BPM.
2. Chop it into 4–6 useful slices.
3. Put the slices through Drum Buss, EQ Eight, and Saturator.
4. Automate a low-pass filter on the drum bus from roughly 8 kHz down to 250–500 Hz over 2 bars, then reopen it.
5. Add a simple sub line with 3–4 notes that leaves space for the snare.
6. Resample the best 4 bars onto a new audio track.
7. Reverse one slice and use it as a fill into the loop restart.
8. Make one final decision: either cut a beat, add a ghost note, or automate a short reverb send on the last hit.
Goal: by the end, you should have one edit loop that already feels like part of a real DnB arrangement, not just a static drum loop.
Recap
The key idea is simple: in DnB, the edit is a performance. Use Ableton Live 12 to shape your breakbeat with automation, not endless layers.
Remember:
If your automation is musical and your edit is disciplined, even a small loop can feel like a full DnB section with weight, depth, and momentum.

