Main tutorial
1. Lesson Overview
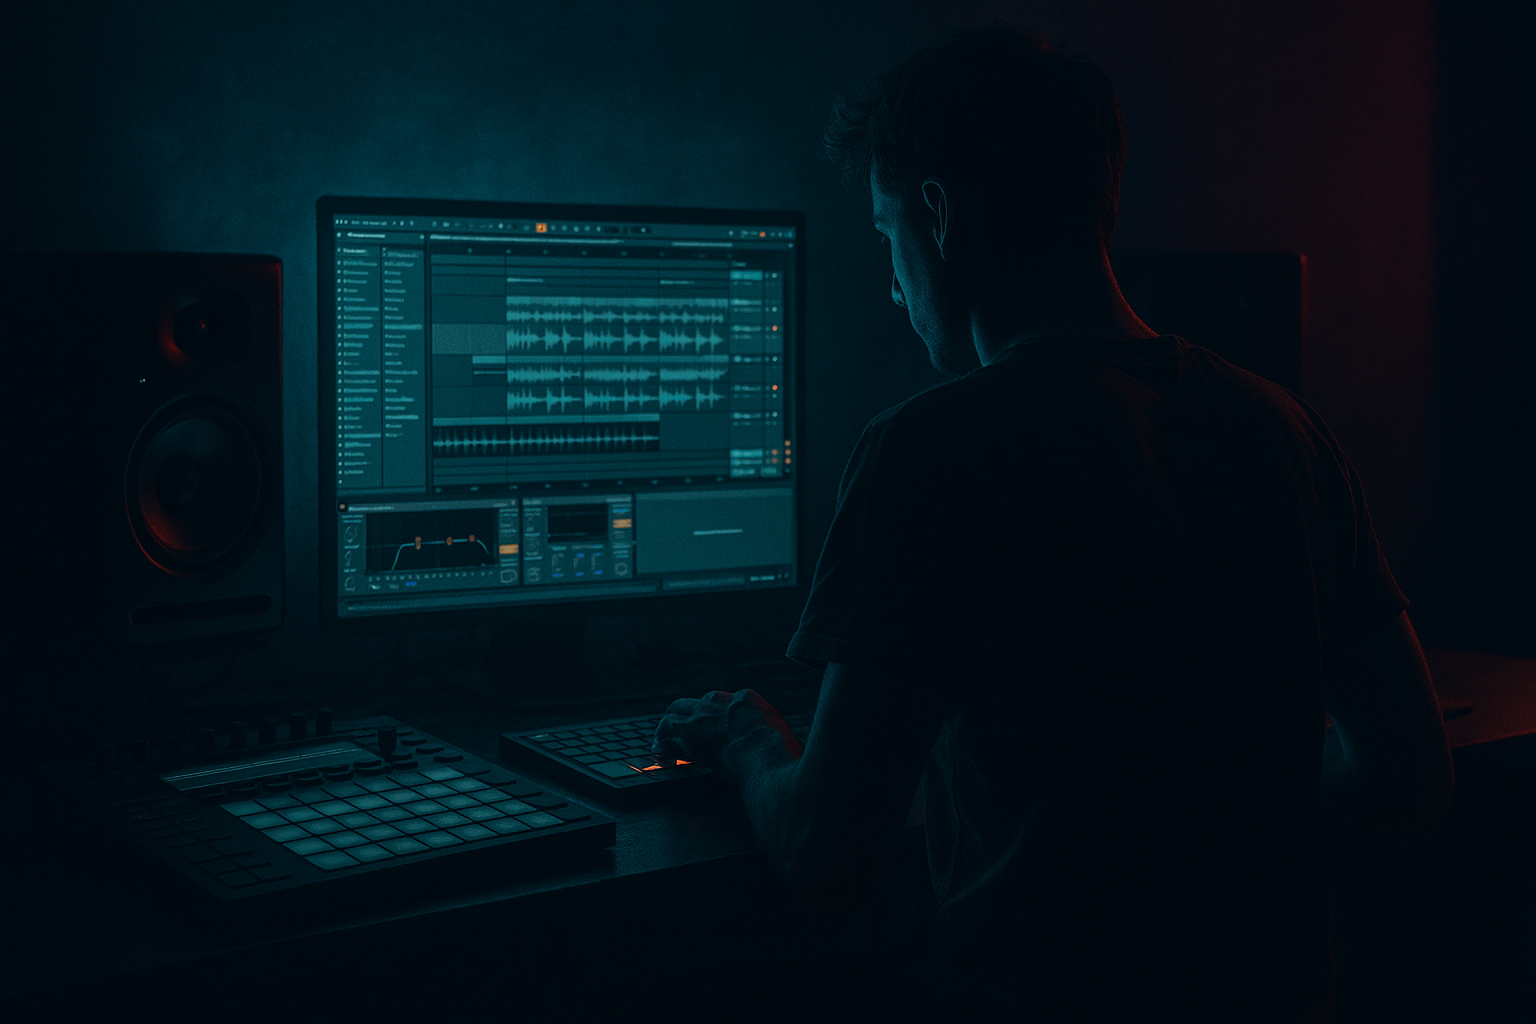
"Krakota masterclass: arrange the city ambience in Ableton Live 12 for rave-laced tension" is a beginner-friendly, hands-on lesson that teaches how to take raw city field recordings or sample-pack ambience and arrange them in Ableton Live 12 to create suspenseful, rave-ready tension beds and rhythmic textures for Drum & Bass. You will learn practical sampling workflows using Ableton's stock devices (Simpler/Sampler, Drum Rack, Beat Repeat, Grain Delay, Auto Filter, Reverb, EQ Eight, Compressor, Utility, Saturator) and simple arrangement and automation techniques to make ambience feel alive, rhythmic, and ready to sit under heavy drums and bass.
2. What You Will Build
- A two-part ambience system:
- Return effects setup (reverb + grain delay) and processing chain to create rave-laced tension that ducks to the kick and evolves across an arrangement breakdown and build.
- Simple MIDI patterns and clip-envelopes to arrange tension and release across an intro, tension section, and drop-ready cue.
- EQ Eight: High-pass at 40–60 Hz (to leave subspace for bass) and gentle cut around 2–6 kHz if too harsh.
- Saturator: Drive lightly to add harmonics (Drive 2–4 dB, soft-clip) — adds grit for rave vibe.
- Auto Filter (Lowpass) with frequency mapped to Macro or automate cutoff: use LFO set to a slow rate (1/8–1/4 synced) with shallow depth for slow movement.
- Reverb (Send): create a Return track "R-Verb" with Reverb (or Hybrid Reverb if you have it). Large size, decay 6–12 s, pre-delay 0–30 ms; put a Low Cut on the return (EQ Eight on return) to remove sub rumble.
- Utility: Width control to make the drone wide but not too wide (Width 80–100%).
- On individual Simpler chains: reduce sample start slightly to remove attack if needed; set Filter Env for short decay to create pluck-like hits.
- Send all to the same "R-Verb" or an additional shorter reverb send "ShortVerb" for closer ambience.
- Add Beat Repeat (device) after Drum Rack on the track for controlled glitching: set Interval 1/8 or 1/16, Gate 1/32–1/8, grid 1/32, and set Chance low (5–20%) so repeats feel occasional and tense.
- Add Grain Delay as an Insert on a duplicate of the Drum Rack bus (or as a Send): set Delay Time synced small (1/64–1/16), Spray moderate (10–40%), and pitch ± a few semitones to create shimmering micro-echoes.
- Leaving sub frequencies in ambience: Not high-passing ambience can muddy the bass — use HPF around 40–80 Hz.
- Over-relying on reverb wetness: Too much wet on the insert reverb blurs clarity — use sends and ducking to control space.
- Too much beat repeating all the time: Beat Repeat should be a tension device, not constant. Keep chance/interval changes automated.
- Not warping properly: Warping long ambience with Beats mode will sound choppy; use Complex/Complex Pro or Texture for atmospheres.
- Over-compressing ambience bus: Heavy compression kills dynamics—glue lightly (2–4 dB).
- Lack of movement: Static drones feel lifeless; automate filter, pitch, or send levels to create evolving tension.
- Use transient slicing but keep some slices long: a mix of long slices (sustain) and short hits creates rhythm without clutter.
- Layer a low-pitched, detuned copy of the drone under the main drone for sub-pressure — use Simpler transpose -12 and lowpass heavily.
- Use clip start randomization (in Simpler or drum chain) for humanized variation on repeating slices.
- For fast tension at 170–175 BPM, sync Beat Repeat to 1/16 with small Gate for jittery micro-rhythms that accent snares.
- Automate Reverb Low Cut on the return: open highs during builds and roll off highs for verse to tailor spectral tension.
- Map several controls to a single "Tension" Macro for one-knob performance: Cutoff, Beat Repeat chance, Grain Delay Spray, Reverb Decay.
- Import one long city recording and two short hits into Live 12.
- Create a Drone using Simpler, warp with Complex Pro, loop a 4-bar region, lowpass filter, and set an LFO on Auto Filter to 1/8 synced.
- Slice the short hits to a Drum Rack, program a 4-bar MIDI loop with accents on off-beats and add Beat Repeat with chance 10% and Interval 1/16.
- Add a Reverb return (Decay ~8s) and a Compressor on the return set to sidechain to a simple kick (use a dummy kick clip).
- Arrange a 32-bar idea: 8-bar intro (drone only), 16-bar tension (bring slices in gradually and automate Filter Cutoff up), 8-bar build (increase Beat Repeat chance and open Cutoff).
- Export a 16–32 bar stem of just the ambience for reference.
- Background drone layer (long, stretched city wash for atmosphere)
- Rhythmic foreground texture layer (sliced/processed city hits gated to the beat)
3. Step-by-Step Walkthrough
Note: The phrase "Krakota masterclass: arrange the city ambience in Ableton Live 12 for rave-laced tension" is demonstrated in this practical walkthrough — follow each step in Live 12.
Prerequisites: have at least one long field recording (city traffic, subway, crowd murmur, distant sirens) and a few short hits (car horns, footstep, metallic clang) either recorded or from a royalty-free pack.
A. Project setup
1. Create a new Live Set. Set the tempo to a typical D&B range (170–175 BPM). This tempo helps rhythmic gating feel tense and fast.
2. Create three audio tracks named: "Ambience Drone", "Ambience Slices", "FX Returns".
3. Add a Drum Rack track for drums later so you can audition ambience with a kick.
B. Prepare the drone (long atmospheric wash)
1. Drop your long city field recording into "Ambience Drone".
2. Double-click the clip to open Clip View. Turn Warp on and choose Warp Mode = Complex or Complex Pro (preserves texture when stretched).
3. Warp so the clip plays smoothly and set Loop to on. Stretch/transpose:
- If the recording is bright, transpose -7 to -12 semitones in Clip Transpose to get a darker drone (or do this in Simpler as below).
4. For cleaner control, drag the warped clip into an empty MIDI track and choose "Slice to New MIDI Track" > Slicing preset: "None" or "Transient", Slicing by: "1 bar" or "Half bar" to create longer loop slices, check "Create One-Shot Simpler" off if you prefer Simpler. (Alternatively, use Simpler directly).
5. Simpler method (preferred for drones): Create a MIDI track, drop the audio into Simpler (Classic mode), enable Loop, set Loop Start/End to a long portion, set Warp Mode in the clip or set Simpler's Loop and Transpose. Use the Filter section to lowpass and reduce highs. Map Simpler to a low MIDI note (C1) and create a long sustained MIDI note.
Processing chain for drone (Audio or Simpler track):
C. Create rhythmic foreground from city hits
1. Take short hits (horn, metal clang, footstep). Drag a longer field clip into Arranger, right-click and choose "Slice to New MIDI Track". Set Slicing to "Transient" and "Create One-Shot Simpler" on. Live will build a Drum Rack with Simpler on each pad.
2. Open the new Drum Rack MIDI track. Play a few pads and decide which slices form interesting percussive textures.
3. Create a MIDI clip on the Drum Rack (4 bars loop). Program a sparse pattern that accents 16th/32nd motion suited to 170 BPM. For tension, leave space and use off-grid placement (push/pull by 10–30 ms in Clip Start or use Groove).
Processing chain for Drum Rack/foreground:
D. Make ambience rhythmic and tense
1. Create an Auto Filter on the Drum Rack (or master ambience group) set to Bandpass or Lowpass with Resonance around 1.2–1.8. Map the Filter Cutoff to a Macro called "Tension" and automate that Macro in Session or Arrangement view.
2. Use Clip Envelopes for small pitch rises on a selected Simpler slice: open the MIDI clip, in Clip Envelope choose Sample > Start/Volume or Pitch and draw short upward pitch sweeps over 1–2 bars to simulate a siren or rising tension.
3. Create a dedicated "Duck" Compressor on the R-Verb send: Add a Compressor to the return and enable Sidechain input from your main Kick (route a copy of Kick to a small send). Set Ratio 3:1–6:1, Attack 1–10 ms, Release 80–200 ms so reverb ducks to the kick and regains during gaps—this keeps ambience pumping with the drums.
4. Add a Buss/Group for all ambience tracks and insert Glue Compressor very lightly for cohesion (2–4 dB gain reduction), then EQ Eight to carve 200–600 Hz if muddy.
E. Arrange for build, tension, and release
1. Intro (bars 1–16): use only the Drone, low-pass cutoff at a lower position, reverb wet high, small grain delay. Keep rhythmic slices minimal.
2. Tension section (bars 17–32): bring in Drum Rack slices, automate the "Tension" Macro to open filter cutoff and increase Beat Repeat chance. Use Volume automation to raise the foreground textures + add a short high-pass sweep automation on Drone to reveal more mid-highs.
3. Build cue (bars 33–40): increase Beat Repeat density (switch Interval to 1/16, Gate shorter), automate a rising pitch transpose on the Drone (Clip Transpose +1–4 semitones over 8 bars), slowly increase Grain Delay feedback slightly. Add a quick automation on the Reverb Decay to shorten or lengthen to create a sense of space change.
4. Release/drop cue: snap the filter open and mute the rhythmic slices or duck them heavily to create an immediate gap for the drums and bass. Use Utility Gain automation to quickly jump by +3–6 dB on the main ambience for an impact.
F. Final touches
1. Stereo width: Use Utility to narrow lower frequencies (on a sub bus) and widen mid-highs for atmosphere. Consider duplicating Drone, pitch-shifting one copy by -7 semitones and panning to create depth.
2. Save as a Rack: group your ambience devices and macro-map Cutoff, Beat Repeat chance, Reverb Send, Grain Delay amount, and Duck Amount. Save as an Instrument Rack called "City Tension Rack" for reuse.
4. Common Mistakes
5. Pro Tips
6. Mini Practice Exercise
Time: 30–40 minutes
7. Recap
This lesson "Krakota masterclass: arrange the city ambience in Ableton Live 12 for rave-laced tension" showed a straightforward sampling workflow to convert raw city recordings into atmospheric drones and rhythmic textures for Drum & Bass. Key steps: warp and loop for drones, slice to Drum Rack for percussive textures, use Grain Delay and Beat Repeat for micro-motion, automate Auto Filter and pitch for evolving tension, use reverb sends with sidechain ducking for clarity, and arrange automation across intro → tension → build to make the ambience perform. Save your processing as an Instrument Rack so these techniques become reusable tools in your Krakota-inspired toolkit.

