Main tutorial
Lesson Overview
In this lesson, you’re going to take a kick that already has solid low-end authority and turn it into something with oldskool jungle character: weight in the chest, a slightly crunchy sampler edge, and enough texture to sit inside a dense DnB arrangement without turning muddy. The goal is not to make the kick “bigger” in a generic sense — it’s to make it feel like it came from a hard-edited jungle record, where the transient is focused, the body is warm, and the tail has a bit of grit that helps it read on smaller systems and in a fast-moving drop.
This matters a lot in Drum & Bass / jungle / rollers / darker bass music because kick and sub interaction is everything. A kick that is too clean can sound polite and get swallowed by a heavy sub or reese. A kick that is too distorted can destroy the groove, fight the bassline, or smear the kick drum’s role in the arrangement. The sweet spot is that punchy, sample-based, slightly worn texture you hear in classic jungle and modern rollers when producers want attitude without losing low-end control.
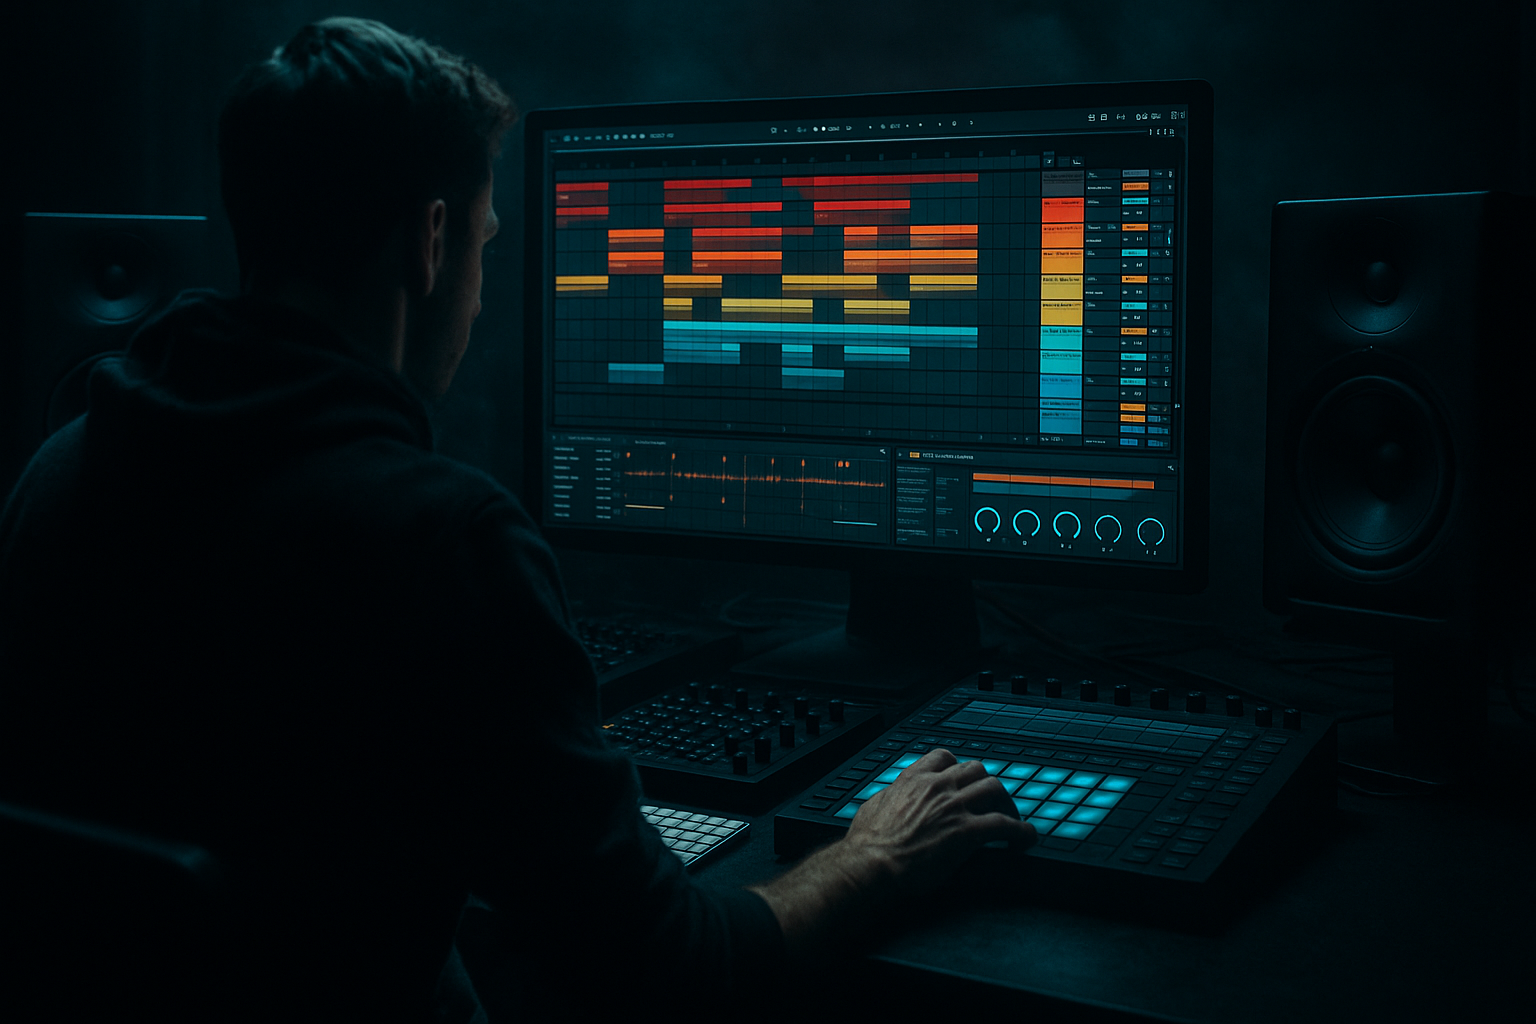
We’ll build this inside Ableton Live 12 using stock devices only, with a workflow that works especially well when you’re also dealing with vocals, drop transitions, and arrangement tension. The reason the category still matters here is simple: even if you’re not processing a vocal directly, you’re building a kick texture that has to leave space for vocal chops, phrases, ad-libs, and call-and-response moments. In DnB, your kick often has to coexist with vocal stabs and atmospheric hooks while still driving the floor.
What You Will Build
By the end, you’ll have a kick chain that sounds like this:
- A tight, weighty kick core with controlled sub/body around the 45–80 Hz zone
- A crunchy sampler layer that adds oldskool grit and midrange bite
- A parallel texture path that can be automated for intro, build, and drop impact
- A kick that cuts through a dense DnB bassline without getting huge or woolly
- A version that can be sung along with vocal chops or used under a dark spoken-word hook without masking intelligibility
- Enough movement and harmonic edge to feel like a jungle-era sample hit but still hit cleanly in a modern Ableton mix
- 172–176 BPM jungle edits with chopped breaks
- 174 BPM rollers with a sparse kick / sub relationship
- Dark halftime or half-time-to-double-time switch-ups
- Drops where the vocal enters on bar 9 or 17 and the kick needs to keep its authority without crowding the center
- Overdistorting the main kick
- Letting the crunchy layer carry too much low end
- Using a kick that already has a long tail
- Ignoring tuning
- Making the kick bright instead of weighty
- Over-compressing the bus
- Not checking under vocals
- Use parallel Saturator + EQ Eight on the texture chain
- Try a tiny amount of Redux for sampler nostalgia
- Automate the crunch into fills, not just drops
- Let the kick and sub occupy different time windows
- Use sidechain-style movement even when the kick is already strong
- Keep the crunchy layer mono-focused
- Reference classic jungle and modern dark rollers
- Build the kick in two parts: clean weight and crunchy sampler texture.
- Use Simpler, Saturator, Erosion, EQ Eight, Drum Buss, and Glue Compressor to shape it inside Ableton.
- Keep the low end controlled and the texture layer high-passed so the sub stays clear.
- Tune and balance the kick against the bassline for proper DnB low-end separation.
- Automate texture for arrangement movement, especially around vocals, fills, and drop switch-ups.
- The best result is a kick that feels like oldskool jungle character with modern mix discipline.
Musically, this works especially well in:
Step-by-Step Walkthrough
1. Start with a kick that already has the right low-end shape
Don’t begin by “fixing” a bad kick with distortion. In Ableton, load a kick that has a clear fundamental and a short, controlled tail. For oldskool DnB, a kick with a punch around 50–60 Hz and a body around 90–120 Hz is a strong starting point.
If you’re working from samples, audition a few kicks in Simpler or Drum Rack and choose one that:
- Has a fast transient
- Doesn’t ring too long below 100 Hz
- Still sounds solid when played quietly
Put it in a dedicated audio or MIDI track and loop 2 bars with your bassline muted. In advanced DnB work, you want to hear whether the kick itself is doing the job before you add texture. If it already feels weak here, the crunch layer won’t save it — it’ll only expose the problem.
2. Shape the core kick with EQ Eight and transient discipline
Add EQ Eight first. Use it to sculpt, not to over-process.
Suggested moves:
- High-pass very gently only if needed, around 25–30 Hz, to clear unusable sub-rumble
- If the kick is boxy, dip 180–300 Hz by 1.5–3 dB with a medium Q
- If it needs more presence, a subtle boost around 2–4 kHz can help the transient speak, but keep it modest
Then add Drum Buss or Saturator only if the kick needs more density. For Drum Buss:
- Drive: 5–15%
- Boom: use carefully, often 0–10%
- Transients: slightly positive if you want more click, slightly negative if the kick is too spiky
This step is about making sure the kick has a stable, mix-ready center before you build the “crunchy sampler texture” layer.
3. Create the oldskool sampler texture with Simpler
This is the key move. Duplicate the kick to a new chain or new track, then load it into Simpler in Classic mode. You’re treating the kick as raw material, not just a sample.
In Simpler:
- Turn on Classic mode
- Set Loop off
- Shorten the Start slightly if the sample has clicky silence before the transient
- Adjust Transpose if you want the texture layer to sit higher or lower than the main kick
Now add texture by combining:
- Saturator: Drive 3–8 dB, Soft Clip on
- Erosion: very light Noise or Sine mode, Amount around 0.5–3.0, Frequency tuned so it adds edge rather than hiss
- Redux: use carefully, maybe down to 10–12 bits if you want a worn sampler vibe; avoid obvious aliasing unless that’s the aesthetic
The reason this works in DnB is that jungle and oldskool drum textures often came from sampled drums pushed through limited hardware or early digital processing. That slight crunch creates midrange detail, which helps the kick remain audible when a sub-heavy bassline fills the bottom octaves.
4. Build a parallel texture chain so the kick stays powerful
Don’t grind your main kick into dust. Instead, split the kick into a clean core and a dirty layer.
In Ableton:
- Put the clean kick on one chain
- Put the Simpler/Saturator/Erosion version on a second chain
- Use Audio Effect Rack to manage the blend
Suggested balance:
- Clean core: 70–90%
- Crunch layer: 10–30%
On the crunchy layer, add Auto Filter after the distortion:
- High-pass around 120–180 Hz if the layer is cluttering the sub zone
- Optionally low-pass around 6–10 kHz to keep it gritty instead of harsh
This is especially useful in a roller or neuro-influenced DnB drop where the kick must coexist with a dense bass patch. The clean layer anchors the low end; the crunchy layer gives it that “sampled from a dusty break record” feel.
5. Tune the kick and distortion to the key of the track
Advanced DnB mixes are cleaner when the kick is harmonically aware. If your track is in a key where the kick fundamental collides with the sub note, you’ll hear low-end blur even when the levels look fine.
Use:
- Tuner or Spectrum on the kick to identify the fundamental
- Simpler Transpose or Frequency Shifter in very subtle mode if you need to nudge the pitch
- EQ Eight to reduce clashing resonances rather than over-boosting the kick
Practical range:
- Move the kick by only 1–3 semitones if needed
- Use very small EQ adjustments, often ±1 to 2 dB
In DnB, this matters because the kick often lands right before or with the sub note. If the kick fundamental is fighting the bassline, the groove feels wider but weaker. A tuned kick locks harder into the rhythm section.
6. Use Glue Compressor or Drum Buss on the kick bus, not the individual layers, for cohesion
Once the core and crunch layers feel good, route them into a kick bus. On that bus, use Glue Compressor very lightly or Drum Buss for a unified hit.
Glue Compressor starting point:
- Ratio: 2:1
- Attack: 10–30 ms
- Release: Auto or around 0.1–0.3 s
- Aim for only 1–2 dB of gain reduction
Drum Buss alternative:
- Drive: 2–6
- Transients: slightly up if you want the front of the kick to stay sharp
- Dampening: as needed to keep fizz under control
Don’t over-compress. The goal is a single, confident hit that feels like one instrument. That “glued” kick is ideal when the arrangement gets busy with vocal chops, tops, and bass movement.
7. Automate the crunch layer for arrangement energy
The best DnB kicks don’t stay static for the entire tune. Use automation to make the texture evolve.
Good automation targets:
- Crunch layer volume
- Saturator Drive
- Erosion Amount
- Auto Filter cutoff
- Utility Width on the texture layer if you want it to feel bigger in breakdowns and tighter in drops
Arrangement idea:
- Intro / first 8 bars: keep the kick cleaner, lighter texture
- Pre-drop: increase crunch slightly to hint at energy
- Drop 1: full weight, but keep the crunchy layer tucked
- Switch-up or bar 17: automate a momentary boost in distortion or a filter opening on the texture layer for emphasis
In a vocal-led section, you can pull back the crunch during a phrase so the vocal sits upfront, then push it back up on the instrumental response. That call-and-response dynamic is very DnB.
8. Place the kick in the mix around the bassline, not on top of it
A kick with crunchy sampler texture should still leave room for the sub. Use Utility, EQ Eight, and mono discipline to keep the low end clean.
Practical mix moves:
- Keep the kick bus mono below 120 Hz if needed
- High-pass the crunch layer so it doesn’t cloud the sub
- Sidechain or volume-carve the bass slightly around the kick transient if the groove needs it
If you’re using a Reese or bass stab, let it own more of the 150–400 Hz zone while the kick claims the immediate punch. In darker DnB, the mix wins when each element has a narrow purpose:
- Kick = transient + short body + grit
- Sub = sustained low-end support
- Bass texture = midrange aggression and movement
- Vocal = human focal point and phrasing
9. Add micro-variation so the kick feels like sampled jungle, not a looped clone
Oldskool jungle energy often comes from tiny differences. In Ableton, use velocity variation, slight sample start changes, or alternating layers for different bars.
Ideas:
- Create two kick chains: one cleaner, one dirtier
- Use the dirtier version on the last hit before a fill or drop
- Nudge the start point a few milliseconds on one duplicate for subtle phase/tone changes
- Use very small velocity automation if the kick is MIDI-triggered through Simpler
Musical context example:
- In bars 1–8, the kick stays lean and driving under a sparse vocal chop
- In bars 9–16, the kick gains more crunch as the bassline gets busier
- On bar 17, you hit a fill with the crunchy layer pushed forward for one bar, then pull it back for the next section
This keeps the arrangement alive without resorting to giant FX everywhere.
10. Check translation on small speakers and fast arrangements
Use Spectrum and your ears. A crunchy kick can sound huge on monitors but disappear on headphones if the transient is too soft or the crunch is only midrange noise.
Check for:
- Is the kick still identifiable when the sub is muted?
- Does the crunchy layer add presence or just harshness?
- Does the kick disappear under the vocal?
If needed:
- Add a tiny boost around 3 kHz for attack
- Reduce harshness around 6–8 kHz if the texture gets brittle
- Increase the clean core by a small amount rather than overdriving the dirty layer
The final test: mute the bassline and listen to the kick with the vocal. If it still feels like a proper DnB drum hit — weighty, dirty, and intentional — you’re there.
Common Mistakes
- Fix: keep distortion on a parallel layer or use gentle Saturator settings. The clean core must survive.
- Fix: high-pass the texture layer around 120–180 Hz so it adds grit without stealing sub headroom.
- Fix: choose a tighter source sample or shorten it in Simpler; long tails blur against DnB bass movement.
- Fix: identify the kick fundamental and make sure it isn’t fighting the sub note or bass root.
- Fix: don’t chase click only. The kick needs body first, then a controlled edge.
- Fix: use only a couple dB of gain reduction. DnB needs impact, not flattened transients.
- Fix: if a vocal is present, carve some space in the midrange or automate the crunchy layer down during lyric phrases.
Pro Tips for Darker / Heavier DnB
- Push Drive harder on the parallel layer, then cut lows and tame top-end harshness. This gives you grit without ruining the low end.
- Even subtle bit reduction can evoke oldskool hardware feel. Keep it restrained so it reads as texture, not lo-fi novelty.
- A 1-bar boost before a drum edit or vocal pickup can make the arrangement feel much more alive.
- If the kick is short and focused, the sub can breathe. This is one of the biggest reasons DnB mixes stay powerful.
- A little bass ducking around the kick transient can make the kick feel heavier without turning it up.
- If the texture gets wide, it can blur the center. Heavy DnB often sounds better when the dirt is centered and the atmospheres are wide.
- Listen for how much of the kick is actually sub, how much is midrange crackle, and how much is implied by the surrounding arrangement.
Mini Practice Exercise
Spend 15 minutes building two versions of the same kick in Ableton Live 12:
1. Load one kick into Simpler and make a clean core version with EQ Eight and minimal saturation.
2. Duplicate it to a second chain and build a crunch layer using Saturator, Erosion, and a high-pass filter.
3. Balance the layers so the dirty layer is only supporting the transient and midrange texture.
4. Program a 4-bar DnB loop at 174 BPM with:
- Kick
- Sub or reese
- One vocal chop or spoken phrase
5. Automate the crunchy layer up by a small amount in bar 4.
6. Mute the bass and check whether the kick still feels like a strong jungle/drum & bass hit.
7. Make one final change based on what you hear: tune, filter, or distort slightly — but only one move.
Goal: by the end, you should have a kick that feels heavier, dirtier, and more period-correct without sounding messy.

