Show spoken script
Keeping Old School Jungle Arrangements Concise in Ableton Live, beginner edition. Today we’re doing that classic jungle thing: fast-moving, tight, and modular, without turning your project into a 200-track monster.
The big idea is simple. Old school jungle often isn’t “written” like a modern pop song. It’s more like DJ sentences. Setup, payoff, reset, payoff. Clear phrases, clear cue points, and constant little micro-changes so the loop never gets stale. You’re going to build one strong 8-bar core loop, create a few variations of it, and then arrange the whole track by sequencing those blocks.
By the end, you’ll have a finished structure around two and a half to three and a half minutes: a 16-bar intro that’s mixable, a 32-bar first drop, a short breakdown or reset, a 32-bar second drop that feels heavier, and a short outro.
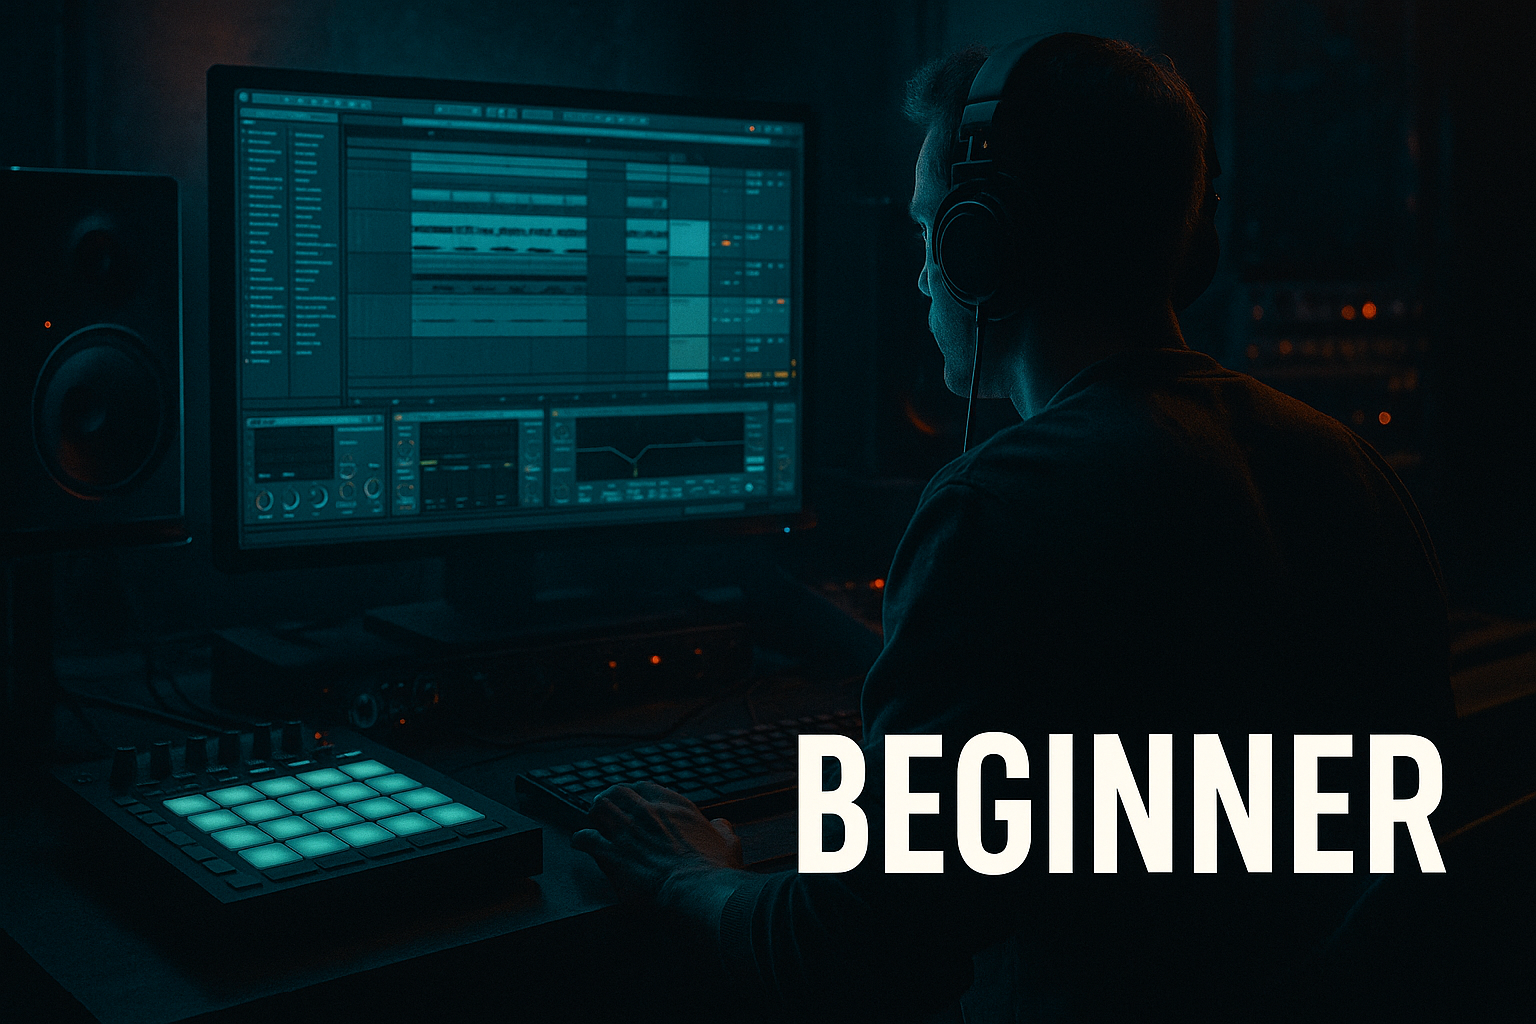
Alright, open Ableton Live and go to Arrangement View.
Step one: set up the session for jungle speed.
Set your tempo somewhere between 165 and 175 BPM. If you’re not sure, set it to 170. That’s a sweet spot where the groove feels quick but still controllable.
Now, if you’re using break loops, check your Warp mode. For full break loops, Complex Pro can work, but for sharper transients, Beats mode is often the move. In Beats mode, set Preserve to Transients. Turn transient looping off. And set the envelope somewhere around 10 to 30. Lower feels tighter and more punchy. Higher gets smoother, sometimes a little too smeary for that crisp old school snap.
Before we even touch arranging, do a quick workflow setup. Make four groups in Arrangement: DRUMS, BASS, MUSIC, and FX or VOCALS. This is not just tidiness. This is how you avoid the beginner trap of “I’ll fix the arrangement by adding more tracks.” In jungle, arrangement is usually edits and contrast, not endless layers.
Step two: build your 8-bar core loop. This is your anchor.
Think of this as the “language” of your track. If your core loop isn’t satisfying, no amount of arranging will save it. So keep it minimal and make it slap.
A typical jungle core loop includes: a main break, like an Amen or similar. A second break layer for grit or ghosts. A sub bass that’s simple and repeating. One hook element, like a stab, a ragga vocal hit, or even a single reese note. And then minimal FX, like a crash or a reverse swell.
Now, quick stock device setup, just to get you moving.
On your DRUMS group, add Drum Buss. Set Drive around 5 to 15 percent. Boom can be zero to 20 percent, but be careful because jungle already has a lot going on down low with bass and kicks. Crunch to taste.
On your break channels, put EQ Eight and high-pass around 25 to 35 Hertz. That’s just removing useless rumble so your sub has space. If your break is biting your ears, try a small dip around 3 to 6 kHz. Small. Jungle is bright, but you don’t want pain.
On your bass, add Saturator. Turn Soft Clip on. Drive around 2 to 6 dB. The point is not “distort it into oblivion.” The point is to make the bass more stable and audible, especially when the break is busy.
Teacher note: at this stage, resist the urge to add a second melody, pads, extra risers, all that. In each 8 to 16 bar chunk, you want one hero. Either the break edits are the star, or the bass movement is the star, or the hook call is the star. Beginners make everything the star at once, and then nothing feels like the star.
Step three: create variation clips before you arrange.
This is the secret sauce for staying concise. You don’t want to write 32 bars in a straight line. You want to build four or six “lego bricks” that you can snap together.
Duplicate your 8-bar loop so you have four versions.
Version A is straight. Clean main loop.
Version B is a mute switch. Remove the kick for one bar, or mute hats on bar four, or cut the bass for a beat. Something obvious.
Version C is a fill. Add a little snare rush, or an Amen slice fill right at the end, like bar eight, to pull you into the next phrase.
Version D is a break swap. Maybe the second break layer changes, or your chop pattern changes for two bars.
Here’s a super beginner-friendly way to do classic jungle edits without pain. Take a section of your break and consolidate it, that’s Command or Control J. Then right-click and choose Slice to New MIDI Track. Use the built-in preset and slice by transients. Now you’ve got a Drum Rack full of slices, and you can program fills with MIDI like you’re playing the break.
One simple rule for jungle pacing: one noticeable change every 4 to 8 bars. That can be a mute, a tiny edit, a fill, a top-layer swap, a reverb throw. If you can predict every bar by bar 12, you need a variation. But if you can’t tell what the groove is anymore, you added too many variations. That’s your loop fatigue meter.
Step four: lay out the structure using markers, locators in Ableton.
Drop locators at these points:
Intro at 1.1.1
Drop 1 at 9.1.1
Breakdown at 25.1.1
Drop 2 at 33.1.1
Outro at 49.1.1
That’s a clean, DJ-friendly template: 16 bars intro, 32 bars drop one, 8 to 16 bars breakdown, 32 bars drop two, 8 to 16 bars outro.
This phrase awareness is huge. Jungle lives on 8, 16, and 32 bar logic. If your fills land randomly, it feels messy, even if the sounds are good.
Step five: build the intro, 16 bars, without overwriting.
Old jungle intros are often drums and atmosphere and hints. Not the full song.
In bars 1 through 8, use a filtered break, or even just hats and percussion. Add an atmos pad or noise. If you want a vocal one-shot, keep it super sparse.
In bars 9 through 16, bring in the full break, or add a second break layer. Tease the bass, maybe high-pass it or just use single notes. And add a crash right at bar 9 so it’s obvious a new phrase started.
For tension, use Auto Filter on the DRUMS group. Low-pass it, start somewhere like 500 Hz to 2 kHz, and open it over those 8 bars. On your atmos, use Reverb on a return track. Decay maybe 2 to 6 seconds, and low cut around 200 to 400 Hz so your low end stays clean.
Conciseness trick: don’t introduce full bass plus full drums plus full hook in the intro. Save impact. You want the listener to feel like the track levels up at the drop, not like it’s already fully there.
Step six: Drop 1. This is where we use the A, B, C, D blocks.
Instead of “writing” 32 bars, you’re going to sequence your blocks like this:
Bars 17 to 24: A
Bars 25 to 32: B
Bars 33 to 40: A
Bars 41 to 48: C, with the fill right at the end
Classic jungle moves you can do almost every time:
On bar 8 of each 8-bar phrase, do a quick fill or snare rush.
On bar 4, do a micro-mute or tiny edit.
Every 16 bars, swap a break layer or bring in a quiet extra percussion loop.
Now, automation that doesn’t clutter your timeline. Put one Auto Filter on the MUSIC group and automate little cutoff dips at the ends of phrases. It’s like punctuation. And put Utility on the BASS group and automate a quick gain drop to minus infinity for a quarter bar here and there. Those micro-mutes create excitement because the groove “breathes.”
Coach note: transitions should be audible, not complicated. One beat of silence. A snare flam. A crash plus bass cut. If the listener clearly hears “new phrase started,” you did your job.
Step seven: the breakdown or reset. Keep it 8 to 16 bars.
The breakdown has one job: make Drop 2 hit harder.
Pick one style.
You can do drumless for 4 to 8 bars with atmos and vocal.
You can do halftime drums.
Or a filtered break, which is very classic.
If you want that vinyl-tape-ish breakdown vibe using stock devices, automate a chain on the DRUMS group during the breakdown only: Auto Filter low-pass down to maybe 300 to 800 Hz. Then Redux very subtle, downsample a little, and keep it mostly dry. Then a short, dark reverb, like 1 to 2 seconds, with a high cut around 4 to 7 kHz.
And remember: jungle breakdowns often don’t overstay. If you’re vibing and you want to extend it, ask yourself, is it evolving? If not, keep it short.
Step eight: Drop 2. Heavier, not busier.
Drop 2 should feel like an escalation with one main change. Not five.
Here are good “one change” options:
Switch bass from sub to reese for 16 bars.
Add a darker stab call-and-response.
Introduce a third drum layer quietly, like rides or shuffles.
Or increase chop energy with slightly harder edits.
Here’s a great Ableton move: switch without adding new tracks. Put your bass in an Instrument Rack with two chains. Chain one is your sub. Chain two is your reese. Map Chain Selector to a Macro and automate the switch right at the start of Drop 2.
If you need a quick reese using stock synths: in Wavetable or Analog, use two saw waves slightly detuned. Low-pass filter with moderate drive. Then Saturator with Soft Clip. Then EQ Eight, and if it’s muddy, cut a bit around 200 to 400 Hz.
Optional advanced variation that’s still beginner friendly: controlled swing changes. Duplicate your break clip and use Groove Pool. One clip is straight, one is swung at like 20 to 35 percent. Use the swung version for just 8 bars in Drop 2. It reads as a new gear without new instruments.
Step nine: outro, 8 to 16 bars, DJ-useful.
Keep it clean and mixable. Reduce melodic content. Keep the drums rolling but pull the heavy bass down gradually. End with drums and atmos.
A simple outro automation: Utility on the BASS group, slowly reduce gain over 8 bars. Keep the breaks mostly intact so a DJ can blend out cleanly.
Before we wrap, quick common mistake check.
If your intro is 64 bars, it’s probably too long. Jungle is momentum.
If you add a new element every two bars, that’s clutter, not variation. Use edits more than layers.
If you ignore 8 and 16 bar phrases, your track will feel random even if each sound is cool.
If your break edits destroy the roll, pull back and keep a recognizable backbone.
And if the low end is mushy, high-pass your break layers and give your sub room to breathe.
Now, a quick mini exercise you can do in 20 to 30 minutes.
Make a clean 8-bar jungle loop: break, bass, one hook. Then create three variations: one with a kick removed for one bar, one with a fill at bar 8, and one with a swapped slice pattern for two bars.
Arrange it like this: 16-bar filtered intro, 32-bar Drop 1 using A, B, A, C, an 8-bar drumless breakdown, 32-bar Drop 2 using A, your swap variation, then A, then your fill, and an 8-bar outro.
Then export a rough bounce and listen away from the screen. If any section feels long, shorten it by 8 bars. That “shorten by design” method is how you keep jungle tight on purpose.
Final recap.
To keep old school jungle arrangements concise in Ableton: build one strong 8-bar core loop, create variation blocks before you arrange, think in 16 and 32 bar phrases with clear locators, use automation and racks to evolve without adding tracks, and keep breakdowns short so the drops hit hard.
If you tell me what your 8-bar loop is made of, which break, what bass type, and what your hook is, I can suggest a specific A through D or even A through F variation plan and a tight three-minute structure that fits your groove exactly.