Main tutorial
Lesson Overview
A junglist pad layer is one of the fastest ways to give a jungle or oldskool DnB track that 90s shadowy atmosphere without muddying the drums or killing the sub. In this lesson, you’ll build a dark, sampled pad texture in Ableton Live 12 that sits behind the break, supports the bassline, and gives the tune that “foggy warehouse at 2am” feeling.
This matters because in jungle and darker DnB, the pad is not just decoration — it’s a story device. It can frame the intro, keep the breakdown tense, and add emotional weight under a roller or amen pattern. The trick is making it feel sampled and era-appropriate: slightly gritty, filtered, chopped, and controlled so it doesn’t fight the kick, snare, or sub.
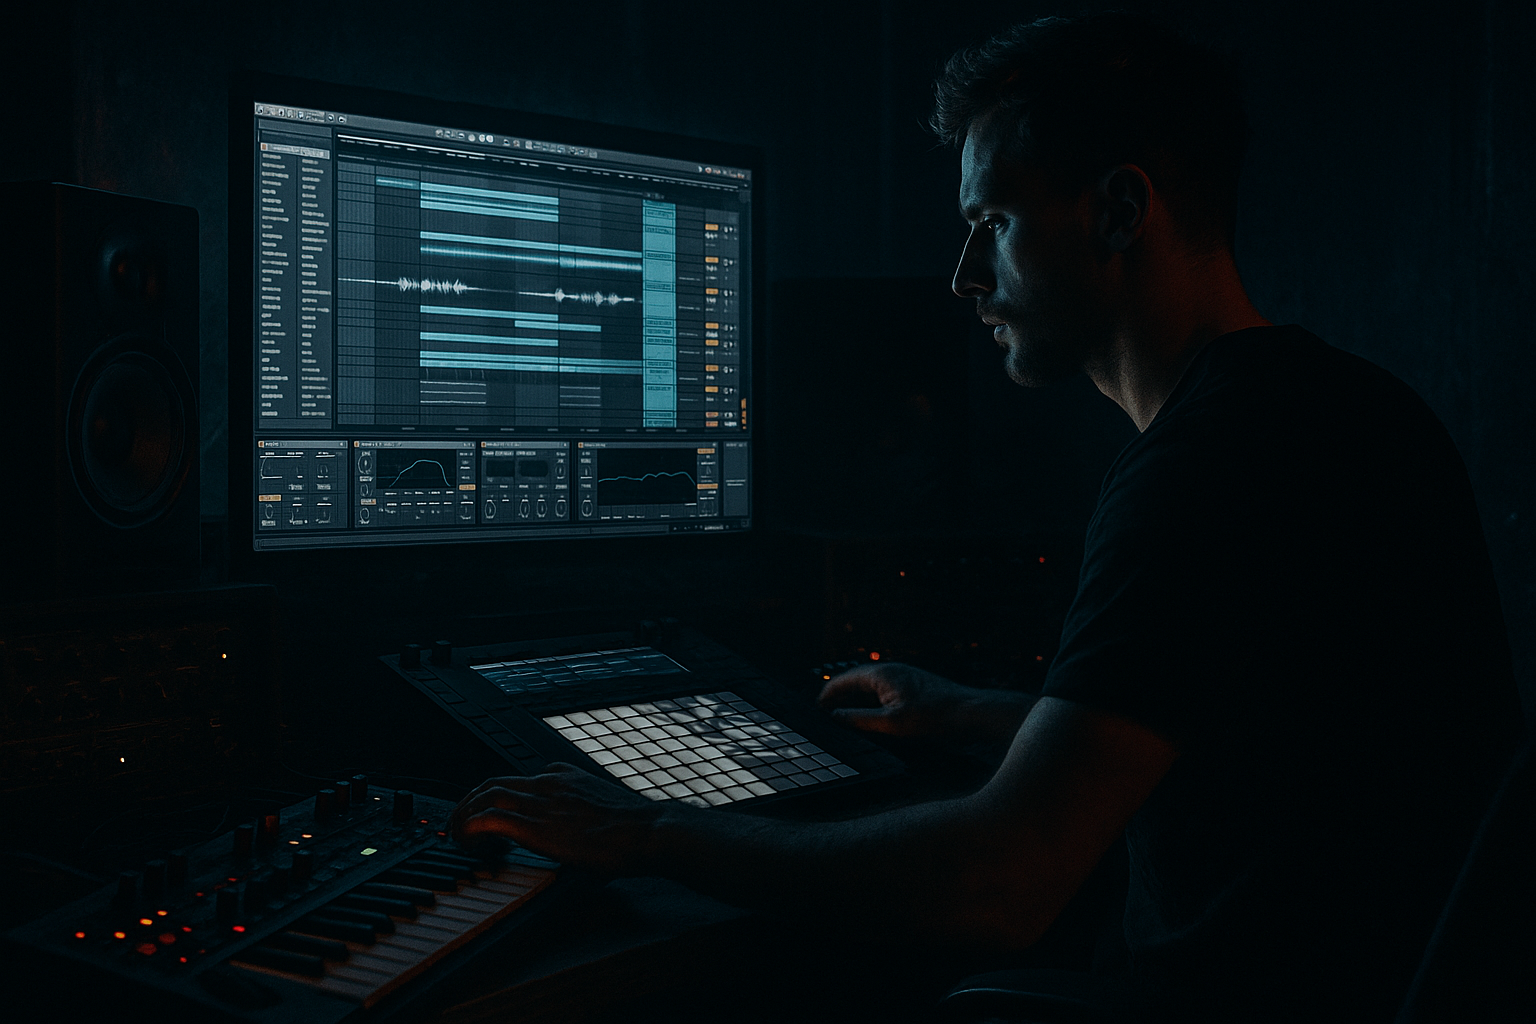
We’ll use an Ableton stock workflow centered on sampling: grabbing a short chord source, resampling it into a playable layer, shaping it with Simpler, Auto Filter, Saturator, Chorus-Ensemble, Reverb, Delay, EQ Eight, Utility, and Compression, and then arranging it like a real DnB support element. You’ll also learn where to automate movement so it feels alive without becoming obvious or cheesy.
Why this works in DnB: the dark pad fills the midrange space between the sub and the break, helping the tune feel wider and more immersive while still leaving the low end clean and punchy. In jungle especially, that “haunted sample bed” is part of the identity. 🎛️
What You Will Build
By the end, you’ll have a short, loopable dark pad layer that:
- plays a minor or modal chord fragment with a 90s jungle flavor
- sounds like it came from a sampled record or tape fragment
- has controlled low mids and stereo width
- can sit under amen breaks, Reese bass, or half-time switch-ups
- can be used in an intro, breakdown, or drop support layer
- can be automated for tension with filter motion, reverb swells, and mutes
- a detuned minor seventh / suspended cluster
- filtered and slightly unstable, like a sliced sample
- dark enough for oldskool jungle, but clean enough to survive modern DnB mix standards
- a DJ-friendly intro before the drums arrive
- a breakdown under vocal snippets
- a drop-layer reinforcement behind a roller bassline
- an ambient switch-up before a bass return
- Too much low end in the pad
- Pad is too lush and washes out the break
- Sample feels modern instead of oldskool
- The pad competes with the bassline
- Automation is too dramatic
- Forgetting mono compatibility
- Layer a second, very quiet pad an octave lower, but high-pass it harder
- Use a return track for dark ambience
- Print the pad through saturation before reverb
- Try a band-pass pad for tension
- Pair the pad with ghost percussion
- Use call-and-response with the bassline
- Resample after automation
- Don’t over-brighten the pad
- Build the pad from a sampled source for authentic jungle character.
- Keep the harmony dark, simple, and ambiguous.
- High-pass aggressively so the sub and drums stay clean.
- Add subtle saturation, filtered movement, and controlled reverb.
- Use automation to make the pad breathe without distracting from the groove.
- Resample and arrange it like a real DnB texture: intro, breakdown, support layer, switch-up.
Musically, think of a pad that feels like:
You’ll end with a pad that can work in:
Step-by-Step Walkthrough
1. Choose a source that already feels like a sample
Start with something that has instant character. For oldskool-inspired darkness, avoid pristine synth pads at first — pick a source that sounds like a record fragment, a chord stab, or an atmospheric sample.
Good options:
- a dusty chord sample from your own library
- a short section of a Rhodes, string hit, or orchestral stab
- a vinyl-style ambient loop you’ve chopped down
- a resampled synth chord you bounce yourself for extra control
Drag the audio into an audio track in Ableton Live 12. Then set the clip to a short region — usually 1/2 bar to 2 bars. The goal is not a full pad progression yet; it’s a textural bed.
If the source is too bright or too full-range, don’t worry. We’ll shape it.
2. Resample or chop it so it behaves like a jungle tool
For a more authentic sampled feel, drag the clip into Simpler on a MIDI track. Set Simpler to Classic mode if you want more sample-like behavior, or Slice mode if the source has rhythmic detail worth chopping.
Practical starting points:
- Classic mode: turn Warp off for a more raw sample feel if timing allows
- Start: trim so the most musical part begins immediately
- Fade: very small fades to avoid clicks
- Voices: set to 1 if you want a monophonic, tape-like pad movement, or 4–8 for thicker chords
- Transpose: lower by -2 to -7 semitones if you want a darker jungle register
If the source is a chord stab, create a MIDI clip and hold a note or two rather than playing full keyboard chords. Jungle pad layers often work best as short harmonic signatures, not lush cinematic progressions.
Why this works in DnB: sampled fragments feel more authentic than overproduced pads, and the slight imperfections help the layer sit naturally behind breakbeats instead of sounding pasted on top.
3. Shape the harmony for 90s darkness
Keep the harmony lean. Dark jungle pads often rely on minor, suspended, or ambiguous voicings rather than obvious pop chord progressions.
Try one of these approaches:
- Minor triad + add9 feel: for tension without full sweetness
- Minor 7 with omitted 5th: classic moody support
- Suspended 2 or 4 color: gives unresolved jungle energy
- Single note + harmony ghost: if the sample already contains movement
If you’re programming MIDI into Simpler or a sampler-based instrument, keep the notes in a low-mid range:
- root around F2–A2 for darker weight
- avoid stacking too low if your sub lives there
- if needed, layer an octave up very quietly for texture only
Musical context example: if your track is around 170 BPM in A minor, a pad holding A–G–E style tension over a 2-bar loop can create that classic “post-break, pre-drop” atmosphere without sounding too modern or glossy.
4. Clean the low end immediately with EQ Eight
Pad layers can wreck DnB low-end clarity fast, so cut early.
Add EQ Eight after Simpler.
Suggested starting moves:
- High-pass around 180–300 Hz
- use a slightly steeper slope if the source is muddy
- if the sample has boxiness, cut 250–500 Hz by 2–4 dB
- if it has brittle hiss, tame 6–10 kHz gently rather than over-brightening it
Don’t over-EQ into thinness. The goal is to remove the frequencies that compete with:
- sub
- kick fundamental
- snare body
- bassline low mids
In a jungle mix, the pad should feel like atmosphere in the midrange and upper mids, not a second bass instrument.
5. Add controlled grit with Saturator and filter movement
To make the pad feel like it belongs in 90s DnB, add subtle harmonic dirt.
Add Saturator:
- Drive: start around 1–4 dB
- Soft Clip: On
- Output: trim to match level
Then add Auto Filter after or before Saturator depending on the tone you want:
- mode: Low-pass or Band-pass
- cutoff: start around 1.5–6 kHz, then automate
- resonance: keep modest, around 0.3–1.0
- envelope: optional, only if you want a little pluck
Suggested workflow:
- automate the cutoff opening slightly in build sections
- close it down during sparse intro bars for a murkier vibe
- make small moves, not dramatic sweeps
If you want a more sampled, degraded edge, lightly under-saturate rather than over-distort. You want “worn tape,” not obvious clipping.
6. Widen the texture without widening the low end
Use stereo carefully. DnB needs a strong mono core, especially when drums and sub are hard-hitting.
Add Chorus-Ensemble or a subtle Utility + width treatment:
- Chorus-Ensemble: very light mix, slow rate
- keep the effect subtle enough that the pad just blooms around the center
- use Utility to check mono compatibility
- if the sample is naturally wide, consider narrowing with Utility so it doesn’t compete with hats and FX
A solid chain is:
- EQ Eight
- Saturator
- Chorus-Ensemble
- Reverb
Keep the stereo widening focused above the low mids. If the pad gets too wide, it will blur the break energy and make the tune feel softer than intended.
7. Give it depth with Reverb and a controlled delay tail
Add Reverb for space, but make it dark and practical.
Reverb starting point:
- Decay Time: 1.2–3.5 s
- Pre-Delay: 10–30 ms
- Low Cut: around 200–400 Hz
- High Cut: around 4–8 kHz
- Dry/Wet: usually 10–25% on an insert, or use a return track
For cleaner workflow, send the pad to a Return track with reverb on it. That way you can automate the send amount in different sections.
Add a subtle Delay if the source wants rhythmic ghosts:
- ping-pong or simple delay
- very low feedback, roughly 10–25%
- filtered delay is best: cut lows and highs so it doesn’t clutter
Why this works in DnB: the reverb and delay create atmosphere around the break, but the filtering stops the tail from smearing the kick/snare transients. The groove stays sharp, the space stays dark.
8. Make it move with automation instead of new notes
Jungle pads often feel alive because of automation, not because they’re complex.
Automate one or two of these:
- Auto Filter cutoff
- Reverb send amount
- Saturator drive for climactic bars
- Simpler start position for slight sample drift
- Utility gain for tension dips before a drop
Good arrangement moves:
- in an 8-bar intro, slowly open the filter from darker to slightly brighter
- in the 2 bars before the drop, reduce the pad level by 1–3 dB to make the drop feel bigger
- on a switch-up, cut the pad for half a bar, then bring it back filtered and wider
Keep automation musical and understated. The pad should feel like it’s breathing with the track, not wobbling for attention.
9. Lock it into the drum-and-bass arrangement
Place the pad like a support element, not a lead.
Strong arrangement placements:
- Intro: filtered pad alone, then with distant break hits
- First drop: lower pad level, just enough to glue the midrange
- Breakdown: full pad + vocal chop + FX, then strip back for impact
- Second drop: slightly darker or more degraded version for progression
In a 170 BPM jungle tune, a classic structure could be:
- 16 bars intro
- 16 bars first drop with the pad tucked low
- 8-bar breakdown where the pad becomes more exposed
- second drop with the pad subtly different, perhaps more saturated or more filtered
If the track has a rolling bassline, keep the pad more active in the breakdown and thinner in the main drop. If the track is more atmospheric or neuro-tinged, the pad can remain as a constant tension bed, but still under control.
10. Bounce a resampled version for faster finishing
Once it’s working, resample the pad to audio. This is especially useful in sampling-driven jungle workflows.
Benefits:
- you commit to the character
- you can edit fades and clip regions faster
- you can create reverse hits, stutters, and drop-ins
- you reduce CPU and keep the session cleaner
Try these audio edits:
- reverse the tail into a transition
- slice a 1-bar pad into quarter-note hits
- create a short swell into a snare fill
- duplicate the pad and low-pass one version more heavily for the intro
This is a very DnB move: once the texture is “printed,” it becomes part of the arrangement language rather than a floating MIDI idea.
Common Mistakes
- Fix: high-pass more aggressively, often 200–300 Hz or higher if needed.
- Fix: shorten the reverb, reduce stereo width, and automate the level down in busy sections.
- Fix: add mild Saturator, reduce pristine high end, and use a more chopped/resampled workflow.
- Fix: carve the 200–600 Hz zone, and keep the pad’s sustain shorter in the drop.
- Fix: use smaller moves. In DnB, subtlety often sounds heavier than obvious sweeps.
- Fix: check with Utility in mono. If the pad disappears, reduce width or simplify the chorus/reverb settings.
Pro Tips for Darker / Heavier DnB
- This gives body without stealing sub space.
- Put Reverb or Delay on a send so you can feed multiple sampled elements into the same space. This helps the track feel like one cohesive room.
- Saturation before reverb creates a more worn, sampled halo. This often sounds more authentic than a clean pad with huge reverb.
- A narrow band-pass around the midrange can make the layer feel eerie and “radio-distant,” which is excellent in intros and breakdowns.
- A faint conga, shaker, or reversed break texture tucked underneath can make the whole atmosphere feel more rhythmic and jungle-authentic.
- Let the pad bloom in spaces where the bassline drops out. That makes the arrangement feel intentional and gives the low-end hits more impact.
- If you automate the filter and reverb tastefully, bounce it. Then cut and rearrange the printed audio for more organic variations.
- Dark DnB usually benefits more from tension than shimmer. If you need presence, add a little upper-mid bite, not glossy highs.
Mini Practice Exercise
Spend 15 minutes making a jungle pad layer from scratch:
1. Choose one sampled chord or atmospheric audio clip.
2. Load it into Simpler and make a 1- or 2-bar loop.
3. High-pass with EQ Eight and remove muddy low mids.
4. Add light Saturator drive and a gentle Auto Filter.
5. Send it to a dark Reverb return.
6. Automate the filter cutoff across 8 bars.
7. Resample the result to audio.
8. Slice the bounced pad into two variations:
- one for the intro
- one for the breakdown or second drop
Goal: create a pad that sounds like it belongs under an amen break and a Reese bassline, not a cinematic ambient track.
If you have extra time, mute the pad and ask: does the drum/bass groove still feel stronger? If yes, the layer is doing its job.

