Main tutorial
Lesson Overview
This lesson is about taking a Junglist jungle sub and making it feel wide, alive, and arrangement-ready inside Ableton Live 12 without wrecking the low end. In DnB, the sub is not just “bass” — it’s the spine of the track. It has to hit hard in the drop, stay controlled in mono, and leave space for the drums, but it also needs enough movement and personality to carry a section from one phrase to the next.
We’re focusing on a very practical jungle/DnB workflow:
- a tight mono sub layer for pressure
- a wider mid-bass / reese layer for stereo energy
- drum arrangement choices that make the sub feel bigger by contrast
- automation and editing to keep the bassline engaging across 16- or 32-bar phrases
- a solid mono sub holding the root notes with controlled envelope shape
- a slightly wider, mid-focused bass layer that adds grit, stereo motion, and call-and-response feel
- a drum arrangement with a classic DnB phrase structure: intro, first drop, switch-up, and 16-bar development
- a few automated moments that make the bassline feel like it evolves with the drums
- Making the sub stereo
- Overprocessing the bass
- Letting the bass fight the snare
- Using too much reverb on low-end material
- Flat 8-bar loops
- Ignoring mono checks
- Too many bass notes
- Use Saturator in soft clipping style to add density without obvious distortion. Try Drive 2–5 dB and keep the output controlled.
- Add a tiny bit of Frequency Shifter to the mid layer for unsettling movement, but keep it subtle so the tune doesn’t lose tuning stability.
- For darker character, automate an Auto Filter band-pass sweep on the mid bass during fills, then slam back to full range on the drop.
- Use ghost notes in the break to imply bass movement. Sometimes the drums can make the bass feel heavier than adding more notes.
- On the drum bus, a touch of Drum Buss can bring the break forward. Keep Drive moderate and use the Boom control carefully so it doesn’t cloud the sub.
- If you want a more neuro-influenced edge, layer a very controlled mid-bass harmonic and automate a small amount of wavetable position or filter cutoff across the phrase.
- For underground weight, prioritize contrast: dry and close in the drop, then a quick wash or delay in the transition. Too much constant FX makes the tune feel smaller, not bigger.
- Keep the sub mono, clean, and rhythmically intentional.
- Build width with a separate mid-bass layer, not by widening the sub.
- Let the breaks and ghost notes create motion around the bass.
- Arrange in 4-bar and 8-bar phrases so the tune evolves naturally.
- Use Ableton stock devices like Operator, Wavetable, EQ Eight, Saturator, Compressor, Utility, Drum Buss, and Auto Filter to keep the workflow fast and focused.
- Always check mono compatibility, low-end balance, and phrase tension before moving on.
Why this matters: in jungle and darker DnB, the bassline often works like a conversation with the drums. If the sub is too static, the groove flattens. If the stereo image is too wide in the wrong area, the tune collapses in clubs and on mono systems. This lesson shows how to build width without losing impact, and how to arrange it so the sub feels intentional in the track, not just looped underneath.
What You Will Build
You’ll build a 2-part jungle bass setup in Ableton Live 12:
Musically, the result is the kind of bass movement you’d hear in a rollers/jungle hybrid: think sparse but heavy, with enough space for chopped breaks, ghost notes, and fills. The bass won’t just sit there; it will push and answer the drums, especially across the 4-bar and 8-bar phrases.
Step-by-Step Walkthrough
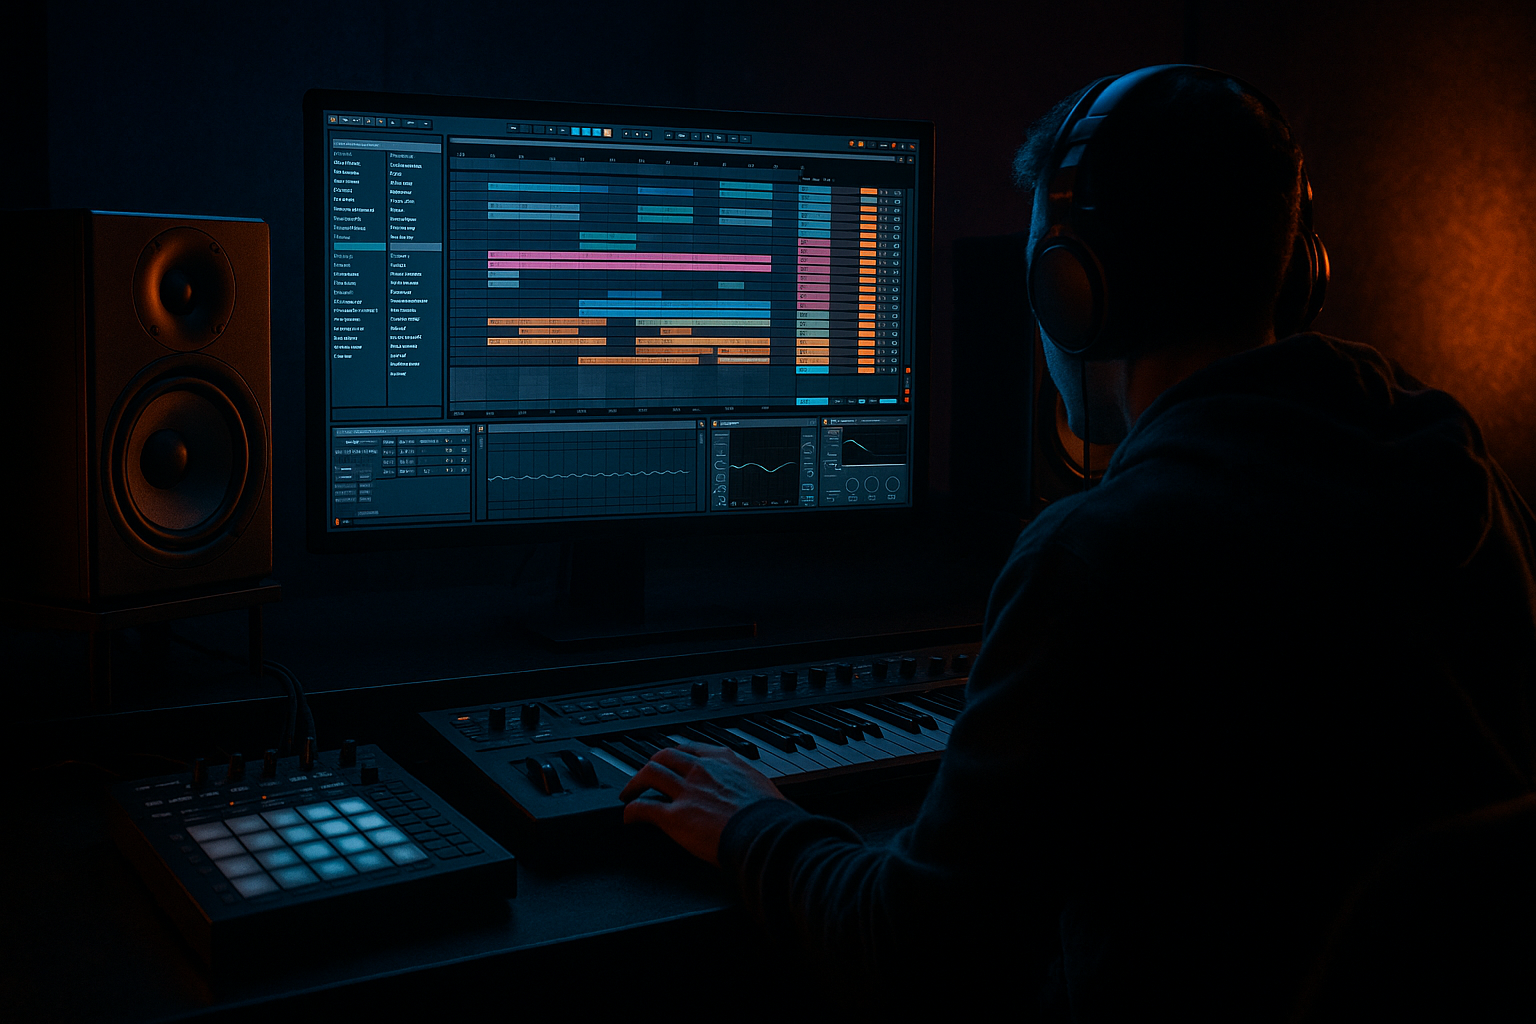
1. Set up a clean drum/bass routing foundation
Start with a new Live set and build a simple routing structure before sound design. Create:
- one MIDI track for Sub
- one MIDI track for Bass Mid / Reese
- one Drum Rack or audio track for Breaks
- one audio track for Top percussion / FX
Route the Sub and Bass Mid to a Bass Group, and the drum tracks to a Drum Group. This makes it much easier to shape the low-end balance later.
On the Bass Group, add:
- EQ Eight first, for cleanup
- Compressor or Glue Compressor later for gentle control
- optionally Saturator for subtle density
Keep the master peaking around -6 dB headroom while building. That’s enough room for DnB drums to hit later without clipping the mix.
Why this works in DnB: low-end management is everything. If your bass group is organized from the start, you can make bigger creative decisions faster, and the drums will have a cleaner pocket to sit in.
2. Program a sub line that supports the break, not fights it
On the Sub track, load Operator or Wavetable and keep it simple:
- waveform: sine or very clean triangle-like tone
- mono mode: on
- glide/portamento: small amount, around 20–60 ms if you want slides
- short amp envelope: attack 0–5 ms, decay short, release 40–120 ms depending on note length
Write a bassline that follows the root notes of your drum phrase, but avoid overplaying. A strong jungle sub often uses:
- long notes under the first half of the bar
- short pickups before snare hits
- occasional octave movement or syncopated jumps for tension
Keep the notes mostly below C2 if you want authentic sub weight. For a darker feel, try movement around F1–C2 depending on your key.
Use MIDI note length deliberately:
- long notes for pressure
- shorter notes for dancefloor bounce
- a few rests to let the break breathe
The key idea: the sub should act like a second kick/snare layer, not a busy melody.
3. Create a wider mid-bass layer with controlled stereo
On the Bass Mid track, make a more animated layer using Wavetable, Analog, or Operator with a harmonically richer sound:
- a detuned saw or square-based patch
- add Unison or mild detune in Wavetable
- filter slightly to keep the harsh top under control
Process this layer with stock Ableton devices:
- Saturator: Drive around 2–6 dB
- Auto Filter: low-pass or band-pass to shape aggression
- Chorus-Ensemble: very subtle width, mix around 10–25%
- Utility: reduce Width if it gets too unstable, or keep it wide above the sub region only
Important: high-pass this layer with EQ Eight around 90–140 Hz, depending on the sound. The sub should stay mono and clean; the mid layer gives the stereo image and movement.
This is the classic DnB separation trick: one layer gives you foundation, the other gives you character. Together, they feel big without turning the sub itself into a stereo mess.
4. Add movement with subtle modulation, not constant chaos
In jungle and rollers, movement often comes from small automation shifts rather than nonstop FX.
Try automating these on the Bass Mid layer:
- Filter cutoff: open slightly on phrase endings
- Saturator drive: increase by 1–3 dB before a drop or switch-up
- Auto Pan: use it sparingly for high-mid motion, with very slow rates if needed
- Reverb send: short bursts only, usually on transitional notes or stabs
Good starting settings:
- Auto Filter resonance: keep moderate; too much resonance can make the bass whistle
- Chorus-Ensemble: low depth, low mix, just enough to widen the upper harmonics
- Reverb on a return track: short decay, filtered low end removed, used as a momentary effect rather than a wash
Automation idea: on bar 8 or 16 of a phrase, automate the bass filter open by a small amount, then snap it back for the next section. That “breath” gives the drop evolution without changing the core pattern.
5. Shape the drum/bass relationship with break edits
Now bring in your breakbeat. In Live 12, either:
- slice the break into Simpler and rearrange hits
- or use the original audio with Warp and manually edit transients
For an intermediate jungle workflow, chop the break into sections and build a call-and-response groove:
- kick-heavy hit on beat 1
- snare on beat 2 and 4
- ghost notes and hat flicks around the bass gaps
- a small fill or reverse hit at the end of every 4 bars
If your break is muddy, use:
- EQ Eight to reduce low rumble around 100–250 Hz
- Transient shaping via clip gain or careful slicing
- Gate if the tail is too messy, but keep it natural
A strong jungle arrangement often uses the break to create the illusion that the bass is wider and bigger than it really is. When the drums dance around the bassline, the whole groove feels more energetic.
Place your kick/snare hits so the sub doesn’t constantly collide with them. If your bass note lands directly on a snare, make sure the note is shorter or lower in level.
6. Use sidechain and volume shaping with intent
Add Compressor on the Bass Group and sidechain it to the main drum bus or kick/snare depending on the groove. For DnB, you usually want just enough ducking to let the transients through, not the exaggerated pumping of house music.
Starting points:
- Attack: 1–10 ms
- Release: 40–120 ms
- Ratio: 2:1 to 4:1
- aim for gentle gain reduction, not obvious volume swells
If the bass is still too long, use Utility and automate gain instead of crushing it with compression.
You can also use Volume automation on the bass MIDI clip:
- slightly lower sustained notes under dense break sections
- raise the bass 1–2 dB on empty moments
- dip the bass just before a snare fill so the fill feels more explosive
This is a very DnB-friendly move because the drums in jungle often need priority. The bass should feel powerful, but it should yield when the break is doing the talking.
7. Arrange the bass in 4-bar and 8-bar phrases
DnB listeners expect movement by phrase, not just by bar. Arrange your bassline so that it evolves every 4 bars, with a bigger event every 8 or 16 bars.
A practical structure:
- Bars 1–8: introduce the groove with a stripped-down bassline
- Bars 9–16: add a variation, extra note, or slide
- Bars 17–24: bring in a fill or widened mid-bass accent
- Bars 25–32: switch the rhythm or remove a layer for tension
Use duplicate and edit rather than inventing a new bassline every time. Keep the core motif, then change:
- one note length
- one octave jump
- one rest
- one filter automation point
Musical context example: in a jungle/rollers hybrid, you might keep the sub steady for 8 bars while the break gets busier, then on bar 9 add a reese accent before the snare. That gives the feeling of lift without needing a full breakdown.
8. Add tension/release moments with resampling and fills
Once the core loop works, resample the bass or drum+bass combo into audio so you can create fills and switch-ups quickly.
In Ableton:
- route the bass group to a new audio track
- record a few bars
- chop the audio into short response hits
- reverse small sections or move a note pickup ahead of the beat
Useful stock tools:
- Simpler for re-triggering a resampled stab
- Reverse on audio clips for transition hits
- Reverb return for end-of-phrase tails
- Echo very lightly on a send for a dubby jungle moment if it suits the track
Use this resampling approach to create a switch-up bar every 8 or 16 bars. A sudden bass stab, reversed tail, or filtered break fill can make the arrangement feel much more finished.
9. Check mono compatibility and low-end separation
Before calling the bass “wide,” verify that the important part is still mono-safe.
On your Bass Group:
- put Utility last
- toggle Mono to check the core compatibility
- reduce Width temporarily and listen for phase issues
- compare the bass with and without the mid layer
Make sure:
- the sub layer stays mono
- the wide layer loses only the stereo sheen, not the whole sound
- the drums still punch when summed to mono
If the bass disappears in mono, reduce stereo effects on the mid layer and keep the widening above the low end. In DnB, wide is good, but stable low-end is non-negotiable.
10. Refine the final drum/bass balance with small mix moves
Once the arrangement is in place, do a final pass:
- use EQ Eight to carve a small notch in the bass if it masks the snare body
- tame harshness in the mid-bass around 2.5–5 kHz if needed
- give the snare and break enough bite so they stay in front of the bass
- use gentle Glue Compressor on the Drum Group if the break feels too spiky
The final target is a track where:
- the sub is felt more than heard
- the mid-bass gives motion and width
- the drums feel punchy and alive
- every 4 or 8 bars has a clear event
If it feels exciting at low volume, you’re close. If it only works when loud, the arrangement or balance probably needs more contrast.
Common Mistakes
- Fix: keep the sub mono and widen only the higher bass layer.
- Fix: use a few purposeful devices instead of stacking saturation, chorus, and reverb all at once.
- Fix: shorten notes, sidechain lightly, or move bass accents away from the strongest snare moments.
- Fix: keep reverb for transitions and higher harmonics only, usually on sends with low cut.
- Fix: change one element every 4 bars and make a stronger variation every 8 or 16 bars.
- Fix: regularly collapse the mix to mono with Utility and confirm the sub still translates.
- Fix: leave space. Jungle and rollers hit harder when the groove breathes.
Pro Tips for Darker / Heavier DnB
Mini Practice Exercise
Spend 15 minutes building a one-drop jungle phrase:
1. Create a 4-bar sub line in Operator using only 3–5 notes.
2. Duplicate it to 8 bars and make one note shorter, one note lower, and one pickup note on the last beat.
3. Add a mid-bass layer with Wavetable, high-pass it at around 110 Hz, and add Saturator plus a touch of Chorus-Ensemble.
4. Chop a break in Simpler or on an audio track and make it answer the bassline.
5. Automate the bass filter to open slightly in bar 8.
6. Duplicate to 16 bars and add one fill or reverse hit at the end of bar 16.
7. Toggle Utility mono on the bass group and check whether the groove still feels strong.
Goal: by the end, you should have a loop that feels like a real DnB section, not just a bass pattern under a break.

