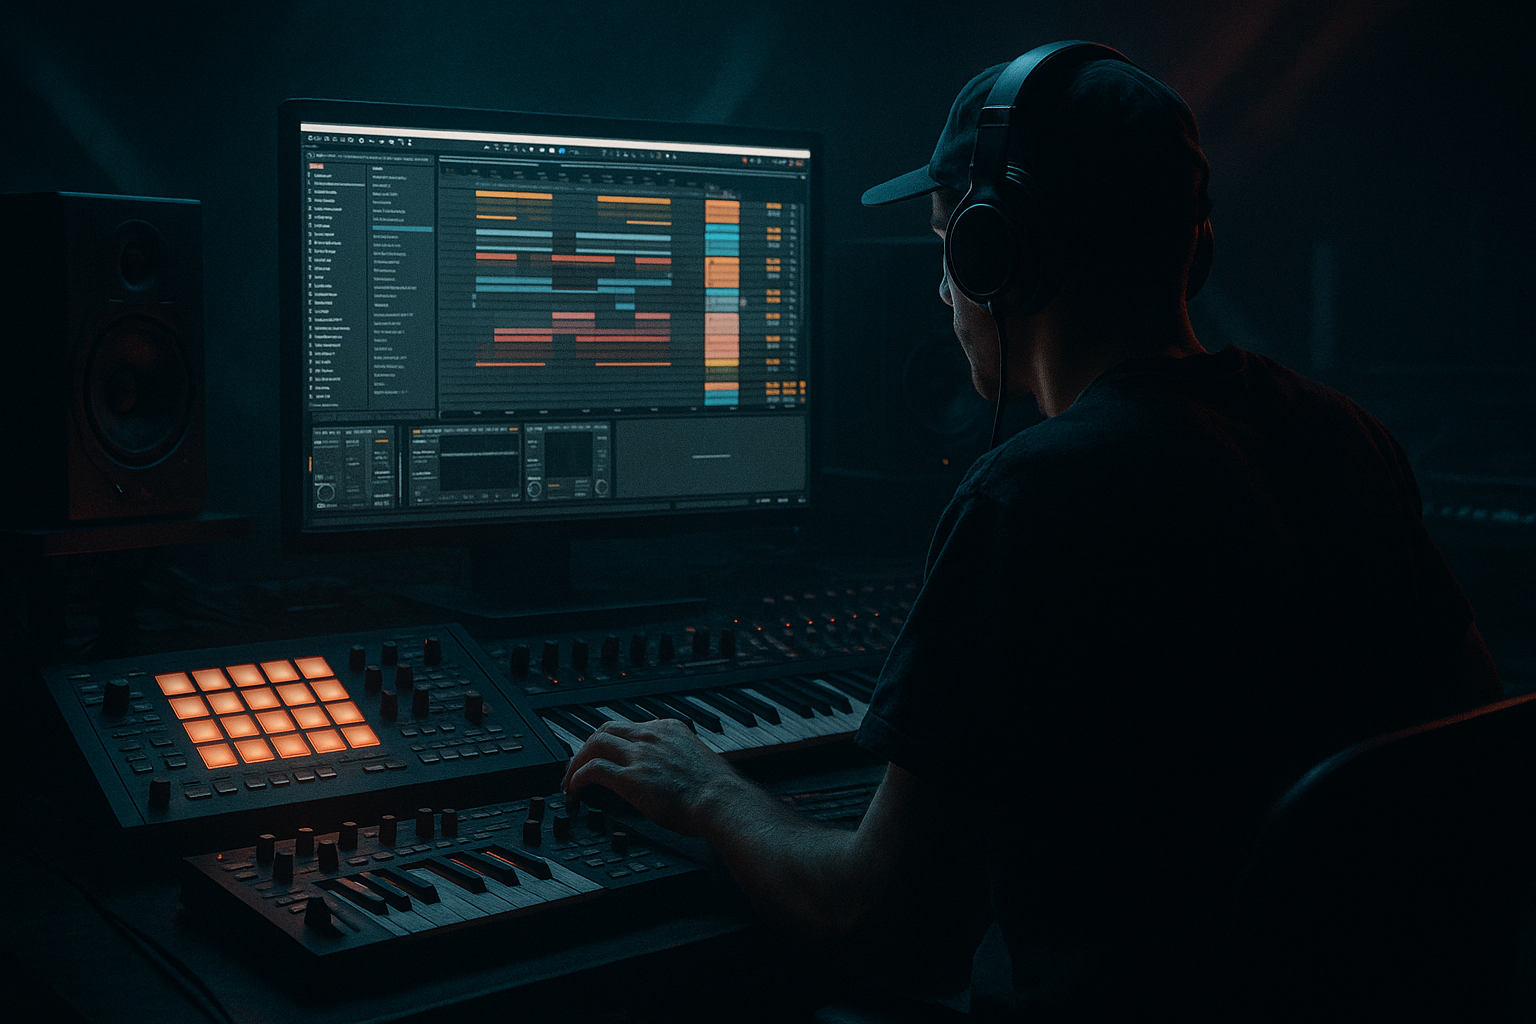
Main tutorial
Junglist Bass Wobble Sequence Method (Crisp Transients + Dusty Mids) in Ableton Live 12
Intermediate • Automation-focused • Oldskool jungle / rolling DnB vibes 🔥
---
1. Lesson overview
You’re going to build a jungle-inspired wobble bass sequence that has:
- Crisp transients (the “pluck” that cuts through breaks)
- Dusty mids (that sampled/analog grime)
- Automated movement (wobble rhythms that lock to the groove)
- Clip-based automation for rhythmic wobble patterns (1/8, 1/16, triplets, swingy variations)
- Macro control so you can perform the wobble intensity live 🎛️
- Arrangement moves: call/response, fills, and energy ramps across 16–32 bars.
- Drop a short vinyl click / rim / tiny foley into Simpler and tune it to match the bass note. Keep it subtle.
- Closed: 150–300 Hz (muffled, weighty)
- Open: 800 Hz – 2.5 kHz (talking range)
- Jungle sweet spot often lives around 500 Hz – 1.5 kHz (dusty + vocal)
- Bars 1–9 (intro): break + filtered bass (low cutoff, less dust)
- Bars 9–17 (drop A): full wobble automation, add ATTACK layer
- Bars 17–25 (variation): change wobble rhythm (triplet fill bar 24)
- Bars 25–33 (drop B): more open cutoff + more Roar mix + extra reese-ish mid (optional)
- Increase Macro 1 (Cutoff) slightly every 8 bars
- Add Macro 3 (Dust) in the second drop for grit escalation
- Add controlled reese width (only in highs):
- Resample for “hardware” vibe:
- Darker wobble without losing clarity:
- Pitch dips for menace:
- You built a 3-layer junglist wobble bass rack: clean SUB, moving MID, crisp ATTACK.
- You used clip automation (not just LFO wobble) to create rhythmic patterns that lock to breaks.
- You shaped “dusty mids” with Roar/Saturator + EQ Eight, and kept low end tight with mono sub discipline.
- You added arrangement energy using macro automation and pattern variation across 16–32 bars.
The key idea: Split your bass into layers and automate movement in the mid layer while keeping the sub stable and clean. This is how you get that classic “wobble speaks but the low-end stays solid” DnB foundation. 💪
---
2. What you will build
A 3-layer bass rack:
1) SUB layer (clean sine/triangle, mono, minimal movement)
2) MID layer (wobble filter + saturation + “dust”)
3) ATTACK layer (short transient click/pluck for definition)
Plus:
---
3. Step-by-step walkthrough
Step 0 — Session setup (so it feels like jungle)
1. Set tempo to 165–172 BPM (try 170 BPM).
2. Drop a classic break (Amen / Think / any tight break) onto an audio track.
3. Add Groove:
- Open Groove Pool
- Try MPC 16 Swing 55–60 (start around 57)
- Apply groove to your break and later to your bass MIDI (subtle, not extreme)
This makes your wobble rhythm “sit” like real jungle rather than robotic.
---
Step 1 — Create the bass track + make a 3-layer rack
1. Create a MIDI Track named BASS.
2. Load Instrument Rack (from Instruments).
3. Create 3 chains: `SUB`, `MID`, `ATTACK`.
We’ll build each chain using stock devices.
---
Step 2 — SUB chain (clean + stable)
Goal: big consistent low end with almost no wobble.
1. On `SUB` chain, add Operator.
2. Operator settings (good starting point):
- Algorithm: A only
- Osc A: Sine (or Triangle if you want a bit more harmonics)
- Envelope:
- Attack: 0–5 ms
- Decay: 300–600 ms
- Sustain: -inf (or low)
- Release: 80–150 ms
3. Add EQ Eight after Operator:
- Low-pass around 120 Hz (24 dB slope)
- Optional small dip if it’s boomy (often 50–70 Hz depending on key)
4. Add Utility:
- Bass Mono: ON
- Width: 0% (keep it locked)
✅ Result: sub that behaves like a proper DnB foundation.
---
Step 3 — MID chain (wobble + dusty character)
Goal: the speaking wobble lives here; it can move a lot without wrecking the sub.
1. Add Wavetable (or Operator if you prefer). Wavetable is great for controllable harmonics.
2. Wavetable starting point:
- Osc 1: Basic Shapes
- Position: around 40–60% (more harmonics than sine)
- Unison: Off (keep it controlled; we’ll add width later if needed)
3. Add Auto Filter after Wavetable:
- Filter type: Lowpass (LP24) for classic wobble weight
- Drive: 2–6 dB (adds bite)
- Resonance: 10–25% (don’t overdo unless you want a whistle)
- Envelope amount: 0 (we’ll automate the cutoff instead)
4. Add Saturator:
- Mode: Analog Clip
- Drive: 3–8 dB
- Soft Clip: ON
5. Add Roar (for dusty mids):
- Mode: try Tape or Tube
- Drive: small to moderate (start 10–20%)
- Tone/EQ: tilt slightly darker if it gets harsh
- Mix: 30–60% (parallel dirt is your friend)
6. Add EQ Eight (critical):
- High-pass around 110–150 Hz (keep sub separate)
- Shape mids: often a gentle lift around 300–800 Hz if you want more “wood/box”
- Tame harshness: small notch around 2–4 kHz if needed
✅ Result: a gritty wobble mid with that “dusty” jungle chew.
---
Step 4 — ATTACK chain (crisp transient layer)
Goal: little “tick”/pluck so the bass cuts through breaks without needing tons of top-end EQ.
Option A (fast, clean): Operator click
1. Add Operator on `ATTACK`.
2. Use a short click-like sound:
- Osc A: Sine or Triangle
- Pitch: try +12 to +24 semitones (higher than sub)
- Amp Envelope:
- Attack: 0 ms
- Decay: 20–60 ms
- Sustain: -inf
- Release: 10–30 ms
3. Add Saturator:
- Drive: 2–6 dB
4. Add EQ Eight:
- High-pass at 300–600 Hz
- Optional small boost around 2–5 kHz (tiny, just presence)
Option B (more oldskool): Simpler transient
✅ Result: the bass feels “fast” and readable like classic jungle records. ⚡
---
Step 5 — Glue the layers inside the rack (macros + balancing)
1. In the Instrument Rack:
- Set initial chain volumes:
- SUB: 0 dB
- MID: -6 to -12 dB
- ATTACK: -12 to -18 dB
2. Map key parameters to Macros:
- Macro 1: Wobble Cutoff → Auto Filter Frequency (MID)
- Macro 2: Wobble Drive → Auto Filter Drive (MID) or Saturator Drive
- Macro 3: Dust → Roar Mix
- Macro 4: Attack Level → Chain volume (ATTACK)
This gives you performance control without hunting through devices. 🎛️
---
Step 6 — Write a junglist bassline MIDI (notes + rhythm)
1. Create a 1-bar or 2-bar MIDI clip on the BASS track.
2. Choose a jungle-friendly key (example: F minor or G minor).
3. Start with simple roots + octave movement:
- Bar 1 example (F minor): F1 – F1 – Eb1 – F1
- Keep notes fairly short (1/8-ish) so there’s space for the break
4. Add groove:
- Apply the same Groove (from your break) to the bass clip at 20–40% strength.
---
Step 7 — The wobble sequence method (clip automation that locks to jungle)
Here’s the core: Automate the MID filter cutoff rhythmically while the sub stays steady.
1. Open the MIDI clip → go to Envelopes.
2. Choose:
- Device: Auto Filter (on MID chain)
- Parameter: Frequency
3. Draw a wobble pattern:
- Use break-like rhythms: 1/8 + 1/16 pushes, occasional triplets
- Try a 1-bar pattern like:
- Beat 1: open (higher cutoff)
- Beat 2: close (lower)
- Beat 3: open with a quick dip (creates “wa-uh”)
- Beat 4: stutter two quick opens (1/16)
Practical numbers (starting points):
4. Make it swing:
- Nudge a couple automation points slightly late (especially on offbeats)
- Or rely on groove + draw automation with slight timing imperfections
✅ This is the oldskool trick: wobble movement that feels like it’s “playing the break,” not just LFO wobbling.
---
Step 8 — Crisp transients: sidechain the MID to the break (optional but very effective)
To keep the bass punchy without smashing it:
1. Add Compressor on the MID chain (after saturation).
2. Enable Sidechain.
3. Input: your Break track.
4. Settings:
- Ratio: 2:1 to 4:1
- Attack: 15–30 ms (lets the transient speak)
- Release: 60–140 ms (bounce back in time)
- Threshold: adjust until you get 2–5 dB gain reduction on kick/snare moments
This keeps your bass movement but makes space for break transients. 🥁
---
Step 9 — Arrangement moves (make it feel like a record)
Try a simple 32-bar structure:
Easy automation lanes:
Classic jungle tension is often “same bass, smarter movement.” 🔁
---
4. Common mistakes
1. Wobbling the sub
If your sub is moving heavily, your low-end will feel weak and inconsistent on big systems.
2. Too much resonance on the filter
Resonance can scream in the 1–3 kHz range and fight snare brightness.
3. Over-saturating the mid without EQ cleanup
Dirt creates harsh harmonics—always follow with EQ Eight shaping.
4. Attack layer too loud
If your click is obvious, it becomes annoying fast. It should be felt more than heard.
5. Automation too perfect
Jungle thrives on slightly human movement. Use groove, nudges, and imperfect curves.
---
5. Pro tips for darker/heavier DnB 🌑
On the MID chain, add Utility at the end:
- Bass Mono: ON (or just ensure below ~150 Hz is mono)
- Width: 120–160% (but keep an ear on phase)
- Even better: use EQ Eight Mid/Side and widen only above 300–500 Hz
Freeze/Flatten the BASS track or record it to audio, then:
- Add Redux lightly (downsample small amount)
- Add Drum Bus (Drive 5–15%, Crunch subtle)
- Chop/retrigger phrases like you would with sampled bass hits
Instead of opening cutoff super high, open it to ~1 kHz, then add presence with the ATTACK layer. This keeps it moody but readable.
Automate a tiny pitch drop on the MID (or whole rack) at phrase ends:
- -10 to -30 cents or -1 semitone quick fall
Creates that “tape sag / system drag” feel.
---
6. Mini practice exercise (15–20 minutes) 🎯
1. Make a 2-bar bass MIDI clip in G minor with 4–6 notes.
2. Create two different cutoff automation patterns:
- Pattern A: mostly 1/8 movement
- Pattern B: includes a triplet wobble fill at the end of bar 2
3. Arrange:
- Bars 1–8: A
- Bars 9–16: B
4. Record yourself performing Macros:
- Record automation for Dust (Roar mix) and Attack Level over 16 bars
Keep it musical—bring dust up in the second 8 bars.
Deliverable: a 16-bar loop that evolves without changing the notes much (very jungle). ✅
---
7. Recap
If you want, tell me the vibe you’re aiming for (e.g., 1994 ragga jungle, dark roller, techstep-ish) and what key/BPM you’re in—I can suggest a specific wobble automation rhythm and device settings tailored to that style.

