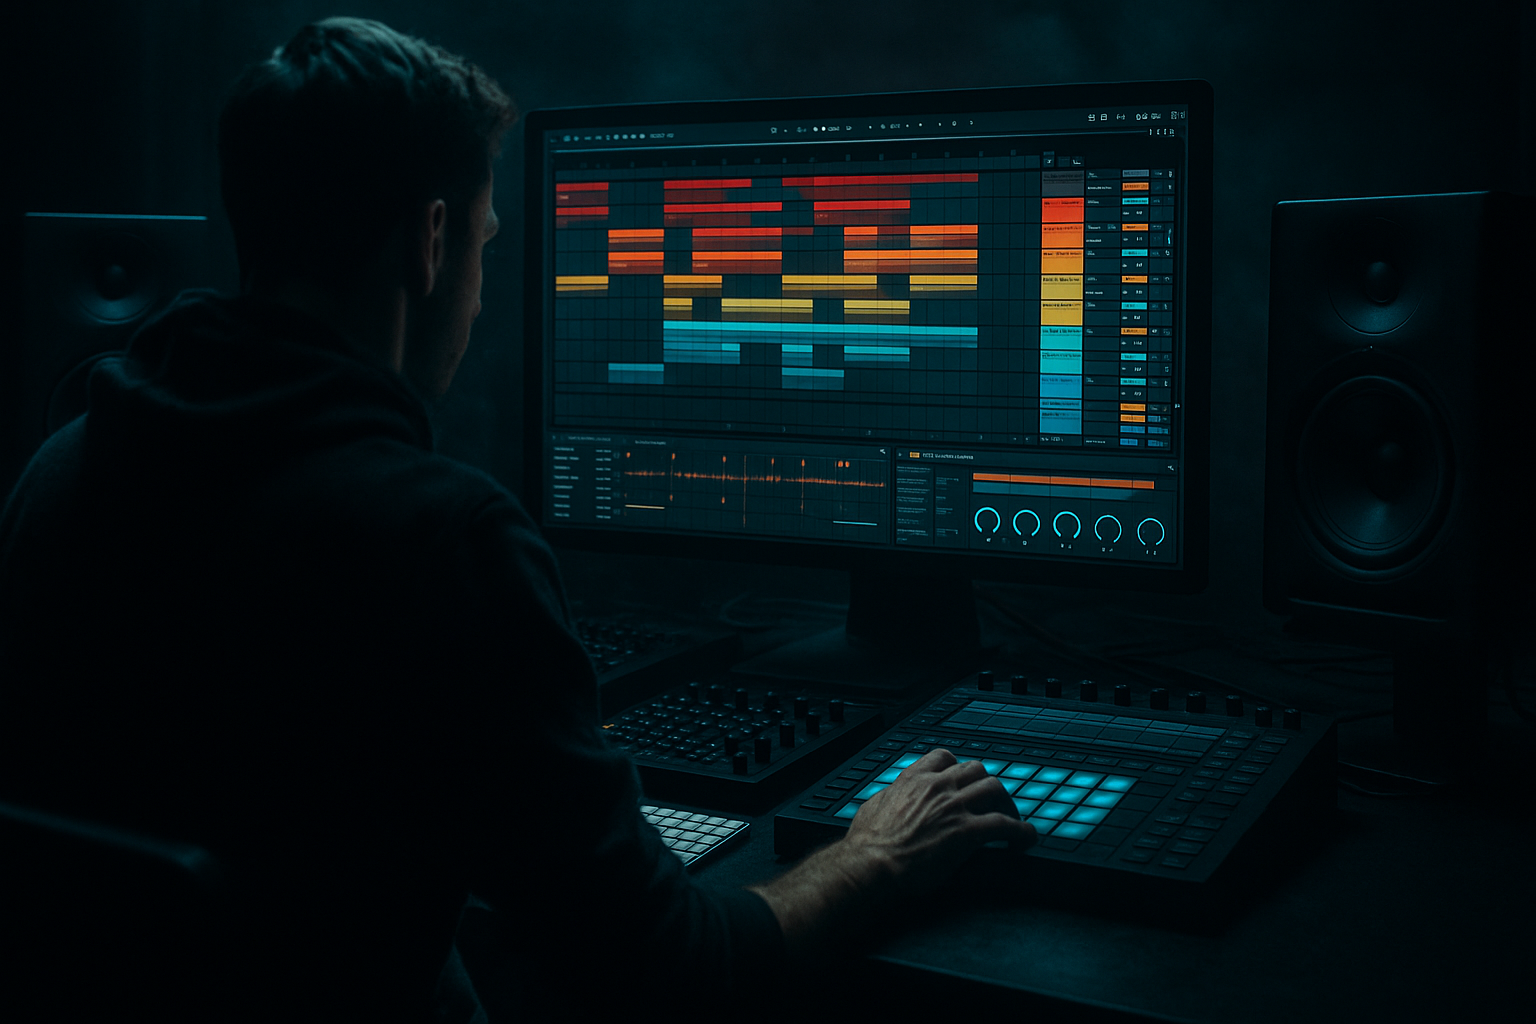
Main tutorial
Lesson Overview
The Jungle Warfare formula: FX chain stretch is a high-impact Drum & Bass transition technique built around taking a short FX event—impact, crash, rewind, vocal stab, noise hit, ride wash, or jungle chop—and stretching its energy across a bar or more so it becomes a rhythmic, evolving transition layer instead of a single throwaway hit.
In a real DnB arrangement, this sits right between phrase markers: the last 1–2 bars before a drop, a 16-bar switch-up, the end of an 8-bar drum loop, or the bridge into a halftime section. In jungle, rollers, neuro, and darker bass music, this works because it lets you create tension without overcrowding the low-end. You’re not just dropping a riser and hoping for the best — you’re sculpting momentum from a small FX source and stretching it into a controllable, mix-safe arrangement tool.
Why it matters:
- It gives your track a signature transition language
- It creates movement without extra drums or bass notes
- It helps you build DJ-friendly energy ramps
- It adds organic chaos in a controlled way, which is exactly the Jungle Warfare vibe
- It’s ideal for Ableton Live 12 because stock devices make it fast to duplicate, resample, warp, and automate
- a short metallic or noise impact
- expanding into a stretched, filtered tail
- glitching into a rhythmic reverse swell
- then snapping into the next drum break or drop with a clean, aggressive release
- on the last beat of a 7th bar before the drop
- across the final 2 bars of an intro
- between a rolling 16-bar groove and a breakdown
- under a break edit fill before a new drum pattern enters
- jungle chopped breaks
- dark rollers
- neuro intro tension
- fill-ins before bass call-and-response
- atmospheric lift-outs into breakdowns
- Leaving too much low end in the FX chain
- Stretching a weak sample
- Overusing reverb and making the drop cloudy
- Making the chain too wide
- No phrase logic
- Too much glitch
- Use two layers: one clean stretch for body, one heavily processed layer for menace. Keep the dirt layer quieter.
- Run the chain into Drum Buss lightly for extra smack, then resample. This can make the transition feel more like part of the break.
- Try Auto Filter with subtle envelope follower movement via automation if you want the transition to breathe against the drums.
- Add a tiny amount of frequency-specific distortion by EQing before Saturator:
- For a neuro-leaning version, automate Echo feedback from 10% to 30% across the last bar, then cut it hard on the drop.
- For jungle energy, layer a broken amen slice under the stretched FX and chop its tail so it feels like the break itself is morphing into the transition.
- In heavier rollers, keep the transition lower in brightness and let the bassline return do the talking. The FX should frame the drop, not steal it.
- Use Utility to narrow the stereo image before the drop, then reopen it after impact if you want a dramatic width contrast.
- The Jungle Warfare FX chain stretch turns a short FX sound into a full DnB transition tool
- Build it with Warp, EQ Eight, Saturator, Filter, Echo, and rhythmic control
- Keep the low end out and the phrase timing intentional
- Resample once it works, then slice and reuse it
- In DnB, this technique matters because it creates tension, movement, and drop impact without cluttering the drums or bass
The core idea: take one FX sound, pass it through a deliberate chain of warping, filtering, saturation, transient shaping, and spatial automation, then stretch that chain across time so it becomes a living bridge between sections. 🔥
What You Will Build
You will build a four-stage FX chain stretch inside Ableton Live 12 that turns a single hit into a full transition device for DnB arrangement.
The final result will sound like:
Musically, this could sit:
You’ll end up with a reusable transition rack that can be adapted for:
The sound design goal is not “big cinematic riser.” It’s tight, dangerous, and mix-aware DnB movement.
Step-by-Step Walkthrough
1. Choose a source sound that can survive stretching
Start with an FX hit that has strong transients and midrange character. Good choices in DnB:
- crash + noise hit
- short metallic clang
- reversed cymbal
- vocal stab
- percussive foley hit
- chopped break fragment with a strong tail
In Ableton Live 12, drag the sample into an audio track and set Warp on. For this technique, pick sounds with enough spectral content to stay interesting when stretched.
Good starting warp choices:
- Complex Pro for tonal or vocal-like FX
- Texture if you want grainy, eerie stretch movement
- Beats if you’re stretching a percussive chop and want transient control
Useful parameter targets:
- Warp mode in Complex Pro
- Formants around 0 to +2 for a slightly forward, dense tone
- Envelope around 10–30 ms for tighter articulation if the sample smears too much
Why this works in DnB: the FX source needs enough upper-mid energy to cut through dense drums and bass. If the sound is too thin, the stretch becomes weak. If it’s too broad, it will fight the mix.
2. Build the core chain: EQ, saturation, control
Place these stock devices after the sample, in this order:
- EQ Eight
- Saturator
- Glue Compressor or Compressor
- Optional Drum Buss if the source is percussive
Start with EQ Eight:
- High-pass around 120–250 Hz depending on the source
- If the sample is harsh, notch a band around 2.5–5 kHz
- If you need attack, add a gentle bell boost around 700 Hz–1.5 kHz
On Saturator:
- Drive around 2–6 dB
- Use Soft Clip if you want a safer peak control
- For darker tension, try a subtle Analog Clip style approach by driving it moderately rather than hard
On Glue Compressor:
- Ratio 2:1 or 4:1
- Attack 3–10 ms
- Release Auto or 0.1–0.3 s
- Aim for 1–3 dB of gain reduction
If the source is a chopped break hit or rim-heavy FX, add Drum Buss:
- Drive 5–15%
- Crunch low to moderate
- Transients slightly up if you want more crack
This chain keeps the stretched sound dense without turning it into mush. It also helps the FX sit on top of heavy drums rather than competing with them.
3. Create the stretch behavior with automation or clip stretching
Now make the FX last long enough to feel like a bridge. There are two strong Ableton workflows here:
Option A: Audio clip stretching
- Duplicate the FX clip across 1 bar to 4 bars
- Pull the clip end to stretch it longer
- Keep Warp on and experiment with warp markers if the result gets too smeared
- Use Complex Pro or Texture depending on the character you want
Option B: Audio effect stretch through rhythmic repetition
- Keep the original clip short
- Duplicate it as repeated triggers over the bar
- Automate the chain so each repetition evolves
Advanced move: combine both. Stretch one version into a long tail and layer it with shorter repeats for a more intentional jungle transition.
Practical timing ideas:
- A 1-bar stretch for quick phrase turns
- A 2-bar stretch for drop lead-ins
- A 4-bar stretch for intro-to-drop tension ramps
Musical context example: if your roller is at 174 BPM, use the final 2 bars of the intro to stretch a crash + vocal texture into the first drum fill, then let the drop hit with the bass and break re-entering on beat 1. That creates a clean DJ-friendly lift without overdoing the noise.
4. Add movement with Auto Filter and frequency automation
Place Auto Filter after saturation or before it, depending on whether you want the filtering to react to the distortion.
For a classic DnB tension arc:
- Start low-pass around 300–800 Hz
- Open up to 8–14 kHz by the end of the stretch
- Use a mild resonance around 0.5–1.5 if you want edge, but avoid whistling peaks
You can also use Band-Pass automation for a more “radio-wave / tunnel” type transition, especially in neuro intro sections.
Automation ideas:
- Filter cutoff rising over 1–2 bars
- Resonance slightly increasing in the last 1/2 bar
- Drive or saturator amount increasing as the filter opens
- Dry/Wet easing up from 20% to 60% if using Echo or a reverb send
Why this works in DnB: the ear reads filter opening as rising energy, but the low-end stays clean because you’re shaping the transition sound instead of adding more sub or kick layers. That matters when your break and bass already occupy the groove.
5. Add spatial depth with Echo or Reverb, but keep it controlled
For Jungle Warfare style tension, space should feel sharp, not blurry. Try Echo first before Reverb.
Echo settings to try:
- Time: 1/8, 1/8D, or 1/4 depending on groove
- Feedback: 15–35%
- Filter inside Echo to roll off lows below 200–400 Hz
- Modulation light, just enough to wobble the tail
If you use Reverb:
- Decay: 1.2–2.8 s
- Pre-delay: 10–25 ms
- Low cut: 200–400 Hz
- High cut: 6–10 kHz
Advanced routing choice: put Echo on a Return track and automate send level from the FX chain. This keeps the source punchy while the tail blooms separately. It’s especially good for drum-heavy intros because the direct signal remains clear.
For darker DnB, prefer short, metallic spatial tails. Long glossy reverb can make the transition feel too cinematic and less dangerous.
6. Introduce rhythmic chopping with gating or repeat-style motion
This is where the chain becomes a “formula” instead of just a stretched sound. Add rhythmic motion so the FX interacts with the break or bassline.
Stock device options:
- Gate for hard rhythmic chopping
- Auto Pan set to rhythmic shape for movement
- Beat Repeat for glitch bursts
- Sampler or Simpler for resampling slices if you want to play the FX like an instrument
Gate suggestions:
- Attack: 0–5 ms
- Hold: 20–80 ms
- Release: 50–200 ms
- Sidechain input from the kick or break if you want the FX to pulse with the groove
Beat Repeat suggestions:
- Grid: 1/8 or 1/16
- Chance: 15–40%
- Interval: 1 bar for occasional glitching
- Pitch or filter options mild, not chaotic
This is especially effective in breakbeat-heavy DnB because the transition FX starts behaving like part of the drum arrangement rather than an overlay. It can echo the break’s syncopation and reinforce the phrase.
7. Resample the chain and turn it into an arrangement asset
Once the chain feels right, resample it into audio. Create a new audio track, set the input to Resampling, and record the transition movement.
Why resample:
- It lets you commit to the sound
- You can cut precise slices
- You can reverse pieces
- You can layer different versions of the same stretch
- It reduces CPU load in a dense DnB session
After resampling:
- Slice the resampled clip at transients or phrase points
- Reverse the final hit for a pull-in effect
- Duplicate one slice and pitch it down by -2 to -5 semitones for extra dread
- Trim the tail so the next drop lands cleanly
Advanced move: create 2–3 rendered versions:
- one with more filter opening
- one darker and shorter
- one with more echo for breakdown use
This gives you a small transition toolkit you can reuse across the track.
8. Arrange it against the drums and bass with real phrase logic
Drop the FX chain stretch into a real DnB arrangement structure. Examples:
- 16-bar intro: use a filtered stretch in bars 13–16 before the drop
- 32-bar roller: insert a 2-bar stretch at bar 15 or 31 to signal a bass variation
- Jungle switch-up: use a stretched break chop over the last 1 bar before the new break pattern enters
- Neuro darkness: let the stretched FX sit under a bass pause, then slam the next drum/bass hit on the first beat
Arrangement tactic:
- Let the stretched FX occupy the upper mids and highs
- Keep the sub and kick arrangement simplified during the stretch
- Use a fill or drum pickup only in the last 1/2 bar
- Follow the transition with a clearly different drum density or bass phrase to make the change feel intentional
A strong DnB transition isn’t just “more noise.” It’s a phrase cue. The chain stretch tells the listener something is about to change.
Common Mistakes
- Fix: high-pass aggressively, often somewhere between 120–250 Hz, and check in mono.
- Fix: choose FX with real harmonic content, transient bite, or textured noise. Thin sounds vanish when stretched.
- Fix: use short decay, pre-delay, and filter the return. Keep the direct transient visible.
- Fix: keep the stretch sound mostly mono-compatible, especially below 200 Hz. Use width only in the top layer if needed.
- Fix: place the stretch at bar endings, pre-drop bars, or switch-up points. If it happens randomly, it won’t feel like DnB arrangement language.
- Fix: Beat Repeat and gating should support the transition, not distract from the groove. If the drum pattern loses identity, scale it back.
Pro Tips for Darker / Heavier DnB
- narrow cut some low mids if the tail is boxy
- boost a narrow presence band before distortion for aggressive bite
Mini Practice Exercise
Spend 15 minutes building one reusable FX chain stretch for a 174 BPM DnB track:
1. Pick one FX source: crash, vocal stab, clang, or break chop.
2. Build this chain: EQ Eight → Saturator → Auto Filter → Echo.
3. Create two versions:
- Version A: brighter, rising into the drop
- Version B: darker, more sinister, shorter tail
4. Stretch each version across 2 bars using Warp.
5. Automate the filter cutoff from around 500 Hz to 10 kHz.
6. Add a short rhythmic chop with Gate or Beat Repeat near the end.
7. Resample both versions to audio.
8. Place them before a drop or switch-up in your Arrangement View.
9. Test with drums and bass muted, then with the full mix.
10. Write down which version gives the clearest phrase lift without cluttering the low end.
Goal: finish with two transition clips you can reuse in future tracks.

