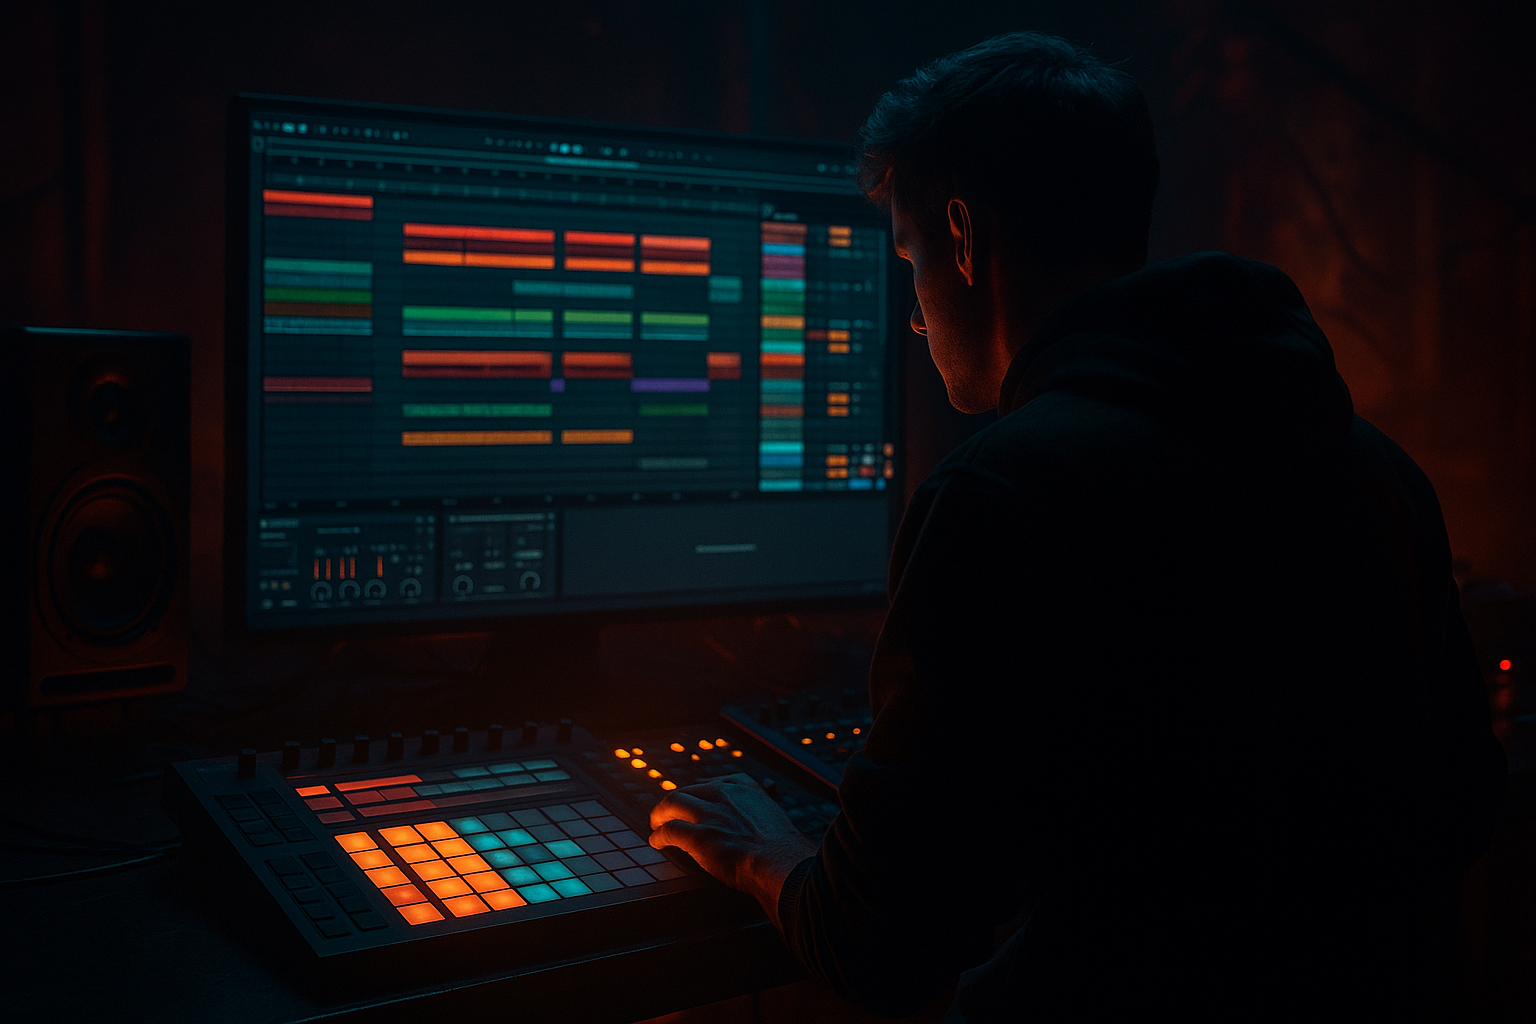
Main tutorial
Lesson Overview
This lesson is about building a jacked breaks jungle switch-up inside Ableton Live 12: a high-impact section where a rolling DnB groove suddenly mutates into a chopped, ravey, broken-beat jungle burst, then snaps back into the main drop or a new phrase. In a real track, this usually lands at the end of an 8, 16, or 32-bar phrase to refresh attention, intensify the drop, or create a DJ-friendly “what just happened?” moment 🔥
For advanced DnB producers, this technique matters because modern drum & bass is often won by contrast. You need a section that can:
- push energy without just adding more layers
- reframe the same drum material in a new rhythmic identity
- keep sub weight intact while the top end gets more chaotic
- support tension/release across drop phrasing, especially in rollers, jungle-informed cuts, darker neuro sections, and halftime switches
- a rolling main drum groove with clean low-end management
- layered break edits that feel chopped, jacked, and human
- ghost-note movement and fill logic
- a tight sub bass that ducks and stays mono
- a reese or mid-bass layer that call-and-responds with the break
- transition FX, reverse hits, and tension automation
- a phrase structure that can slot into a jungle roller, dark stepper, or neuro-influenced DnB arrangement
- Bars 1–8: modern rolling DnB groove, strong kick/snare identity
- Bars 9–12: switch-up begins, breaks take over top rhythm, bass phrases become shorter
- Bars 13–16: more aggressive jack pattern, added fills, final snare lead-in, return to full drop or second theme
- Over-layering breaks until the groove disappears
- Letting the break fight the kick and sub
- Quantizing everything too tightly
- Making the switch-up louder instead of more interesting
- Using too much stereo widening on bass or drum bus
- No phrase reset after the switch-up
- Split your bass into “sub truth” and “mid aggression.” Keep the sub pure, then distort only the mid chain. This preserves club weight while still sounding nasty.
- Use short, dark ambience instead of long reverb tails. A tiny room or plate on one break layer can add depth without washing the rhythm.
- Automate filter movement on the break bus, not just the synths. A slowly opening break sounds more alive than a static loop.
- Add grit with restraint. Redux at a low amount can add broken digital edge, but too much destroys transient clarity fast.
- Use ghost snares as tension glue. They fill the gap between a jack pattern and a full break without overcrowding the bar.
- Make one element deliberately “ugly.” A rough resampled hat, clipped break hit, or overdriven rim can give the whole switch-up attitude.
- Check the snare’s emotional role. In darker DnB, the snare often carries the identity. If the switch-up loses that anchor, it can feel weak even if the drums are busy.
- Use call-and-response between bass and break. Let the bass answer the break on offbeats or bar ends. That interplay is a huge part of why the section feels alive.
- A jacked breaks jungle switch-up is a phrase-level energy move, not just a drum loop.
- Use Break slicing, Drum Rack, Simper, resampling, and bus processing to turn a static loop into a performance.
- Keep sub mono and clean, let the break handle the rhythmic chaos, and use the bass as a response layer.
- Shape the section with automation, ghost notes, fills, and arrangement contrast.
- The best switch-ups feel powerful because they combine weight, restraint, and surprise in a way that’s unmistakably DnB.
The goal is not to make “busy drums for the sake of busy drums.” The goal is to build a controlled explosion: jacked break edits, short sample layers, transient shaping, and arrangement automation that create a believable jungle switch-up while staying mixable in a modern DnB record.
You’ll use Ableton stock tools like Simper, Drum Rack, Audio Effect Rack, Auto Filter, Saturator, Glue Compressor, Gate, Redux, and Utility to design the switch-up from the ground up, then place it in a way that feels intentional rather than random.
What You Will Build
By the end, you’ll have a 16-bar drop section with a 2- or 4-bar jungle switch-up that includes:
Musically, think of a pattern like this:
The finished result should still hit like a drum & bass track, but with a jungle-informed rhythmic surprise that makes the drop feel bigger on repeat.
Step-by-Step Walkthrough
1. Set up the phrase architecture before designing any sound
In Ableton Live 12, start with an 8- or 16-bar loop area. For advanced DnB, phrase planning matters as much as sound design because the switch-up only works if the listener feels the change as a structural event.
Build a temporary arrangement with:
- Bar 1–8: main groove
- Bar 9–12: first switch-up cue
- Bar 13–16: full jungle break mutation
Place locators or use colored clip names so you can see where tension rises. If you’re in Session View, name the clips by function: “main roll,” “break jab,” “fill,” “turnaround,” “reset.” This speed matters when you’re auditioning multiple rhythmic interpretations.
Why this works in DnB: drum & bass listeners react strongly to phrasing and turnaround energy. A switch-up is more effective when it arrives on a clear musical boundary, not mid-phrase without context.
2. Choose a primary break and a secondary support break
Start with one main break that already has character: think amen-style, think a dusty funk loop, think a tighter drum loop with useful ghost notes. Warp it carefully so the transients stay punchy. Use Complex Pro only if the break contains tonal material you need preserved; otherwise Beats mode with transient preservation often gives a cleaner chop-ready result.
In the Clip View:
- tighten the loop to 1 or 2 bars
- turn on transient markers and trim for your strongest hits
- reduce tail clutter with fades if the loop has too much room tone
Then add a second, shorter break or percussive layer for contrast:
- a dry top loop
- a rim-heavy percussion loop
- a filtered break fragment with hats and ghost snares
Keep the second break quieter at first, around -12 to -18 dB below the main break. This prevents the section from becoming a dense smear too early.
Concrete suggestion:
- main break high-pass: around 120–180 Hz
- secondary break high-pass: around 180–250 Hz
This keeps the kick/sub relationship intact and prevents break layers from fighting the low-end architecture.
3. Chop the break into playable pieces with Simper or Drum Rack
For advanced control, right-click your break clip and choose Slice to New MIDI Track. Slice by transient for rhythmic control, then organize the slices in a Drum Rack. This is where the “jacked” feeling comes from: you’re no longer looping a break, you’re performing a re-edited groove.
In the Rack:
- map kick-heavy slices to one row
- map snare/ghost snare slices to another
- map hat shuffles and cymbal tails to separate pads
- group similar slices so you can mix and mute them as families
Add Simpler to individual pads if a slice needs extra shaping:
- use One-Shot mode for hit-like slices
- use Slice mode for multi-hit phrase fragments
- enable filter and envelope control on slice families
Suggested shaping:
- attack: 0–3 ms
- decay: short on hits, longer on tail slices
- release: keep tight unless you want a smeared oldschool wash
The point is to make the break performable, not static. You want to be able to mute hats, re-order snare hits, and insert tiny pickup slices to create the feeling of a live rearrangement.
4. Layer the break with a synthetic drum skeleton
A jungle switch-up feels stronger when the sampled break is reinforced by a synthetic backbone. Build a second layer underneath or alongside the break using Drum Rack and stock drum hits:
- a tight kick for first beat definition
- a short snare/clap stack for backbeat clarity
- a hat or shaker for forward momentum
This layer should not replace the break. It should act like a frame around it.
Inside Drum Rack, try this chain on the snare bus:
- Saturator with Drive around 2–5 dB
- Glue Compressor with slow-ish attack and medium release
- EQ Eight to cut mud around 250–400 Hz
Keep the layer punchy and narrow. If the break has messy transients, use Gate or a short Envelope in Simpler to avoid overlapping tails.
Concrete drum balance:
- synthetic snare layer: just loud enough to define backbeat
- break layer: main character and swing
- kick layer: enough to maintain weight, but not so much it kills the break’s movement
This is a classic DnB hybrid move: sampled rhythm plus engineered impact.
5. Design the bass to answer the drums, not smother them
A switch-up becomes much more musical when the bassline changes behavior with the drums. Keep the sub on its own track, mono, and disciplined with Utility. Then create a mid-bass or reese layer that reacts to the break.
A strong advanced approach:
- Sub track: sine-based note source, mono, no stereo widening
- Mid-bass track: Wavetable, Operator, or Analog patch with movement
- Processing: Saturator, Auto Filter, Chorus-Ensemble very subtly if needed, but keep the low end clean
Make the bass phrase shorter during the switch-up:
- use stabs, rests, and syncopated answers
- leave space for ghost snares and break rolls
- let the bass hit on the gaps, not over every transient
For the mid-bass, try:
- filter cutoff automation moving from low-pass 24 dB to more open
- resonance kept modest, around 10–25%
- drive pushed until harmonics are audible on smaller speakers
Use Utility to keep the sub mono below the crossover area, and if needed split the bass into two chains in an Audio Effect Rack:
- low chain: mono, clean, minimal processing
- mid chain: distortion, filtering, movement, automation
Why this works in DnB: the drums need transient space, and the sub needs predictable phase behavior. A switch-up feels powerful when the bass yields a little rhythmic authority to the break, then returns with more impact after the phrase resets.
6. Create the “jacked” motion with micro-edits and swing discipline
The difference between a basic break loop and a proper jacked switch-up is in the micro-structure. Add tiny edits that feel like a drummer getting more aggressive.
In Arrangement View:
- duplicate a 1-bar section and mutate only 1–3 hits per bar
- pull a snare slice slightly earlier for urgency
- insert a muted ghost hit before a kick
- repeat a hat slice twice to create a machine-gun flourish
- cut one tail short so the next hit feels more exposed
Use Groove Pool carefully:
- apply a swing groove with moderate strength
- avoid over-swinging the sub or kick layer
- let the break carry most of the rhythmic looseness
Good parameters to start with:
- Groove strength: 20–45%
- global timing correction: tiny adjustments only, not full quantization
- velocity variation: enough to humanize, not so much it sounds random
This is where the jungle identity emerges: slightly unruly, but still controlled. The edits should sound like a player re-cutting the break in real time.
7. Build the switch-up arrangement as a tension device
Don’t just “add more drums.” Arrange the switch-up like a mini-drop inside the drop.
A strong 4-bar switch-up structure might be:
- Bar 1: keep kick and sub anchored, introduce chopped break hats
- Bar 2: remove the main snare for half the bar, replace with break snares and ghosts
- Bar 3: add a fill or reverse slice, bring the reese to the foreground
- Bar 4: full density lift, then a snare lead-in or crash to reset
Use automation on the master rhythmically:
- Auto Filter on break bus: automate cutoff from dark to brighter over 2–4 bars
- Reverb send on the final snare only
- Echo or delay throws on one chopped hit at phrase end
- Utility gain automation for small level lift into the return
Keep the final bar of the switch-up slightly more open so the next section lands with contrast. A huge mistake is saturating the switch-up so hard that there’s no place left for the drop to grow.
8. Route drums and bass into focused buses and shape the transients
Use subgroup processing to glue the section without flattening it. Create buses for:
- break bus
- drum impact bus
- bass bus
- FX bus
On the break bus:
- EQ Eight to tame harshness around 3–6 kHz if the slices bite too hard
- Glue Compressor with light gain reduction, around 1–3 dB
- optional Drum Buss for transient punch and harmonic thickening, but keep drive conservative
On the bass bus:
- Saturator to add harmonics
- Auto Filter for movement and section changes
- Utility to check mono compatibility
On the FX bus:
- reverse cymbals
- vinyl-like noise or texture
- downlifters into resets
- impact hits at the phrase boundary
Check the whole arrangement in mono occasionally. If the switch-up collapses, your stereo processing on bass or wide top percussion is too aggressive.
9. Use resampling to lock the character and speed up decisions
Once the layered break starts sounding right, resample the section internally. In Ableton, record the output of the break bus or full drum buss onto a new audio track. Then chop the best bars into new audio clips.
This gives you:
- committed transient shape
- easier arrangement editing
- the ability to reverse, stretch, or re-slice the best moments
- a more cohesive “performance” feel
After resampling, try:
- reversing one bar into the switch-up
- warping a tail into a fill
- duplicating the most effective snare burst as a transition marker
A lot of high-level DnB arrangement comes from this exact workflow: build, resample, edit, recontextualize. It is fast, musical, and perfect for a jungle switch-up where feel matters more than theoretical neatness.
10. Finish with reference-based balancing and headroom discipline
Pull in a reference track from the same lane: jungle roller, modern break-heavy DnB, darker halfstep-to-jungle transition, or a neuro-inflected roller with a break switch. Match the energy curve, not just the loudness.
Check:
- does the switch-up feel like a deliberate phrase event?
- does the sub stay stable while the break gets wilder?
- is the snare still the emotional anchor?
- are the top-end transients sharp without becoming painful?
Leave headroom on the mix bus. A strong DnB switch-up can be ruined by overcooking the whole section. If the break feels exciting at moderate level, it will feel huge after proper mastering.
Common Mistakes
Fix: mute layers until the rhythmic identity is obvious again. One primary break and one support layer are often enough.
Fix: high-pass the break, keep sub mono, and carve low-mids on percussion layers.
Fix: preserve micro-timing in the break and only tighten the elements that need grid accuracy.
Fix: use contrast, edits, and automation. A better arrangement is usually more effective than a louder one.
Fix: keep the low end centered. Use width on texture, not on weight.
Fix: always plan a return point. A jungle switch-up needs a landing zone so the next section hits harder.
Pro Tips for Darker / Heavier DnB
Mini Practice Exercise
Spend 10–20 minutes building a 4-bar jungle switch-up inside an existing DnB loop.
1. Take one 1- or 2-bar break loop and slice it to a Drum Rack.
2. Mute every slice except kick, snare, and one hat layer.
3. Create a second version where you add 2–4 ghost hits and one duplicated snare slice.
4. Build a sub track that stays simple for all 4 bars.
5. Add one mid-bass stab that answers only on the last half of bars 2 and 4.
6. Automate an Auto Filter on the break bus from darker to brighter across the 4 bars.
7. Resample the result and see if you can make one cleaner, more aggressive version in a second pass.
Goal: make the switch-up feel like a real structural event, not just a busy fill.

