DNB COLLEGE

Drum & Bass Ableton Live 12 Tutorials

LESSON DETAIL

InsideInfo edit: rebuild a roller groove from scratch in Ableton Live 12 for timeless roller momentum (Advanced · Mastering · tutorial)

An AI-generated advanced Ableton lesson focused on InsideInfo edit: rebuild a roller groove from scratch in Ableton Live 12 for timeless roller momentum in the Mastering area of drum and bass production.

Back to lessons
InsideInfo edit: rebuild a roller groove from scratch in Ableton Live 12 for timeless roller momentum (Advanced · Mastering · tutorial) cover image

Narrated lesson audio

The voice track includes the tutorial plus extra teacher commentary.

Open audio file

Main tutorial

1. Lesson Overview

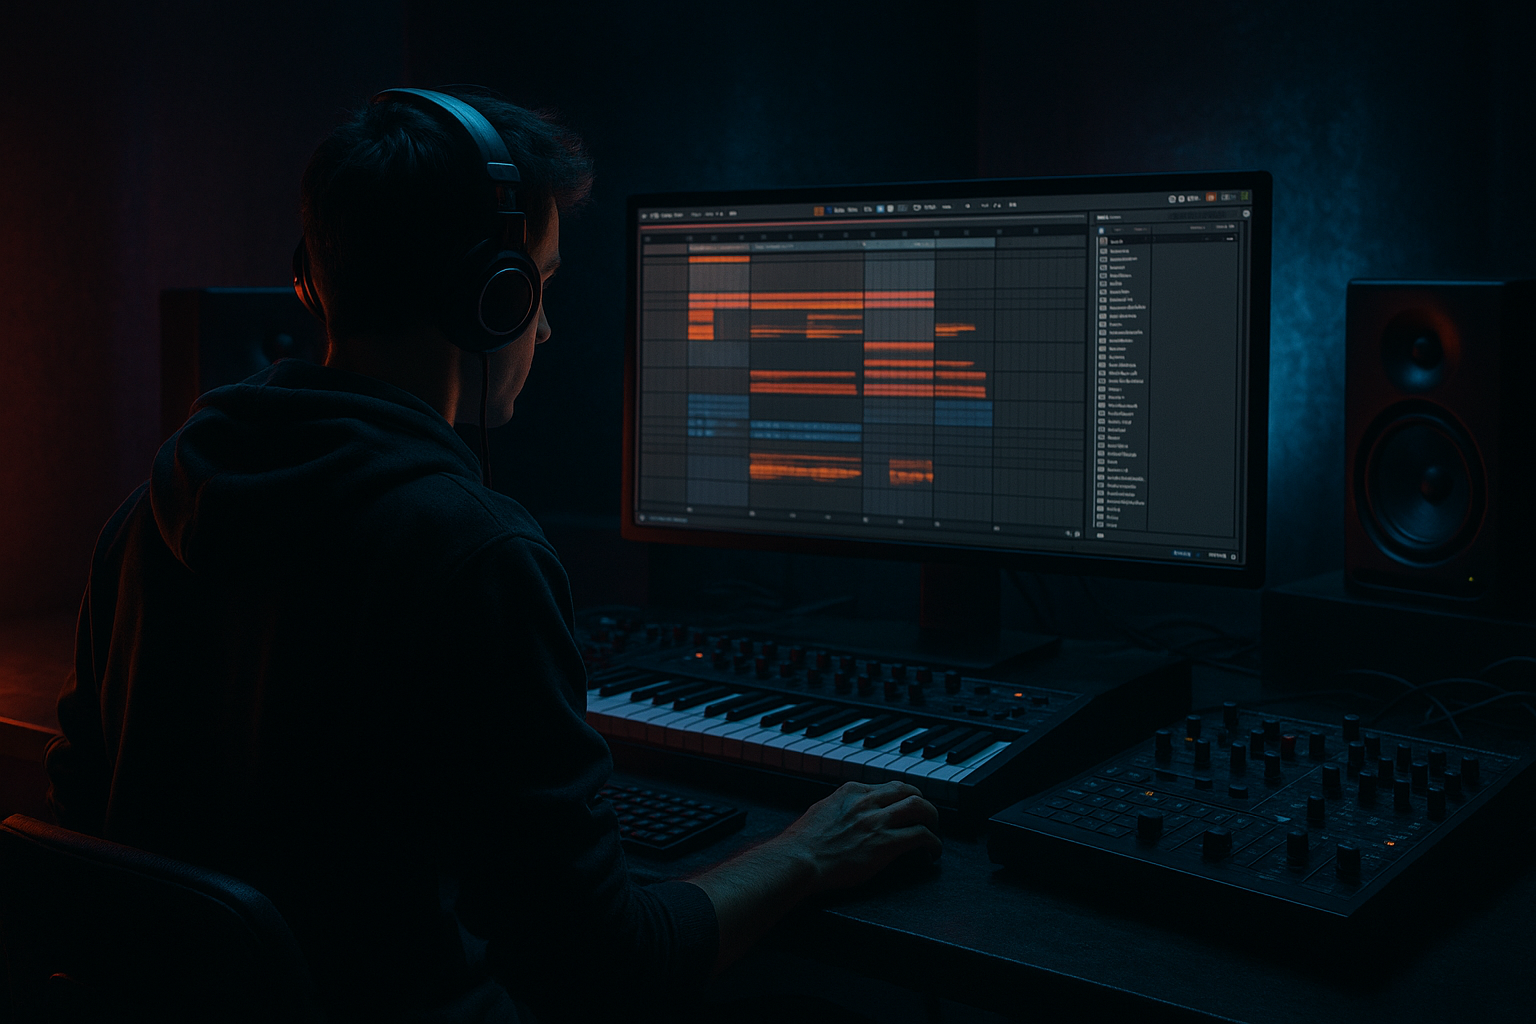
This lesson walks you through an advanced mastering-focused workflow in Ableton Live 12 titled "InsideInfo edit: rebuild a roller groove from scratch in Ableton Live 12 for timeless roller momentum." You’ll learn how to take a near-final Drum & Bass mix and, without changing arrangement, rebuild a rolling rhythmic pocket that injects perpetual forward motion — using only Live stock devices — then glue that rebuilt roller into your master bus. The emphasis is mastering-grade decisions: preserving low-end integrity, controlling transients, creating micro-rhythmic movement (the roller), and delivering a finished master-ready output with consistent momentum.

2. What You Will Build

  • A master-channel-safe "roller bus" resampled from your mix that provides rhythmic movement (panning/delay/width modulation) and can be blended in for momentum.
  • A mastering chain using Live stock devices (Utility, EQ Eight, Multiband Dynamics, Glue Compressor, Saturator, Limiter) tuned to preserve sub, open up mids/highs, and lock in timing with the roller groove.
  • Mid/Side balancing and transient management to keep the groove clean and punchy across playback systems.
  • 3. Step-by-Step Walkthrough

    Note: This assumes you have stems (or a stereo mix) for a DnB arrangement in Live 12. Work at final project tempo (usually 170–174 BPM).

    A. Prep & Listening

  • Create a new Group track named MASTER_PRE. Route all mix output into it (set audio outputs of tracks to that group). Duplicate MASTER_PRE to MASTER_SAFE for safe experimenting (Group > Duplicate).
  • Critical listening pass: solo MASTER_PRE and note where the groove feels loose or lifeless, and where it needs rhythmic energy (typically hats/perc and mid-high arpeggiations).
  • B. Create a Roller Bus (resampling method — master-safe, non-destructive)

    1) Create a new audio track named ROLLER_RESAMPLE.

    2) Set its "Audio From" to "Master" (or MASTER_PRE if you prefer to avoid the limiter on Master).

    3) Arm the track and enable the global record. Record a few bars (8–16 bars) while the song plays — you’re capturing the musical elements that form the groove (hats, rides, stabs, effects).

    4) Stop and drag the recorded clip into a new MIDI track using Simpler: Drop the audio clip into Simpler in Slice mode (Slice by Transient or set fixed grid to 1/16). This converts the audio into a playable instrument to rebuild rhythmic patterns.

    C. Sculpting the Roller Pattern

    1) In the Simpler instance:

    - Use Slice by Transient or set slice spacing to 1/16–1/8 depending on desired resolution.

    - Map slices across the keyboard; create a MIDI clip that re-triggers slices in a 16-step pattern that “rolls” (e.g., 1/16th triplets or staggered 1/16 velocities to emulate InsideInfo roller bounce).

    - Use velocity modulation to vary slice loudness and filter cutoff per note (use Simpler’s filter envelope).

    2) Add a new group FX chain on the ROLLER_RESAMPLE track:

    - EQ Eight (set to Stereo): high-pass at ~100 Hz to avoid sub conflicts. Slight boost 2–5 kHz for clarity (+1.5–2 dB).

    - Utility: set Width to 120–140% on material above 250 Hz; then below 120 Hz set Width to 0% (we’ll automate this with Multiband or Automation).

    - Auto Pan: set to a subtle LFO (Rate 1/8 – 1/4 sync), Shape triangle or sine, Amount ~30–40% to create a rolling stereo feel. Offset phase between left/right if needed.

    - Ping Pong Delay (stock): set to 1/16 – 1/8 dotted, feedback ~15–25%, Dry/Wet ~12–18% for bounce. Set Filter on delay to roll off below 800 Hz to keep the sub clean.

    - Compressor (sidechain) or Glue Compressor (optional): if you need the roller to duck to the kick, use Compressor with sidechain input from Kick, Ratio 2:1–4:1, fast attack, medium release synced to tempo (1/8–1/4).

    D. Integration: Mid/Side and Low Management on the Master Bus

    1) Insert EQ Eight on MASTER_SAFE as the first device:

    - Use M/S mode for surgical moves. In Mid channel: gentle 1–2 dB boost at 100–200 Hz to glue bass and kick if missing. In Side channel: high-shelf boost above 6–8 kHz about +1 dB to enhance width without affecting mono low.

    - Use a narrow cut in Side around 300–600 Hz if the roller bus causes phasey muddiness.

    2) Utility: place after EQ Eight

    - Automate or static: set Width to 100% overall; use automation to tighten to 0% under 120–140 Hz (use Utility’s simple width), or create a low-frequency split (see next).

    3) Low-mono split (recommended for mastering DnB):

    - Duplicate MASTER_SAFE group into two parallel groups (MASTER_LOW and MASTER_HI). On MASTER_LOW, use EQ Eight low-pass at 120 Hz, then Utility width 0% to force mono.

    - On MASTER_HI, high-pass at 120 Hz and process normally. Blend the two groups to taste to keep the low centered and powerful while letting the roller bus breathe in the mids/highs.

    E) Multiband Dynamics: tighten and expand for timeless momentum

  • Place Multiband Dynamics on MASTER_SAFE (or MASTER_HI) after broad EQ and parallel split combine.
  • Set three bands: Low (below 120–150 Hz), Mid, High.
  • - Low band: subtly compress (Ratio 1.5–2:1, threshold gently catching 1–2 dB), release synced to feel (fast for tight DnB).

    - Mid band: use slight upward expansion or upward compression to bring out transient shimmers from the roller. Set Detector to Peak, fast attack, medium release.

    - High band: apply transparent compression or upward gain to keep top-end consistent, preventing the roller delays from poking out too sharply.

    F) Harmonic Glue & Transient Management

  • Insert Glue Compressor across bus (after Multiband or before final saturation):
  • - Attack slow-ish (10–30 ms) to preserve transients, Release set to Auto or tempo-synced (~100–200 ms).

    - Ratio 1.5:1–2:1, Makeup gain to taste. Aim for 1–2 dB of gain reduction for cohesion, more if the track is still disjointed.

  • Optional: Drum Buss on a parallel track or send for additional saturation and transient shaping. If used, low mix amount (10–25%) keeps texture without ruining transient definition.
  • G) Final Saturation & Limiting

  • Insert Saturator (Soft Clip) before Limiter. Use Drive modestly (1–3 dB) and set Mode to Analog Clip or Soft Sine. Use Dry/Wet ~10–20% on master or use parallel return to control influence.
  • Final Limiter: Use Limiter (Live stock) or Utility + Limiter. Set Ceiling to -0.3 dB, Gain to reach target LUFS (for DnB masters aim -9 to -7 LUFS integrated depending on release standard). Watch peaks and preserve transient punch — if limiting crushes roller rhythm, back off upstream compression or reduce limiter gain, and instead use parallel heavy compression.
  • H) Automation and Groove Lock

  • Automate the Roller bus send level: raise on breakdowns/verses or when you want more forward motion, and pull back on peaks or sections with heavy bass to avoid masking.
  • Use Groove Pool: if micro-timing is needed, extract groove from an internal reference (e.g., your favorite roller loop), apply to the Simpler MIDI roller part to lock swing feel. Set Timing and Random to taste; don’t over-quantize — keep some human jitter.
  • 4. Common Mistakes

  • Summing the roller into the full-range stereo master without high-pass: causes sub cancellation and muddy low-end.
  • Over-saturating or over-limiting the roller bus, which kills transient definition and the perceived “roll.”
  • Making dramatic mid/side boosts in mastering EQ without checking mono compatibility — wide high boosts can sound impressive but collapse on mono.
  • Excessive compression on the master that flattens the roller’s rhythmic motion; if the groove feels static, reduce bus compression or use parallel compression instead.
  • Not checking the roller against reference systems (club PA vs earbuds). A roller that sounds great on studio monitors can become a smear on small speakers if low/mid balance isn’t right.
  • 5. Pro Tips

  • Resample short sections (4–8 bars) at high bit depth (48 kHz or higher) and then create your roller from those resamples. Working with shorter chunks makes it easier to tighten rhythm and choose clean slices.
  • Use transient emphasis on the roller’s first slice: add a fast transient boost using Compressor (fast attack, short release) or use Drum Buss’s transient knob for a natural snap that cuts through.
  • For timeless momentum, keep the sub strictly mono and let stereo movement live above ~120–150 Hz — this preserves club punch and sonic width simultaneously.
  • Use subtle tempo-synced modulation (Auto Pan with 1/8–1/4 LFO) rather than extreme panning; small periodic movement sells the roller without distracting.
  • When in doubt about loudness, reference to -9 LUFS integrated for DnB but prepare a louder version for distribution if required; always keep an unprocessed peak-safe stem.
  • 6. Mini Practice Exercise

  • Take a 16-bar stereo mix loop at 174 BPM.
  • Resample 8 bars to an audio clip. Put that clip into Simpler (Slice by Transient). Program a 1-bar MIDI pattern using 1/16 steps with varying velocities that creates a rolling feel (accent every 4th 1/16).
  • On the Simpler track, add EQ Eight (HP @ 100 Hz), Auto Pan set to 1/8, Ping Pong Delay at 1/16 dotted (feedback 18%, wet 15%), and Utility to widen above 250 Hz.
  • Create a master chain: EQ Eight M/S corrective moves, Multiband Dynamics with gentle low compression, Glue Compressor ~1.5 dB gain reduction, Saturator (soft clipping, 12% wet), Limiter ceiling -0.3 dB. Export two versions: one with roller bus included, one without. Compare energy and note gain staging differences.

7. Recap

This "InsideInfo edit: rebuild a roller groove from scratch in Ableton Live 12 for timeless roller momentum" lesson showed you how to resample and rebuild a roller groove from your mix, craft movement with Simpler + stock FX (Auto Pan, Ping Pong Delay), and integrate it into a mastering chain that preserves sub weight and transient punch. Key mastering moves: mid/side EQ surgery, low-mono splitting, multiband dynamics for band-specific control, gentle glue compression, tasteful saturation, and limiter restraint. The result: a timeless roller momentum that sits in the master without sacrificing club-level low-end or transient clarity.

Ask GPT about this lesson

Chat with the lesson tutor, get follow-up help, or use quick actions.

Bigup 👽 Ask me anything about this lesson and I’ll answer in context.

Narration script

Show spoken script
Welcome. This is an advanced mastering workflow in Ableton Live 12: InsideInfo edit — rebuild a roller groove from scratch for timeless roller momentum. Over the next walk-through you’ll learn how to resample a near-final Drum & Bass mix, convert that resample into a playable roller instrument, and glue that roller into a mastering chain using only Live’s stock devices — preserving subs, controlling transients, and keeping perpetual forward motion.

What you’ll build: a master-channel-safe roller bus resampled from your mix that provides rhythmic movement via panning, delay and width modulation; a mastering chain made from Utility, EQ Eight, Multiband Dynamics, Glue Compressor, Saturator and Limiter tuned to keep the low end intact while opening mids and highs; and a mid/side and transient management approach so the groove translates across playback systems.

Before we start, work at your final project tempo — usually 170 to 174 BPM — and have either stems or a stereo mix loaded into Live.

Section A — Prep and listening:
Create a new Group track named MASTER_PRE and route all your mix output into it. Duplicate MASTER_PRE to MASTER_SAFE so you can experiment non-destructively. Do a critical listening pass with MASTER_PRE soloed. Note where the groove feels loose or lifeless — usually hats, percussion and mid-high arps — and where rhythmic energy is missing.

Section B — Create a Roller Bus by resampling:
Create a new audio track called ROLLER_RESAMPLE. Set its Audio From to Master or to MASTER_PRE if you want to avoid any final limiter artifacts. Arm the track and enable global record. Record a few bars — 8 to 16 bars is a good starting point — while the song plays. You’re capturing the elements that create groove: hats, rides, stabs and FX tails.

Drop the recorded clip into a new MIDI track using Simpler. In Simpler use Slice mode — Slice by Transient or set a fixed grid of 1/16 — so the clip becomes a playable instrument you can re-sequence into a roller.

Section C — Sculpting the roller pattern:
In Simpler, choose Slice by Transient or set slice spacing between 1/16 and 1/8 depending on resolution. Map slices across the keyboard and create a MIDI clip that re-triggers slices in a 16-step pattern that “rolls” — try 1/16th triplets or staggered 1/16 velocities to emulate an InsideInfo-style bounce.

Use velocity modulation to vary slice loudness and the filter cutoff per hit. Map Simpler’s filter envelope and a small velocity-to-filter amount so velocity influences both amplitude and brightness. Program accents on quarter-note positions and micro-variations between them. Humanize lightly with tiny timing offsets for a natural feel.

Add an FX chain on the ROLLER_RESAMPLE track:
- EQ Eight (Stereo): high-pass at roughly 100 Hz to protect sub, and a gentle boost around 2–5 kHz of about +1.5 to +2 dB for clarity.
- Utility: set Width to 120–140% for material above 250 Hz; below 120–140 Hz set Width to 0% — this will be automated or handled via low/high splits.
- Auto Pan: subtle LFO synced at 1/8 to 1/4, triangle or sine shape, amount around 30–40% to create stereo roll. Offset phase between channels when needed.
- Ping Pong Delay: time between 1/16 and 1/8 dotted, feedback 15–25%, Dry/Wet about 12–18%. Use the delay filter to roll off everything below about 800 Hz so repeats don’t eat the sub.
- Compressor or Glue Compressor for sidechain ducking if necessary: use sidechain from the kick with a ratio between 2:1 and 4:1, fast attack and tempo-synced release to maintain bounce.

Section D — Integration: mid/side and low management on the master bus:
Place EQ Eight first on MASTER_SAFE and switch to M/S mode for surgical moves. In the Mid channel, consider a slight 1–2 dB boost between 100–200 Hz to glue kick and bass if needed. In the Side channel, a small high-shelf above 6–8 kHz of around +1 dB opens the top without affecting mono lows. If the roller introduces muddiness, a narrow cut in the Side around 300–600 Hz can help.

Next, add Utility after EQ Eight. Keep overall width at 100% but automate or tighten width to 0% under 120–140 Hz. For stronger control, create a low-mono split: duplicate MASTER_SAFE into MASTER_LOW and MASTER_HI. On MASTER_LOW apply a low-pass at 120 Hz and Utility width 0% to force mono. On MASTER_HI high-pass at 120 Hz and process as the wider band. Blend the two groups to taste.

Section E — Multiband Dynamics to tighten and expand:
Add Multiband Dynamics on MASTER_SAFE or MASTER_HI after your split. Use three bands — Low under 120–150 Hz, Mid, and High. For the Low band use gentle compression, ratio around 1.5–2:1, catching 1–2 dB of GR with a fast release for tight DnB. On the Mid band, try slight upward expansion or gentle upward compression to accentuate roller shimmers — fast attack, medium release. High band compression should be very transparent to keep top-end consistent without letting delays poke out.

Section F — Glue and transient management:
Place Glue Compressor after Multiband Dynamics to bind the bus. Use a relatively slow attack (10–30 ms) so primary transients pass, release on Auto or tempo-ish values around 100–200 ms, ratio 1.5:1 to 2:1. Aim for 1–2 dB of gain reduction. If you want extra character, use Drum Buss on a parallel track or send with a low mix amount — 10 to 25 percent — to add saturation and transient shape without killing definition.

Section G — Final saturation and limiting:
Insert Saturator with Soft Clip before the Limiter. Use modest Drive, around 1–3 dB, mode set to Analog Clip or Soft Sine, and keep Dry/Wet low — 10–20% or use a parallel return. For the final limiter, set ceiling to -0.3 dB and drive gain to hit your target LUFS. For DnB aim around -9 to -7 LUFS integrated for club-ready masters, while watching peaks and preserving transient punch. If limiting destroys the roller rhythm, reduce upstream compression, drop limiter gain, or use parallel limiting.

Section H — Automation and groove lock:
Automate the roller bus send level across the arrangement: lift it in drops and breakdowns for more forward motion, pull it back in bass-heavy parts to avoid masking. Use the Groove Pool to extract timing from a reference roller if you need micro-timing lock, applying swing and small randomization. Don’t over-quantize; keep human jitter for life.

Common mistakes to avoid:
- Summing the roller full-range into the stereo master without a high-pass — causes sub cancellation and mud.
- Over-saturating or over-limiting the roller, which kills transient definition and the feeling of roll.
- Big mid/side boosts without mono checking — wide highs that collapse in mono will betray you.
- Excessive master compression that flattens rhythm; prefer parallel compression if the groove goes static.
- Not checking on multiple systems — what’s lush on monitors can be smeary on small speakers.

Pro tips and practical refinements:
Resample short sections at higher sample rates and work with 4–8 bar chunks for precision. Emphasize the first slice transient slightly — small transient boosts or Drum Buss transient knob helps it cut. Keep sub strictly mono and stereo movement above 120–150 Hz. Use tempo-synced subtle modulation like Auto Pan at 1/8 or 1/4 instead of extreme panning. When in doubt about loudness, reference to -9 LUFS and keep an unprocessed peak-safe stem.

Mini practice exercise:
Take a 16-bar loop at 174 BPM. Resample 8 bars, put the clip into Simpler with Slice by Transient. Program a 1-bar MIDI pattern at 1/16 steps with varying velocities, accenting every fourth 1/16. Add EQ Eight HP at 100 Hz, Auto Pan at 1/8, Ping Pong Delay at 1/16 dotted with 18% feedback and 15% wet, and Utility to widen above 250 Hz. Build a master chain with EQ Eight M/S corrective moves, Multiband Dynamics with gentle low compression, Glue Compressor for about 1.5 dB GR, Saturator soft clipping at low wet amount, and Limiter ceiling at -0.3 dB. Export two versions: with the roller and without. Compare energy and note gain staging.

Recap:
You’ve learned to resample and rebuild a roller groove with Simpler and Live’s stock FX, to craft motion with Auto Pan and Ping Pong Delay, and to integrate that roller into a mastering chain that protects sub weight and transient punch. Key mastering moves are mid/side EQ surgery, low-mono splitting, multiband dynamics, gentle glue compression, tasteful saturation, and limiter restraint. The goal is a timeless roller that sits on the master without sacrificing club-level low end or transient clarity.

Final note: think of the roller as a mastering-era “momentum insert” — work non-destructively, match loudness when A/B’ing, and save iterations. Timebox experiments and always check your results on multiple playback systems. Good luck — rebuild your roller, feel the forward motion, and keep the bass tight.

mickeybeam

Go to drumbasscd.com for +100 drum and bass YouTube channels all in one place - tune in!

Generating PDF preview…