Show spoken script
Hey — welcome. Today we’re building impact layers for drum and bass inside Ableton Live. This is a beginner-friendly walkthrough, focused on making one-shot impacts that land hard at 174 BPM, with a deep low end, a mid punch, a sharp top transient, and a wide atmospheric tail. I’ll guide you through the whole chain, give practical settings, and drop coach notes so you can make usable variations fast.
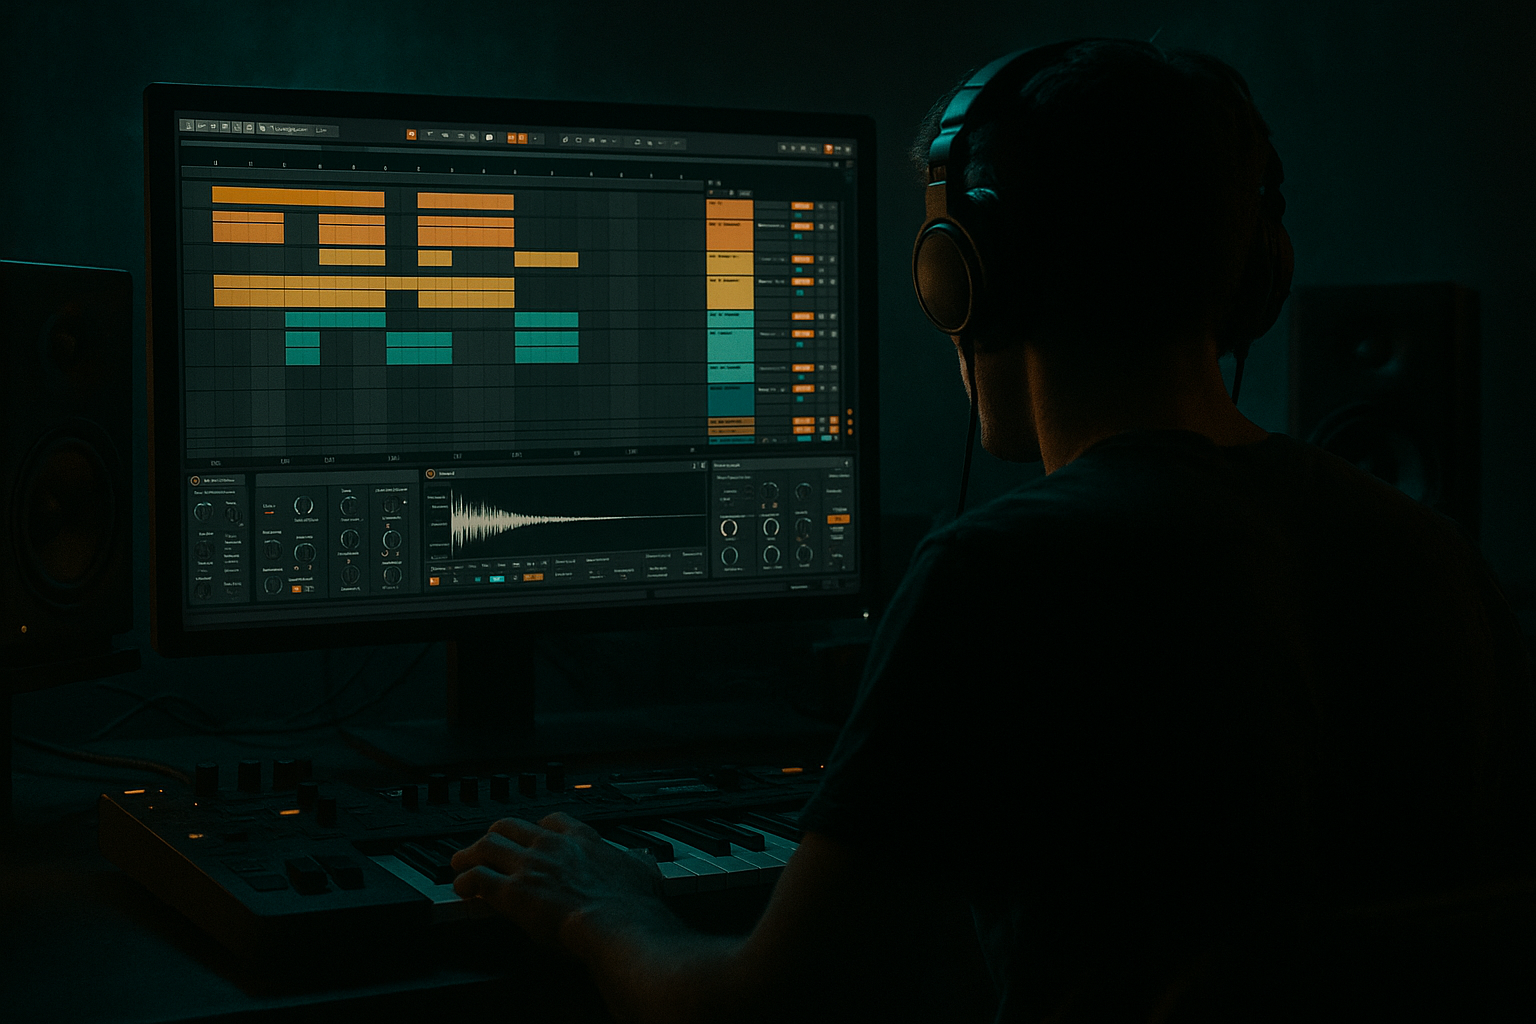
Quick overview: an impact is a layered one-shot used for drops, bar transitions, and emphasis. Think of four roles: sub for the low thump, body for the meaty mid punch, click for the transient snap, and tail for atmosphere. We’ll put these four layers into an Instrument Rack so you can tweak them with macros and reuse them across your arrangement.
Set your project tempo to 174 BPM. Create a new MIDI track, rename it Impact Rack, and drop in an Instrument Rack. Open the chains and make four chains. Name them 01 Sub, 02 Body, 03 Click, and 04 Tail. Silence everything for now—this helps you focus on each role.
Sub layer. On the Sub chain, drop Operator. Set oscillator one to a sine wave. In the amplitude envelope, set attack to zero, decay around 300 milliseconds, sustain zero, release around 80 ms. Add a pitch envelope for that classic thump: amount around minus 24 semitones, pitch envelope decay about 120 ms. Keep unison off and make this mono. After Operator, add EQ Eight. Optionally high-pass at 18–25 Hz to remove inaudible rumble, then low-pass around 120 to 160 Hz so the chain lives purely in the sub. Add a Utility and set width to zero percent. Level the chain so a single hit sits roughly around minus 12 to minus 6 dB on your master meter — we’ll refine later.
Body layer. On the Body chain use Simpler in One-Shot mode and load a kick or a “kick-body” sample with mid presence. Set attack tiny, decay 400 to 600 ms. Chain order: Simpler, Drum Buss, EQ Eight, Glue Compressor. In Drum Buss, try Drive 4 to 8 and Boom 2 to 4 to fatten the lows; set Transient 4 to 8 to sharpen the attack. In EQ Eight high-pass at about 30 Hz, add a gentle boost of three dB around 80 to 120 Hz if that helps, and cut any boxy region at 300 to 500 Hz. Glue Compressor: ratio two to one up to four to one, attack six to ten ms, release on auto, and aim for two to four dB of gain reduction. This is your meat — center it and make it punch.
Click layer. On Click use Simpler loaded with a snare top, rim, or metallic transient. Make decay short, between 30 and 100 ms. Add Saturator set to soft clip and drive three to six dB, then EQ Eight with a high-pass around 400 Hz and a presence boost between two and six kHz — three to six dB. Add a fast compressor with attack one to three ms, release 50 to 150 ms, ratio around four to one to tighten the snap. You can add slight stereo width, but keep the attack mostly centered so it cuts through mono.
Tail layer. On Tail, use a reversed cymbal or a textured pad inside Simpler. Give it a small attack, maybe 10 to 30 ms, and a long decay, one and a half to four seconds. Chain idea: Simpler, Auto Filter for movement, Reverb or Hybrid Reverb, Ping Pong Delay, then EQ Eight. Reverb decay two to four seconds, pre-delay 20 to 50 ms, high-cut around five to eight kHz, and dry/wet between 30 and 50 percent as a starting point. Use Ping Pong Delay at an eighth-note feel with feedback around 25 to 40 percent and a touch of wet. EQ the tail to cut everything below 300 to 500 Hz so it doesn’t muddy your low end. Make this chain wide — it’s the cinematic part.
Aligning and phase. Trigger all four chains with the same MIDI note so the transient lines up. If the low end feels thin or combing occurs, solo the sub and body together and try a quick phase check: invert one layer using Utility phase flip to listen for cancellation. If you hear nulling, nudge the start point in Simpler by a few milliseconds or use the chain delay in the Instrument Rack to add two to eight ms to the sub or body until they lock. A common trick: let the sub be a couple of milliseconds behind the click so the transient cuts through before the thump arrives.
Glue and macros. On the Instrument Rack map three macros: Overall Level, Brightness, and Tail Wet. Map Overall Level to the Instrument Rack output or a Utility gain. Map Brightness to the Click Saturator drive and a high-shelf on the Body EQ. Map Tail Wet to the Reverb and Delay wet controls on the Tail chain. After the rack, place a Drum Buss with a bit of Transient and minimal Drive, then a Glue Compressor at two to one, attack six ms, release around 200 ms, aiming for two to three dB of glue. Keep any final saturator very subtle.
Mixing and placement. Create a one-bar MIDI clip with a single note to audition the impact. Mix so the sub sits under your bass, body and click read clearly, and tail sits behind but audible. Typical placements: a full impact with tail on the bar before a drop, a shorter brighter hit for fills, and a dark heavy hit for scene changes. Save the rack as a preset so you can reuse it.
Common mistakes and fixes. If things are muddy, high-pass everything except the sub — try 300 to 500 Hz on click and tail. If the low end cancels, nudge samples or invert phase to find the sweet spot. Avoid saturating the sub; put saturation on the body and click instead. If reverb bleeds low frequencies, cut those frequencies on the reverb return or use a filtered send. And a quick gain-staging rule: keep the full impact peaking around minus 6 to minus 3 dB before master effects so you have headroom.
Pro tips for darker, heavier DnB. Add gentle distortion on the body using Saturator in Analog Clip mode or Overdrive and blend via Dry/Wet or parallel routing. Use a short FM sweep on the click layer — Operator can add metallic harmonics that cut through the mid-highs. Try a touch of Redux on the tail for grit, but use it parallel so clarity stays intact. For maximum heft, duplicate the impact, low-pass the duplicate under 200 Hz, saturate and blend under the original for extra sub weight. Map a macro to open a filter on the tail so you can automate a cinematic reveal a bar or two before the hit.
Extra coach notes. Think modular: design each role to be reusable on its own. Quick phase-check workflow is solo low and mid, invert phase to hear cancels, then nudge. Save incremental versions like impact_v1_clean and impact_v1_heavy so you can roll back easily. Use dry/wet sparingly with time-based effects while designing the core hit — lock the transient and low content first, then dial in ambience.
Mini practice exercise — aim for 20 to 30 minutes. Build a Practice Impact rack at 174 BPM with four chains: Sub, Body, Click, Tail. Sub: Operator with 300 ms decay and a minus 24 semitone pitch envelope at 120 ms. Body: Simpler loaded with a kick, Drum Buss drive five, EQ HP 30 Hz and boost around 100 Hz. Click: snare-top, short decay, Saturator drive four, EQ boost at 3.5 kHz. Tail: reversed crash or pad, reverb two seconds, HP 400 Hz, delay eighth-note at 25 percent wet. Map Overall Level, Brightness, and Tail Wet, then create three variations: short punch, big cinematic, and dark heavy. Place them in a simple 16-bar arrangement so you can hear how each functions in context.
Advanced ideas if you want to stretch: put multiple tails in the same rack and use a chain selector to switch between short, medium, and long tails in arrangement automation. Try pitch-stack on the body by duplicating and pitching copies up and down a few semitones for harmonic richness. Use granular processing on the tail for glitchier textures. And for very controlled tails, send reverb to a return track and EQ the return to cut below 600 to 800 Hz — this keeps low end clean while you ramp ambience.
Homework challenge: make five impact variants from a single core impact and render them. Create quick notes saying what you changed for each variant and place them across a short 32-bar demo so I can hear how you used each one. Export with headroom and include a screenshot of your rack macros. If you want feedback, send the WAVs and notes and I’ll give targeted mix and design tips.
Recap: impacts are four-role stacks — Sub, Body, Click, Tail. Use Operator and Simpler with Drum Buss, Saturator, EQ Eight, and Reverb to shape each role. Keep the sub mono, high-pass non-sub layers, align transients carefully, and map macros for fast adjustment. Save presets and build variants for different moments in your track.
Alright — go build some impacts. They’re small sounds that create big moments. Send me a clip when you’ve got something and I’ll help tighten the low end, sharpen the transient, and make it sit perfectly in your mix. Let’s hear it.