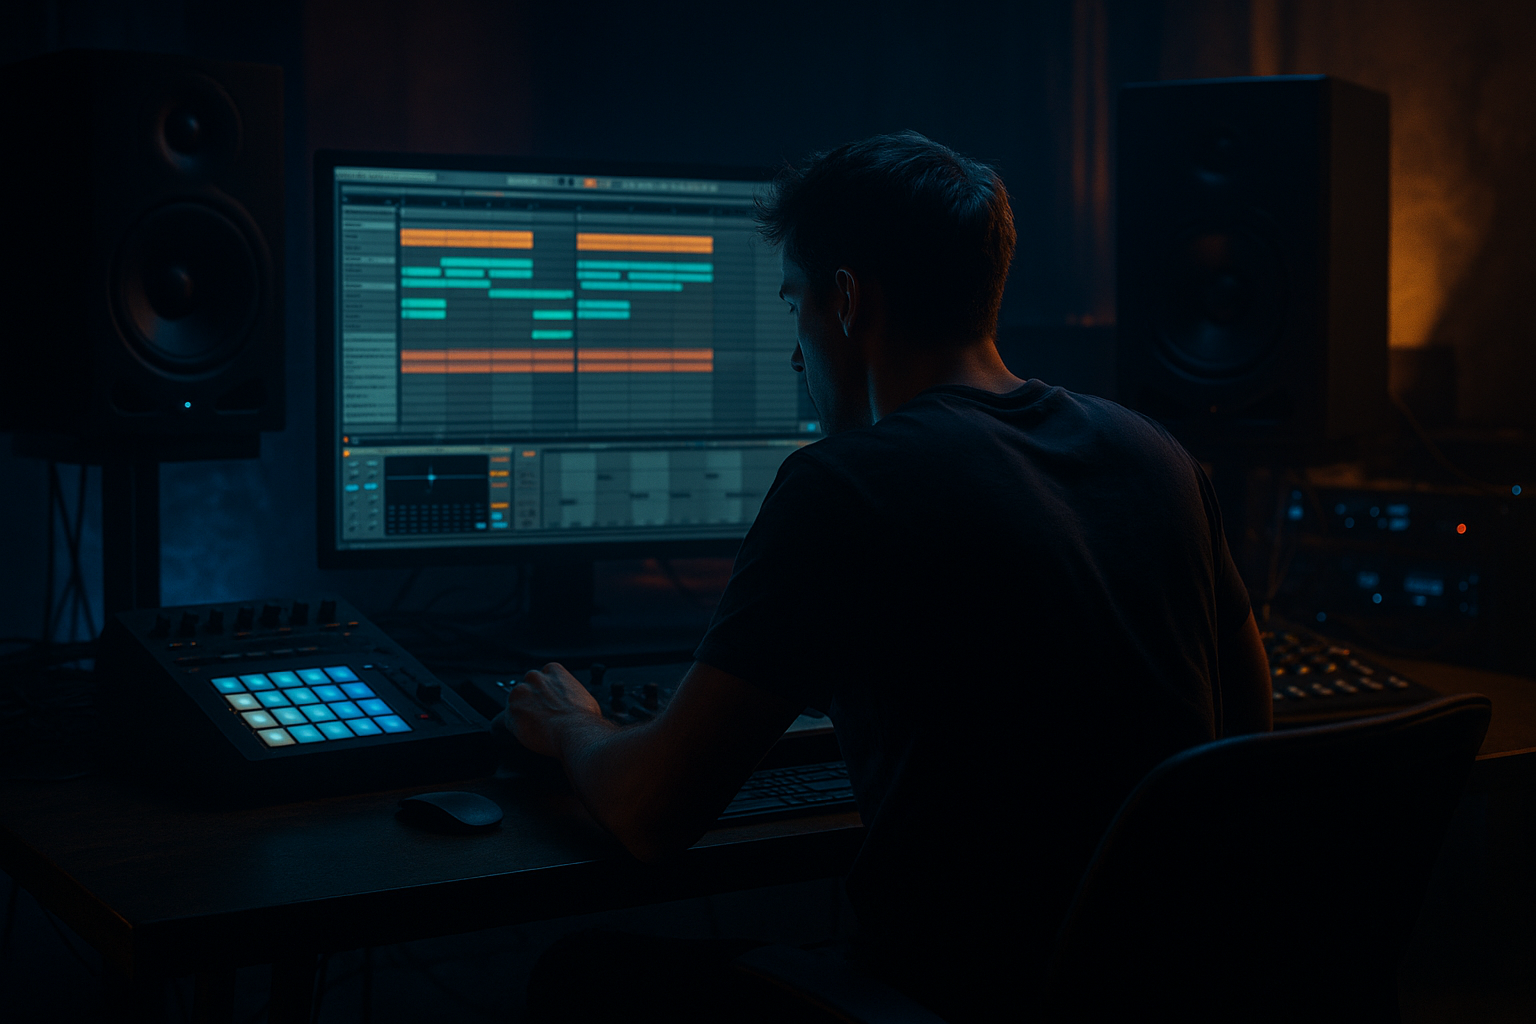
DNB COLLEGE

Drum & Bass Ableton Live 12 Tutorials

LESSON DETAIL

Hybrid Minds breath FX in Ableton Live 12 for breakbeat science (Advanced · DJ Tools · tutorial)

An AI-generated advanced Ableton lesson focused on Hybrid Minds breath FX in Ableton Live 12 for breakbeat science in the DJ Tools area of drum and bass production.

Back to lessons
Hybrid Minds breath FX in Ableton Live 12 for breakbeat science (Advanced · DJ Tools · tutorial) cover image

Narrated lesson audio

The voice track includes the tutorial plus extra teacher commentary.

Open audio file

Main tutorial

1. Lesson Overview

This advanced lesson teaches Hybrid Minds breath FX in Ableton Live 12 for breakbeat science — building a flexible, DJ-ready Breath FX Rack and playable instruments designed to sit with chopped breaks, add tension to edits, and function as live DJ tools. You will create both sampled and synthesized breath layers, tempo-sync modulation that breathes with a breakbeat, and an Audio Effect Rack with mapped macros for live tweaking and exporting stems for DJ sets.

2. What You Will Build

  • A dual-layer Breath FX Instrument (Sampler + Operator noise layer) that produces inhale/exhale textures.
  • An Audio Effect Rack (Master breath processing) with tempo-synced grain/pitch motion, reverb/delay tails, and sidechain ducking keyed to a breakbeat.
  • A session-ready clip and mapped macros for live performance (volume, filter, pitch, wet/dry).
  • Export-ready stems and loopable one-shots optimised for DJ Tools and breakbeat edits.
  • 3. Step-by-Step Walkthrough

    Important: This walkthrough uses only Ableton Live 12 stock devices and session workflows. The phrase "Hybrid Minds breath FX in Ableton Live 12 for breakbeat science" will be applied directly in steps.

    Step 1 — Prep material and session

  • Import a breakbeat loop you will reference (e.g., 174–176 BPM typical DnB). Create an Audio Track named BREAK_REF and set it to loop.
  • Collect 3–6 short breath samples (1/4–1s) — or record your own mouth inhales/exhales at 44.1/48kHz. Name the track BREATH_SAMPLES.
  • Create a MIDI track called BREATH_INSTR.
  • Step 2 — Build the sampled breath layer (Sampler)

  • Drop a Sampler on BREATH_INSTR.
  • Load one short breath shot into Sampler’s Sample tab. Set Mode to One-Shot (for single exhale) or Gate (for controlled sustain).
  • In Pitch/Osc section set Warp to Transpose & Tune controls: tune the sample -12 to +12 semitones for variation. Map a Macro later to coarse tune for live pitch rises.
  • In Pitch Envelope: set Attack ~10–30 ms, Decay 200–400 ms, Sustain 0–10% (short breath hits), Release 80–150 ms. This creates the inhale/exhale contour.
  • In Filter section, enable a Multimode Filter (LP 24 dB). Set cutoff around 3–5 kHz to remove harsh air, Resonance ~0.5. Map cutoff to a Macro labeled "Breath Tone".
  • Step 3 — Add an analog/noise synth layer (Operator) for body

  • Create a second MIDI track BREATH_NOISE with an Operator.
  • Set Operator’s oscillator A to white noise (or use Sine + high-rate FM through a bandpass to simulate turbulent noise).
  • In Operator, use the Filter section: use a Band-Pass centered around 2–6 kHz with moderate Q to create breathiness with a tone center. Lower frequencies (<300Hz) should be removed with a high-pass.
  • Program a short MIDI region: one note per breath hit; vary velocity to control the amplitude envelope. Set Operator’s amp envelope to Attack 8–20 ms, Decay 150–300 ms, Sustain 0–10%, Release 80–160 ms.
  • Step 4 — Layering and initial mix

  • Route both BREATH_INSTR and BREATH_NOISE to a Group track called BREATH_GROUP.
  • Insert an EQ Eight at the top of BREATH_GROUP: High-pass at 160–220 Hz (gentle slope), slight dip 300–500 Hz (-2 to -4 dB) to reduce mud, boost 2.5–4 kHz +1.5–3 dB to emphasize air.
  • Place a Utility set to +2 to +4 dB to match perceived level. Keep headroom; don’t clip.
  • Step 5 — Sculpt dynamics and transients (Compressor / Glue)

  • Add a Compressor (or Glue Compressor) after EQ. Settings: Attack 0.1–2 ms (very fast) to tame spikes, Release 150–400 ms, Ratio 3:1–6:1, Threshold to get 2–6 dB gain reduction. This glues breath layers and keeps them controlled against break transients.
  • For more punch, parallel compress: duplicate BREATH_GROUP to BREATH_PARALLEL, heavy Compress/Glue (10:1, fast attack, short release), then blend under the dry group to taste.
  • Step 6 — Create motion: tempo-synced graininess & pitch

  • On BREATH_GROUP insert Grain Delay (stock device). Set Delay Time to 1/32 or 1/16 (sync), Spray ~20–35, Pitch ±6–12 semitones (small values for shimmer), Feedback 12–20%. Mix low (10–30%) to add micro-grain motion like Hybrid Minds airy shimmers.
  • Add a Frequency Shifter after Grain Delay: set small detune (0.1–1.0 Hz) and map the Frequency to a Macro named "Warp" for live vibrato/whale-like movement.
  • For larger pitch sweeps, add a second Sampler layer with an upward pitch envelope (or automate Sampler transpose). Map that transpose to a Macro mapped to a MIDI CC for live pitch-rise effects.
  • Step 7 — Add formant/character (Spectral Resonator / Corpus optional)

  • Insert Spectral Resonator (if in your Live 12 stock set) after Frequency Shifter. Choose vowel-like presets, dial the Amount low (10–25%) to create Hybrid Minds vowel character without turning it into a full vocal.
  • Alternatively use Corpus with low damping and tuned resonance at ~1.5–4 kHz to emulate throat/formant emphasis.
  • Step 8 — Space and tail shaping (Hybrid Reverb + Echo)

  • Put Hybrid Reverb: Pre-delay 15–45 ms (helps keep breath attack), Size small–medium, Diffusion 30–50%, Cut high freq of reverb tail above 6–8 kHz to prevent sibilance.
  • Insert Echo (tempo-synced) after Reverb: choose 1/8 or dotted 1/16 delay, Feedback 10–25%, Filter lowcut ~300 Hz and lowpass ~6–8 kHz to keep delay warm. Wet around 10–25% — you want breath tails without masking breaks.
  • Step 9 — Rhythmic interaction with the break (sidechain and gating)

  • Add a Compressor after Echo for sidechain. Set sidechain input to BREAK_REF (or to the break bus you’re using). Attack 0–3 ms, Release 80–160 ms, Ratio 4:1–8:1. Adjust Threshold so each major kick/snare transient ducks breath level 3–8 dB — this keeps breath from masking break hits while producing a pumping feel.
  • For more precise rhythm, insert Gate after Compressor keyed by BREAK_REF with an appropriate lookahead to clip breath between hits, or automate the group volume with clip automation to create stuttered breath syncs.
  • Step 10 — Build an Audio Effect Rack for DJ Tools

  • Collapse the BREATH_GROUP chain into an Audio Effect Rack and create 4 macro knobs:
  • 1) Breath Level — maps to Group gain.

    2) Tone (Filter Cutoff) — maps to Sampler filter cutoff, Operator filter freq, and EQ Eight frequency band.

    3) Warp (Pitch/Grain) — maps to Grain Delay Pitch, Frequency Shifter Amount, and Sampler transpose.

    4) Wet/Dry Space — maps to Hybrid Reverb Dry/Wet and Echo Dry/Wet.

  • Macro mapping tips: map multiple devices to one macro but use scaling (right-click Map > adjust min/max) so small moves are musical.
  • Step 11 — Make it live/DJ friendly

  • Put the Rack on an audio track so you can drop pre-recorded breath clips or resampled MIDI output.
  • Create a set of one-shot clips (1/4–2 bar) of inhale/exhale with off-beat timing, warp them as loops. Create follow-actions so alternating clips can run automatically for hands-free DJ tools.
  • Map Macro 1–4 to a MIDI controller for on-the-fly performance.
  • Step 12 — Export stems and DJ-ready loops

  • Render the BREATH_GROUP with the Rack engaged in sections: short one-shots, looping 2-bar beds, and long reverb tails (8–12 s). Export at 24-bit WAV and include both dry and wet versions for DJ flexibility.
  • 4. Common Mistakes

  • Over-reverb: drowning the break. Keep pre-delay and low wet to maintain transient clarity.
  • Too much low-end: breath should not add sub energy. High-pass at 140–220 Hz to avoid muddying kick/snare.
  • Over-saturation: adds warmth but can smear transient detail — use subtle Saturator or parallel chain.
  • Static breath: neglecting tempo-synced motion (grain delay/pitch) makes breath feel static beside chopped breaks.
  • Incorrect sidechain timing: too long a release ducks breath into the next hit — tune release to break transient spacing.
  • Macro mapping too coarse: mapping wide ranges without scaling makes performance brittle. Use min/max scaling.
  • 5. Pro Tips

  • Use Multiband Dynamics to duck only the mids where breaks live, so you keep breath highs intact while clearing space for snares.
  • Resample variations: record multiple macro positions to create high-quality one-shots that maintain the live-controlled character without CPU overhead.
  • Layer short gate-chopped breaths locked to the snare for rhythmic sync, and a long airy pad for tension — blend with macros.
  • Use clip envelope automation to modulate filter cutoff in the clip (Session view) for precise rhythmic modulation without an LFO device.
  • For DJ tools, include both an “ambient” version (long tails) and a “tight” version (short release, low reverb) so DJs can choose depending on mix context.
  • Use Utility phase inversion if breath is used in stereo to avoid cancellation when mixing with other stereo-busy elements.
  • If you need vocal vowel character, gently automate Spectral Resonator parameters and avoid extreme settings that produce obvious pitching.
  • 6. Mini Practice Exercise

    Create three performance-ready breath clips in one session:

  • Clip A: Short exhale (1/4 bar), tight tone. Build using Sampler only, filter cutoff 3.5 kHz, Compressor ducking on each kick.
  • Clip B: Airy pad (2 bars), heavy Grain Delay 1/16, Hybrid Reverb tail 40% wet, slow upward pitch macro mapped to Warp.
  • Clip C: Stuttered inhale (one-bar rhythmic gate): duplicate Clip B, add Gate keyed to break, automate Gate Threshold to create 1/16 rhythmic gaps.

Map Breath Level and Warp macros to two knobs on a MIDI controller, and practice triggering A→B→C over your break loop, adjusting macros in real time until breaths sit cleanly with drums.

7. Recap

This lesson walked through creating Hybrid Minds breath FX in Ableton Live 12 for breakbeat science: layered sampled and synthesized breath sources, tempo-synced grain/pitch motion, formant shaping, space (Hybrid Reverb/Echo), and rhythmic sidechaining keyed to breaks. You built a modular Audio Effect Rack with mapped macros for live DJ performance, exported DJ-friendly stems, and practiced arranging three useful breath clip types. Use the practice exercise and pro tips to make breath FX that enhance, rather than mask, your breakbeat edits — perfect for Hybrid Minds–style atmospheric touches in DJ Tools.

Ask GPT about this lesson

Chat with the lesson tutor, get follow-up help, or use quick actions.

Bigup 👽 Ask me anything about this lesson and I’ll answer in context.

Narration script

Show spoken script
Title: Hybrid Minds breath FX in Ableton Live 12 for breakbeat science

Welcome. In this advanced lesson we’re making Hybrid Minds breath FX in Ableton Live 12 for breakbeat science — a flexible, DJ-ready Breath FX Rack and playable instruments designed to sit with chopped breaks, add tension to edits, and function as live DJ tools. Follow along and you’ll build both sampled and synthesized breath layers, tempo-synced modulation that breathes with a breakbeat, and a compact Audio Effect Rack with mapped macros for live tweaking and exporting stems for DJ sets.

What you’ll build:
- A dual-layer Breath FX Instrument — Sampler plus an Operator noise layer — producing inhale and exhale textures.
- A master Audio Effect Rack with tempo-synced grain and pitch motion, reverb and delay tails, and sidechain ducking keyed to a breakbeat.
- Session-ready clips with mapped macros for live performance, and export-ready stems and loopable one-shots optimized for DJ Tools and breakbeat edits.

Step 1 — Prep your material and session
Start by importing a breakbeat loop to reference — typical DnB tempo, 174 to 176 BPM. Create an audio track named BREAK_REF and set it to loop. Collect three to six short breath samples, one quarter to one second long, or record your own mouth inhales and exhales at 44.1 or 48 kHz, and place them on a track named BREATH_SAMPLES. Create a MIDI track called BREATH_INSTR. Remember the lesson phrase: Hybrid Minds breath FX in Ableton Live 12 for breakbeat science — we’ll apply that concept directly as we design tempo-synced, expressive breath sounds that sit with fast breaks.

Step 2 — Build the sampled breath layer with Sampler
Drop Sampler onto BREATH_INSTR and load a short breath shot. Choose One-Shot for single exhales or Gate for controlled sustains. In the Pitch/Osc section set up Transpose and Tune so you can vary the sample between minus twelve and plus twelve semitones — we’ll map a macro for coarse pitch rises later. In the pitch envelope use a short attack, around ten to thirty milliseconds, decay between two hundred and four hundred milliseconds, sustain near zero to ten percent, and release around eighty to one hundred fifty milliseconds — this creates inhale and exhale contours. Turn on a multimode filter, use a 24 dB low-pass, and set cutoff somewhere around three to five kilohertz to remove harsh air. Set resonance modestly and map cutoff to a macro labeled Breath Tone.

Step 3 — Add an analog/noise synth layer with Operator
Create a second MIDI track called BREATH_NOISE and load Operator. Use white noise on oscillator A, or combine a sine with high-rate FM and a bandpass to emulate turbulent noise. Use Operator’s filter as a band-pass centered roughly two to six kilohertz and apply a high-pass under three hundred hertz to remove low frequencies. Program short MIDI notes — one per breath hit — and vary velocity to shape amplitude. Set the amp envelope to an attack of eight to twenty milliseconds, decay one hundred fifty to three hundred milliseconds, low sustain, and release eighty to one hundred sixty milliseconds. This gives body and texture beneath the sampled shot.

Step 4 — Layering and initial mix
Route BREATH_INSTR and BREATH_NOISE into a Group track called BREATH_GROUP. Place an EQ Eight at the top: high-pass around 160 to 220 Hz with a gentle slope, a slight dip of two to four decibels in the 300–500 Hz range to reduce mud, and a small boost of 1.5 to 3 dB around 2.5 to 4 kHz to emphasize air. Add a Utility set to plus two to four dB to match perceived level, but keep headroom and avoid clipping.

Step 5 — Sculpt dynamics and transients
Insert a Compressor or Glue Compressor after EQ. Use a very fast attack, 0.1 to 2 milliseconds, release 150 to 400 milliseconds, ratio between three to one and six to one. Set threshold for around two to six dB of gain reduction — this glues breath layers and keeps them controlled against break transients. If you want more punch, create a parallel chain: duplicate BREATH_GROUP into a BREATH_PARALLEL group, apply heavy compression there — think ten to one with fast attack — then blend the parallel chain under the dry group.

Step 6 — Create motion: tempo-synced graininess and pitch
On BREATH_GROUP insert Grain Delay and set Delay Time to a synced division like 1/32 or 1/16. Add Spray between twenty and thirty-five, pitch small amounts for shimmer, plus or minus six to twelve semitones for subtle motion, and feedback around twelve to twenty percent. Keep mix low, ten to thirty percent, for micro-grain motion. After Grain Delay add Frequency Shifter with very small detune, 0.1 to one hertz, and map the Frequency to a macro named Warp for live vibrato or whale-like movement. For larger pitch shifts, add a second Sampler layer with an upward pitch envelope or automate Sampler transpose, and map transpose to a macro or MIDI CC for on-the-fly rises.

Step 7 — Add formant and character
If Live 12 includes Spectral Resonator, insert it after Frequency Shifter and choose vowel-like settings, keeping Amount low, ten to twenty-five percent, to introduce vowel character without turning the breath into a full vocal. Alternatively, use Corpus with low damping and resonances around 1.5 to four kilohertz to emulate throat emphasis. Keep these effects subtle so the breath remains textural.

Step 8 — Space and tail shaping
Add Hybrid Reverb with a pre-delay of fifteen to forty-five milliseconds to preserve attack, size small to medium, diffusion thirty to fifty percent, and roll off highs of the reverb tail above six to eight kilohertz to avoid sibilance. After reverb place Echo set to tempo-synced divisions like eighth note or dotted sixteenth, feedback ten to twenty-five percent, and filter the delay with a low-cut at about 300 Hz and a low-pass near six to eight kHz to keep the repeats warm. Keep wet levels moderate, ten to twenty-five percent, so tails add presence without masking the breaks.

Step 9 — Make breath interact rhythmically with the break
Insert a Compressor after Echo and enable sidechain input from BREAK_REF or your drum bus. Use attack zero to three milliseconds, release eighty to one hundred sixty milliseconds, ratio four to one up to eight to one. Set threshold so major kick and snare transients duck the breath by three to eight dB — this keeps breath from masking hits and adds a pumping feel. For precise rhythmic gating, add a Gate keyed by BREAK_REF or automate the group volume with clip automation to create stuttered breath syncs.

Step 10 — Build an Audio Effect Rack for DJ Tools
Collapse BREATH_GROUP into an Audio Effect Rack. Create four macro knobs:
1) Breath Level — mapped to the group gain.
2) Tone — mapped to Sampler filter cutoff, Operator filter frequency, and the EQ Eight frequency band.
3) Warp — mapped to Grain Delay pitch, Frequency Shifter amount, and Sampler transpose.
4) Wet/Dry Space — mapped to Hybrid Reverb and Echo dry/wet.
When mapping, use scaling so small macro moves are musical. Right-click map and set min and max ranges to control sensitivity.

Step 11 — Make it live and DJ friendly
Place the Rack on an audio track so you can drop pre-recorded breath clips or resampled MIDI. Create one-shot clips from one quarter to two bars and loop them where needed; warp them if you want tempo-locked behavior. Use follow-actions to alternate clips for hands-free operation. Map the four macros to a MIDI controller for real-time performance.

Step 12 — Export stems and DJ-ready loops
Render BREATH_GROUP with the Rack engaged in multiple sections: short one-shots, looping two-bar beds, and long reverb tails of eight to twelve seconds. Export at 24-bit WAV and include both dry and wet versions so DJs can choose what suits their mix.

Common mistakes to watch for
- Over-reverb: don’t drown the break. Use pre-delay and keep wet low to maintain transient clarity.
- Too much low-end: breath shouldn’t add sub energy. Use a high-pass around 140 to 220 Hz.
- Over-saturation: subtle saturation can warm, but too much will smear transients.
- Static breath: neglecting tempo-synced motion like Grain Delay makes breath feel inert beside chopped breaks.
- Incorrect sidechain timing: too long release causes ducking into the next hit — tune release to the break spacing.
- Macro mapping too coarse: avoid wide, unscaled maps. Use min/max scaling for smooth performance.

Pro tips
- Use Multiband Dynamics to duck only midrange where snares live, keeping highs intact for air.
- Resample variations: record macro positions into one-shots so DJs can use them CPU-free.
- Layer short gate-chopped breaths locked to snares with a long airy pad for tension; blend with macros.
- Modulate filter cutoff with clip envelopes in Session view for precise rhythmic control without LFOs.
- Include both ambient long-tail and tight short-release versions for DJ flexibility.
- Use Utility phase inversion when needed to avoid stereo cancellation.
- Automate Spectral Resonator gently for vowel motion without extreme pitching.

Mini practice exercise
Create three performance-ready breath clips in one Live set:
- Clip A — Short exhale, one quarter bar, Sampler only, filter cutoff near 3.5 kHz, compressor duck keyed to each kick.
- Clip B — Airy pad over two bars, heavy Grain Delay at 1/16, Hybrid Reverb wet around 40 percent, slow upward pitch mapped to Warp.
- Clip C — Stuttered inhale over one bar: duplicate Clip B, add a Gate keyed to the break, and automate Gate threshold to create 1/16 rhythmic gaps.
Map Breath Level and Warp to two knobs on your MIDI controller, and practice triggering A to B to C over your break loop while adjusting macros until breaths sit cleanly with drums.

Recap
We built Hybrid Minds breath FX in Ableton Live 12 for breakbeat science: layered sampled and synthesized breath sources, tempo-synced grain and pitch motion, formant shaping, spatial tails with Hybrid Reverb and Echo, and rhythmic sidechaining keyed to breaks. You created a modular Audio Effect Rack with four mapped macros for live DJ performance, exported DJ-friendly stems, and practiced three useful breath clip types. Use the pro tips and practice exercise to make breath FX that enhance rather than mask your breakbeat edits — breathing life into transitions and atmospheres in a Hybrid Minds–style.

Extra coach notes — key reminders and workflow
- Concept and placement: breath FX live in the mid and high frequencies, above low-end and around snare transients. Design them to add tension and human texture without competing with kick and sub. Always check breath sounds in context.
- Sample selection: collect many small variations, trim tightly, fade ins of three to ten milliseconds to avoid clicks, and normalize for headroom.
- Advanced layering: use velocity layers, round-robin chains, and key zoning for immediate performance access.
- Tuning: tune long beds to the track key when useful; use small pitch offsets to fit harmonically.
- Dynamics and sidechain: multiband ducking is powerful; set release to just shorter than break spacing; use lookahead for transient catches or keyed gates for stuttering.
- Modulation: tempo-synced Grain Delay, macro morphing, and gentle formant automation create movement.
- Routing and CPU efficiency: use return sends for big tails, freeze and flatten when finalized, and resample macro positions to make one-shots.
- DJ-ready exports: provide dry and wet versions, tempo-labeled filenames, and normalize to safe headroom.
- Performance setup: map macros, create chain selector presets for Short/Medium/Long/Stutter, and use follow-actions for hands-free alternation.
- Stereo and phase: keep breath highs wide but mono the low region below 700 to 900 Hz; use micro-delay for width rather than extreme Haas on low content.
- Creative uses: breath risers, chopped breath fills, and reversed tails are great for transitions.
- Troubleshooting: if breaths clash with vocals, carve narrow dips at 2 to 4 kHz; if ducking removes impact, layer a tiny bright transient under the breath.

Final creative reminder
Less is often more. The best breath FX in a DJ set feel like part of the arrangement, not an overlay. Decide if each breath element serves rhythm, space, or emotion, and optimize processing for that purpose. Save a Breath FX template with pre-routed tracks and return channels so you can build tools quickly for live sets.

That’s the lesson. Go build your Hybrid Minds breath FX in Ableton Live 12 for breakbeat science, resample your favorite macro states, map your controller, and make a pack of DJ-ready stems to use in the next set.

mickeybeam

Go to drumbasscd.com for +100 drum and bass YouTube channels all in one place - tune in!

Generating PDF preview…