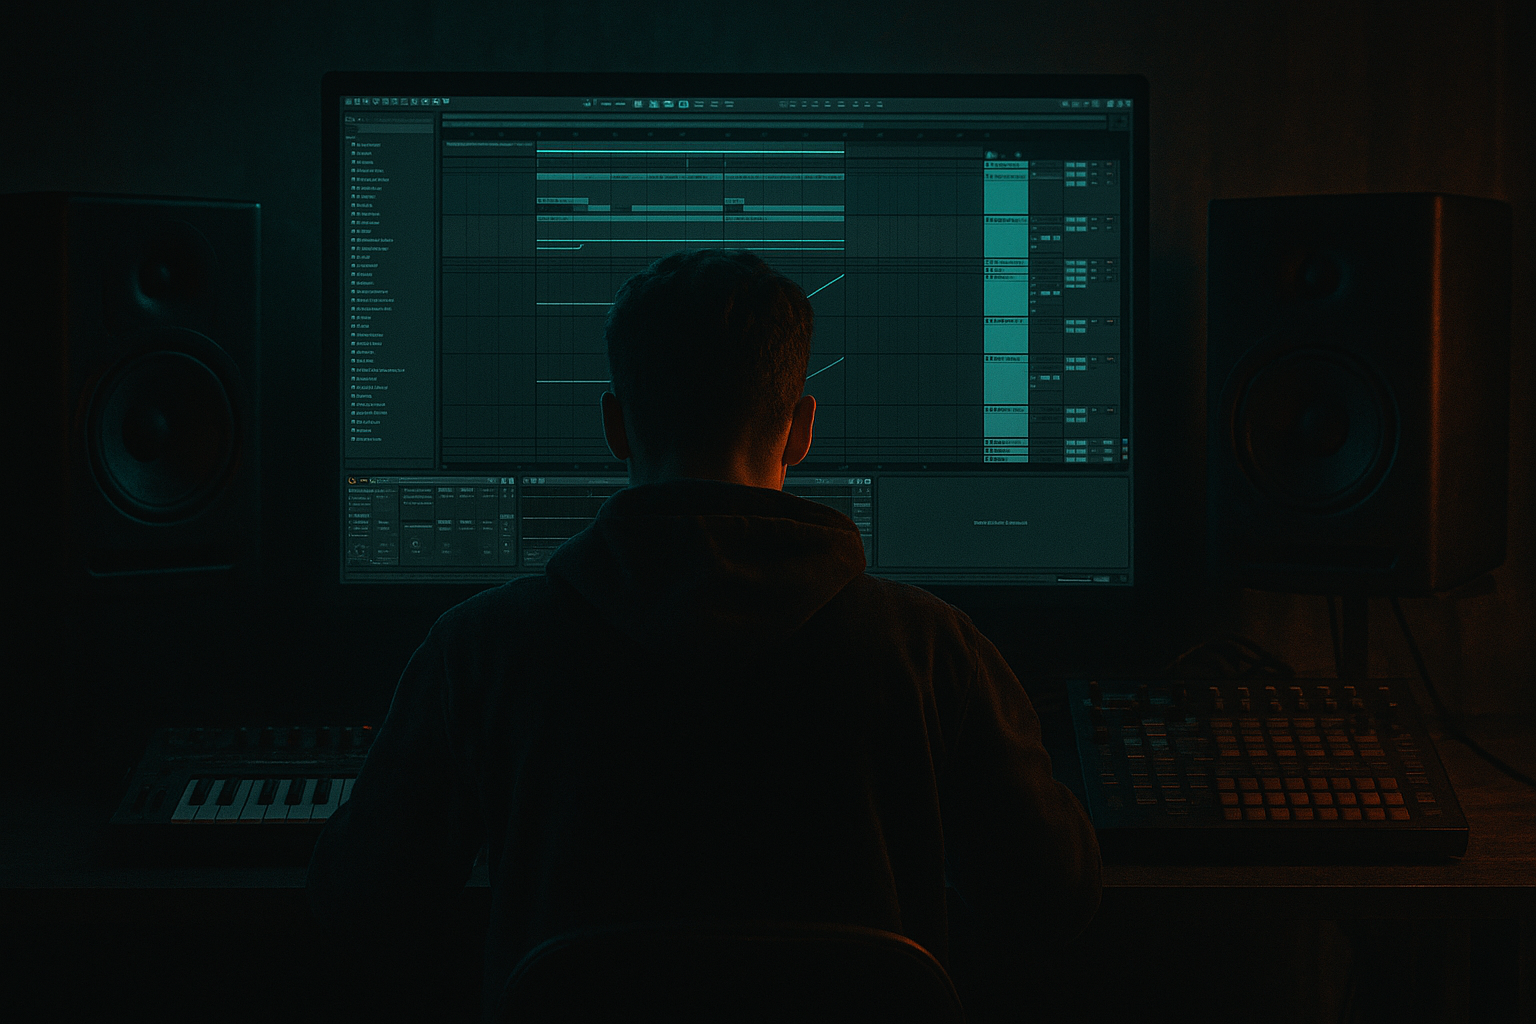
Main tutorial
Lesson Overview
Oldskool DnB has a very specific kind of impact: the drums feel human, the bass feels huge, and the groove feels like it’s pulling against the grid just enough to stay alive. In this lesson, you’ll learn how to humanize oldskool drum impact while keeping the sub clean and heavyweight in Ableton Live 12.
This matters because beginner DnB producers often make one of two mistakes:
1. The drums are too rigid and robotic, so the track feels flat.
2. The drums are too loose or too messy, so the low end loses power.
Oldskool jungle, rollers, and darker DnB all rely on a balance of timing, swing, transient control, and sub discipline. You want the kick and snare to punch like they were performed, but the sub should stay locked and stable. That contrast is what makes the drop feel massive.
In Ableton Live 12, you can build this style quickly using stock tools like:
- Drum Rack
- Simpler
- Sampler
- EQ Eight
- Drum Buss
- Glue Compressor
- Saturator
- Auto Filter
- Utility
- Groove Pool
- A humanized oldskool break-based drum pattern
- A weighty subline that stays mono and solid
- A slightly unstable reese or mid-bass layer for character
- Ghost notes and subtle timing movement to make the drums breathe
- A drop-ready arrangement idea that works in jungle, rollers, or darker half-time sections
- Bars 1–4: stripped intro groove with break chops, filtered bass hints, and tension
- Bars 5–8: fuller drop with a snare-led pattern, subline, and small fill
- Strong call-and-response between drums and bass
- Enough swing to nod your head, but not so much that the kick/sub relationship gets blurry
- Making the drums too quantized
- Putting too much swing on everything
- Letting the reese or bass layer fight the sub
- Over-compressing the drum bus
- Using too much stereo width in the low end
- Ignoring velocity
- Filling every bar with too many sounds
- Resample your bass once it feels good
- Add saturation only where needed
- Use short snare reverb throws
- Leave a gap before the biggest snare
- Make the bass answer the drums, not compete with them
- Keep the sub simple during busy break edits
- Use filtered ambience in the intro
- rigid vs human drums
- muddy vs clean bass
- weak vs heavyweight impact
- Humanized oldskool DnB impact comes from timing, velocity, and groove control, not random looseness.
- Keep the sub separate, mono, and simple.
- Use break chops, ghost notes, and light swing to create movement.
- Let the reese or mid-bass provide texture, not low-end weight.
- Use Ableton stock tools like Simpler, Operator, Wavetable, EQ Eight, Drum Buss, Glue Compressor, Saturator, Groove Pool, and Utility.
- Build the arrangement with space, call-and-response, and short fills so the drop feels powerful and alive.
The workflow here is not about making every sound “perfect.” It’s about making the groove feel believable, then letting the sub hit with confidence underneath it. That’s the classic DnB tension: human drums, disciplined low end, and enough grime to feel dangerous.
What You Will Build
By the end of this lesson, you’ll have a short 8-bar DnB loop that includes:
Musically, think of something like:
The final result should feel like a compact DnB section you could build into a full track, remix, or DJ-friendly intro/drop structure.
Step-by-Step Walkthrough
1. Set the tempo and create a simple DnB template
Start a new Ableton Live 12 set and set the tempo to 170–174 BPM. For a more oldskool jungle feel, 172 BPM is a great starting point. Create these tracks:
- Drum Rack track
- Sub bass track
- Reese/mid-bass track
- FX track for impacts and risers
- Return track for reverb or delay if needed
Keep the session organised early. Name tracks clearly and color them. This is a workflow habit that saves time later when you start layering and automation.
For a beginner DnB template, a clean track layout helps you make decisions faster:
- Drums in one group
- Bass in one group
- FX separate
- Reference track muted but ready
Why this works in DnB: fast music needs fast decisions. If your set is tidy, you can focus on groove and weight instead of hunting for clips.
2. Load a break and chop it into a playable groove
Drag a classic break or break-style loop into Simpler or directly onto an audio track. If you have a break with strong snare and ghost-note detail, even better. For oldskool impact, use a break with a little room tone and natural transient shape.
Then do one of these:
- Put the break in Simpler and use Slice mode
- Or chop it manually in Arrangement View
Start with a simple pattern:
- Kick on the downbeat
- Snare on 2 and 4
- Add chopped break hits around the main snare
- Keep a few ghost hits slightly ahead or behind the grid
In Ableton Live, use Warp carefully:
- Keep timing correction light
- Do not over-tighten every slice
- Let some break hits remain a little imperfect
For a beginner, a good rule is:
- Main snare hits: align close to the grid
- Ghost notes: keep a little looser
- Tiny fills: let them feel performed
This gives the groove life without losing the DnB backbone.
3. Add Groove Pool swing instead of random timing chaos
Oldskool drum feel usually comes from controlled swing, not random sloppy timing. Open the Groove Pool and try a classic MPC-style or swing-based groove preset. Apply it lightly to the break chops or ghost-note pattern.
Good starting ranges:
- Timing: 10–30%
- Velocity: 10–25%
- Random: keep low or off at first
The goal is not to make the whole pattern off-grid. You want the hi-hats, break fragments, and little percussion details to lean into the groove while the snare stays strong.
If the groove starts to feel too drunk, reduce the timing amount and keep only velocity variation. That often gives a more authentic oldskool feel than heavy swing.
Why this works in DnB: swing makes the drums feel human, but DnB still needs a strong grid anchor. The snare and sub are the anchor; the break fragments provide the movement.
4. Build the sub as a separate, clean instrument
Create a sub track using Operator, Wavetable, or even a Simple sine in Instrument Rack. For beginner workflow, Operator is perfect.
Suggested setup:
- Oscillator: sine or very clean waveform
- Filter: off or very gentle low-pass
- Monophonic: on
- Glide/portamento: short, if desired, around 20–60 ms
- Note length: keep notes fairly short unless you want sustained pressure
Write a basic sub pattern that supports the drums instead of fighting them. In DnB, the sub often works best with:
- Root notes
- Small note changes
- Call-and-response phrasing
- Gaps around important snare hits
A strong beginner approach is:
- Let the sub hit on the first beat of the bar
- Add a second note leading into bar 2 or 4
- Leave space when the snare or break fill is busy
Keep the sub mono using Utility:
- Width: 0%
- Bass in mono only
Also check your levels. The sub should feel powerful, but not clip the channel. Leave headroom, especially if you plan to add saturation later.
5. Layer a reese or mid-bass for oldskool attitude
To get that darker DnB character, add a second bass layer above the sub. Use Wavetable, Analog, or a resampled bass patch. Keep it simple: you are not building a lead synth, you are building pressure.
Easy starting point in Wavetable:
- Two oscillators slightly detuned
- Low-pass filter gently moving
- Small amount of unison if needed, but keep it controlled
- Add Saturator for grit
Suggested bass processing chain:
- EQ Eight: high-pass around 80–120 Hz so it doesn’t fight the sub
- Saturator: Drive around 2–6 dB
- Auto Filter: automate cutoff slightly for movement
- Utility: reduce width or keep stereo subtle
The reese should add movement and menace, but the sub must stay in charge of the low end. If the bass feels cloudy, turn the layer down rather than trying to “fix” it with more processing.
A good rule:
- Sub = weight
- Reese = texture
- Drums = impact
6. Humanize the drums with velocity and ghost notes
This is the core of the lesson. Humanizing oldskool impact is not just about timing — it’s also about velocity shape and ghost-note placement.
In Ableton Live 12, open the MIDI editor or drum pattern and make small velocity changes:
- Main snare hits: strong and consistent
- Ghost snares: lower velocity
- Hats and break fragments: varied but not random
Try this starting guide:
- Main snare velocity: 110–127
- Ghost notes: 35–70
- Hat accents: 60–100
Then nudge some hits slightly ahead or behind the grid:
- Push a ghost snare a few milliseconds early for urgency
- Pull a hat slightly late for laid-back movement
- Keep the main snare locked enough to hit hard
If you’re using an audio break, you can still humanize by:
- Leaving tiny timing imperfections
- Editing clip gain so some hits stand out more
- Automating small volume changes on drum chop clips
This gives the feeling of a drummer doing subtle variations rather than a loop that repeats identically.
7. Shape the drum bus for punch without killing the groove
Group the drums and put processing on the drum bus. This is where you make the break and one-shot layers feel like one unit.
A beginner-friendly chain:
- EQ Eight: remove unnecessary low rumble below 25–35 Hz
- Drum Buss: drive lightly for body
- Glue Compressor: gentle compression, around 1–2 dB gain reduction
- Optional Saturator: subtle drive for thickness
Useful starting settings:
- Drum Buss Drive: 5–20%
- Glue Compressor Ratio: 2:1
- Attack: 10–30 ms
- Release: Auto or around 0.3–0.6 s
- Keep the compressor gentle so the groove still breathes
If the kick and snare lose punch, reduce the amount of compression rather than pushing harder. In oldskool DnB, punch comes from contrast, not over-compression.
Also check the drum bus in mono sometimes using Utility. If the groove disappears in mono, your layers may be too wide or phasey.
8. Create call-and-response between drums and bass
DnB feels powerful when the drums and bass are in conversation. Don’t let them both play constantly at maximum intensity. Build some breathing room.
A simple arrangement idea:
- Bar 1: break chop + sub hit
- Bar 2: snare variation + short bass answer
- Bar 3: extra ghost hits + bass sustain
- Bar 4: small fill or turnaround
You can automate:
- Bass filter cutoff
- Reese drive amount
- Drum bus saturation slightly up in the drop
- A reverb throw on a snare fill
- A short delay on one percussion hit
Keep transitions short and functional. For a darker rollers vibe, a one-beat or half-bar bass answer after a snare hit can be enough. For jungle, use more break call-and-response and more chopped movement.
This also helps your drop design. Instead of a wall of sound, you get a groove that hits hard because not everything is speaking at once.
9. Use subtle arrangement tricks to make the section feel finished
Build your 8-bar loop like a mini story:
- Bars 1–2: establish the groove
- Bars 3–4: add a ghost note or extra bass variation
- Bars 5–6: bring in the fuller bass layer
- Bars 7–8: add a drum fill, reverse hit, or snare pickup
You can also make a DJ-friendly structure:
- 8-bar intro with drums only
- 8-bar drop with sub and bass
- 4-bar turnaround
- 8-bar second drop with variation
Add a tiny amount of atmosphere if needed:
- Vinyl noise
- Room texture
- A low-passed ambience layer
Keep it subtle. In darker DnB, atmosphere should support the groove, not smear the low end.
10. Finish with low-end checks and simple reference testing
Before saving the project, check three things:
- Mono compatibility: use Utility on the bass group or master to check if the sub stays solid
- Headroom: avoid clipping on the master; keep some space for mastering
- Balance: make sure the snare cuts through without harshness
Compare your loop to a reference track in a similar lane: oldskool jungle, dark rollers, or heavyweight DnB. Listen for:
- How loud the snare feels relative to the sub
- Whether the break has swing or feels stiff
- How much distortion the bass has before it loses clarity
This final check keeps the lesson practical. If it sounds powerful in mono, has a clear snare, and the groove moves naturally, you’re in the right zone.
Common Mistakes
- Fix: loosen ghost notes and break chops slightly, but keep the main snare stable.
- Fix: apply groove lightly. Let the main hits stay solid.
- Fix: high-pass the mid-bass and keep the sub separate and mono.
- Fix: use gentle Glue Compressor settings so the groove still breathes.
- Fix: collapse bass to mono with Utility and keep width for upper texture only.
- Fix: vary ghost notes and hat accents. Human feel often comes from dynamics, not just timing.
- Fix: leave space. DnB impact often comes from contrast and phrasing.
Pro Tips for Darker / Heavier DnB
- Bounce the reese or bass layer to audio and chop it for extra control. This is great for darker movement and cleaner edits.
- Use Saturator or Drum Buss on the bass layer, not the sub. Keep the bottom clean and the top aggressive.
- Automate a small reverb send on a fill only. This adds oldskool space without washing out the drop.
- A tiny silence before the main hit can make the impact feel bigger than adding another layer.
- A short bass stab after a snare can feel heavier than a constant note.
- If the drum pattern gets more active, simplify the subline. Clarity beats complexity in DnB low end.
- A low-passed pad or noise layer creates tension, but keep it out of the drop’s sub range.
Mini Practice Exercise
Spend 10–20 minutes building a single 4-bar loop.
1. Set tempo to 172 BPM.
2. Load one break into Simpler or an audio track.
3. Chop it into a basic DnB drum pattern with a strong snare on 2 and 4.
4. Add a Groove Pool swing at low intensity.
5. Program a simple Operator sine subline with 2–4 notes total.
6. Add a reese layer in Wavetable and high-pass it around 100 Hz.
7. Humanize the drum velocities so ghost notes are quieter than main hits.
8. Add one small fill in bar 4.
9. Check mono with Utility.
10. Bounce the loop and listen back away from the screen.
Your goal is not perfection. Your goal is to hear the difference between:
If the loop nods your head and the sub still feels solid in mono, you’ve got the right workflow.
Recap
If you can make the drums feel human while the sub stays locked, you’re already doing real DnB workflow.

