Main tutorial
Lesson Overview
The goal of this lesson is to make an Amen-style kick feel alive, unstable, and dangerous in a controlled way inside Ableton Live 12 — the kind of weight that makes a rewind drop hit harder because the listener feels micro-variation, not machine repetition. In Drum & Bass, especially in jungle, rollers, darkstep, and neuro-adjacent bass music, the kick is not just a transient. It is part of the groove engine, the low-end anchor, and the emotional trigger that tells the room: the drop is moving.
When a drop comes back after a rewind, the listener already knows the main loop. So the trick is not just “more loud.” It is variation with identity: subtle pitch shifts, transient changes, saturation movement, tiny timing offsets, and arrangement-based emphasis that make the Amen kick weight feel human, modular, and slightly unpredictable. That is especially powerful in rewind-worthy sections where the crowd expects repeatability but rewards detail.
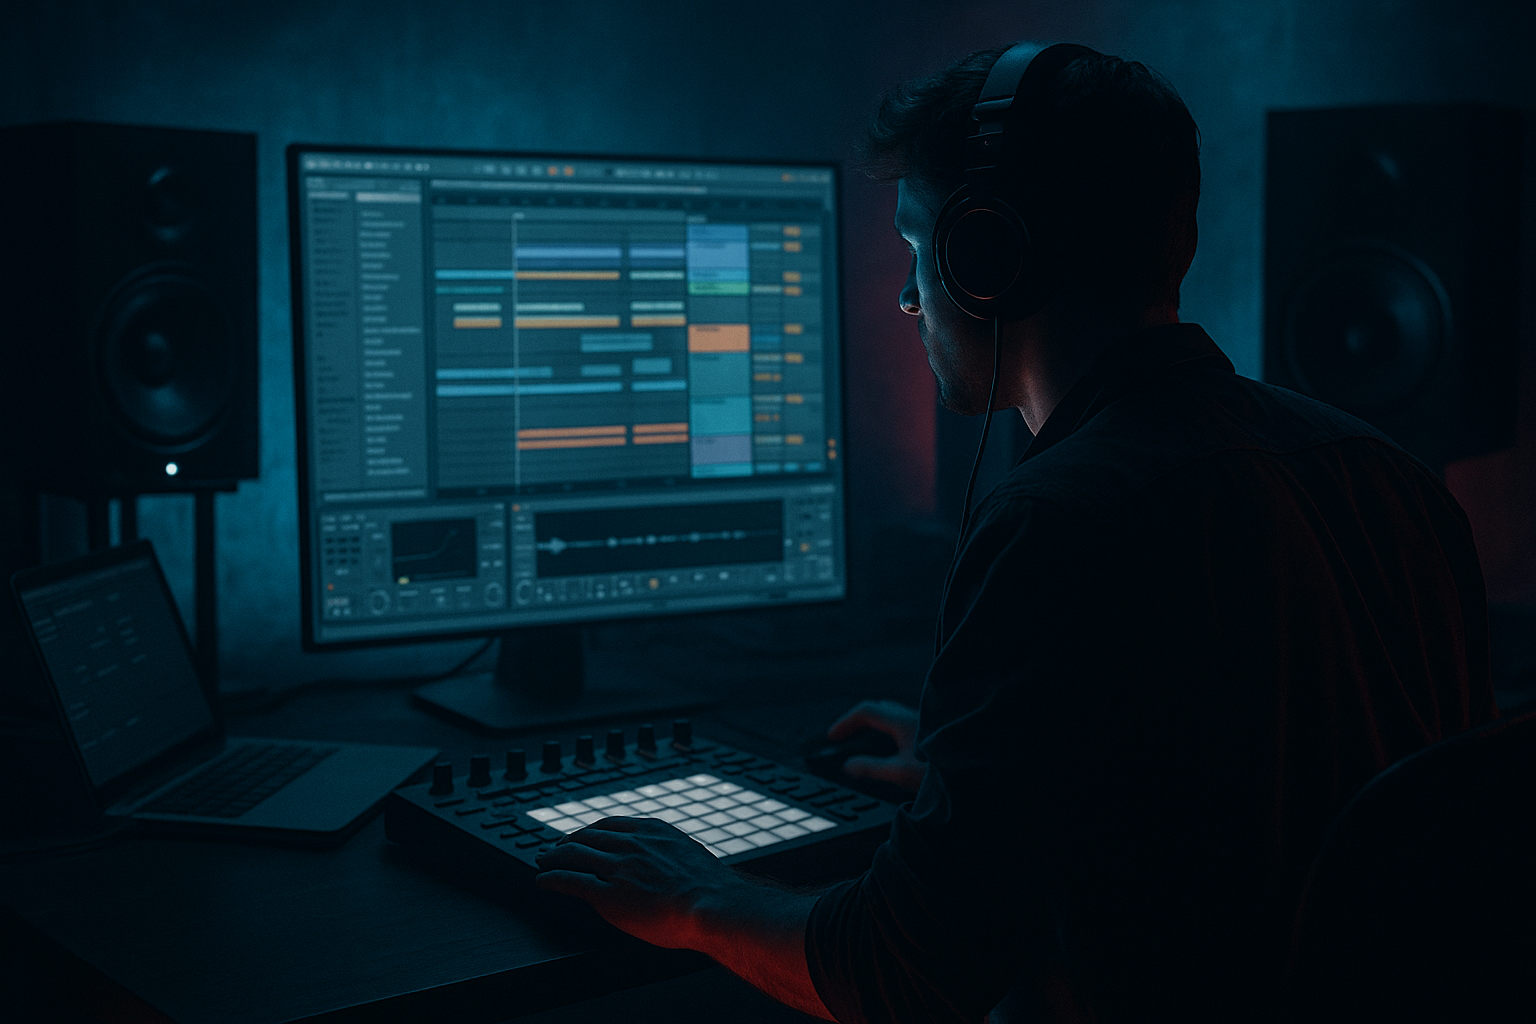
We’ll build a process using stock Ableton tools: Drum Rack, Simpler, Saturator, EQ Eight, Compressor, Utility, Auto Filter, Envelope Follower, and optional Resampling. The focus is on FX-like control over impact, movement, and drop phrasing — with enough engineering discipline to keep the low end clean.
Why this matters in DnB: the Amen has so much cultural and rhythmic weight that even a tiny change in kick emphasis can alter the whole feeling of a bar. A humanized kick in the right place can make the drop feel “played,” which is exactly the kind of energy that gets rewinds.
What You Will Build
You will build a multilayer Amen-style kick weight system for a dark DnB drop:
- a primary kick layer with solid mono low-end
- a second “weight” layer that subtly changes in pitch, transient, and saturation
- controlled humanization through velocity, micro-timing, and automation
- a small FX chain that makes each kick hit feel slightly different across 2- to 4-bar phrases
- a drop arrangement where the first bar of each phrase hits harder, the next bars breathe, and the pre-rewind bar exaggerates the weight for a crowd reaction
- Making every kick hit the same
- Over-processing the low end
- Adding too much swing to the kick
- Letting the kick fight the sub
- Using one kick for the whole drop without variation
- Boosting lows instead of shaping punch
- Use controlled clip saturation on the kick body
- Layer a tiny mid attack above the weight
- Keep the sub and kick in a strict relationship
- Automate a low-pass filter on the supporting layer
- Use phrase-level contrast
- Check mono early
- Resample your best “ugly” take
- Humanizing an Amen-style kick in DnB means controlled variation, not randomness.
- Use layering, velocity, micro-timing, and subtle automation to make the kick feel alive.
- Keep the low end mono, clean, and phase-aware with Utility and EQ Eight.
- Use Saturator, Compressor, Auto Filter, and resampling to create phrase movement and drop impact.
- In darker DnB, the best kick weight is the one that feels like it is driving the phrase forward and setting up the rewind.
The result should sound like a clean but aggressive jungle/DnB kick foundation that still has the uneven physicality of a chopped break. Think: dark roller pressure with just enough broken-beat soul to feel hand-crafted.
Step-by-Step Walkthrough
1. Start with a clean Amen-derived kick source and isolate the body
Load your Amen-style break into an audio track or Simpler, then identify the kick transient and its body. For advanced workflow, I recommend duplicating the break into two lanes:
- one lane for the original break feel
- one lane for a dedicated kick-body layer
If you use Simpler, switch to Slice or Classic depending on how tightly you want to control the hit. For the weight layer, duplicate the kick slice into its own Simpler instance and shorten the decay so you only keep the useful low-mid and sub-bloom.
Practical starting points:
- Simpler Start: nudge until the transient is tight
- Simpler Fade: 1–5 ms to avoid clicks
- Simpler Filter: low-pass around 8–12 kHz if the original is too snappy
- If the kick is too long, shorten with Volume Envelope Decay to around 120–250 ms
Why this works in DnB: the Amen’s identity comes from rhythm and tone, but the kick needs to occupy a very specific low-end slot. Separating the body lets you humanize the impact without muddying the break’s original character.
2. Build a layered Drum Rack with intentional roles
Put the kick body on one pad in a Drum Rack and add a second pad for a subtle “thump” layer or resampled low-end hit. Use the second pad sparingly — not as a stacked EDM kick, but as support.
Suggested layer roles:
- Layer A: main kick body, centered, mono
- Layer B: low thump or short sub click, tucked 3–6 dB lower
- Optional Layer C: very short mid punch around 120–200 Hz if the kick disappears on smaller systems
Stock-device routing:
- Put Utility on each pad and keep bass layers in mono
- Use EQ Eight on each layer to carve roles
- Use Drum Buss only lightly if needed, but don’t over-thicken the transient
Parameter suggestions:
- Utility Width: 0% on the low layer
- EQ Eight low shelf on Layer B: +1 to +3 dB around 70–90 Hz if the sub support is weak
- EQ Eight cut on Layer A around 250–400 Hz if the kick sounds boxy
Advanced move: map Layer A and Layer B to a group chain so you can automate their balance over an 8-bar drop without touching the original samples.
3. Humanize with velocity, not random chaos
In drum and bass, “humanize” should mean controlled variation, not sloppy timing. Use velocity differences to change the energy of repeated Amen kick hits across a phrase. If the kick is in Drum Rack, velocity can be mapped to volume, filter, or saturation drive.
In Live, open Velocity in the MIDI clip and sculpt a pattern:
- downbeat kick: 110–127 velocity
- repeated support kicks: 85–105
- pre-fill or turnaround kick: 115–124 for emphasis
- occasional ghost-weight hits: 40–70 to imply motion without stealing focus
If you want the kick to “breathe,” map velocity to:
- Simpler Volume
- Auto Filter Frequency
- Saturator Drive via Macro mapping
Good mapping ranges:
- Velocity to Saturator Drive: subtle range, about 0 to +4 dB drive
- Velocity to filter cutoff: about 200 Hz to 1.5 kHz movement on the weight layer only
- Velocity to volume: no more than about 4–6 dB difference on the main layer
Why this works in DnB: repetitive loops can become static fast. Velocity variation gives the drop a lived-in, drummer-like feel while preserving the mechanical precision that makes the groove hit in the club.
4. Add micro-timing offsets to create push and pull
Instead of placing every kick exactly on-grid, offset certain weight hits by tiny amounts. In DnB, this is especially useful when the Amen kick is answering the snare or bassline. You are not trying to swing the whole beat wildly — just create tension around the kick’s arrival.
In the MIDI clip, nudge selected hits:
- early by 5–10 ms for urgency
- late by 5–15 ms for drag and menace
- keep the main downbeat kick tight or only slightly late if you want a heavier feel
Use Track Delay very carefully if you need a global offset for the layer. Alternatively, duplicate the layer and delay only the humanized copy by a few milliseconds.
Practical arrangement idea:
- Bar 1 of the drop: the kick lands tight and confident
- Bar 2: one supporting hit is slightly late to make the groove lean back
- Bar 4: a pre-rewind kick hits slightly early to create anticipation before the next phrase
This is especially effective in rollers where the kick and bass are in a call-and-response relationship. The humanized kick can feel like it is reacting to the bassline instead of just sitting on top of it.
5. Shape transient and body with stock FX
Now design the kick weight using Ableton FX as a performance tool. On the kick-weight group, insert:
- Saturator
- EQ Eight
- Compressor or Glue Compressor
- Utility
- optional Auto Filter
Suggested starting chain:
- Saturator: Drive +2 to +6 dB, Soft Clip on if the kick needs edge
- EQ Eight: cut mud around 250–450 Hz, boost a small amount around 60–90 Hz if needed
- Compressor: ratio 2:1 to 4:1, attack 10–30 ms, release 50–120 ms
- Utility: mono the low end, or use it as a gain trim stage
For advanced shaping, try this:
- put a Saturator before the EQ if you want the harmonics to be filtered afterward
- put a Compressor after the Saturator if the transient becomes too spiky
- use Auto Filter with very subtle automation on the weight layer only, not the full drum bus
Keep the kick weight punchy but not flattened. The goal is a kick that feels like it can “lean” into the bar, not one that has been crushed into a square block.
6. Automate tonal movement across the drop
This is where the humanization becomes rewind-worthy. Use automation to make the kick weight evolve across a 4-, 8-, or 16-bar section. On the group or on the weight layer, automate tiny changes in:
- Saturator Drive
- Auto Filter cutoff
- EQ Eight low shelf gain
- Utility gain
- Compressor threshold
Practical ranges:
- Saturator Drive: automate within a narrow range, about 1–3 dB total movement
- Auto Filter cutoff: move between roughly 120 Hz and 400 Hz on a supporting layer
- Utility gain: automate ±1 to 2 dB for phrase emphasis
- Compressor threshold: only a small shift if you want the kick to dig harder in the last bar
Example:
- Bars 1–4: tighter, cleaner, more restrained weight
- Bars 5–8: slightly more saturation and a little more low-mid presence
- Bar 8 turnaround: increase transient emphasis and saturation on the downbeat kick to make the rewind feel justified
This works because DnB drop psychology is phrase-based. The crowd hears not just the sound but the progression. Slight automation makes repeated content feel like it is “performing” rather than looping.
7. Use resampling for organic variation and one-shot control
When you find a kick setting that feels right, resample it. Create an audio track, set its input to the kick group or the return of the kick chain, and print a few bars with automation moving in real time. This gives you multiple slightly different hits that can be arranged like a drummer’s takes.
Then:
- slice the resampled audio into individual hits
- keep the best variations for the downbeat and phrase transitions
- use the more aggressive prints on rewind bars or fills
Advanced use:
- create 2–3 rendered versions of the same kick weight
- one cleaner
- one dirtier
- one with more transient
- then alternate them across the drop for subtle human feel
In Live 12, this workflow is fast and powerful because you can stay inside the arrangement view and treat the kick as both sound design and composition.
8. Place the kick weight inside the arrangement with DJ logic
A rewind-worthy drop is not only about the kick itself — it’s about where the kick gets attention. Design your phrase so the kick weight supports the DJ-friendly structure:
- intro: tease the kick character with filtered hits or ghosted impacts
- pre-drop: strip back bass, let the kick body become clearer
- first 2 bars of drop: strongest and most legible kick
- mid-drop: variation through automation and subtle hit replacement
- last bar before rewind or switch-up: accent the kick with more drive or a slightly louder print
Musical context example:
- In a dark roller, let the kick weight become more pronounced right before the snare roll or bass turnaround.
- In a jungle stepper, alternate a slightly softer kick on bar 2 and a harder one on bar 4 so the break feels like it is breathing.
- In neuro-leaning DnB, keep the kick mono and controlled, then use a brief saturation lift before a bass stab to make the rhythm feel more aggressive.
The key is that the kick weight should help the listener predict and then crave the next phrase. That anticipation is what makes a rewind hit hard.
Common Mistakes
- Fix: vary velocity, layer balance, or saturation subtly every 2–4 bars.
- Fix: keep the kick weight chain short. Use small moves with Saturator, EQ Eight, and Compressor instead of stacking heavy devices.
- Fix: keep micro-timing changes tiny. If the kick feels drunk instead of dangerous, back off.
- Fix: mono the kick weight, high-pass competing layers, and check the bassline relationship in Utility and EQ Eight.
- Fix: create at least 2–3 versions or automate a few parameters across phrases.
- Fix: if the kick disappears, first check transient, saturation, and phase before reaching for more EQ boost.
Pro Tips for Darker / Heavier DnB
- A little Saturator Soft Clip can make the kick feel denser without needing more level.
- A very short click or thud around 150–250 Hz can help the kick cut through distorted reese basses, especially on small speakers.
- If the bassline hits on top of the kick, sidechain carefully or rearrange the bass rhythm so the kick has a moment to breathe.
- Dimming the support layer before a drop return can make the main kick feel bigger when it comes back.
- Make bar 1 of the drop the most defined, bars 2–3 slightly looser, and bar 4 the most dramatic. That contrast is a huge part of rewind energy.
- Dark DnB relies on impact, not width gimmicks. Use Utility and mono checks to keep the kick authoritative in a club system.
- Sometimes the most rewind-worthy kick is the one with a slight transient scrape or saturation spit. Print it, then choose the best version rather than endlessly tweaking.
Mini Practice Exercise
Spend 10–20 minutes building a two-bar humanized kick phrase:
1. Load an Amen break and isolate the kick body into its own Simpler or Drum Rack pad.
2. Duplicate the kick layer and create one cleaner version and one dirtier version using Saturator and EQ Eight.
3. Program a 2-bar MIDI clip with 4–6 kick hits, including one ghost-weight hit and one accent hit.
4. Vary velocity so the strongest hit is clearly above the others.
5. Nudge one supporting hit early by 5–10 ms and one late by 10–15 ms.
6. Automate Saturator Drive by only 1–3 dB across the second bar.
7. Render the result to audio and listen in mono.
8. Decide which version feels more “rewind-ready”: the cleaner one or the one with subtle movement.
Goal: by the end, you should have one kick weight phrase that feels like it was played by a drummer with attitude, not programmed by a grid.

