Main tutorial
Lesson Overview
A rewind moment is one of the most effective tension tools in Drum & Bass, especially in jungle, oldskool rollers, darkstep, and heavier bass music. It’s that instant where the track suddenly feels like it’s being pulled back in time before slamming forward again. In a DnB context, the rewind is not just a gimmick — it’s a phrase marker, a hype device, and a way to make the drop feel bigger by briefly removing forward motion and reintroducing it with character.
In this lesson, you’ll build a rewind moment from scratch in Ableton Live 12 using stock devices, careful arrangement, and humanized timing so it feels like a real dubplate-style DJ rewind rather than a robotic reverse effect. The focus is on making it sound authentic for oldskool jungle/DnB vibes: slightly messy in a good way, rhythmic, gritty, and musically connected to the groove.
Why it matters: in DnB, especially around 170–175 BPM, transitions happen fast. If your rewind is too clean, too stiff, or too generic, it can feel pasted on. If it’s humanized properly, it becomes part of the track’s language — like a DJ physically cutting back the tune, a crowd reaction, or a tape-style pullback that adds urgency before the next drop. 🎛️
---
What You Will Build
You will create a rewind moment that includes:
- A short pre-drop phrase that hints at the main drop
- A reverse-style pullback made from your own track audio, not a generic FX hit
- Humanized timing so the rewind feels performed, not quantized to death
- A layered combination of reversed drums, bass fragments, vinyl/tape-style texture, and a short impact into the restart
- A clean Ableton Live arrangement that can be dropped into a jungle or oldskool DnB tune around an 8- or 16-bar phrase change
- A 1- to 2-bar rewind moment
- Slightly unstable and organic
- Dark and weighty, but still readable in the mix
- Suitable for the build into a second drop, switch-up, or breakdown reset
- Making the rewind too clean
- Using a generic whoosh instead of track-based material
- Letting low end pile up
- Overdoing reverb and washing out the drop
- Placing the rewind off-phrase
- Not giving the restart enough contrast
- Use a reversed Reese fragment, not just noise
- Add a low, filtered sub swell under the rewind
- Dirty it with controlled reduction
- Use Drum Buss on the reversed break layer
- Automate width carefully
- Reference classic roller energy
- Keep the low end disciplined
- Version A: cleaner and more spacious
- Version B: darker, grittier, and more jungle-authentic
- Use material from your own DnB track, not random FX
- Humanize the timing so it feels performed and organic
- Shape the transition so the rewind pulls back hard, then the restart lands with real weight
The final result should feel like:
Think of it as a DJ-style rewind, but built inside Ableton with enough detail to sound like it came from the track itself.
---
Step-by-Step Walkthrough
1. Choose the exact musical spot for the rewind
Start by placing the rewind at a phrase boundary, not randomly. In jungle and DnB, the best rewind moments usually sit:
- At the end of an 8-bar section
- Right before a drop repeat
- After a key arrangement “statement” like a vocal chop, snare fill, or bass call-and-response
A strong example: your first drop runs for 16 bars, then on bar 16 you do a rewind into a variation of the drop or a second bass phrase. This works especially well if your drums have already established the groove and the rewind becomes a reset point.
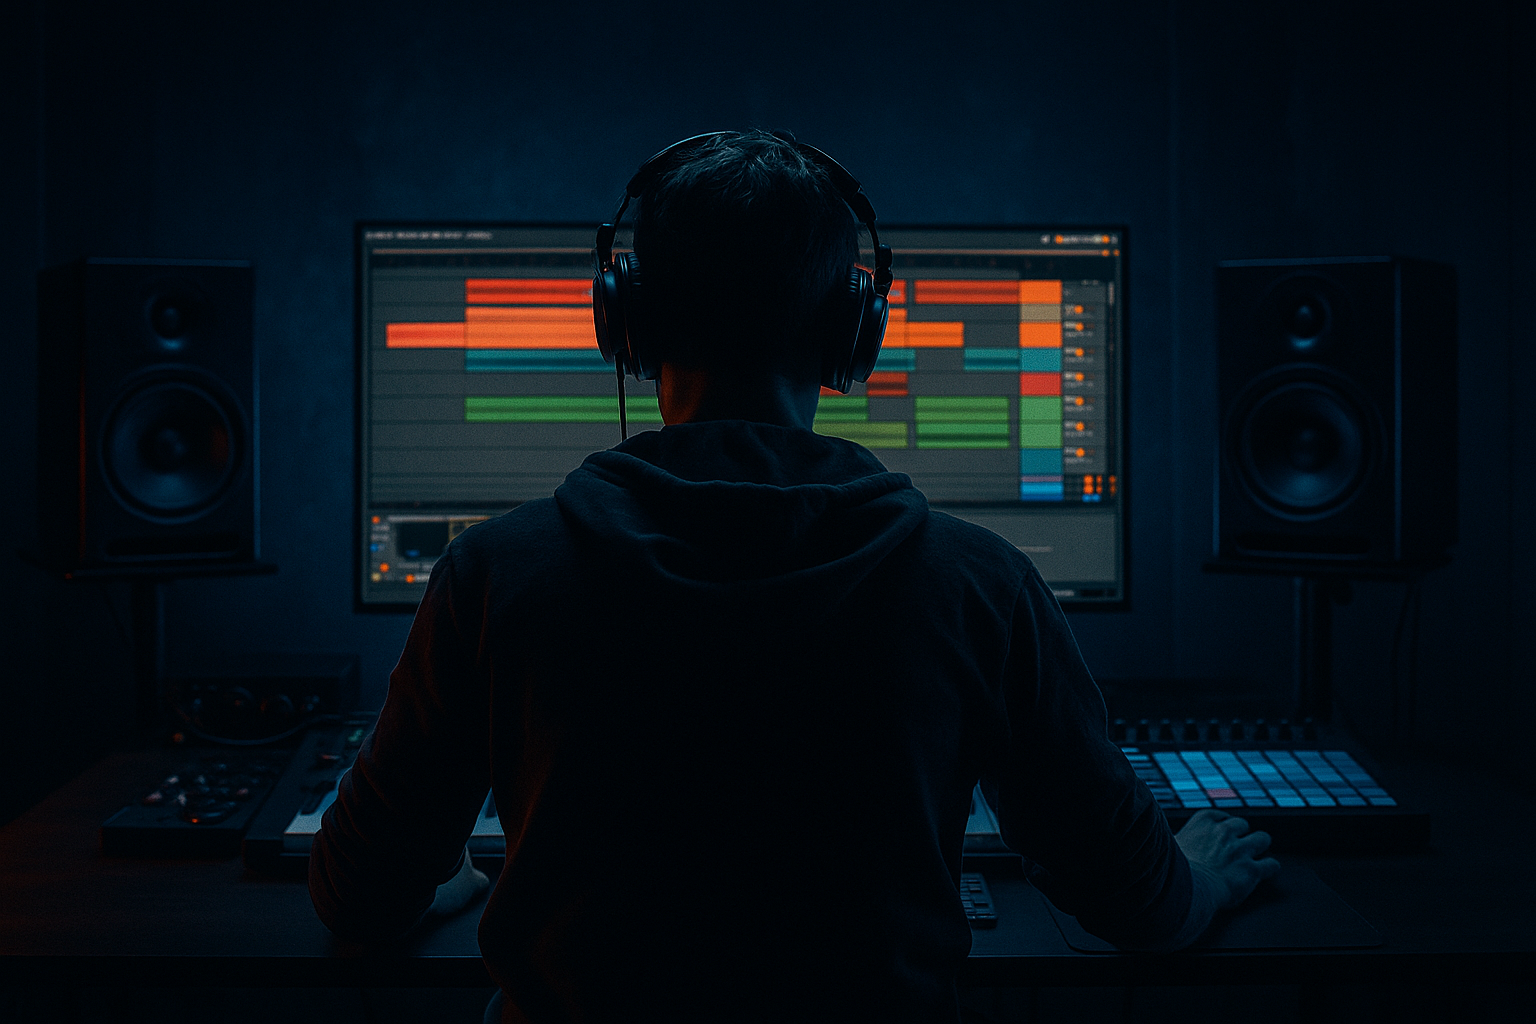
In Ableton Live’s Arrangement View, mark the phrase with locators. Keep your rewind around 1 bar long to start, then expand to 2 bars if the tune needs more drama.
2. Build a source phrase to rewind from your actual track elements
Don’t make the rewind from a random riser sample alone. The most convincing rewind in DnB uses material from the track itself. Duplicate 1 bar of the drop or a short pre-drop phrase and work with that audio.
Good source choices:
- A snare/break chop
- A bass stab or Reese note
- A vocal phrase or chopped one-shot
- A crash or ride tail
- A short drum fill
If you’re using a jungle oldskool vibe, render a 1-bar break phrase with kick, snare, and ghost notes, plus a low bass accent. Then consolidate it and duplicate it to a new audio lane for rewind processing.
Useful Ableton move: right-click the clip and choose Consolidate to keep your source phrase neat and easy to manipulate.
3. Create the rewind using reverse audio and clip-level shaping
Duplicate the source clip, then reverse it.
In Live, you can:
- Use Reverse on the clip itself for audio
- Or render the section and reverse the audio clip for more control
Once reversed, trim the front and tail so the phrase starts cleanly. A rewind should feel like it is “dragging” the listener backward, so the reverse tail needs to swell into the stop point.
Use clip envelopes or track automation to shape the feel:
- Fade in the reversed material over 1/2 bar or 1 bar
- Automate the clip gain down slightly at the end of the rewind
- If the reversed audio is too clean, slightly reduce transients with a gentle fade at the clip edges
For a more oldskool feel, layer reversed break fragments with a reversed bass stab. That creates the classic “pulling the record back” sensation without sounding like a stock FX preset.
4. Humanize the rewind timing so it feels performed
This is the core of the lesson. A rewind moment should not land like a perfectly grid-locked riser. It needs tiny timing imperfections, just like a DJ or live performer would create.
Do this by intentionally offsetting a few layers:
- Nudge one reversed drum layer earlier by 10–20 ms
- Push the bass reverse layer later by 5–15 ms
- Let a vinyl/tape noise layer begin slightly before the main rewind
- Leave the impact hit dead on the grid, so the chaos resolves into a strong downbeat
In Ableton, turn off overly strict quantization if you’re editing MIDI or slices. If you’re using Simpler with sliced break hits, vary the note positions slightly by hand. You’re aiming for “human but controlled,” not sloppy.
Why this works in DnB: the genre is fast, so tiny timing shifts create excitement without destroying the groove. Humanized microtiming helps the rewind feel like an event, and because the tempo is already intense, even small offsets are perceptible in a good way.
5. Add stock Ableton texture: noise, tape-style motion, and gritty atmosphere
A rewind needs texture or it can sound thin. Create a new audio or MIDI track and add subtle noise/ambience using stock Ableton devices.
Good stock options:
- Operator: generate a simple noise burst or low sine sweep
- Analog: for thicker, slightly unstable analogue-style tone
- Drift: for moving, imperfect motion and character
- Auto Filter: shape the sweep and make the rewind feel like it’s closing in
- Redux: add subtle digital grit if the rewind needs more edge
- Saturator: for warmth and density
A practical chain:
- Drift or Operator
- Auto Filter
- Saturator
- Utility
Suggested starting settings:
- Auto Filter: low-pass mode, cutoff around 600 Hz to 2.5 kHz depending on brightness, resonance 10–25%
- Saturator: Drive 2–6 dB, Soft Clip on if needed
- Utility: reduce width slightly or keep mono if the texture is fighting the mix
Automate the filter so it opens briefly as the rewind begins, then closes again before the impact. That “breathing” motion makes the rewind feel alive.
6. Layer a reversed break and ghosted percussion for jungle authenticity
For jungle and oldskool DnB vibes, the rewind should connect to the drums. This is where you make it feel like part of the breakbeat ecosystem rather than an external FX cue.
Try this:
- Take a short section of your break loop
- Duplicate it to a new track
- Reverse it
- High-pass the reversed layer so it doesn’t clog the low end
- Keep the snare/snippet and ghost notes audible
Suggested processing:
- EQ Eight: high-pass around 120–180 Hz
- Drum Buss: Drive 5–15%, Boom very subtle or off, Crunch low
- Glue Compressor: light glue, 1–2 dB of gain reduction
- Auto Pan: slow subtle movement, Depth 10–20% if you want motion
If the reversed break sounds too busy, slice it into smaller pieces and mute the least useful hits. A rewind should be detailed, not cluttered. You want just enough break texture to suggest the groove is being pulled backward.
7. Design the bass pullback and the restart hit
A rewind feels much stronger if the bass is part of the motion. In darker DnB, this is often a reversed Reese fragment, a sub swell, or a chopped bass note that disappears just before the drop hits again.
Create a bass layer from:
- A Reese stab rendered to audio
- A sub note with a quick reverse fade
- A distorted bass hit from your drop phrase
Process it carefully:
- EQ Eight: cut unnecessary highs above 5–8 kHz, keep sub under control
- Saturator: Drive 3–8 dB if the bass needs more presence
- Utility: keep low bass mono
- Auto Filter: automate a short sweep if the bass is used as a riser-rewind hybrid
For the restart, place a strong downbeat with:
- Kick
- Snare
- Bass stab or full bass note
- Optional crash or impact
Make sure the impact is wider and more stable than the rewind layers. That contrast is what makes the rewind feel like it “lands” somewhere.
8. Automate the rewind from tension into release
Now shape the transition. A rewind works because it suspends expectation, then resolves it.
Automate these elements:
- Volume of the source phrase downward into the rewind
- Filter cutoff on the reversed layers
- Reverb send increasing slightly before the stop
- Delay feedback briefly increasing on one element, then cutting
- Return track ambience swelling into the restart
Ableton-friendly approach:
- Use a Return Track with Reverb or Echo
- Keep it subtle; this is not a washout transition
- Send just enough to smear the tail and enhance movement
Suggested ranges:
- Reverb decay: 1.2–2.8 s for a controlled rewind
- Echo feedback: 15–35%
- Dry/Wet: keep low to moderate, around 5–20% depending on source material
The key automation move is to create contrast: the rewind moment narrows, darkens, and pulls back; the restart opens up, snaps forward, and hits with full drum/bass weight.
9. Group the rewind elements and shape the bus
Once your layers are in place, group them into a bus so you can control the rewind as one musical event.
Put these into a group:
- Reversed drums
- Reversed bass fragment
- Noise/texture
- Impact/restart hit
On the group bus, use:
- Glue Compressor for light cohesion
- EQ Eight to tame harshness around 2.5–5 kHz if needed
- Saturator for subtle glue and density
- Utility for mono checking and width control
Suggested settings:
- Glue Compressor: slow attack, medium release, 1–2 dB gain reduction
- EQ Eight: small cut around 3–4 kHz if the reverse layer is spiky
- Utility: Width 80–100% on the texture, but keep sub bass mono if it’s present
This step helps the rewind feel like a designed moment instead of several disconnected layers fighting each other.
10. Place it in the arrangement with DJ-friendly energy
In a real DnB arrangement, your rewind should support the set’s energy curve. Put it where a DJ would appreciate the reset:
- End of a long intro before the main drop
- Between two different bass sections
- Before a second drop variation
- As a call-back to an earlier motif
If your track has an 8-bar DJ intro, you can use the rewind at the end of bar 8 to break expectation before the drop. In jungle, this often pairs well with a short vocal phrase or an amen variation. In darker rollers, it can precede a more minimal, sub-heavy return.
Keep the rewind concise. In DnB, too much time spent “rewinding” can kill momentum. The sweet spot is usually 1 bar, sometimes 2 bars max.
---
Common Mistakes
- Fix: add micro-timing offsets, subtle saturation, and break texture. A perfect rewind often sounds fake in jungle/DnB.
- Fix: build the rewind from your own drums, bass, or vocal fragments so it feels connected to the tune.
- Fix: high-pass reversed textures around 120–180 Hz and keep sub elements mono and controlled.
- Fix: keep reverbs short and focused. The rewind should enhance the restart, not blur it.
- Fix: align it to 8- or 16-bar structure so it feels intentional and mix-friendly.
- Fix: make the post-rewind downbeat stronger, drier, and more focused than the rewind layers.
---
Pro Tips for Darker / Heavier DnB
- A dark bass rewind has more menace than a generic FX sweep. Render a Reese stab and reverse it for a weighty pullback.
- Use Operator or a bounced sub note with a gentle fade-in. Keep it mono and low-passed so it stays felt, not heard too obviously.
- Redux can add a cracked, gritty edge if used lightly. Try small amounts of downsampling and keep it subtle so it doesn’t sound cheap.
- Light Drive and a touch of Crunch can bring oldskool attitude to the rewind without flattening the transient relationship.
- Make the rewind slightly narrower, then let the restart open back up. That contrast adds power in darker DnB.
- Think about how a dubplate rewind feels in a small room: short, tense, gritty, and immediate. The more direct the movement, the more authentic it feels.
- If your bass rewind includes sub, check mono compatibility. Dark DnB depends on a stable center image for weight.
---
Mini Practice Exercise
Spend 10–20 minutes making a rewind moment from an existing 16-bar loop.
1. Pick a 1-bar section near the end of your loop.
2. Duplicate it to a new audio track and reverse it.
3. Add a second reversed layer from a break chop or bass stab.
4. High-pass the texture layers around 150 Hz.
5. Add Saturator with 2–5 dB Drive.
6. Offset one layer by about 10 ms earlier and one by about 10 ms later.
7. Add a short impact hit on the restart downbeat.
8. Automate a filter sweep and a small reverb send into the rewind.
9. Group the layers and do a quick mono check with Utility.
10. Play it against the rest of the tune and ask: does it feel like a DJ rewind, or just an FX transition?
If you have time, make a second version:
Compare which one hits harder in the context of the drop.
---
Recap
A strong rewind moment in Ableton Live 12 comes from three things:
For jungle and oldskool DnB, the best rewind moments feel rough, rhythmic, and phrase-aware. Keep the low end controlled, the texture gritty, and the timing slightly imperfect. That’s what gives the moment character and makes it worth replaying later.

