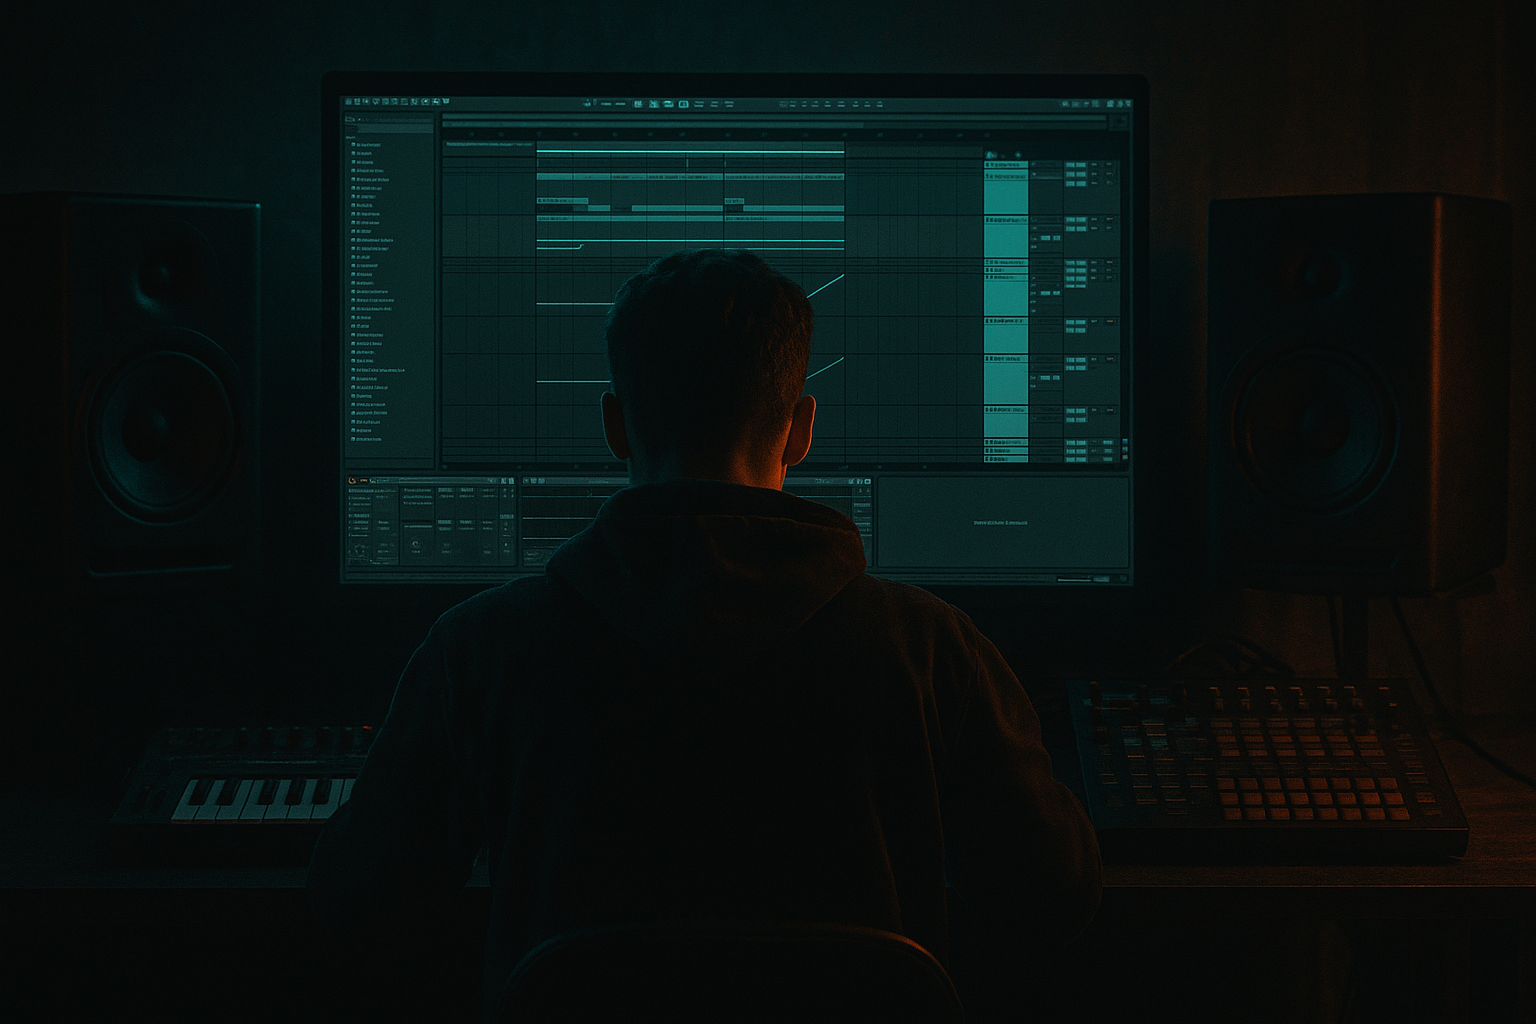
Main tutorial
```markdown
Human Feel vs Quantized Precision in Jungle (Ableton Live) 🥁⚡
Skill level: Advanced
Category: Groove
Goal: Learn when to lock drums hard to the grid for impact, when to “humanize” for swing and urgency, and how to do both inside the same break—without losing power.
---
1. Lesson overview
Classic jungle and modern drum & bass live in a tension:
- Quantized precision gives you weight, clarity, punch, and the “machine” aggression.
- Human feel gives you push/pull, tension, groove, and that “breakbeat breath.”
- Keep anchors (kicks, certain snares) tight.
- Let ghosts, hats, and fills drift using groove extraction, subtle timing offsets, and velocity shaping.
- Control it globally with Groove Pool, and locally with per-hit microtiming.
- A quantized core (kick/snare anchors)
- A humanized break layer (timing + velocity life)
- A hybrid groove (Groove Pool + selective commitment)
- A simple arrangement plan: 16-bar loop → 64-bar drop-ready drum arc
- One Drum Rack with layered samples
- One break track (audio or Simpler) with groove extracted
- A “tight vs loose” A/B control method
- A repeatable workflow for future tracks
- Kick: tight DnB kick (short tail)
- Snare: punchy snare (or layered snare + clap)
- Closed hat: crisp top
- Ride/shaker: optional for roll
- Kick: 1.1, 1.3.3 (or add a third on 1.4.3 for drive)
- Snare: 1.2, 1.4 (classic DnB backbeat)
- Hats: 1/16 or 1/8 depending on vibe
- Select kick + main snare notes → Quantize (Cmd/Ctrl+U)
- Quantize settings: 1/16
- Amount: 100% for anchors.
- Main snare on 2 and 4 = grid-locked
- Kick(s) that define the bar = grid-locked
- Drum Rack (quantized anchors)
- Break-slice Drum Rack (human, messy, flavorful)
- Timing: 10–25% (start at 15%)
- Velocity: 5–20% (start at 10%)
- Random: 0–5% (start at 2%)
- Base: usually 1/16 (sometimes 1/8 for lazier swing)
- Apply groove to hats/ghost snares/percussion first
- Avoid grooving your main snare backbeat unless you want a “drunk” feel
- Clip A: “Tight”
- Clip B: “Grooved”
- Turn off snap temporarily (or set grid to 1/32).
- Nudge select notes with Alt + arrow (or drag).
- Ghost snares (before 2 and 4): push slightly early (-5 to -15 ms) for urgency
- Hats: pull slightly late (+5 to +12 ms) for laid-back roll
- Extra kick before snare: keep tight, maybe slightly early for aggression (-3 to -8 ms)
- Hat track Delay: +6 ms
- Ghost snare track Delay: -8 ms
- In MIDI clip, reduce velocity of ghost hits:
- MIDI Velocity (before Drum Rack):
- Create a Return track: “Drum Smash”
- Send snares/break to it lightly (-18 to -10 dB send)
- Bars 1–16 (intro): mostly break layer + hats, more groove timing (Timing 20–30%)
- Bars 17–32 (pre-drop build): introduce anchors, reduce groove (Timing 10–15%)
- Bars 33–48 (drop A): anchors super tight, groove only on ghosts (Timing 5–10%)
- Bars 49–64 (drop variation): reintroduce more break swing + fills, add microtiming surprises
- Groove Pool Timing: automate down into the drop for impact
- Break layer volume: up in fills, down under main snare
- Track Delay on hats: slightly more late during breakdowns, slightly tighter in drop
- Make the swing live in the tops, not the sub.
- Use “ghost pressure” to feel fast without adding notes.
- Resample your drums after groove decisions.
- Texture without losing punch:
- Surgical darkness:
- Quantized precision = impact, clarity, drop power.
- Human feel = tension, swing, breath, classic jungle energy.
- In Ableton Live, the winning approach is hybrid:
In Ableton Live, the trick isn’t choosing one—it’s building a workflow where you can dial feel intentionally:
---
2. What you will build
You’ll build a rolling jungle/DnB drum system with:
Deliverables:
---
3. Step-by-step walkthrough
Step 0 — Project + timing fundamentals (set yourself up)
1. Tempo: 170–176 BPM (try 174 BPM).
2. Warp mode: for breaks, use Complex Pro if needed, but often Beats is better for transient integrity.
- In the clip view: Warp = ON → Mode: Beats
- Set Preserve: Transients
- Envelope: 100 (adjust if it gets clicky)
Why: Jungle needs transient snap. Beats mode keeps drums punchy.
---
Step 1 — Build a “quantized anchor” drum core (the grid is your weapon)
Create a MIDI track: Drum Rack.
Core samples (suggested):
Pattern (1-bar starting point):
Quantize settings (MIDI):
Anchor rule:
This is your “spine.” Everything else can breathe.
---
Step 2 — Add a break layer (this is where the human lives)
1. Add an Audio track: drop in a break (Amen, Think, etc.).
2. Warp it correctly:
- Place 1.1.1 on the first transient
- Make sure the loop is exactly 1 bar / 2 bars (your choice)
3. Slice to new MIDI track (right-click clip → Slice to New MIDI Track):
- Slicing preset: Built-in → Slice to Drum Rack
- Slice by: Transient
- This gives you controllable hits with original feel.
Now you have:
---
Step 3 — Extract groove from the break and use Groove Pool (controlled looseness 🎛️)
1. Click the original break audio clip.
2. In Clip View: Groove → Extract Groove
3. Open Groove Pool (hot-swappable feel engine).
In Groove Pool, pick your extracted groove and set:
Apply groove selectively:
Pro workflow:
Duplicate your anchor MIDI clip:
Then you can A/B quickly.
---
Step 4 — Microtiming: push/pull on purpose (advanced jungle pocket)
Groove Pool is macro-feel. Jungle magic often comes from specific nudges.
In MIDI editor:
Common intentional moves (starting points):
Ableton tip:
Use the Delay field per track (in Mixer, show via View → Mixer → Track Delays) for surgical shifts:
This is super clean because it preserves MIDI grid logic while shifting feel.
---
Step 5 — Velocity shaping: the other half of “human” 🎚️
Timing without velocity often sounds stiff. Do this:
On break-slice Drum Rack:
- Ghost snares: 35–70
- Light hats: 25–60
- Main hits: 90–115
Add stock devices:
- Mode: Random
- Random range: 5–12
- Drive: subtle (optional)
Important:
Keep the main snare velocity consistent. Humanize supporting hits more than anchors.
---
Step 6 — Make it hit hard even when it’s loose (bus processing + transient control)
Human timing can smear impact if you don’t manage transients.
Suggested drum bus chain (Group your drum tracks):
1. Drum Buss
- Drive: 5–20 (taste)
- Crunch: 0–10
- Boom: 20–40 (Freq around 50–70 Hz)
- Transients: +5 to +20 (brings back attack)
2. Glue Compressor
- Attack: 3–10 ms
- Release: Auto or 0.1–0.3 s
- Ratio: 2:1
- Gain reduction: 1–3 dB
3. EQ Eight
- High-pass non-kick layers (break layer often): ~120–200 Hz
- Small dip if boxy: 250–450 Hz
- Gentle shelf if harsh: 8–12 kHz
Parallel punch (optional but very DnB):
- Saturator (Soft Clip on)
- Compressor (fast)
- EQ Eight (filter lows if needed)
---
Step 7 — Arrangement: when to be tight vs loose (make the drop breathe)
A common pro jungle move: tighten in the drop, loosen in transitions.
64-bar drum arc (example):
Automation ideas:
---
4. Common mistakes
1. Grooving the main snare backbeat too much
→ Makes the whole track feel unstable. Keep it mostly locked.
2. Random timing with no “anchor logic”
→ Humanization needs structure: anchors tight, decoration loose.
3. Over-warping breaks
→ Too many warp markers kills groove and transients. Use minimal markers.
4. Velocity is flat
→ Even perfect swing sounds robotic if every hat is 100 velocity.
5. Layering phase/attack clashes
→ If your break snare and main snare hit together, align phase and transient, or deliberately offset with intention.
---
5. Pro tips for darker/heavier DnB 🖤
Keep kick + sub bass tight; let hats/percs shuffle. Dark DnB needs solid low-end aim.
Quiet ghost snares slightly early create that anxious, driving momentum.
Print a 8–16 bar drum loop (Resampling) and treat it like audio:
- Consolidate (Cmd/Ctrl+J)
- Add tiny fades
- Use Transient shaping (Drum Buss Transients)
Put Redux very lightly on the break layer only:
- Downsample: small amount
- Dry/Wet: 5–15%
Then bus-compress to glue.
Use Auto Filter on breaks with subtle movement:
- LP 12 dB
- Cutoff automated slightly down in breakdowns
- Resonance low (don’t whistle)
---
6. Mini practice exercise (20 minutes) ⏱️
1. Build a 2-bar drum loop with:
- Quantized kick + main snare
- Sliced break layer
2. Create three versions:
- A: Fully quantized (no groove, no microtiming)
- B: Groove Pool only (Timing 15%, Vel 10%, Random 2%)
- C: Groove + microtiming
- Hats +6 ms track delay
- Ghost snares -8 ms track delay
- Velocity variation (±8)
3. Bounce each loop to audio and level-match them.
4. Ask: Which one feels fastest? Which one hits hardest? Which one feels most “alive”?
This trains your ability to choose feel as a production decision, not a habit.
---
7. Recap
- Grid-lock the anchors
- Groove + microtime the decorations
- Control globally with Groove Pool, locally with Track Delay and per-note nudges
- Reinforce punch with Drum Buss, Glue Compressor, and smart EQ
If you want, tell me your target subgenre (90s jungle, modern jump-up, techy rollers, autonomic, etc.) and I’ll suggest a specific groove template + drum pattern that fits that lane.
```

