Main tutorial
1. Lesson Overview
This beginner mixing lesson shows how to side chain in Ableton Live 12 for Drum & Bass. You’ll learn practical, track-level sidechaining (using Live’s stock Compressor/Glue/Gate devices) to make space for drums, control bass energy, and create tight, punchy low-end that sits well at high DnB tempos.
2. What You Will Build
- A simple sidechain duck: bass (or pad) that ducks whenever the kick plays.
- Two workflow variants: (A) Compressor on the bass track using the kick as the external sidechain trigger, (B) a send/return duck using a compressed return for pads.
- Settings and tips tuned for typical Drum & Bass tempos (160–180+ BPM).
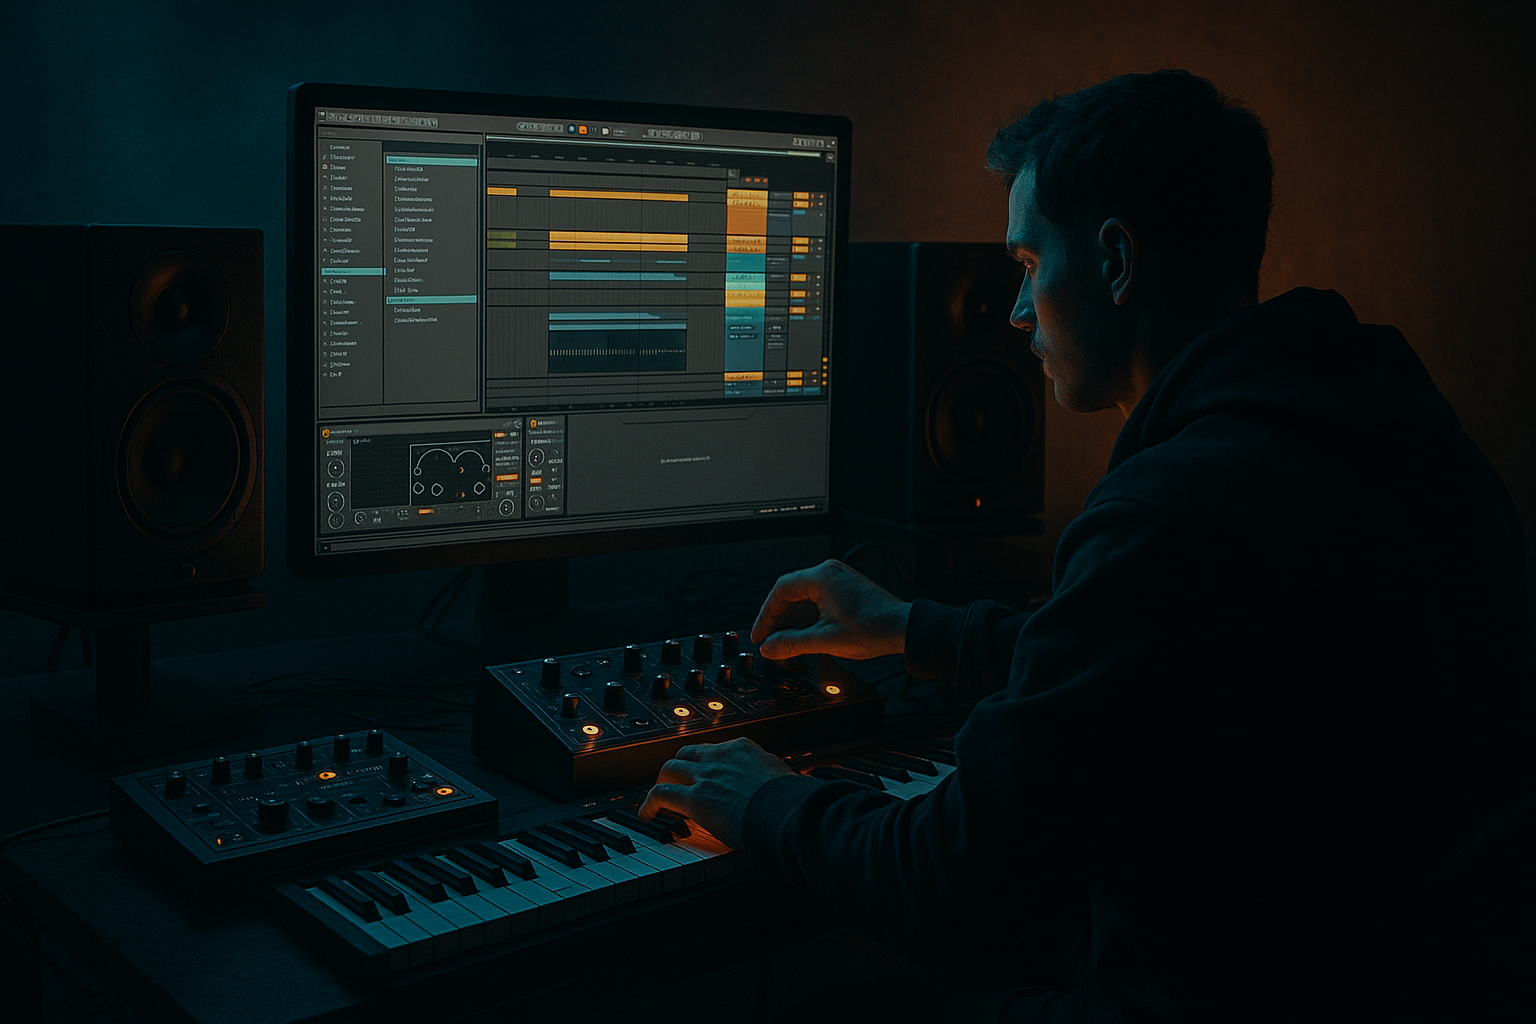
- Open Ableton Live 12 and create a new Live Set.
- Insert a Kick track (audio or Drum Rack). Make sure it has a clear transient.
- Insert a Bass track (MIDI track with Wavetable/Analog or an audio loop).
- Optional: Insert a Pad/Synth track for testing multi-element ducking.
- Sidechaining the wrong source: not selecting the Kick track in the Compressor’s "Audio From". Result: no ducking.
- Attack too slow: transients slip through and the kick loses punch.
- Release too long: bass stays squashed, causing pumping that fights musical rhythm instead of complementing it.
- Over-ducking: Threshold/Ratio too aggressive and the bass disappears, removing low energy.
- Sidechaining only the mid and not the sub: causes imbalance where the sub remains loud while mids duck (use group ducking).
- Forgetting to check mono compatibility after heavy ducking -> low-end phase issues.
- Use short release values for tight DnB groove; start ~60–120 ms at 170–180 BPM and adjust. Convert note-length to ms if you need musical timing.
- Use the Compressor’s sidechain filter (high-pass) so only the kick’s low-mid triggers the duck—prevents mid-high transients from over-triggering.
- Use Range (or the similar parameter) to cap maximum attenuation so the bass never fully disappears.
- Place Compressor on a Group for bass elements to duck the whole low-end consistently.
- For rhythmic pumping on pads, use a Return with Compressor sidechained: you can control the wet amount with Sends.
- If you need a perfectly consistent duck, use a short muted “click” MIDI clip as the external trigger (ghost kick).
- For creative effects, try Glue Compressor for a more vintage-style pump, or use Gate sidechaining to rhythmically chop sustained pads.
3. Step-by-Step Walkthrough
Preparation
A. Direct external sidechain on the Bass track (recommended for bass vs. kick)
1. On the bass track, load Ableton’s Compressor (Audio Effects > Compressor).
2. Click the triangle to open the sidechain section (top-right of the Compressor device).
3. In "Audio From" choose the Kick track. If the kick is stereo choose the appropriate outputs (usually "1/2").
- Tip: choose Post FX if you want the processed kick to trigger the duck; choose Pre FX if you want the raw kick.
4. Set Ratio to an audible starting point: 3:1–6:1 for clear ducking on bass.
5. Lower Threshold gradually until you see consistent gain reduction whenever the kick hits. Watch the GR meter.
6. Set Attack small so the transient is caught: 0.5–6 ms. (Very fast attack for tight ducking; avoid literally 0 ms to keep natural punch.)
7. Set Release to taste for DnB: start around 50–120 ms. At 174 BPM, a 1/16 note ~ 86 ms — try that and adjust to groove.
8. Use the Range knob (if compressing with Live Compressor/Glue) to limit maximum attenuation so the bass doesn’t disappear completely.
9. Fine-tune Threshold/Ratio/Release until the kick punches through and the bass breathes back quickly.
B. Group/Bus sidechaining (duck entire bass sub + mid together)
1. Put all low-end elements (sub bass + mid bass) into a Group track (Ctrl/Cmd+G).
2. Place Compressor on the Group track and sidechain it to the Kick track (same steps as above). This ensures sub and mids duck together, preventing phase or level mismatches.
C. Send/Return duck for pads and background elements (less destructive)
1. Create a Return track (right-click > Insert Return Track if needed).
2. Put a Compressor on the Return track and enable its sidechain to the Kick track.
3. Send your pad/synth tracks to that return (raise their Send knob). The return’s compressor will duck the returned signal whenever the kick plays—good for pads and ambience without touching the original tracks.
4. Control duck depth by adjusting the Send level; control duck timing on the Compressor.
D. Using a dedicated “ghost” trigger for consistent pumping (advanced beginner tactic)
1. Create a new audio track with a simple short click or a muted kick transient (no audible content in mix).
2. Set this track’s audio to not route to Master (or mute it but keep it sending).
3. Use this track as the Compressor’s "Audio From" instead of the main kick. This avoids variations caused by transient shaping/sidechain loops and gives a consistent trigger.
4. Common Mistakes
5. Pro Tips
6. Mini Practice Exercise
Goal: Create simple kick-to-bass ducking in a 174 BPM DnB loop.
1. Load or program a one-bar kick loop at 174 BPM.
2. Add a bass synth playing sustained notes.
3. Put Ableton Compressor on the bass track. Open sidechain and select the Kick track as "Audio From".
4. Set Ratio = 4:1, Attack = 2 ms, Release = 86 ms (approx 1/16 at 174 BPM). Lower Threshold until you see 3–6 dB gain reduction on kick hits.
5. Listen in context: adjust Release ±20–50 ms and Threshold to make sure kick is audible and bass recovers before the next kick.
6. Optional: group bass + sub and repeat on the group to duck both together.
7. Recap
This lesson taught how to side chain in Ableton Live 12 using stock devices (Compressor/Glue/Gate) with practical setups: direct sidechain on a track, group/bus sidechaining for full low-end control, and send/return ducking for pads and ambience. Key controls are Audio From (choose your trigger), Ratio, Threshold, Attack, Release, and Range/filtering for shaping the trigger. For Drum & Bass, aim for fast attacks and short release times matched to the tempo to keep the mix punchy and rhythmically tight.

