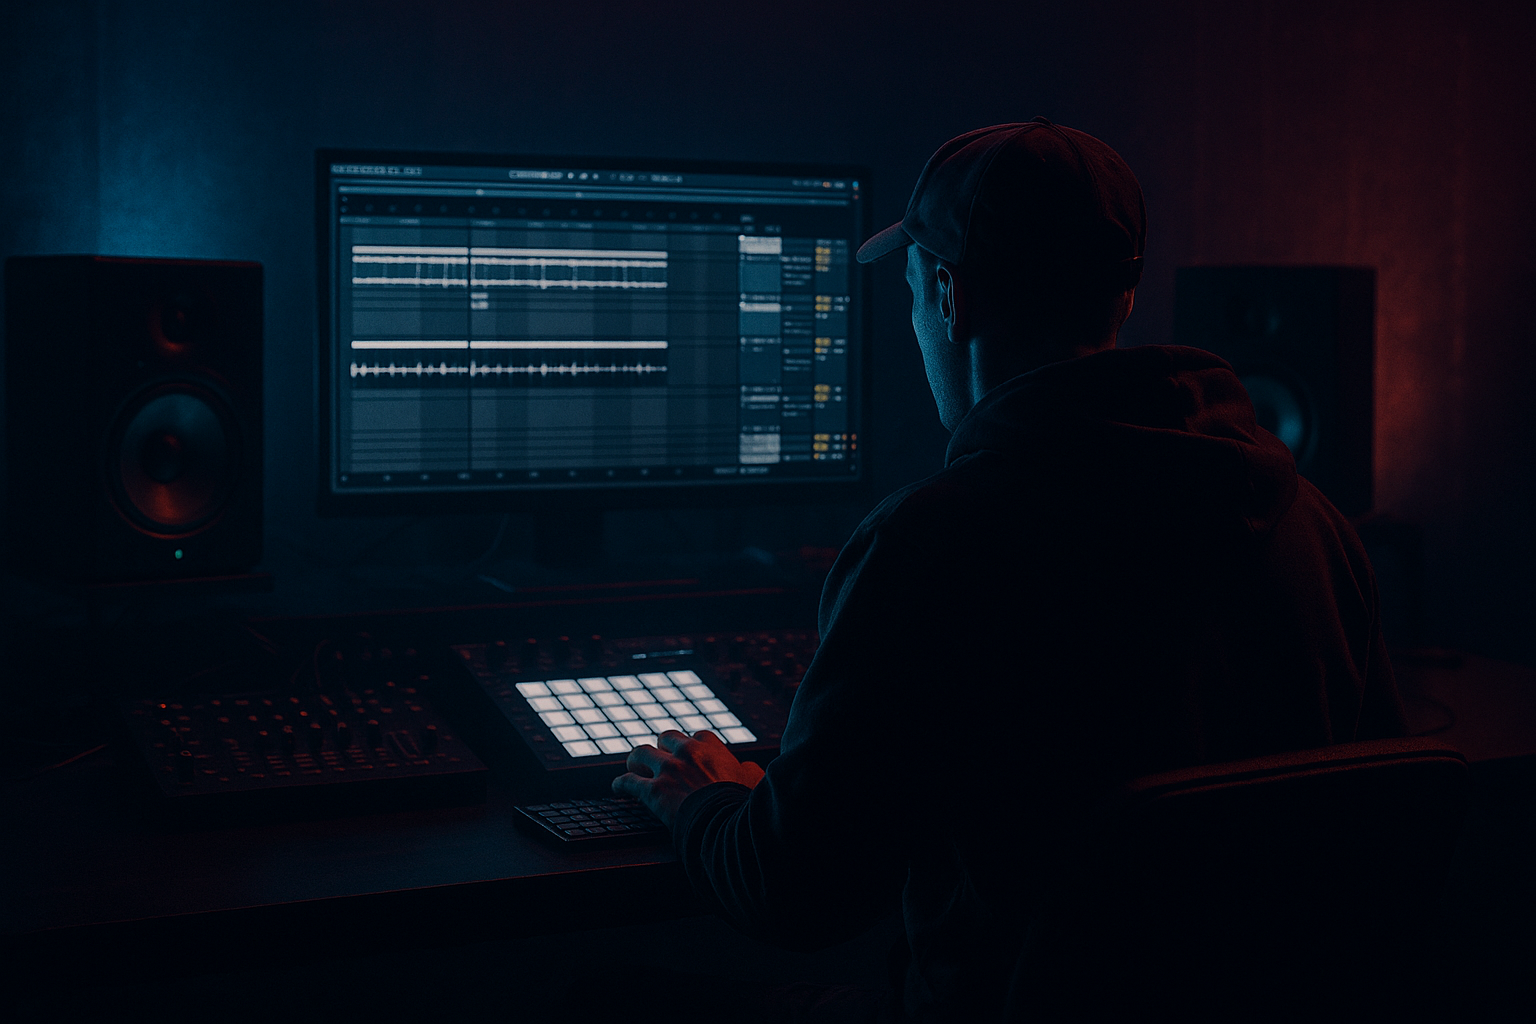
DNB COLLEGE

Drum & Bass Ableton Live 12 Tutorials

LESSON DETAIL

Hot Pants jungle fill: distort and arrange in Ableton Live 12 (Intermediate)

An AI-generated intermediate Ableton lesson focused on Hot Pants jungle fill: distort and arrange in Ableton Live 12 in the Drums area of drum and bass production.

Back to lessons
Hot Pants jungle fill: distort and arrange in Ableton Live 12 (Intermediate) cover image

Narrated lesson audio

The voice track includes the tutorial plus extra teacher commentary.

Open audio file

Main tutorial

Hot Pants Jungle Fill: Distort and Arrange in Ableton Live 12

1. Lesson overview

In this lesson, you’ll build a classic Hot Pants-style jungle fill and turn it into a proper DnB transition tool inside Ableton Live 12. The goal is to take a raw break-based fill, distort it for attitude, then arrange it musically so it works as a tension-builder, a drop lead-in, or an impact moment in a rolling jungle/DnB track. 🥁⚡

We’ll focus on:

  • chopping a break into a “Hot Pants” style fill
  • adding grit with Ableton stock devices
  • shaping the fill so it cuts through heavy bass and sub
  • arranging it so it feels intentional, not just like a loop dropped in randomly
  • This is very much a drum and bass production workflow, not a generic beat-making exercise.

    ---

    2. What you will build

    By the end, you’ll have:

  • a 1-bar or 2-bar jungle fill
  • a distorted parallel drum bus
  • a short arrangement section that uses the fill as a transition into a drop
  • a version that works in dark, heavy DnB as well as more classic jungle energy
  • You’ll be using stock Ableton Live 12 tools like:

  • Simpler
  • Drum Rack
  • Drum Buss
  • Saturator
  • Roar or Overdrive
  • EQ Eight
  • Glue Compressor
  • Transient shaping via envelope and clip gain
  • optional Reverb and Delay for tail control
  • ---

    3. Step-by-step walkthrough

    Step 1: Choose the source break or fill material

    For a Hot Pants jungle fill, you want a break with:

  • clear snare hits
  • small ghost notes
  • enough midrange character to survive distortion
  • Good source choices:

  • a chopped Hot Pants break
  • Amen
  • Think
  • any gritty funk break with snare accents
  • #### Practical setup

    1. Drag your break into an audio track.

    2. Warp it if needed:

    - Use Complex Pro if the break has tonal material

    - Use Beats if it is mostly drums

    3. Set the project tempo to a DnB range like:

    - 170–175 BPM for modern jungle/DnB

    - 165–172 BPM if you want a looser old-school feel

    #### Tip

    If the break is too clean, that’s okay. We’ll dirty it later. The main goal is to get good transient shape and a musical groove.

    ---

    Step 2: Slice the break into playable parts

    You have two strong Ableton Live 12 options:

    #### Option A: Slice to New MIDI Track

    1. Right-click the break clip.

    2. Choose Slice to New MIDI Track.

    3. Slice by:

    - Transient for natural break chopping

    - or 1/8 if you want a more controlled grid-based fill

    This creates a Drum Rack, which is perfect for programming a fill.

    #### Option B: Use Simpler directly

    1. Drop the break into Simpler.

    2. Use Slice mode.

    3. Trigger slices from MIDI notes.

    This is good if you want a lighter setup and quick manual editing.

    ---

    Step 3: Build the basic Hot Pants fill pattern

    A “Hot Pants” jungle fill usually has:

  • a strong snare-led identity
  • chopped break fragments
  • rapid movement into the next section
  • a sense of swing and syncopation
  • #### Starter pattern idea

    Use a 1-bar phrase and build something like this:

  • Bar 1 beat 3: snare or snare-layer emphasis
  • Bar 1 beat 3.3 / 3.4: quick break pickup
  • Bar 1 beat 4: snare hit or chopped fill note
  • Bar 1 beat 4.3: fast ghosted kick/snare fragment
  • Bar 2 beat 1: strong impact into the drop
  • If you’re programming MIDI in Drum Rack:

  • place one strong snare
  • add 2–4 tight chop hits before the downbeat
  • keep the last hit just slightly early for urgency
  • #### Groove

    Try a swing feel:

  • add a Groove Pool groove around 55–58% swing
  • or manually nudge ghost hits late by a few milliseconds
  • Don’t over-quantize. Jungle fills need motion, not robotic precision.

    ---

    Step 4: Clean the slices before distortion

    Before you distort, make sure the fill is tight.

    #### Use these edits:

  • shorten overly long slices
  • remove unwanted tail overlap
  • fade clicks at slice boundaries
  • keep the snare transients sharp
  • If using audio clips:

  • use Clip Gain to balance individual hits
  • use Warp markers only where necessary
  • avoid heavy warping on every slice unless timing is messy
  • #### Important

    Distortion exaggerates bad timing and ugly tail spill. Clean first, distort second.

    ---

    Step 5: Add a distortion chain

    Now the fun part 🔥

    You want the fill to feel more aggressive, thicker, and more present in the mix.

    Suggested device chain on the fill track

    Chain A: Grit and character

    1. EQ Eight

    - High-pass at around 120–180 Hz

    - Small cut around 300–500 Hz if it gets boxy

    2. Saturator

    - Drive: 3–8 dB

    - Turn on Soft Clip

    - Try Analog Clip mode if you want a harsher edge

    3. Drum Buss

    - Drive: 10–25%

    - Crunch: 5–20%

    - Boom: usually off or very low for fills

    - Transients: use carefully if you want more snap

    4. EQ Eight

    - tame harshness around 2.5–5 kHz

    - reduce fizz if the snare gets painful

    5. Glue Compressor

    - Ratio: 2:1

    - Attack: 10 ms

    - Release: Auto or 0.3–0.6 s

    - Just a few dB of gain reduction

    Chain B: Heavier, darker version

    1. EQ Eight

    - high-pass around 140 Hz

    2. Roar

    - Use a darker, mid-focused drive mode

    - Keep low end controlled

    - Push mid harmonics for extra menace

    3. Drum Buss

    - Drive moderate

    - Crunch higher if needed

    4. Saturator

    - tiny extra drive, not too much

    5. Limiter

    - only to catch peaks, not to flatten the fill

    ---

    Step 6: Try parallel distortion for better punch

    If you distort the whole fill hard, it can lose punch. A better DnB move is parallel grit.

    #### How to do it

    1. Create a Return Track named `Fill Dirt`.

    2. Add:

    - Saturator

    - Drum Buss

    - maybe Redux for bitcrush texture

    3. Send the fill track to that return.

    4. Blend it quietly under the dry fill.

    #### Suggested parallel settings

  • Saturator Drive: 6–10 dB
  • Drum Buss Crunch: 20–40%
  • Redux: very subtle, maybe downsample lightly
  • Return level: start low, around -18 to -12 dB
  • This keeps the fill punchy while adding nastiness around it.

    ---

    Step 7: Shape the fill with compression and transients

    A jungle fill needs impact + movement.

    #### Use Clip Gain first

    Before compression:

  • make the main snare hit louder than the ghost notes
  • pull down anything that pokes out too hard
  • #### Then use Glue Compressor

  • Aim for 1–3 dB gain reduction
  • If it starts pumping too much, back off the attack or threshold
  • #### For more bite

    Use Drum Buss Transients:

  • positive transients = more attack
  • negative transients = softer, rounder fill
  • For aggressive DnB, usually:

  • keep the snare transient strong
  • soften any unruly low-mid hits
  • ---

    Step 8: Add a little space without washing it out

    A fill usually needs to feel wide and exciting, but not muddy.

    #### Good approach

  • Add Reverb on a send, not directly on the track
  • Use a short decay:
  • - 0.4–0.9 s

  • Set Pre-Delay around 10–25 ms
  • High-pass the reverb return at 300 Hz or higher
  • #### Optional

    A tiny bit of Echo or Delay on the final snare hit can make the transition feel more alive.

    Keep it controlled. In DnB, the fill should hype the drop, not blur into it.

    ---

    Step 9: Arrange the fill in a real track context

    This is where the lesson becomes production, not just sound design.

    A practical arrangement idea

    Use the fill at the end of an 8-bar phrase.

    Example structure:

  • Bars 1–6: main groove / bassline
  • Bar 7: reduced drums or filtered drums
  • Bar 8 beat 3–4: Hot Pants fill
  • Next bar 1: drop returns hard
  • Common arrangement trick

    Mute or thin out the bass briefly during the fill:

  • cut the bass on the last half bar
  • or automate a low-pass filter on the bass
  • or remove sub completely for the final 1/4 bar
  • This gives the fill room to hit.

    ---

    Step 10: Use automation to make the fill feel like a transition

    Automation makes the fill feel intentional and professional.

    #### Great automation moves:

  • automate filter cutoff opening on the drum bus
  • automate reverb send up only on the final snare hit
  • automate distortion drive up slightly during the fill
  • automate master of the drum return for extra energy into the drop
  • automate a low-pass on the bass before the fill, then snap it back open at the drop
  • A classic DnB move:

  • start the fill slightly filtered and narrow
  • increase brightness and stereo energy right before the drop
  • ---

    Step 11: Make it work with the bassline

    A DnB fill must sit with the bass, not fight it.

    #### Check these points:

  • Keep the fill mostly in the midrange and upper mids
  • Avoid too much energy below 120 Hz
  • If the bassline is busy, simplify the fill
  • If the bass is sparse, the fill can be more aggressive
  • #### Mixing rule

    If the fill is answering a bass phrase, make the snare the star.

    If it’s leading into an impact, let the kick-snare texture build suspense.

    ---

    Step 12: Render and audition in context

    Once the fill sounds good solo, place it in the arrangement and listen with:

  • drums
  • bass
  • atmospheres
  • impact layers
  • Then ask:

  • Does it cut through?
  • Does it overstay its welcome?
  • Does it make the drop feel bigger?
  • If the answer is “not quite,” adjust:

  • timing
  • transient balance
  • distortion amount
  • where the fill starts and ends
  • ---

    4. Common mistakes

    1. Distorting too much too early

    If you slam the whole fill into hard distortion, you may lose the snare crack and get harsh mush.

    Fix: use parallel distortion or lower drive, then add presence with EQ.

    2. Leaving too much low end

    Fills often collect unwanted sub and low-mid rumble.

    Fix: high-pass around 120–180 Hz on the fill or clean the low end with EQ Eight.

    3. Over-quantizing the chops

    A perfectly grid-locked fill can feel dead.

    Fix: use groove, manual nudging, or slight timing offsets.

    4. Making every hit equally loud

    That removes the phrase shape.

    Fix: keep one or two key snare hits dominant and let ghost notes support them.

    5. Too much reverb

    That can destroy the punch and smear the transition.

    Fix: use short reverb on a send and high-pass the return.

    6. Not arranging it in context

    A fill that sounds huge solo may feel pointless in the actual track.

    Fix: always test with the bass and drop around it.

    ---

    5. Pro tips for darker/heavier DnB

    Use midrange saturation, not just fuzz

    For darker DnB, the goal is often weight and menace, not obvious distortion.

    Try:

  • Roar for controlled harmonic aggression
  • Saturator with modest drive
  • Drum Buss for extra crack and density
  • Layer a metallic top

    Add a quiet layer on top of the fill:

  • a rim
  • a tight snare sample
  • a noise burst
  • a reversed cymbal
  • This helps the fill slice through dense bass and pads.

    Make the last hit special

    The final hit before the drop should feel like a handoff.

    Options:

  • pitch it slightly down
  • add a very short reverb tail
  • saturate it more than the earlier chops
  • widen only the top layer, keep the low-mid center solid
  • Use negative space

    Dark DnB works better when the fill has room.

    Try muting:

  • the sub
  • one percussion layer
  • a bass note
  • for the final quarter bar.

    Sidechain the fill to the kick or bass if needed

    If the fill and bass clash:

  • use Compressor sidechained from the kick
  • or use Track Delay / arrangement spacing so the fill breathes
  • ---

    6. Mini practice exercise

    Try this quick exercise in Ableton Live 12:

    Goal

    Build a 1-bar Hot Pants jungle fill that leads into a drop.

    Steps

    1. Find a break with snare-heavy material.

    2. Slice it to a Drum Rack.

    3. Program a fill using:

    - 1 strong snare hit

    - 2–3 chopped ghost notes

    - 1 final impact hit on the last beat

    4. Add this chain:

    - EQ Eight

    - Saturator

    - Drum Buss

    - Glue Compressor

    5. Create a parallel return with heavier distortion.

    6. Arrange it at the end of an 8-bar section.

    7. Automate a bass filter or drum bus filter into the drop.

    Challenge

    Make 3 versions:

  • Version A: clean and punchy
  • Version B: gritty and distorted
  • Version C: dark, filtered, and more dramatic
  • Then compare which one works best in the track.

    ---

    7. Recap

    A strong Hot Pants jungle fill in Ableton Live 12 is built from three things:

  • good chop selection and timing
  • controlled distortion and saturation
  • smart arrangement into the drop
  • The best results come from treating the fill like a phrase, not just a loop. Shape it, distort it with intention, and place it where it increases tension in your DnB arrangement. 🥁

    Key takeaways

  • Use Drum Rack or Simpler to chop the break
  • Clean the slices before distortion
  • Use Saturator, Drum Buss, Roar, EQ Eight, and Glue Compressor
  • Keep low end under control
  • Arrange the fill as a transition tool, not just a drum loop
  • Use automation to make the drop feel bigger
  • If you want, I can also turn this into:

  • a one-page cheat sheet
  • an Ableton device chain preset
  • or a bar-by-bar MIDI example for the Hot Pants fill.

Ask GPT about this lesson

Chat with the lesson tutor, get follow-up help, or use quick actions.

Bigup 👽 Ask me anything about this lesson and I’ll answer in context.

Narration script

Show spoken script
Welcome to this Ableton Live 12 lesson on building a Hot Pants jungle fill, distorting it with attitude, and arranging it so it actually works in a drum and bass track.

This is not just about making a cool break edit in isolation. The real goal here is to create a transition tool. Something you can drop at the end of a phrase to build tension, lift energy, and slam into the next section with intent. In other words, we’re making a fill that feels like part of the track, not a loop you accidentally left in the project.

Now, before we touch any effects, let’s think like drum and bass producers for a second. A good jungle fill behaves like the end of a sentence. It has punctuation. It leads the ear somewhere. So instead of thinking, “What random chops can I throw in here?” think, “What moment do I want the listener to feel?” Is the snare the star? Is the final hit the big reveal? Is the whole thing a short burst of controlled chaos? Decide that first, because everything else should support it.

Start by choosing your source material. For this style, you want a break or fill with strong snare presence, a few ghost notes, and enough midrange character to survive processing. A chopped Hot Pants break is perfect, but Amen, Think, or any gritty funk break with clear accents can work really well too. If the source sounds a bit too clean, don’t worry. We’re going to dirty it up later. Right now the priority is timing and groove.

Drag the break into an audio track and warp it if needed. If it has more tonal movement or a lot of character, Complex Pro can help. If it’s mostly percussion, Beats mode is often cleaner and more natural. Set your tempo somewhere in the DnB zone, around 170 to 175 BPM for a modern feel, or a little lower if you want that looser old-school jungle swing.

Next, we’re going to chop the break into playable parts. In Ableton Live 12, you’ve got two nice routes here. You can right-click the audio clip and use Slice to New MIDI Track, which is great because it turns the break into a Drum Rack automatically. Slice by transients if you want a more natural chop, or by 1/8 if you want a stricter grid-based approach. Or, if you want something a little lighter and more direct, drop the break into Simpler in Slice mode and trigger the slices from MIDI notes.

Once the break is sliced, it’s time to build the fill pattern. For a Hot Pants-style jungle fill, the snare usually leads the conversation. You want a strong snare identity, a few tight chop hits before the downbeat, and a final accent that makes the drop feel inevitable. A simple starting point might be a strong snare around beat 3, followed by a couple of quick pickups, then another hit on beat 4, and finally a last impact right before the next bar lands. The exact rhythm can change, but the energy should feel like it’s accelerating toward the drop.

This is where the groove matters. Jungle fills are supposed to move. They should breathe a little. So resist the urge to quantize everything perfectly. You can add a touch of swing with the Groove Pool, somewhere around 55 to 58 percent, or manually nudge a few ghost notes slightly late. That little bit of looseness gives the fill life. If it feels too stiff, it’ll sound like a loop. If it feels like a phrase, you’re on the right track.

Before we reach for distortion, clean the slices first. This step matters more than people think. Shorten any slices that ring too long. Remove ugly tail overlap. Fade clicks at the slice boundaries. Make sure the main snare transients stay sharp. If something is poking out too hard, use clip gain to balance it before processing. Distortion will exaggerate whatever you give it, so if the timing or the tails are messy, the distortion will just make the problem louder.

Now for the fun part. Let’s give the fill some grit.

A solid stock-device chain for this kind of fill might start with EQ Eight. High-pass the low end somewhere around 120 to 180 Hz so the fill doesn’t fight your sub. If it gets boxy, take a small cut around 300 to 500 Hz. Then hit it with Saturator. A few dB of drive is often enough to add attitude, and Soft Clip can help keep the peaks under control while still sounding fierce. If you want it a little harsher, try a more aggressive clipping mode.

After that, bring in Drum Buss. This is one of those devices that can really make a drum fill feel expensive and alive. Use Drive modestly at first, then add a bit of Crunch if you want more dirt and bite. Be careful with Boom here. For a fill, you usually want the low end under control, not exaggerated. If you want more snap, experiment with the Transients control, but don’t overdo it. The goal is impact, not flattening.

Then use EQ Eight again to tame anything harsh around 2.5 to 5 kHz if the snare gets painful or fizzy. Finally, add a Glue Compressor with a light touch. You’re usually looking for just a few dB of gain reduction, enough to glue the fill together without killing the punch. If it starts pumping or sounding squashed, ease off.

If you want a heavier, darker version, Roar is a great choice in Live 12. Use it for controlled midrange aggression rather than full-on fuzz. Dark DnB often benefits more from focused harmonics than from obvious distortion. Keep the low end clean, push the mids, and let the fill sound menacing instead of just noisy.

A really powerful move here is parallel distortion. Instead of smashing the whole fill directly, make a Return Track called Fill Dirt. Put a Saturator, Drum Buss, and maybe even Redux on it if you want a touch of bitcrushed texture. Send the fill to that return quietly and blend it underneath the dry signal. This gives you the best of both worlds: the original snare crack and the dirty support layer. It stays punchy, but it also gets that nasty edge that helps it cut through a bass-heavy arrangement.

Now let’s talk shape, because a fill needs more than just sound. It needs contour. Use clip gain first so the main hit is clearly the star and the ghost notes support it instead of fighting it. Then use Glue Compressor lightly to keep the fill coherent. If you want extra bite, positive Drum Buss transients can sharpen the attack, while negative transients can soften any awkward low-mid thuds. In most aggressive DnB contexts, you want the main snare to stay proud and the smaller hits to fill space around it.

You can also add a little space without washing the whole thing out. The trick is to use reverb on a send, not directly on the fill track. Keep the decay short, maybe around half a second to just under a second. Use a small pre-delay so the transient still hits first. High-pass the reverb return so the low end doesn’t get muddy. If you want a little extra movement, a subtle delay on the final snare hit can make the transition feel bigger without cluttering it.

Now, arrangement. This is where the fill becomes a production tool.

A classic move is to place the fill at the end of an 8-bar phrase. For example, bars 1 through 6 can be your main groove and bassline, bar 7 can thin out the drums or filter them, and bar 8 can carry the Hot Pants fill into the next section. You can even mute the bass on the last half bar or low-pass it briefly so the fill has more room to speak. That little gap creates excitement. The ear notices the absence, and then the drop lands harder.

Automation is where everything starts to feel intentional. Open the drum bus filter slightly as the fill progresses. Push the reverb send only on the final hit. Increase distortion drive just a touch during the fill. Filter the bass down before the transition and snap it back open at the drop. Small automation moves can make a huge difference, because they tell the listener, “Something is coming.” That’s the tension you want.

One important thing to remember is that the fill has to work with the bassline, not against it. Keep most of the fill in the midrange and upper mids. Don’t let it steal too much energy below 120 Hz. If the bassline is busy, simplify the fill. If the bass is sparse, you can get a little more wild. The fill should answer the arrangement, not ignore it.

Here’s a useful mindset shift: don’t think in terms of patterns, think in terms of phrases. A great jungle fill isn’t just a bunch of chopped hits. It’s a sentence ending. It has a beginning, a rise, and a final point of emphasis. Let one element lead the whole thing, whether that’s the snare, a ghost-note cluster, or a final crash-like accent. Everything else should support that headline moment.

If you want to take this further, there are a few advanced variations worth trying. You can build a call-and-response fill, where two hits answer, then a short gap, then two different hits, then a final accent. That gives the phrase shape and keeps it from sounding like a machine-gun roll. You can also lean into a half-time illusion by placing the main snare in a slower-feeling spot while the ghost notes keep moving in double-time. That’s especially effective if you want a heavier, more dramatic transition.

Another great trick is reverse emphasis. Reverse a snare tail, a cymbal fragment, or a noise burst so the fill seems to pull forward into the drop. You can also play with tiny polyrhythmic micro-chops, offset slightly against the grid, to create that broken modern jungle tension. And if you’re repeating the fill, try alternate endings so it doesn’t feel copy-pasted. One ending can be clean, another can be distorted with a short reverb tail, and another can leave a tiny gap before the drop. That variety keeps the arrangement alive.

For darker and heavier DnB, a few extra ideas really help. Layer a quiet metallic top, like a rim, noise burst, or reversed cymbal, so the fill slices through dense bass and pads. Treat the final hit like a handoff to the next section. Make it slightly more saturated, maybe a little wider on the top layer, and give it a short tail if needed. And don’t be afraid of negative space. Sometimes muting the sub, a percussion layer, or even a bass note for the last quarter bar makes the fill feel way bigger.

A solid practice exercise is to build three versions of the same fill. Make one clean and punchy. Make one gritty and distorted. Make one dark, filtered, and dramatic. Then audition them in context with the bassline and drop. Solo sounds can fool you. What matters is how the fill behaves inside the arrangement. If it cuts through, if it creates tension, and if it makes the drop feel bigger, then it’s doing its job.

So to recap: the strongest Hot Pants jungle fill comes from three things. Good chop selection and timing. Controlled distortion and saturation. And smart arrangement into the drop. Use Drum Rack or Simpler to chop the break. Clean the slices before processing. Shape them with EQ, Saturator, Drum Buss, Roar, and Glue Compressor. Keep the low end under control. Then place the fill where it can act like a proper transition, not just a drum loop.

If you remember one thing from this lesson, make it this: a great jungle fill is not just about energy, it’s about direction. Build the tension, point it somewhere, and let the drop land like it means it.

mickeybeam

Go to drumbasscd.com for +100 drum and bass YouTube channels all in one place - tune in!

Generating PDF preview…