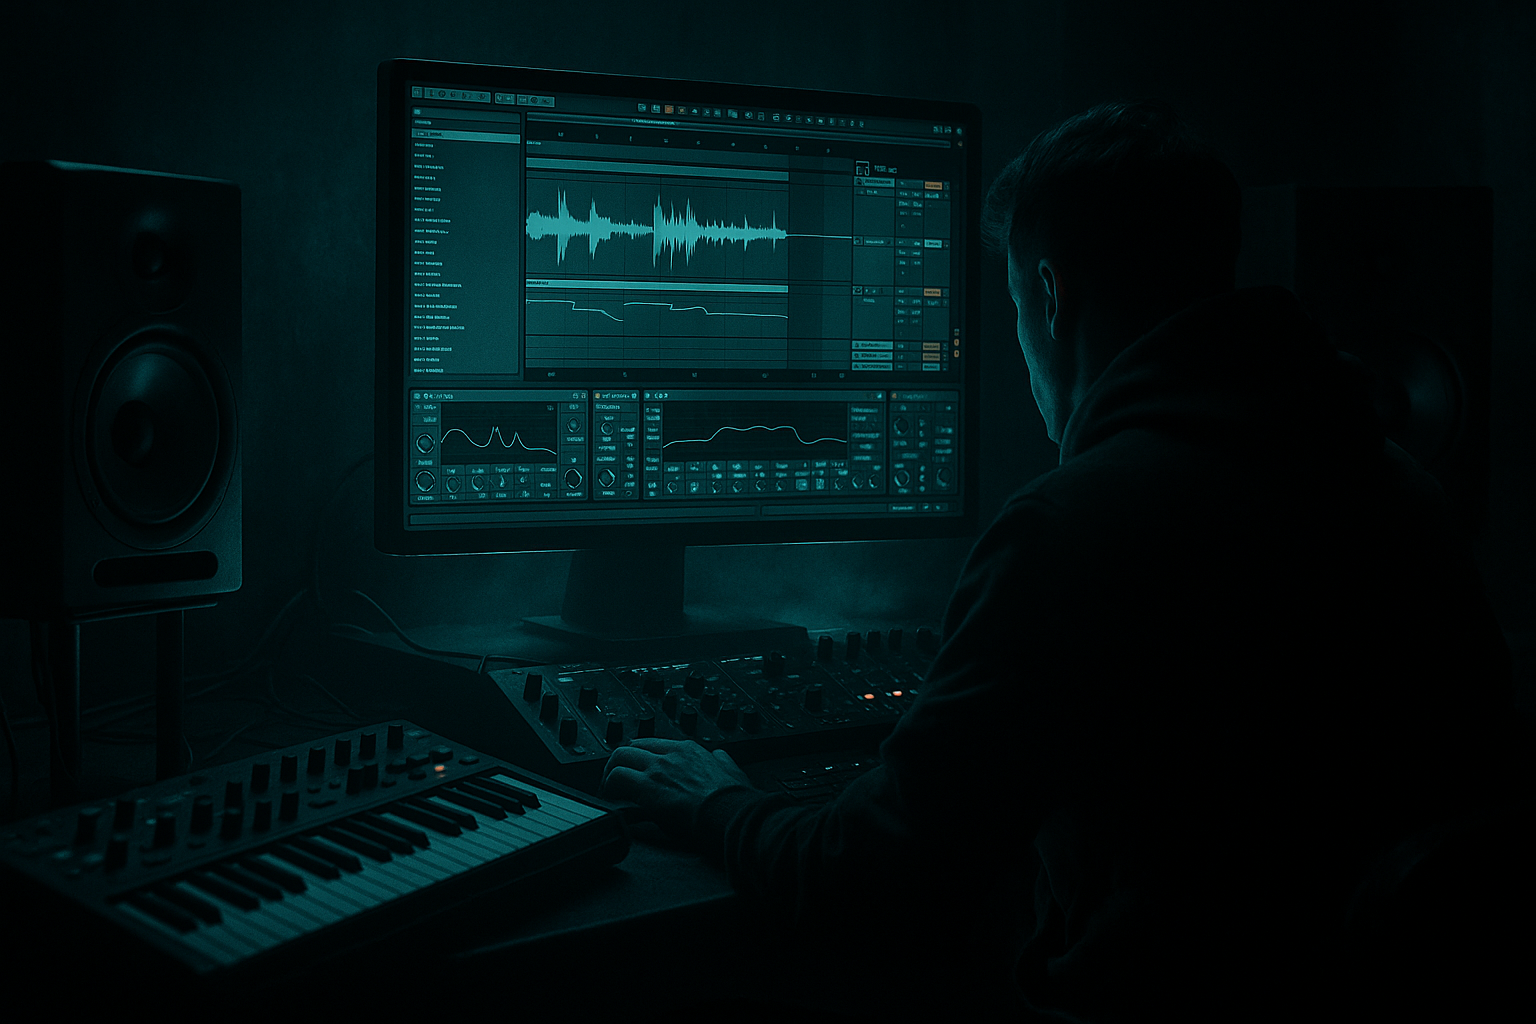
Main tutorial
Lesson Overview
The Hot Pants framework is a fast, reliable way to build pad layers that support oldskool jungle and DnB energy without turning your track into a washed-out ambient cloud. In this lesson, you’ll use Ableton Live 12 to compose a pad that works like a DJ tool: it creates mood, defines harmony, helps transitions, and makes your arrangement feel purposeful when you’re moving between breaks, bass sections, and drop variations.
In DnB, pads are not just “pretty background.” They can do several jobs at once:
- give the intro a recognisable identity
- make a break feel emotional or ominous
- glue chopped breaks to sub and reese bass
- provide tension before a switch-up
- act as a mix-safe atmospheric bed for DJ-friendly outros
- warm but slightly dark
- textured, not polished to death
- harmonically simple
- rhythmically restrained
- spacious enough to leave room for drums and bass
- it helps you make quick musical decisions
- it keeps the low end clear for sub and kick
- it gives transitions more identity
- it helps a 16- or 32-bar section feel complete fast
- it makes your track easier to DJ mix because the intro/outro has a harmonic anchor
- a 2- to 4-note pad voicing that works around 140–174 BPM
- a warm analog-style sustain layer
- a textural noise or wavetable layer
- filtered movement using Ableton stock modulation
- a pad that can sit under:
- a tense minor-key pad or suspended harmony
- slightly detuned, slightly unstable
- wider in the top mids, disciplined in the low end
- able to evolve over 8 or 16 bars without distracting from the drums
- Making the pad too wide and too bright
- Using chords that are too complex
- Letting the pad fight the bass
- No movement over 8 bars
- Over-reverbing the pad
- Ignoring the break
- Not thinking like a DJ
- Use minor 2nds or suspended tones sparingly to create unease without making the harmony messy.
- Layer a very low, filtered noise bed under the pad for an underground atmosphere. High-pass it and keep it subtle.
- Print the pad to audio and resample again with distortion, tape-style saturation, or reverse edits for more character.
- Sidechain the pad lightly to the kick or drum bus if it’s masking the groove. Keep it gentle so it breathes, not pumps like a house track.
- Use reese-adjacent movement in the upper layer only. The pad can borrow the energy of a reese while the sub stays clean and central.
- Automate reverb size upward before a switch-up and pull it back hard at the drop for contrast.
- Try a darker call-and-response: pad chord, then a short stab or bass answer, then pad again. This works great in rollers and jungle edits.
- Keep the pad slightly unstable with subtle drift, chorus, or modulation, but avoid obvious wobble unless the track is more neuro or experimental.
- For harder tracks, use distortion before the filter and then clean up after so the harmonic grit becomes part of the movement, not just fuzz.
- Build pads in DnB as functional arrangement tools, not just background texture.
- Keep the harmony simple, dark, and phrase-aware.
- Use Ableton stock devices like Wavetable, Drift, EQ Eight, Auto Filter, Auto Pan, Saturator, Utility, and Glue Compressor.
- Make sure the pad has movement, but leave space for drums and bass.
- Resample once it works — that’s where the character and flexibility really click.
- Think like a DJ: intros, outros, tension, release, and clean mix translation matter as much as the sound itself.
For jungle / oldskool DnB vibes, the right pad usually feels:
The “Hot Pants” framework here means: build a pad from a short, groove-aware harmonic idea, then shape it with movement, filtering, resampling, and arrangement automation so it feels like a proper part of the record rather than a generic synth wash. This is especially useful for rollers, darker dancefloor, jungle edits, and DJ tools, where atmosphere and flow matter as much as the main drop.
Why this technique matters in DnB:
---
What You Will Build
You will build a multi-layer pad patch in Ableton Live 12 that sounds like a dark jungle-era chord bed with subtle motion and grit.
By the end, you’ll have:
- chopped amen breaks
- sub drops
- Reese bass call-and-response
- DJ-friendly intro/outro sections
Musically, the result should feel like:
A good reference situation: imagine a 32-bar intro where the pad enters after the first 8 bars, supports a chopped break loop, then slowly opens as a filtered bass motif drops in. That’s the kind of functional musical role this lesson is built for.
---
Step-by-Step Walkthrough
1. Set the session up like a DJ tool, not a full song
Start a fresh Ableton Live 12 set at your target tempo:
- 170 BPM for classic jungle energy
- 174 BPM if you want sharper oldskool urgency
- 172 BPM if you want modern rollers territory
Create three tracks:
- Drums
- Bass
- Pad
On the Pad track, place a MIDI clip that loops for 8 bars. Keep the arrangement simple for now. The goal is to create a pad that can support a DJ intro, breakdown, or transition section. This mindset matters because pads in DnB are often used as utility harmony, not just emotional decoration.
2. Choose a restrained chord voicing with jungle tension
For the Hot Pants-style pad, avoid lush jazz voicings at first. Start with a minor or suspended tonality. Good starting options:
- A minor add9
- D minor 7
- F major over A bass
- E suspended minor tension if you want a darker, unresolved feel
Keep the voicing tight:
- use 2 to 4 notes max
- avoid heavy low notes below about C2 in the pad itself
- if you want more depth, let the sub bass handle that
In piano roll, try a rhythm like:
- chord hits on bar 1
- repeat or invert on bar 5
- add a slight variation on bar 7
- leave space in bars 2–4 and 6–8 for break movement
Why this works in DnB: the drums and bass are already busy. A simple, dark harmonic bed gives the track identity without muddying the groove.
3. Build the core sound with Wavetable or Drift
Use an Ableton stock synth to create the main pad layer:
- Wavetable for a controllable, modern pad with movement
- Drift if you want more vintage analog drift and a slightly rougher character
For Wavetable:
- Osc 1: a smooth wavetable, with the position around 20–40%
- Osc 2: detuned slightly, mix around -6 to -12 dB lower than Osc 1
- Unison: 2 to 4 voices
- Detune: keep modest, around 5–15%
- Filter: low-pass, cutoff around 500 Hz to 2.5 kHz depending on brightness
- Envelope: slow attack, around 50–200 ms, release 1.5–4 seconds
For Drift:
- use one or two oscillators with slight detune
- reduce brightness a bit
- add subtle voice drift so the pad feels alive rather than static
Keep the pad mono-compatible in the low range. If you hear any big low-mid spread, tame it later.
4. Add a second texture layer for oldskool character
Duplicate the MIDI clip or create a second instrument layer on the same track using an Instrument Rack. The second layer should be more texture than harmony.
Good stock device ideas:
- Operator for a sine/triangle-based tonal layer
- Analog if you want a thicker, older synth tone
- Simpler loaded with a resampled noise or vinyl texture
- Texture noise through Auto Filter for air and grit
Mix this layer quietly:
- keep it 10–15 dB lower than the main layer
- high-pass it around 200–400 Hz
- slightly modulate filter cutoff or wavetable position
Add a small amount of saturation:
- Saturator with Drive 1–4 dB
- Soft Clip on if needed
- keep the output level controlled
This gives you that slightly unstable jungle pad feel — the kind of sound that seems to come from a sampler, tape, or worn synth, not a sterile preset.
5. Shape movement using Auto Filter, LFO, and automation
Place Auto Filter after your synth stack. This is where the pad becomes a proper DnB arrangement tool.
Suggested settings:
- Filter type: Low-pass 12 or 24 dB
- Resonance: 10–25%
- Cutoff start point: around 300 Hz to 1.5 kHz
- Add a gentle envelope or modulation so it opens and closes slowly
In Live 12, use modulation tools or automation to move the cutoff over time. If you prefer hand automation:
- open slightly over 8 bars
- close down a little before the drop
- open again on the switch-up or breakdown
Add Auto Pan for subtle motion:
- Rate: 1/2 or 1 bar
- Amount: 10–25%
- Phase: keep it moderate, not full stereo wobble
This is useful in DnB because the pad can create movement without fighting the drums. A slow filter move makes the arrangement feel intentional, especially in DJ intro/outro sections.
6. Control space with EQ Eight, utility, and mono discipline
Now clean the pad so it sits in the track.
Use EQ Eight:
- high-pass around 120–250 Hz depending on the arrangement
- cut a little around 250–500 Hz if it sounds boxy
- tame harshness around 2–5 kHz if the pad starts poking through the snare or hats
Use Utility:
- reduce width if the pad is too wide in the low mids
- keep the lower layer more centered
- if needed, use Bass Mono style thinking: the pad should feel wide up top, but not smear the foundation
Check the mix in mono periodically. If the pad collapses badly, your width is coming from phasey unison or overdone chorus. Reduce detune, reduce chorus depth, or high-pass more aggressively.
Why this works in DnB: the kick, snare, sub, and reese need a clean center. Pads should support the vibe without eating the punch of the drum programming.
7. Add rhythmic identity with gate-like motion or chop automation
Oldskool jungle pads often feel more alive when they’re not just held straight for 8 bars. Give the pad a rhythm that interacts with the break.
You can do this with:
- Auto Pan in phase-0 style for rhythmic gating feel
- Gate if you want tighter chop behavior
- volume automation on the pad track
- clip envelopes for note length variation
Try one of these patterns:
- a gentle pulse on off-beats
- a muted opening on bar 4 leading into the next phrase
- short stabs before a fill or break edit
Suggested settings:
- Auto Pan Amount: 20–40%
- Rate synced to 1/8 or 1/4
- Gate threshold carefully set so it doesn’t flatten the sustain completely
This creates call-and-response with your drums and bass. The pad becomes part of the groove, not just wallpaper.
8. Resample the pad for DJ-tool flexibility
Once the pad feels good, resample it. This is a very DnB-friendly move because it gives you more arrangement control and lets you print the character you’ve built.
In Ableton:
- create an Audio track
- set input to Resampling or route from the pad track
- record 8 bars of the pad movement
- then consolidate the best section
Now you can:
- reverse parts of it for transitions
- slice it into hits with Simpler
- layer it under break edits
- stretch it into intro atmospheres
- use it as a riser bed with automation
This is especially powerful for DJ tools because a resampled pad can be used in the intro, breakdown, and outro without needing the synth live the whole time.
9. Arrange it like a proper jungle/DnB section
Think in 8- or 16-bar phrases.
Example arrangement:
- Bars 1–8: filtered pad alone with atmospherics
- Bars 9–16: chopped break enters, pad opens slightly
- Bars 17–24: sub or reese motif comes in, pad ducks a little
- Bars 25–32: tension increases with automation, then drop or switch-up
Add small arrangement details:
- reverse pad swell into snare fills
- cutoff opening on the last 2 bars before the drop
- short muted chord hits at the end of a phrase
- delayed pad tail leading into the next section
For DJ-friendly structure, leave a clean intro/outro where the pad provides harmony but avoids too much melodic movement. That makes mixing easier and keeps the track usable in sets.
10. Glue the pad with bus processing, but keep it subtle
If your pad sits with drums and bass, route it to a group or pad bus and add gentle shaping.
Good stock processing chain:
- EQ Eight
- Saturator
- Compressor or Glue Compressor
- optional Reverb
Compression settings:
- low ratio, around 1.5:1 to 2:1
- slow attack if you want more bloom
- moderate release so it breathes
Reverb suggestions:
- decay around 1.5–4 seconds
- low cut in the reverb
- dry/wet kept low, often 5–15%
Don’t wash out the pad too much. In DnB, the pad should enhance the motion of the track, not blur the drum articulation.
---
Common Mistakes
- Fix: high-pass more, reduce unison detune, tame 2–5 kHz with EQ Eight
- Fix: reduce to 2–4 notes and prioritize tension over jazz density
- Fix: cut low mids, keep the pad above the sub region, check mono
- Fix: automate filter cutoff, volume, or pan subtly so the section evolves
- Fix: shorten decay, filter the reverb, or resample and print ambience separately
- Fix: shape the pad rhythm so it leaves room for snare transients and ghost notes
- Fix: make sure the pad can support intro/outro mixing and doesn’t overload the section with constant melody
---
Pro Tips for Darker / Heavier DnB
---
Mini Practice Exercise
Set a timer for 15 minutes and build a DJ-ready pad section from scratch:
1. Open a new Ableton set at 172 BPM.
2. Create one MIDI pad track and one drum loop track.
3. Write a 2- or 3-note minor chord in an 8-bar loop.
4. Build the pad using Wavetable or Drift plus a second quiet texture layer.
5. Add Auto Filter, EQ Eight, and Saturator.
6. Automate the cutoff so it opens gradually across 8 bars.
7. Add a small rhythmic pulse with Auto Pan or volume automation.
8. Resample the result to audio.
9. Move the audio clip into a simple arrangement with:
- 8 bars intro
- 8 bars drums
- 8 bars tension
- 8 bars variation
10. Export or loop it and listen in mono once.
Goal: make the pad sound like it belongs in a jungle intro, roller breakdown, or dark DJ transition — not like a generic synth pad.
---

