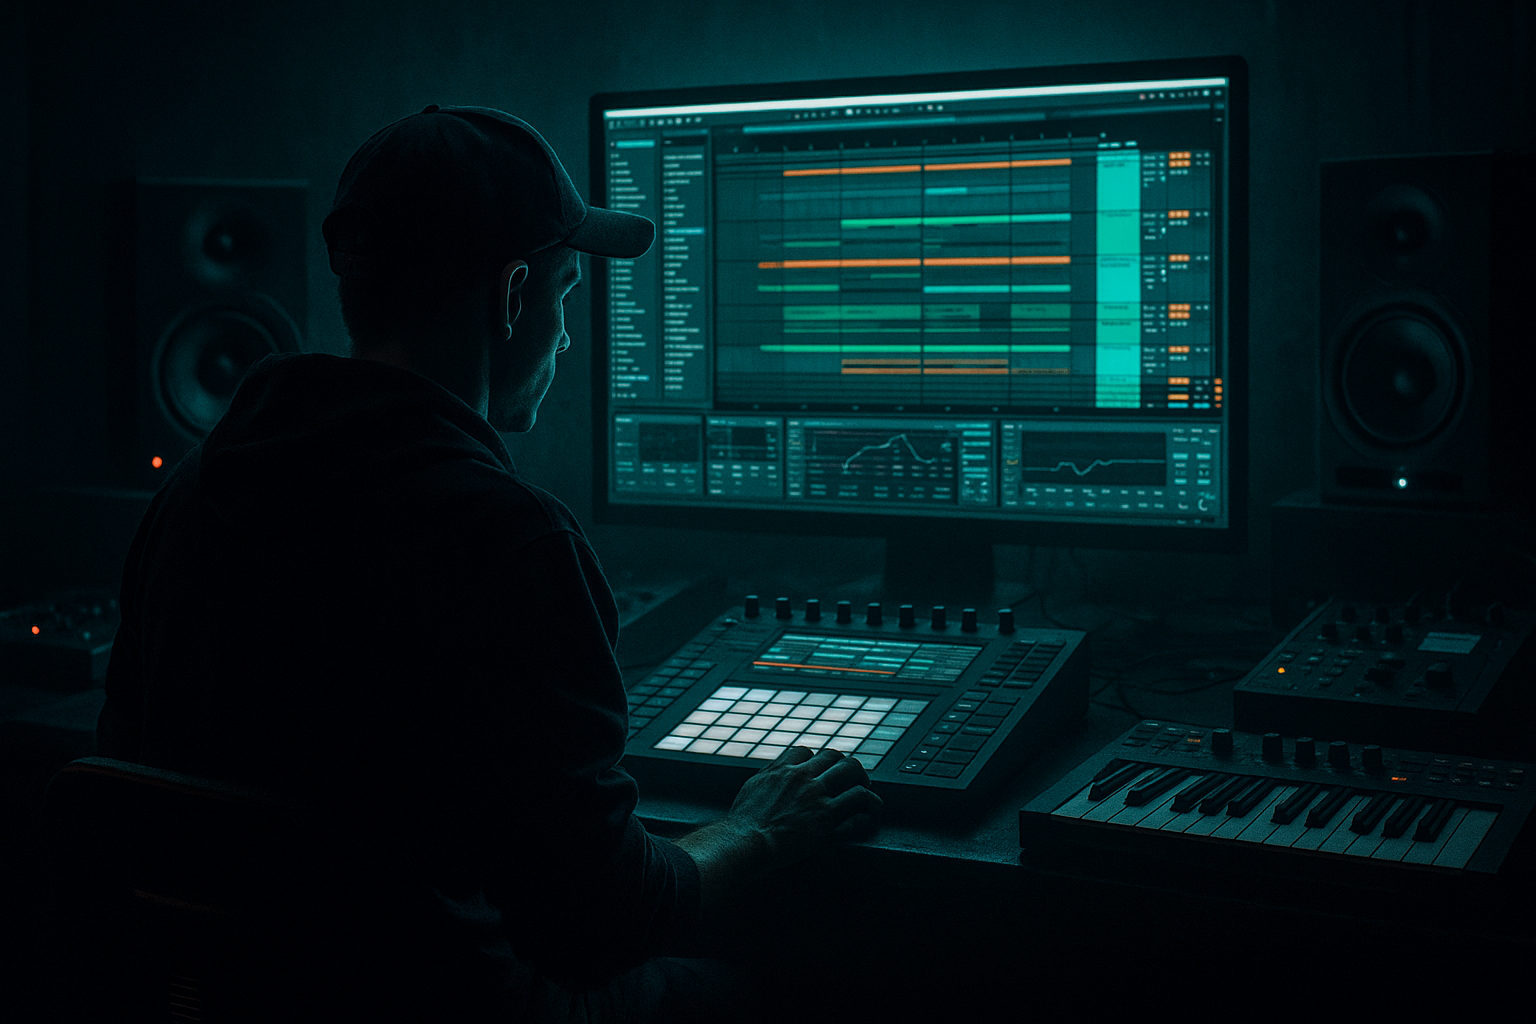
Main tutorial
Hot Pants Drop Flip Deep Dive: Crisp Transients + Dusty Mids (Ableton Live 12, Jungle/Oldskool DnB) 🥁🔥
1. Lesson overview
You’re going to take a classic Hot Pants-style break (or any similar funk break), do a drop flip (re-triggering the break at the drop in a way that feels like oldskool jungle edits), and then mix it so it hits with:
- Crisp, snappy transients (kicks/snares cut through)
- Dusty, gritty mids (that “sampled-from-vinyl” crunch)
- Controlled low-end (so it rolls with a bassline without mud)
- A break track with a drop flip edit (pre-drop → flip → drop impact)
- A two-lane drum approach:
- A tight drum bus that feels oldskool jungle but still modern-loud
- Optional ghost kick sidechain control for bass
- Bars 1–4: intro/pre-drop tension
- Bar 5: drop flip (a quick re-trigger)
- Bars 5–12: main drop groove
- On `BREAK TRANSIENT`, HP at 35–50 Hz
- On `BREAK DUST`, HP at 150 Hz
- Add a dedicated kick track with:
- Over-warping the break: too many warp markers smears transients. Use the minimum markers needed.
- Dust lane too bright: if your “dust” has lots of 10–16 kHz, it stops sounding sampled and starts sounding fizzy.
- Too much Drum Buss Transients: you’ll get clicky hats and harsh snare edges. Push transients, then tame with EQ.
- Limiter doing all the work: if your limiter is shaving 6–10 dB, you’re not mixing—you’re flattening.
- Flip not level-managed: the flip should feel louder by impact, not because it’s clipping.
- Midrange “weight” lives around 250–800 Hz, but too much gets boxy. Use small boosts and smaller cuts.
- Add gated room for snare-era jungle:
- For heavier impact without harshness:
- Make the drop feel violent: mute the dust lane for 1/2 beat before the flip, then bring it back on the flip. Instant contrast.
- Try Auto Filter (HP) automation on `BREAK BUS` in the last bar before drop:
- The drop flip is an arrangement + transient event—control the spike with automation, not brute limiting.
- Split the break into Transient (clean punch) and Dust (mid grit) lanes for total control.
- Use stock devices:
- Keep low-end intentional: break low end often lies—layer or filter to protect the bass relationship.
This is a mixing-focused lesson, but we’ll touch arrangement/editing because the drop flip only works if the edit supports the mix.
---
2. What you will build
By the end you’ll have:
1) Transient lane (clean, punchy top of the break)
2) Dust lane (midrange dirt + texture)
Think: 1994 energy, 2026 control 😄
---
3. Step-by-step walkthrough
Step 0 — Project setup (fast but important)
1. Tempo: 165–172 BPM (start at 170).
2. Warp mode (Audio Clip):
- For breaks, try Beats warp mode
- Preserve: Transients
- Set Transient Loop Mode = Off (cleaner)
- Start with Envelope = 100, then adjust later
3. Turn on Metronome, set a 4 or 8 bar loop around your drop.
---
Step 1 — Choose and prep your break
1. Drop your Hot Pants break (or similar) into an audio track named: `BREAK MAIN`.
2. Warp it so bar 1 hits exactly on 1.1.1.
3. Find the best 1-bar or 2-bar loop (usually where snare and kick feel balanced).
4. In Clip View:
- Gain: don’t normalize to death—aim so peaks are around -6 dB on the track meter.
- Fade In/Out (tiny): 1–3 ms to avoid clicks on chops.
DnB note: Hot Pants-type breaks often have a snare that loves 200 Hz + 2–5 kHz, but the kick can get flabby. We’ll fix that.
---
Step 2 — Build the drop flip (arrangement + edit)
This is the “oldskool move”: right as the drop hits, you flip the break so it feels like a DJ rewound / re-cued a slice.
A classic pattern (8-bar phrase):
How to do it in Live 12:
1. Duplicate `BREAK MAIN` to a new track: `BREAK FLIP`.
2. In Arrangement View:
- Locate the exact drop downbeat (e.g., bar 5).
- Place a short “flip” moment right on the drop:
- Option A (simple): copy the first 1/2 bar of the break and paste it twice rapidly:
- 1/2 bar + 1/2 bar (retrigger vibe)
- Option B (more jungle): do 1/4 bar stutters:
- 1/4 + 1/4 + 1/2 (classic bounce)
3. Add reverse lead-in (optional but sick):
- Duplicate a snare hit → Reverse (Clip view) → fade it into the flip.
Key mixing concept: The flip is a transient pile-up. If you don’t control it, it’ll distort or smear. We’ll shape it with dynamics + filtering.
---
Step 3 — Split into “Transient” and “Dust” lanes (the secret sauce)
This is where the crisp/dirty combo becomes easy to control.
#### 3A) Create the lanes
1. Duplicate `BREAK MAIN` twice:
- `BREAK TRANSIENT`
- `BREAK DUST`
2. Group them: select both → Cmd/Ctrl+G → group named `BREAK BUS`.
#### 3B) Transient lane chain (clean punch)
On `BREAK TRANSIENT`, add:
1. EQ Eight
- HP filter: 30–40 Hz, 24 dB/oct (removes rumble)
- Gentle dip: 250–400 Hz (-2 to -4 dB) to reduce boxiness
- Small presence boost: 3.5–6 kHz (+1 to +3 dB) if needed
2. Drum Buss
- Drive: 2–6
- Crunch: 0–10% (keep low here)
- Transients: +10 to +25
- Boom: 0 (don’t add low here; keep it tight)
- Damp: adjust to keep top end controlled (often 5–20)
3. Limiter (gentle safety)
- Ceiling: -1.0 dB
- Only shaving 1–2 dB on the hardest hits
Goal: This lane is your “modern snap”.
---
#### 3C) Dust lane chain (midrange grit + oldskool vibe)
On `BREAK DUST`, add:
1. EQ Eight (band-limit it like a sampled break)
- HP: 120–180 Hz (remove low-end so it doesn’t fight bass/kick)
- LP: 7–10 kHz (roll off modern fizz)
- Optional mid push: 700 Hz–1.6 kHz (+1 to +4 dB) for crunch presence
2. Roar (Ableton Live 12 weapon for jungle dirt)
- Mode: start Soft Clip or Tube
- Drive: 6–12 dB
- Tone/Filter: aim for mid focus (don’t brighten too much)
- Mix: 20–45% (parallel-ish dirt)
- If it gets harsh, reduce highs pre/post with Roar filter or EQ.
3. Redux (subtle “sampler dust”)
- Bit Reduction: 10–14 bit
- Downsample: x1.2–x2.0 (subtle!)
- Dry/Wet: 5–15%
4. Saturator
- Mode: Analog Clip
- Drive: 2–6 dB
- Soft Clip: On
- Output: level-match
Goal: This lane is your “1993 tape/vinyl midrange”.
---
Step 4 — Glue it on the BREAK BUS (control + vibe)
On the Group track `BREAK BUS`, add:
1. Glue Compressor
- Attack: 3 ms (lets transients through but controls)
- Release: Auto or 0.1–0.3 s
- Ratio: 2:1
- Threshold: aim for 1–3 dB of gain reduction on peaks
- Make-up: level-match
2. EQ Eight (final cleanup)
- Tiny dip at 200–300 Hz if it feels “cardboard”
- Tiny shelf at 8–10 kHz if you need air (be careful—jungle doesn’t need EDM sparkle)
3. Drum Buss (optional, very light)
- Drive: 1–3
- Transients: +5 to +10
- Crunch: 0–5%
- This is just glue + knock, not destruction.
---
Step 5 — Keep the flip from wrecking your headroom (drop control)
At the exact flip moment, the energy spikes. Two clean ways to handle it:
#### Option A: Clip Gain automation (most transparent)
1. In Arrangement, show Clip Gain envelope (Clip view gain or automation lane depending on workflow).
2. Pull the flip hits down -1 to -3 dB just for that 1/4–1/2 bar.
3. Add micro fades at slice boundaries.
#### Option B: Utility automation (fast + reversible)
1. Put Utility on `BREAK BUS`.
2. Automate Gain down -1.5 dB only during the flip.
3. Automate back to 0 dB right after.
This keeps the flip aggressive without flattening the whole drop with a limiter.
---
Step 6 — Low-end strategy (so it rolls with bass)
In jungle/DnB, you want drums + bass to lock, not wrestle.
1. Decide: Is your break providing the main kick low-end?
- Often the answer is no (break kicks are inconsistent).
2. Common approach:
- Add a separate clean kick (a short 909-ish or modern punch) layered under key hits.
- High-pass the break’s low end slightly so it doesn’t cloud the sub.
Practical move:
- EQ Eight: small boost at 50–70 Hz (if needed), dip 200–300 Hz
- Saturator: drive 1–3 dB
- Short room reverb send (tiny!) for vibe
---
Step 7 — Sidechain like a grown-up (optional but very DnB)
If you’ve got a rolling reese/sub, sidechain it to the kick (or a ghost kick) so the break stays punchy.
1. Create a `GHOST KICK` track (MIDI → kick sample).
2. Mute its output (or set to Sends Only).
3. On your bass group:
- Add Compressor
- Sidechain input: `GHOST KICK`
- Attack: 0.5–3 ms
- Release: 60–120 ms (tune to groove)
- Ratio: 4:1
- Gain reduction: 2–5 dB
This keeps the flip hitting hard without the bass swallowing it.
---
4. Common mistakes
---
5. Pro tips for darker/heavier DnB 🕶️
- Return track: Reverb (short 0.4–0.8s) → Gate
- Send snare-heavy elements only
- Use Roar in parallel on the bus (Mix 10–20%)
- Then EQ after to pull 3–5 kHz if it bites
- Sweep HP from ~80 Hz up to ~250 Hz → then snap back on drop.
---
6. Mini practice exercise (15–25 minutes) ⏱️
1. Pick one break and make:
- A 2-bar loop of the main groove
- A 1/2-bar flip on the drop
2. Create `BREAK TRANSIENT` + `BREAK DUST` lanes and match these targets:
- Transient lane: punchy, clean, snare forward
- Dust lane: band-limited, gritty, not harsh
3. Bounce (Export) two versions:
- Version A: Dust lane -6 dB
- Version B: Dust lane -2 dB
4. Compare in context with a sub/reese and decide which sits more “authentic jungle” vs “modern DnB”.
---
7. Recap ✅
- EQ Eight for shaping
- Drum Buss for punch
- Roar/Redux/Saturator for oldskool dirt
- Glue Compressor for bus cohesion
If you want, tell me what break you’re using (or upload a screenshot of your chain), and I’ll suggest exact EQ points and a flip pattern that matches your groove.

