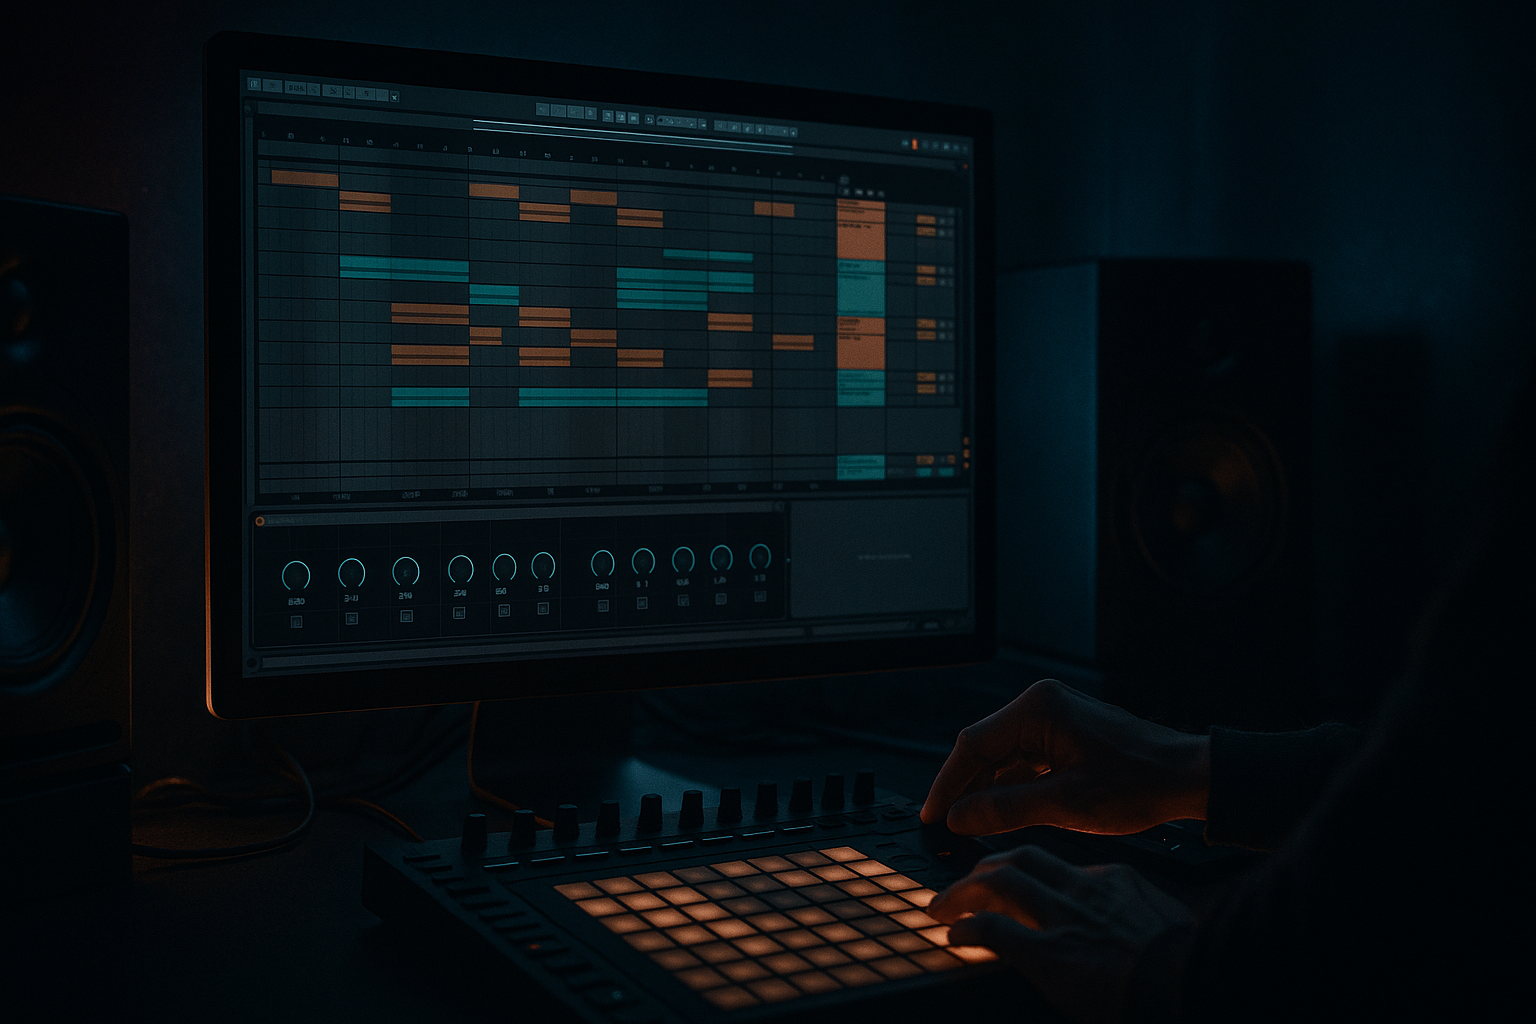
Main tutorial
Lesson Overview
This lesson shows you how to build a Hot Pants-style percussion layer in Ableton Live 12 and turn it into a jungle / oldskool DnB performance element using resampling workflows. The goal is not just “add extra percussion” — it’s to create a living break layer that can sit on top of an Amen, Think, or classic chopped break and instantly give you that frantic, dusty, syncopated, heads-down DnB motion.
In real DnB tracks, this kind of layer usually does three jobs:
1. Glue the break together with extra offbeat movement and ghosted detail.
2. Create contrast between the raw break and the programmed percussion.
3. Drive arrangement changes by evolving from section to section through resampling, edits, and processing.
The “Hot Pants” angle here is important because it gives you a recognizable funk source with strong transient information and rhythmic pocket. When you chop it, resample it, and treat it like a drum instrument rather than a full loop, you get something that feels classic but still modern enough for current jungle, rollers, or darker half-time crossovers.
Why this matters: in DnB, a drum loop that simply repeats gets stale fast. A resampled percussion layer lets you change feel without replacing the core break, which is exactly how a lot of classic and modern underground drum programming keeps energy high without overcrowding the mix. 🥁
What You Will Build
By the end of this lesson, you’ll have:
- A Hot Pants-inspired percussion layer built from chopped funk material in Ableton Live 12
- A resampled audio performance layer with swing, grit, and controlled chaos
- A breakbeat stack that sits alongside an Amen or similar foundation break
- A variation system for fills, drop switches, and 8-bar development
- A mix-ready percussion bus with transient control, saturation, and mono-safe low end
- A layer that can work in:
- Layering too much rhythm on top of the break
- Too much low end in the percussion sample
- Over-quantizing everything
- Over-compressing the layer
- Making the resample too clean
- Ignoring arrangement
- Use parallel distortion on a send
- Carve tension with narrow band filtering
- Use frequency-selective resampling
- Let the percussion answer the bassline
- Use tiny reverse fragments
- Keep the percussion bus moving, not huge
- a chopped Amen
- a sub + reese bassline
- a DJ-style 16-bar intro into drop
- Build the percussion layer from a funk source, then slice, play, and resample it inside Ableton Live 12.
- Keep it supportive of the main break, not a duplicate.
- Use Simpler, EQ Eight, Drum Buss, Saturator, Glue Compressor, Auto Filter, and Utility as your core stock tools.
- Print multiple passes so you can create fills, variations, and switch-ups.
- Keep the low end clean, the transients controlled, and the groove human.
- In DnB, this workflow works because it turns one sample into a dynamic arrangement element with authentic jungle movement and modern mix discipline.
- oldskool jungle for chopped, raw energy
- rollers for subtle groove and forward motion
- darker DnB / neuro-leaning drums for tension and texture
Musically, think of it as a tight percussive skeleton: shuffles, snares, hats, rim clicks, and funk fragments that reinforce the break rather than compete with it.
Step-by-Step Walkthrough
1. Source the right “Hot Pants” material and prep it for slicing
Start with a funk break or percussion loop that has clear transient detail, ideally something with hats, ghost hits, tambourine, conga-ish ticks, or syncopated snare placements. If you’re using a sample that’s already very busy, that’s fine — we’re going to treat it like raw audio and reduce it into playable fragments.
In Ableton Live 12:
- Drop the sample onto an Audio Track
- Warp it only if needed; for oldskool jungle feel, you usually want to preserve transient character rather than tightly grid-stretch everything
- Set the track to Complex Pro only if the audio needs pitching
- If the loop is too clean, add a touch of character first with:
- Saturator: Drive around 2–5 dB
- Drum Buss: Drive around 5–15%, Crunch low, Boom off or very subtle
The point here is to make the source behave like break material, not a polished top loop. DnB percussion often works best when the source has slight instability.
2. Slice the loop aggressively inside Simpler or Sampler
Drag the sample into Simpler and switch to Slice mode. This is the fastest way to get a playable DnB percussion instrument from one source.
Recommended slicing approach:
- Slice by transients first
- If the loop is too dense, manually adjust slice markers to isolate:
- hat ticks
- snare ghosts
- rim clicks
- short funk accents
- Set playback to Classic for more sample-authentic behavior
- Use Trigger mode for one-shot style hits
Useful parameter starting points:
- Attack: 0–2 ms
- Decay: short, around 50–150 ms for tight hits
- Release: short, around 20–80 ms
- Filter: low-pass around 8–14 kHz if the source is too sharp; open it for brighter jungle tops
Why this works in DnB: chopped percussion works because the ear perceives the groove as a living layer rather than a fixed loop. You can move hits around the grid while keeping the original funk feel, which is a huge part of jungle’s swing language.
3. Program a breakbeat-support rhythm that doesn’t fight the main break
Now create a MIDI clip and write a supporting percussion pattern, not a full duplicate groove. The goal is call-and-response with the main break.
Build a 2-bar loop and start with:
- Offbeat hats on the “and” of each beat
- Ghosted hits before snares
- Occasional syncopated funk accents on the last 16th of a bar
- Small fills every 4 or 8 bars
Keep the rhythm sparse enough to let the main break breathe. For jungle, that usually means placing your extra percussion where the main break is weaker — between snare hits or in the tail of a phrase. For rollers, slightly more even hat movement can help maintain momentum.
Add Groove Pool swing if needed:
- Try a groove around 54–58% swing
- Reduce Timing if you want the groove without destroying tightness
- Increase Velocity amount for more human feel
Advanced move: duplicate the MIDI clip and create a second version with one or two notes shifted earlier by a few milliseconds. That tiny push-pull can make the layer feel more like a played break than a quantized loop.
4. Add a resampling chain for texture and unpredictability
Route the percussion track to a new Audio Track set to Resampling or set its input to the percussion bus. Record 8 bars of the MIDI-performance layer while you tweak the performance in real time.
Use this stage to print:
- filter moves
- volume ride changes
- effect automation
- clip-launch variations
- quick pattern edits
This is where the sound becomes more DnB-specific. Once recorded, you can cut the resampled audio into new hits, reverse small segments, or create fills from accidental moments. That’s a classic jungle workflow: play → print → chop → re-contextualize.
Good resampling habits:
- Record multiple passes: one dry, one processed
- Keep at least one pass with minimal effects for flexibility
- Name takes clearly: `HP Perc Dry`, `HP Perc FX`, `HP Perc Fill`
- Consolidate the best regions so you can treat them like fresh drum material
This is the kind of workflow that turns a simple percussion idea into a unique identity element.
5. Shape the percussion with drum-focused processing
Place your processing on the percussion bus, not on every hit individually unless needed. That keeps the layer cohesive.
A strong Ableton stock chain might look like:
- EQ Eight
- High-pass around 120–250 Hz depending on how much low junk is in the sample
- Gentle dip around 2.5–5 kHz if the top is pokey
- Small lift around 8–12 kHz if you need shimmer
- Drum Buss
- Drive: 5–20%
- Transients: slightly up for punch
- Crunch: low to moderate for bite
- Saturator
- Soft Clip on
- Drive: 1–4 dB for control or 4–8 dB for grit
- Glue Compressor
- Ratio: 2:1
- Attack: 10–30 ms
- Release: Auto or 0.1–0.3 s
- Aim for only 1–2 dB gain reduction
If the resampled layer is busy, use Multiband Dynamics very lightly or skip it entirely. Over-processing can flatten the life out of a break-based percussion part.
Keep the low end clear. This layer should sit above the kick and sub, not widen your low frequencies.
6. Use automation to make the layer feel like an arrangement tool
In DnB, percussion layers are often most effective when they evolve over time. Automate motion rather than constantly changing the notes.
Strong automation targets:
- Auto Filter cutoff for tension builds
- Utility width to narrow the layer in breakdowns and open it in drops
- Reverb send for short fills or end-of-phrase tails
- Beat Repeat for glitch bursts before transitions
- Echo for a half-bar or quarter-note throw on select hits
Practical automation ideas:
- Open a low-pass filter over 4 or 8 bars into the drop
- Reduce width to 0–30% in the intro for DJ-friendly focus
- At the end of every 8 bars, automate a short Beat Repeat stutter for one beat only
- Add reverb send only on the last hit before a switch-up
For oldskool jungle, a little automation goes a long way. You want the ear to feel movement, not hear a huge EDM-style effect reveal.
7. Resample the processed layer again and carve out unique one-shots
Once the percussion bus is processed and animated, print another resample pass. This is where you turn the layer into a toolbox of fills and accents.
Record 4–8 bars, then:
- slice the audio into short chunks in Simpler
- pull out single hits, rolls, and tail fragments
- reverse small fragments for pre-hit tension
- transpose selected hits down 1–3 semitones for darker weight
- stretch a tiny tail to create a ghosty jungle wash
This is especially useful for breakbeats because a printed audio layer can be edited like an old sampler performance. You can create “mistakes” that become groove, which is very much part of the DnB aesthetic.
If you want a more modern edge:
- layer a filtered copy with Redux at low depth for digital grit
- or use Erosion very subtly for dusty top-end texture
8. Blend the layer with the main break and bassline using mix discipline
Now put the percussion layer into context with the full drum stack and bass.
Key checks:
- Mono compatibility: collapse to mono with Utility and make sure the groove still reads
- Low-end separation: high-pass percussion so it doesn’t cloud the kick/sub
- Transient balance: if the layer competes with the snare, reduce attack or notch the snare band a little
- Stereo discipline: keep the layer wider than the kick, but not so wide that it sounds detached
For basslines:
- If you have a reese, let the percussion occupy higher rhythmic information while the bass handles midrange movement
- Keep sub clean and centered
- Use call-and-response phrasing so the percussion has space when the bass hits hard
In a typical 174 BPM roller or jungle drop, this layer should feel like a living top-end engine, not a second drum kit fighting for attention.
9. Design switch-ups for 8-bar and 16-bar DnB phrasing
The real value of this workflow appears in arrangement. Build at least three versions of the percussion layer:
- Main groove
- Reduced version
- Fill / transition version
Arrangement example:
- Bars 1–8: main groove with light percussion layer
- Bars 9–16: add extra ghost notes and a short resampled fill
- Bars 17–24: strip the layer down to just hats and one funk accent
- Bars 25–32: reintroduce the chopped layer with extra saturation and a short reverse pickup
This supports classic DnB tension/release:
- intro = DJ-friendly, thinner
- drop = full break and percussion stack
- mid-phrase = subtle reduction
- switch-up = fill or breakdown into a new drum idea
Advanced move: create clip variations with different note groupings and trigger them manually in Session View if you like a more performance-based workflow.
Common Mistakes
- Fix: remove redundant hits and let the main break lead. Use the Hot Pants layer as punctuation, not a copy.
- Fix: high-pass with EQ Eight, usually somewhere between 120 and 250 Hz depending on source.
- Fix: leave micro-timing imperfections. Jungle and oldskool DnB love push-pull and humanized misalignment.
- Fix: aim for gentle glue, not flattened transients. If it loses movement, back off.
- Fix: print more character. Small saturation, light filter movement, or subtle bit reduction can help the layer feel real.
- Fix: build multiple versions. A strong DnB drum layer should evolve across the track, not just loop.
Pro Tips for Darker / Heavier DnB
- Create a return track with Saturator or Pedal and blend in just enough dirt for edge without crushing the dry layer.
- Automate an Auto Filter with resonance just under self-oscillation to create pressure before a drop.
- Print one pass with low end removed and one with top end enhanced. Blend them differently per section for contrast.
- If your reese holds a long note, drop in a short resampled funk hit right after it ends. That call-and-response keeps the groove aggressive.
- A reversed hat flick or snare tail before the main hit can add that nasty pre-impact feel common in darker jungle edits.
- For neuro-leaning DnB, prioritize motion, modulation, and transient definition over massive reverb. Tight + animated usually hits harder than wide + washed.
Mini Practice Exercise
Spend 10–20 minutes making three versions of the same Hot Pants percussion layer:
1. Version A: Dry groove
- Slice the sample in Simpler
- Program a 2-bar support pattern
- Keep processing minimal
2. Version B: Dirty resample
- Print the groove to audio
- Add Saturator and Drum Buss
- Re-record the processed result
3. Version C: Transition tool
- Chop one resampled pass into short fills
- Reverse 2–3 fragments
- Create a one-bar switch-up for the end of an 8-bar phrase
Then test all three against:
Your goal is to hear which version adds groove, which adds tension, and which helps the arrangement move forward.

