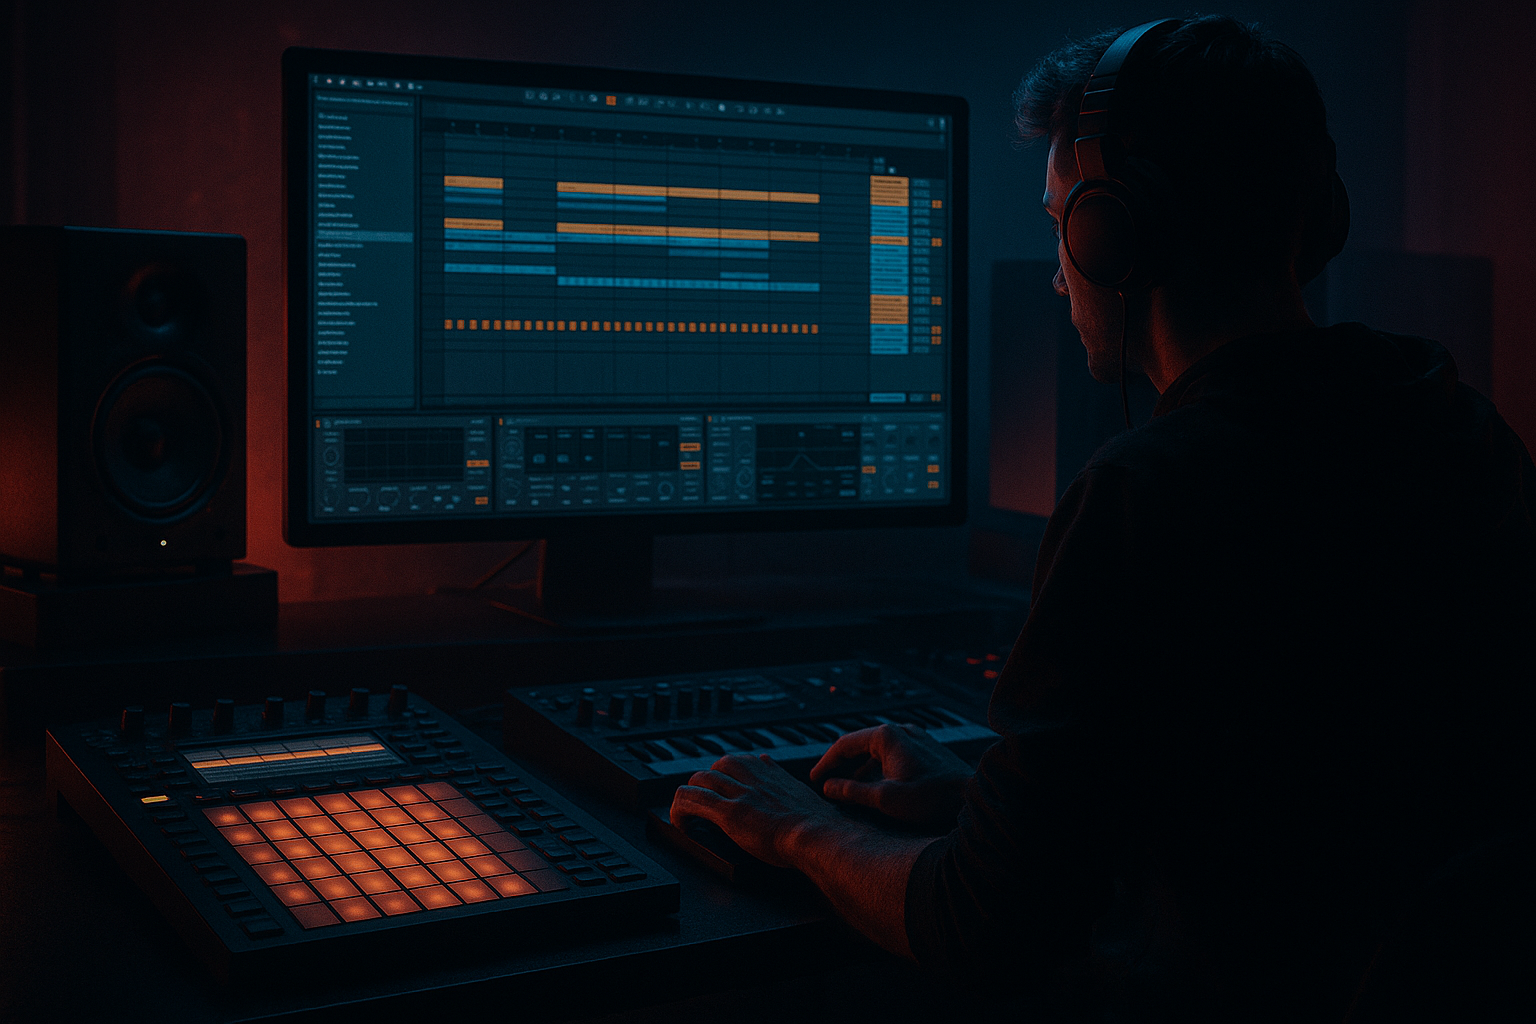
Main tutorial
Lesson Overview
A heatwave jungle riser is the kind of atmospheric transition that makes a DnB arrangement feel alive: humid, stretched, slightly unstable, and ready to explode into a drop. In a jungle or rollers context, this kind of riser usually sits in the last 1–2 bars before a section change—into a drop, a switch-up, or a breakdown return—and its job is not just “to go up,” but to push energy forward while supporting the groove and bass tension underneath.
In Ableton Live 12, this technique matters because DnB arrangement lives and dies on contrast and timing. A great riser doesn’t just say “something is coming”; it helps the listener feel the pressure build through movement in the mids, widening top-end haze, filtered noise, and controlled distortion. For jungle and darker rollers especially, the atmosphere needs to feel musical and functional at the same time. You want that humid heatwave vibe without washing out the drums or stepping on the sub.
This lesson shows you how to build a heatwave-style jungle riser using Ableton stock devices, then push it forward with automation and arrange it so it lands like a proper DnB transition. We’ll focus on practical Atmospheres workflow: synthesis, resampling, filter motion, stereo discipline, and placement in the arrangement.
What You Will Build
By the end, you’ll have a 4-bar atmospheric riser that sounds like a summer-heat hallucination inside a jungle track:
- a soft, noisy synth haze with rising pitch and filter movement
- a warped, slightly degraded texture created from stock Ableton devices
- a wide top layer that opens up as the tension rises
- a midrange “push” layer that helps the riser cut through dense breaks
- a version arranged to lead cleanly into a drop, break edit, or switch-up
- automation that makes the transition feel intentional, not generic
- a half-bar drum fill into a drop
- a break restart after a breakdown
- a roller switch where the bass changes pattern
- a jungle break edit with a short impact and vocal chop
- Making the riser too bright too early
- Letting low mids build up and muddy the break
- Using a generic whoosh that doesn’t feel like DnB
- Over-widening the low end
- Not automating enough
- Making the riser too long for the phrase
- Use saturation before reverb to create a smoky, dense top layer. A little Saturator drive can make the atmosphere feel more aggressive without needing more volume.
- Automate a narrow band boost around 2.5–5 kHz near the end to create that piercing “push” through heavy breaks.
- Print the riser to audio and reverse the tail for a smoother pull into the drop. This is especially effective in darker rollers where the transition should feel hypnotic.
- Try parallel distortion on the atmosphere bus: duplicate the track, overdrive one copy, and blend it quietly underneath the clean layer.
- Keep the sub and riser separate. If the bass is rising too, make sure the riser occupies the upper mids and air while the bass maintains rhythmic function.
- Use a brief silence before impact. In neuro-influenced or darker DnB, a tiny gap can create a massive perceived hit when the drop returns.
- Pair the riser with a drum edit. A snare triplet, ghost note flurry, or break chop can make the atmospheric push feel connected to the groove instead of floating above it.
Musically, it will work best as the lead-in to:
Think of it as a pressure cue: the mix gets hotter, denser, wider, and more unstable right before the drums and bass hit again 🔥
Step-by-Step Walkthrough
1. Set up the arrangement space and decide where the riser lives
Open a clean Live 12 project and drop in a reference section of your track so you can build in context. This is important in DnB because risers are not standalone sound-design exercises—they need to work against breaks, sub, and bass call-and-response.
Set your riser to occupy:
- the last 2 bars of a 16-bar phrase
- or the last 1 bar before a drop if the arrangement is already busy
For a jungle or roller, a strong default is:
- Bars 13–16: tension builder
- Bar 16 last beat: impact or silence
- Bar 17: drop
Keep a marker or locator on the transition point. If your track is around 172–175 BPM, the riser should feel quick enough to energize the phrase but not so busy that it fights the break.
2. Build the core synth source with Wavetable or Analog
Create a new MIDI track and load Wavetable for a flexible, modern atmosphere. If you prefer a more classic, grainy tone, Analog works too, but Wavetable gives you cleaner control over movement.
Start with a simple patch:
- Oscillator 1: Saw or Square-Saw blend
- Oscillator 2: very low mix, slightly detuned
- Unison: 2–4 voices
- Detune: keep moderate, around 10–18%
- Filter: Low-Pass 24 dB or Band-Pass if you want a narrower, more tunnel-like riser
Suggested starting parameters:
- Filter cutoff: around 200–500 Hz at the start
- Filter resonance: 15–30%
- Amp envelope attack: 10–40 ms
- Release: 200–500 ms
Then automate or MIDI-draw a note that holds for 2–4 bars. The note itself can be static; the motion will come from automation and post-processing.
Why this works in DnB: the synth gives you a controllable tonal layer that can rise without sounding like a generic EDM sweep. In jungle and rollers, a slightly unstable synth bed under the drums creates tension without stealing the groove.
3. Shape the “heatwave” motion with filter, pitch, and fine movement
The “heatwave” feel comes from warped movement, not just a straight rise. Use Live’s stock automation and modulation to create gentle instability.
Automate:
- Filter cutoff rising over 2 or 4 bars
- Resonance increasing slightly near the end
- Oscillator pitch bending up by a small amount if it suits the sound
- Stereo width opening gradually, not instantly
Good parameter ranges:
- Cutoff: from 250 Hz up to 6–9 kHz
- Resonance: from 20% to 40% near the end
- Detune: slightly increase over the rise if the patch starts too static
- Fine pitch: a subtle +10 to +30 cents can create tension if used carefully
Add a low-frequency movement source if needed:
- In Wavetable, modulate wavetable position slowly
- Or add Auto Filter after the instrument and set a very slow LFO or manual automation for subtle wobble
Keep the movement slow enough that it feels like hot air shimmering, not like a wobble lead. The goal is pressure, not obvious modulation.
4. Add a noisy top layer with Ableton stock devices for atmospheric lift
Create a second audio or MIDI layer for texture. This layer is what gives the riser its air, grit, and humid top-end haze.
Option A: Operator noise layer
- Load Operator
- Set Oscillator A to Noise
- Use a high-pass filter or external Auto Filter
- Keep it very low in the mix at first
Option B: Simpler on a field recording or noise sample
- Drag in a short noise texture, vinyl hiss, rain, or tape hiss
- Set Simpler to Classic mode
- Loop a tiny section if needed
- Crossfade loop if the sample is tonal
Process the layer with:
- Auto Filter: high-pass around 1–3 kHz at the start, then automate lower if you want it to bloom
- Saturator: Drive 2–6 dB
- Redux: subtle bit reduction for grain, maybe 12–16 bit feel
- Utility: narrow or widen as needed
This layer is what makes the riser feel like a physical atmosphere rather than a clean synth sweep. In DnB, texture helps a transition stay audible over heavy breaks and sub movement.
5. Resample the riser to gain control and create a more “produced” feel
Once your synth and texture layers are moving well, resample them. This is a classic Ableton workflow for DnB because it lets you print the motion and then edit it like audio.
Create a new audio track, set its input to Resampling, and record the riser performance. Now you can:
- chop the best part of the rise
- reverse the tail for a pre-riser lead-in
- warp it to fit the phrase exactly
- apply stronger effect automation without CPU concerns
After resampling, try:
- Warp on Complex Pro if the sample is tonal and stretched
- Reverse the first 100–300 ms to create suction into the transition
- Add Fade In and Fade Out to avoid clicks
If the resampled version feels too clean, add:
- Glue Compressor with light compression, 1–2 dB gain reduction
- Saturator or Pedal for edge
- EQ Eight to carve space around the kick/snare region
Why this works in DnB: resampling turns a sound-design idea into an arrangement tool. You get a riser that behaves like a real transition element instead of a MIDI synth trying to keep up with an already dense drum grid.
6. Automate the push: filter opening, gain rise, and bus tension
Now make the riser actually “push.” In DnB, a good riser doesn’t just get brighter—it often gets louder in the mids, narrower in the lows, and more urgent in the last half-bar.
Use automation on the riser track and/or a group bus:
- Auto Filter cutoff rising steadily
- Utility gain increasing by about 1–3 dB
- Stereo width widening from 80% to 120–140%
- Reverb dry/wet increasing slightly, then cutting suddenly near the drop
- Delay feedback rising briefly for a tail, then muting before impact
Suggested dynamic curve:
- Bars 1–2: gentle lift
- Bar 3: noticeably faster rise
- Final beat: quick surge, then stop or choke
If you have a drum bus or atmosphere bus, you can also automate a subtle high-pass filter on the atmosphere return so the rising texture doesn’t muddy the low end.
Keep the riser from clashing with the kick and sub. A good rule: the riser should live mostly above 200–300 Hz until the final moment, unless you deliberately want a low-end swell effect.
7. Arrange it against the drums and bass so it supports the drop, not the other way around
Put the riser in context with your break and bass phrase. For a jungle or roller arrangement, the most effective use is usually where the drums simplify slightly before the drop.
Example context:
- The break is busy in bars 13–14
- Bass drops out or holds a sustained note in bar 15
- The riser enters in bar 15 or 16
- A fill, snare pickup, or vocal chop answers it in the last half-bar
- The drop hits on the next downbeat
Useful arrangement ideas:
- Cut the break on the last beat so the riser feels more exposed
- Let the bass line hold a note or stop entirely during the final bar
- Add a single snare drag or ghost fill to bridge the transition
- Use a one-beat silence before the drop if the track can afford it
This is where the riser earns its place: the atmosphere should amplify the structural change, not compete with it. In darker DnB, leaving a little space can feel heavier than packing everything into the bar.
8. Finish with transition FX: impact, choke, and tail control
Add a very short supporting layer to make the transition land. This could be:
- a sub drop
- a reverse crash
- a single impact hit
- a short vocal texture
- a drum fill with reverb throw
Stock Ableton choices:
- Reverb on a send, automated to bloom briefly
- Echo for a very short feedback tail
- Drum Buss for punch on the impact or fill
- Transient shaping via Drum Buss drive/boom if needed
- EQ Eight to keep the impact from clouding the sub
For a tight DnB transition:
- High-pass the impact at 80–120 Hz if the sub is already doing the low-end job
- Use a short reverb tail, around 0.8–1.8 s, depending on tempo and density
- Cut the riser hard or automate a choke on the final hit if you want a dramatic stop
The best heatwave risers often end by disappearing, not lingering. That sudden absence creates more impact when the drop arrives.
Common Mistakes
Fix: keep the first half restrained. Automate the high-end rise later so the build has a proper arc.
Fix: use EQ Eight or Auto Filter to keep the riser mostly out of the 150–500 Hz area until the final moment.
Fix: add break-context, grit, or rhythmic tension. A good DnB riser should feel like it belongs in the same world as the drums and bass.
Fix: keep the sub and low mids mono. Use Utility to control width, and check the mix in mono before finalizing.
Fix: if the sound is static, it will feel weak in a dense DnB arrangement. Automate cutoff, gain, resonance, and send levels.
Fix: in DnB, tension should usually move quickly. If your track is already high-energy, a 1-bar or 2-bar riser may hit harder than a long, cinematic build.
Pro Tips for Darker / Heavier DnB
Mini Practice Exercise
Spend 10–20 minutes building a usable transition for an 8-bar drum and bass loop:
1. Load a drum loop or break and a simple bass pattern at 174 BPM.
2. Create a 2-bar riser using Wavetable plus a noise layer in Operator or Simpler.
3. Automate the riser cutoff from low to high over the final 2 bars.
4. Add Saturator and Auto Filter to the riser track.
5. Resample the result and reverse the first 200 ms of audio.
6. Place the riser before a drop or switch-up.
7. Mute the bass for the final half-bar and see if the transition feels stronger.
8. Compare three endings:
- riser with a hard stop
- riser into impact
- riser into short reverb tail
Goal: decide which version gives the cleanest DnB phrase lift and which one feels most “heatwave jungle.”
Recap
A strong heatwave jungle riser in Ableton Live 12 is about controlled movement, atmosphere, and arrangement timing. Build it from a synth layer plus noise texture, shape it with filter, stereo, and gain automation, then resample and place it in context so it supports the drums and bass. Keep the lows clean, let the tension arc rise late, and finish with a transition that makes the drop feel inevitable. In DnB, the best risers don’t just rise — they push the whole track forward.

