Main tutorial
Lesson Overview
This lesson shows you how to build a Heatwave-style breakbeat modulation blueprint in Ableton Live 12 from scratch, then shape it into a DnB-ready groove that feels hot, restless, and alive. The goal is not just to make a break loop, but to create a system: a breakbeat that evolves with modulation, resampling, filter movement, and ghost-note programming so it can sit in a roller, darkstep, jungle-inspired drop, or halftime switch-up.
In DnB, the difference between a flat loop and a premium drum section is usually movement. A strong breakbeat can carry a whole section if it has:
- controlled chaos in the mids,
- a stable low-end foundation,
- micro-variations in velocity and timing,
- and automation that makes the loop feel “played,” not copied.
- a two-bar breakbeat core built from a sampled drum break and tight MIDI edits,
- a modulated drum bus with controlled saturation and movement,
- a ghost-note system that adds swing, propulsion, and shuffle,
- a bass interaction setup where the drums leave space for a sub-heavy DnB bassline,
- and an arrangement-ready loop that can be expanded into:
- Tempo: 172–174 BPM
- Time signature: 4/4
- Create at least three grouped lanes:
- a rolling break,
- clean sub discipline,
- and filtered transition movement.
- Warp the sample if needed, but keep transients natural.
- Open Slice to New MIDI Track if you want more control over rearranging hits.
- If you prefer audio editing, duplicate the clip and chop manually with the Split command.
- Keep the kick/snare backbone of the break intact.
- Remove or lower any overly messy low-end hits that clash with the sub.
- Preserve ghost hats and rattles — those are often what make the groove feel expensive.
- Bar 1: keep it close to the original break.
- Bar 2: introduce one or two edits, like a hat lift, a snare drag, or an extra kick pickup.
- Transpose: leave original pitch unless the sample needs tuning
- Warp: off in Simpler; use audio warping only if necessary
- Envelope: short and punchy, with little sustain
- Filter: low-pass around 16–18 kHz only if harshness becomes an issue
- Drive: 5–15%
- Boom: very light or off for break content; use carefully
- Transient: +5 to +20 depending on how soft the break is
- Crunch: subtle, 2–8% if you want extra edge
- High-pass lightly around 25–35 Hz if the break has rumble
- Small cut around 200–350 Hz if it feels boxy
- Gentle shelf or small dip around 6–8 kHz if the hats become brittle
- Try a light swing groove, not extreme
- Use 8–15% timing and 5–12% velocity as a starting range
- Apply groove selectively, not to every layer equally
- Simpler with sliced break fragments,
- or Drum Rack for discrete one-shots from the same break.
- 1/16 or 1/32 ghost snare taps before main snares
- quiet hat pickups leading into the backbeat
- occasional off-grid kick syncopations
- Ghost notes should usually sit around velocity 15–55
- Main snare accents should stay around 95–127
- Keep your strongest backbeats consistent, then let the ghost notes fluctuate
- Main snare on 2 and 4
- One low-velocity snare pickup before bar 2
- Two tiny hat notes in the last half of bar 1 to create forward motion
- A displaced percussion hit at the end of bar 2 to act as a loop hook
- Filter type: Low-pass 12 or Low-pass 24
- Frequency: automate between roughly 300 Hz and 12 kHz depending on section
- Resonance: 0.7–1.8 for movement, but avoid whistle territory unless intentional
- Use a slow envelope or automation to make the break open over 1–2 bars
- Use Shaper or LFO if you like stock modulation tools in Live 12, or simply draw automation curves.
- Modulate:
- Keep the original break relatively stable.
- Send a duplicate of the break to a parallel “HEAT” bus.
- On the HEAT bus, use:
- Saturator Drive: 2–7 dB
- Soft Clip: on
- Auto Filter cutoff automation: open more on transition bars
- Utility Width: 70–100% if the texture is too wide, or 110–120% for only upper percussion layers
- Use Operator or Wavetable for a reese/sub hybrid
- Split sub and mid layers if needed
- Keep the sub mono using Utility
- Sub layer: sine or simple waveform in Operator, mono, low-passed, centered
- Mid layer: detuned saw/reese in Wavetable or Operator with unison-like movement
- Add Saturator or Roar if you use Live 12 and want stronger harmonic density, but keep low-end clean
- Make the bass phrase answer the break.
- Leave holes where the snare and main ghost clusters are strongest.
- Use longer notes on downbeats and shorter stabs on upbeats.
- Bar 1: sustained root note on beat 1
- Bar 1 late: short syncopated stab after the snare
- Bar 2: call-and-response with a slightly higher note or different rhythm
- Keep the sub stable; let the mid layer move more aggressively
- Use Compressor or Glue Compressor with sidechain from the kick/snare group if needed
- Keep the reduction modest: often 1–4 dB is enough
- Attack: 1–10 ms
- Release: 50–150 ms depending on the groove
- Use Glue Compressor lightly
- Try 1–2 dB of gain reduction
- Attack: 10–30 ms
- Release: Auto or a medium setting for bounce
- Keep bass sub mono below about 120 Hz
- Carve a small pocket around 50–90 Hz if the kick needs more authority
- If the break and bass fight in the low-mid, reduce around 180–300 Hz on whichever element is dominating too much
- Bars 1–4: stripped intro of break texture + filtered bass hints
- Bars 5–8: full groove with minimal bass movement
- Bars 9–12: add extra ghost notes and a more open filter
- Bars 13–16: drum fill, bass variation, and transition out
- Auto Filter on the break group
- Reverb send on select snare hits or snare fills
- Delay on tiny percussion moments only
- Reverse cymbal or noise risers before section changes
- last half of bar 8 or 16
- mute the bass for a beat
- add a snare roll or break slice climb
- then drop back into the main groove
- you can edit audio transients directly,
- make tighter micro-cuts,
- and commit to decisions faster.
- trim tiny timing issues by ear,
- nudge a few hits slightly late for laid-back swing,
- or slightly early for urgency.
- listen at low volume,
- check mono,
- compare drums-only vs drums+bass,
- and make sure the snare still owns the backbeat.
- Use a parallel distortion bus for drum grit, but keep it filtered so the low end stays clean.
- Add a very quiet room or short ambience reverb to a snare layer to create depth without washing the groove.
- Layer a tiny rim or wood hit under the snare ghost notes for a sharper jungle edge.
- On the bass, automate a small cutoff or wavetable position change every 2 or 4 bars to keep the energy alive.
- If the break feels too polite, use Drum Buss transient + crunch before reaching for heavier distortion.
- For darker character, remove some high-frequency shine and let the groove rely on midrange pressure and syncopation.
- Try muting the kick on one bar and letting the break + bass carry the phrase. That can make the next kick return hit much harder.
- Keep one element slightly unstable: a filtered hat loop, a noisy percussion layer, or a moving reese harmonic. That instability is a huge part of underground DnB character.
- Keep the break recognizable.
- Use velocity and micro-timing for groove.
- Control low end so the bass can hit hard.
- Automate movement in phrases, not randomly.
- Resample when the pattern feels right so you can commit and finish.
This technique matters because DnB is built on repetition with evolution. You want the listener to lock into the groove, but still feel that the drums are breathing, twisting, and responding to the arrangement. The “heatwave” idea here is about creating a sense of rising pressure and warped motion, like air distortion over asphalt, but translated into rhythm: filtered break fragments, saturation, tension automation, and modulated percussion layers 🔥
---
What You Will Build
By the end of this lesson, you’ll have:
- a DJ-friendly intro
- a full-energy drop
- a filtered breakdown
- and a variation bar / fill for transitions.
Musically, think of the result as a rolling, heat-hazed breakbeat foundation with darker character: punchy kick/snare focus, crisp hats, broken-up ghost notes, and modulation that makes every second bar feel like it’s leaning forward into the next phrase.
---
Step-by-Step Walkthrough
1. Start with the right project frame and reference point
Set your project to a DnB-friendly starting point:
- DRUMS
- BASS
- FX / ATMOS
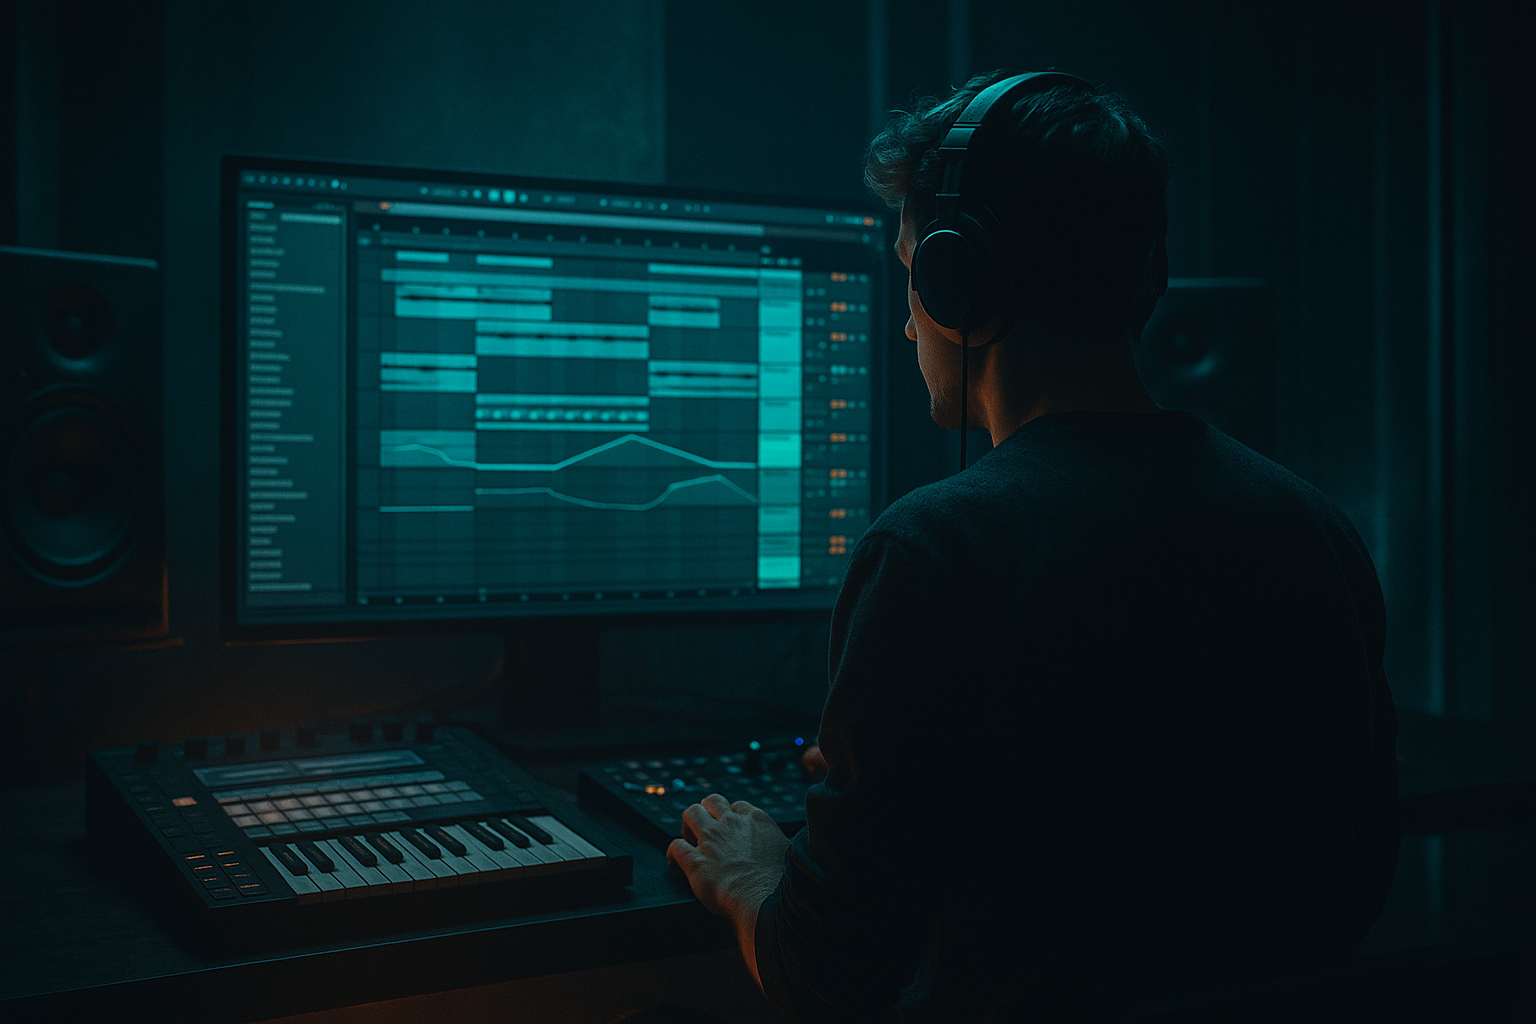
For this lesson, keep the drums in Session or Arrangement view, whichever you work faster in. Use a 2-bar loop as your main building block. DnB often sounds best when the loop is short enough to feel tight, but varied enough to avoid static repetition.
Load a reference on another track if you can. Choose something with:
The point isn’t to copy the sound — it’s to calibrate energy, density, and space.
2. Build a clean breakbeat foundation from a sampled break
Drag in a classic break sample or a clean jungle-style break into a new audio track. If the break is too busy, that’s fine — we’ll shape it.
Use Ableton’s stock tools:
A practical DnB starting point:
Now make a 2-bar loop:
Why this works in DnB: the genre thrives on recognizable break momentum. If every bar is over-edited, the groove loses its “push.” If nothing changes, it feels looped. The sweet spot is controlled variation.
3. Tighten the break with Simpler, Transient shaping, and groove discipline
Load your chosen break into Simpler on a MIDI track if you want deeper control. Use Slice mode for individual hits or Classic mode if you’re focusing on resampling-style playback.
Suggested starting settings:
Add Drum Buss after Simpler or on the break group:
Then add EQ Eight:
Now apply Groove Pool:
This is where the “heatwave” feel starts: the break should feel like it’s slightly melting and bending, but the pocket still needs to hit hard.
4. Program ghost notes and micro-edits around the backbone
Create a second MIDI track for ghost percussion, or duplicate the break and strip it down to just hats, snare whispers, rim noise, and tiny kick pickups.
Use either:
In the MIDI editor, add:
Concrete MIDI guidance:
A good DnB pattern idea:
Use Velocity creatively. In breakbeat-driven DnB, velocity is often more important than adding more hits. It creates the illusion of human drift without destroying the grid.
5. Create the “modulate” layer with Auto Filter, LFO-like movement, and resampling
This is the core of the blueprint: turn the break into a moving object.
Add Auto Filter to the break group or a parallel return-style bus:
For modulation:
- filter cutoff
- Drum Buss drive
- Utility gain
- Auto Pan amount on hats or texture layers
Useful routing choice:
- Saturator
- Auto Filter
- Redux very subtly if you want roughness
- Utility to manage width and level
Suggested HEAT bus settings:
Then resample this movement. Record a bar or two of the processed break into audio. Resampling is a huge part of making DnB drums feel authored rather than programmed.
6. Add a bassline that leaves space for the break to breathe
Now build the bass against the groove, not underneath it blindly.
For a dark DnB foundation:
Practical bass setup:
Programming approach:
Concrete bass phrasing idea:
Why this works in DnB: the break supplies rhythmic complexity, so the bass doesn’t need to compete with the same density. Instead, it should lock to the kick/snare skeleton and create tension in the gaps.
7. Shape the drum-bass relationship with sidechain, EQ, and bus control
Group the drums and bass separately, then make them interact intentionally.
On the bass bus:
On the drum bus:
EQ strategy:
Use Utility on the bass to check mono compatibility. Flip between mono and stereo to ensure the reese width doesn’t make the drop collapse.
Arrangement note: in a full DnB drop, the first 8 bars often work best when the bass is slightly simpler than you think. Let the drums establish the identity, then escalate the bass motion in bars 9–16.
8. Build arrangement tension with filter automation, fills, and bar-based variation
Take the 2-bar blueprint and turn it into a 16-bar DnB section.
A practical arrangement shape:
Add movement with:
For fills, use a common DnB move:
Keep fills short and purposeful. In DnB, too-long transitions kill momentum. You want the energy to feel like it’s being slingshotted, not paused.
9. Print, edit, and finalize the groove like a record
Once the loop feels right, resample or consolidate your drum group.
Benefits:
Use the Consolidate command on key sections, then:
Final checks:
A premium DnB loop should sound compelling even before all the FX are added.
---
Common Mistakes
1. Over-editing the break until it loses identity
Fix: keep at least part of the original break’s phrasing intact. Use edits to enhance, not erase.
2. Too much low end in the break sample
Fix: high-pass lightly, or layer the break with a cleaner kick/snare base and let the sub own the bottom.
3. Ghost notes too loud
Fix: pull them down until you miss them when muted. They should be felt more than heard.
4. Bass fighting the snare
Fix: leave rhythmic space around the backbeat and reduce low-mid buildup on whichever layer is masking the snare.
5. Excessive stereo width on bass
Fix: mono-check your sub and keep the width mostly in the mid/high bass layer.
6. Filter automation that sounds like a generic sweep
Fix: automate in phrases. Make the cutoff movement respond to bar transitions, fills, and drops, not just random motion.
---
Pro Tips for Darker / Heavier DnB
---
Mini Practice Exercise
Spend 10–20 minutes building a 4-bar heatwave breakbeat loop.
1. Choose one break sample and chop it into a 2-bar phrase.
2. Duplicate it and make one variation bar with:
- one extra ghost snare,
- one hat pickup,
- and one altered kick placement.
3. Add Drum Buss and EQ Eight to clean and shape the break.
4. Create a parallel HEAT bus with Saturator and Auto Filter.
5. Write a bassline that only uses 3–5 notes and leaves space for the snare.
6. Automate filter cutoff over 4 bars so the loop opens gradually.
7. Export or resample one pass and listen back without looking at the screen.
Goal: make the loop feel like it is moving forward without getting busier.
---
Recap
The core of this lesson is simple: build a strong breakbeat backbone, then make it evolve with ghost notes, modulation, resampling, and tight bass phrasing.
Remember:
If you can make a 2-bar break loop feel alive, you can scale it into a full DnB drop with real momentum.

