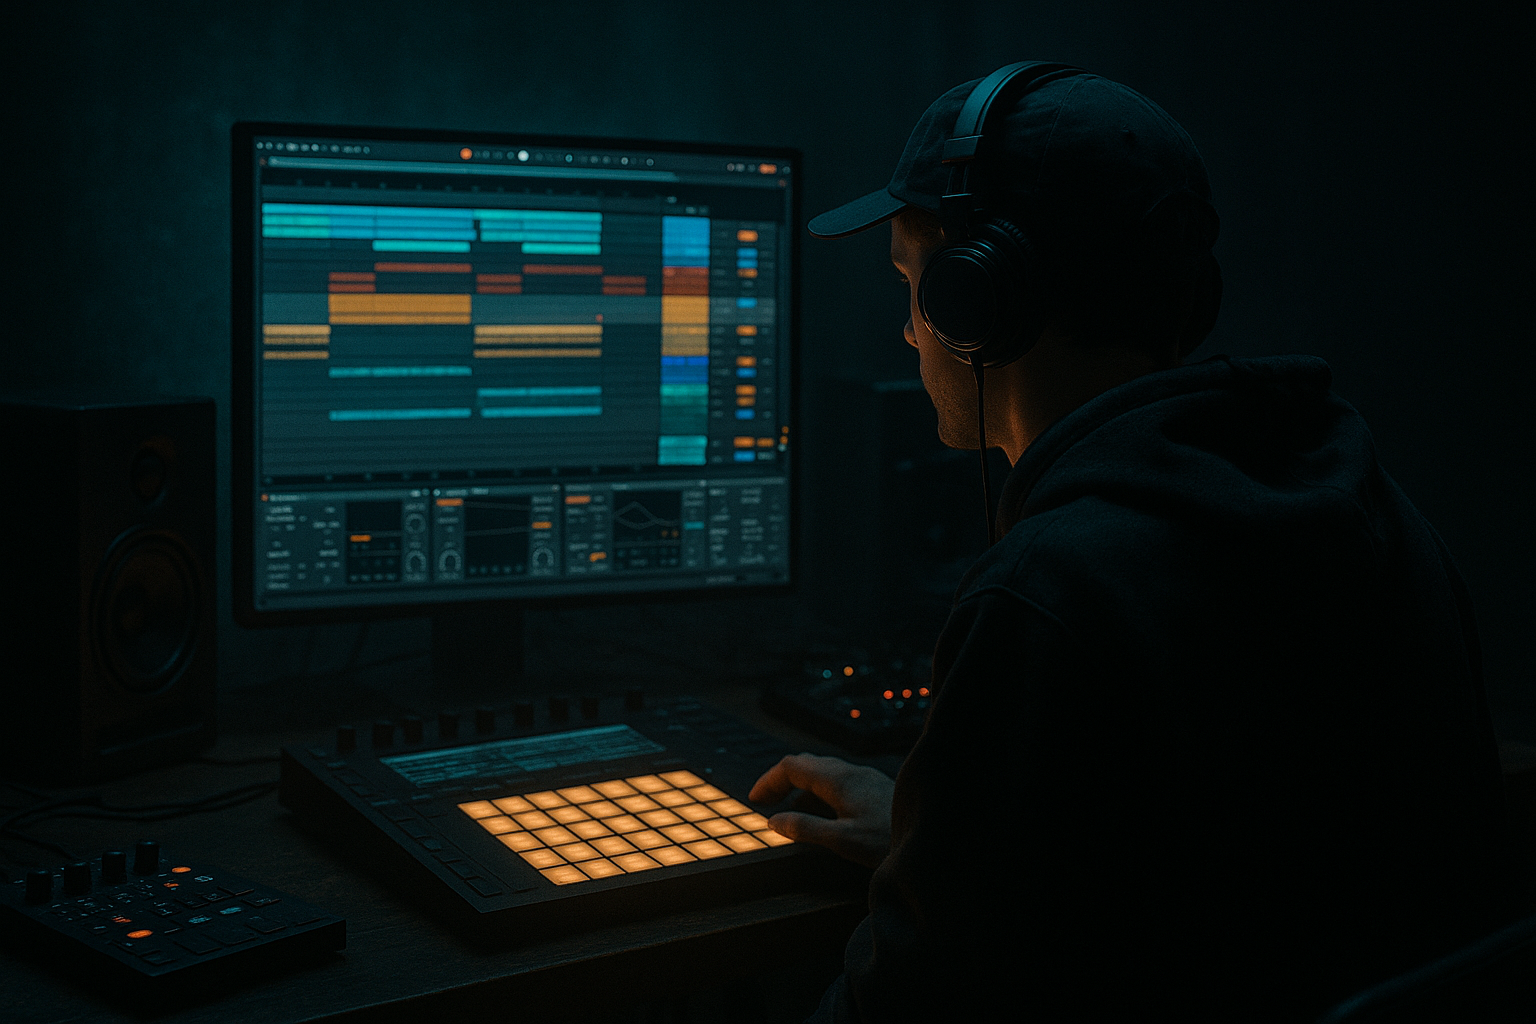
Main tutorial
Lesson Overview
This lesson is about building a top loop for an oldskool jungle / DnB arrangement using only Ableton Live 12 stock devices. In DnB, the top loop is not just “hi-hats on top” — it’s the energy engine that drives the track forward, creates forward motion across the drop, and gives the bassline and breaks a clear rhythmic frame.
For jungle and oldskool-flavoured DnB, the top loop usually sits above the kick/snare foundation and the bassline, and it does three jobs at once:
1. Keeps the groove alive with shuffle, swing, and break-derived detail.
2. Creates movement in the arrangement so the loop evolves from intro to drop to switch-up.
3. Adds identity through texture, grit, and syncopation that feels sample-based, even if you build it from stock devices.
Why this matters: in DnB, a strong top loop can make a simple bassline feel bigger, a plain break feel more alive, and an 8-bar loop feel like a finished section. If the top loop is too static, the whole track feels flat. If it’s too busy, the bass gets masked and the drop loses weight. The goal here is a loop that feels like classic jungle energy with modern Ableton control: tight, gritty, moving, and arrangement-ready ⚡
---
What You Will Build
You will build a 4-bar top loop that works as the high-end motion layer for an oldskool jungle/DnB section. It will include:
- a shuffled hat and shaker bed
- a ghosted break-top texture
- a short metallic tick layer for forward momentum
- a filtered noise lift for transitions
- subtle automation movement so it evolves across 8–16 bars
- a rolled Reese bassline
- chopped amen-style drums
- a dark pad or stab sequence
- a DJ-friendly intro moving into the first drop
- Making the top loop too loud
- Filling every 16th note
- Letting high frequencies get harsh
- Ignoring the bass relationship
- Using the same loop for the entire track
- Over-widening the top end
- Layer contrast, not clutter
- Use Drum Buss sparingly on the group
- Automate saturation into the drop
- Try dark stereo motion with Auto Pan
- Resample a “damaged” version
- Keep the intro DJ-friendly
- Reference oldskool phrasing
- A great DnB top loop is a groove engine, not just percussion on top.
- Use Drum Rack, Simpler, EQ Eight, Saturator, Erosion, Drum Buss, Auto Pan, Utility, and Corpus/Frequency Shifter to build authentic movement with stock devices only.
- Keep the top loop tight, high-passed, and arrangement-aware.
- Make it evolve with automation, muting, and phrase changes every 4 or 8 bars.
- In jungle and oldskool DnB, the magic comes from syncopation, grit, and controlled instability — not from overfilling the spectrum.
Musically, the result should feel like something you could drop under:
Think of the final sound as: dusty, kinetic, slightly unstable, but still clean enough to sit above the drums and bass without chewing up headroom.
---
Step-by-Step Walkthrough
1. Set the context and build the loop length first
Start with an 8-bar arrangement region at your target tempo. For jungle / oldskool DnB, try 170–174 BPM. Place your main kick/snare or break foundation first, then create a dedicated group for the top loop.
In Arrangement View:
- Create an audio or MIDI track named TOP LOOP
- Set the loop brace to 4 bars initially
- Use the Arrangement timeline to think in phrases: bars 1–4 = setup, bars 5–8 = variation, bars 9–16 = release or drop expansion
Why this works in DnB: DnB arrangements live or die by phrasing. A top loop that changes every 4 or 8 bars keeps the drop from feeling like a static pattern repeat.
2. Build the main hat/shaker pulse with a Drum Rack
Create a MIDI track and load Drum Rack. Use stock one-shots from your library or even your own bounced hits later, but keep the workflow inside Ableton stock devices.
Suggested pad choices:
- Closed hat on offbeats or 16ths
- A short shaker or ride texture
- A low-level open hat for accent points
Program a simple DnB hat grid:
- Start with straight 16ths
- Then remove a few hits to create breathing space
- Add accents on the “a” of 1 and “&” of 3 for propulsion
- Use velocity to make the loop feel less robotic
Useful parameter ideas:
- Hat velocity range: 55–95
- Open hat level: keep it 6–10 dB quieter than the main hat layer
- Pan some percussion hits 10–25% left/right for width, but keep the core hat in the centre
Add a Groove Pool groove if your source material feels too rigid. Start with a light swing amount, around 54–58%, and keep timing influence subtle. In jungle, too much swing can blur the urgency.
3. Turn the hats into a moving texture with Simpler or Saturator
On the hat track, add Saturator after the Drum Rack.
Try:
- Drive: +2 to +6 dB
- Soft Clip: On
- Color: subtle, around the middle or slightly brighter
- Output: level-match so you’re hearing tone, not just loudness
If the hats feel too clean, add Erosion before Saturator:
- Use Noise mode lightly
- Amount: around 5–15%
- Keep the character just under obvious distortion
If you want a more sample-like top loop, resample your hat pattern to audio and then use Simpler on the bounce:
- Mode: Classic
- Filter: low-pass or band-pass
- Envelope: short decay, no sustain
- Play with start position to find tiny transient variations
Why this works in DnB: jungle and oldskool DnB often feel alive because of imperfections, transient grit, and micro-variation. Stock saturation and erosion give you that “used hardware / chopped sample” edge without leaving Ableton.
4. Add a ghost break-top layer for authenticity
Duplicate the MIDI track or create a second audio track and build a very quiet ghost break-top layer. This is not your main break; it is the high-frequency detail that suggests a chopped break without cluttering the kick/snare area.
Options in stock Ableton:
- Use Simpler with a short break snippet
- Slice a break into Slice mode
- Extract just hats, rim noise, and snare bleed fragments
- High-pass the layer aggressively
On this ghost layer:
- Use EQ Eight and high-pass around 300–600 Hz
- Cut any harsh band around 6–9 kHz if needed
- Keep the level low; it should be felt more than heard
For arrangement, place this layer:
- Full in the drop
- Reduced or filtered in the intro
- Muted for 1–2 bars before a switch-up to create contrast
A practical jungle move: automate the ghost break to appear only in the second half of every 4 bars. That tiny change makes the loop feel like it’s being played by a drummer, not a grid.
5. Create a metallic tick layer for forward motion
Add a third MIDI or audio layer for a light metallic percussion element. This can be a short ride hit, a click, a rim, or a pitched noise transient from stock sources.
Process it with:
- Corpus for tuned metallic resonance
- Frequency Shifter for slight detune and instability
- Auto Pan for gentle left-right movement
- Or Delay with very short feedback for a fluttering tail
Suggested starting points:
- Corpus preset-like setup: tune around 200–500 Hz for metallic body, keep decay short
- Auto Pan rate: synced 1/8 or 1/16, Amount 10–25%
- Frequency Shifter: tiny shift values, just enough for motion
Put this layer on syncopated hits, not every beat. Let it answer the main hats rather than double them. That call-and-response quality is a classic DnB arrangement trick: the top loop becomes a conversation between pulse, ghost detail, and metallic punctuation.
6. Shape the top loop with EQ, transient control, and bus glue
Route all top-loop layers into a group bus called TOP LOOP BUS. This is where you make it feel like one instrument.
On the group, use:
- EQ Eight to remove unwanted low end
- Drum Buss for tight glue and edge
- Glue Compressor lightly if the layers are uneven
- Optional Utility for mono checking or width control
Practical settings:
- EQ Eight high-pass: 150–300 Hz depending on the material
- Drum Buss Drive: 5–15%
- Drum Buss Crunch: use lightly, especially if you want a rugged jungle tone
- Glue Compressor: low ratio, just 1–2 dB of gain reduction
Important mixing note: the top loop must not steal the bass’s territory. Keep anything below the lower mids under control, and check the loop with the sub playing. If your top loop sounds exciting solo but weakens the drop with bass present, it’s too full.
7. Automate movement across 8-bar and 16-bar phrases
Now turn the loop into arrangement material. The biggest difference between a loop and a finished DnB section is automation.
Automate these elements over time:
- Filter cutoff on the ghost break layer
- Saturator drive up slightly into the drop
- Reverb send for 1-hit lifts before phrase changes
- Auto Pan amount up during tension, down on impact
- EQ Eight high shelf for intro brightness, then ease it back
- Track volume to create subtle pull-backs before fills
Example arrangement move:
- Bars 1–4: filtered hats, minimal ghost break
- Bars 5–8: full top loop, add metallic ticks
- Bar 8 last beat: mute one or two elements
- Bars 9–12: bring everything back with more drive
- Bars 13–16: open the filter slightly for release or transition
This is especially effective in jungle because tension is often created by small changes in texture, not huge synth sweeps.
8. Add a transition layer for DJ-friendly and drop-friendly arrangement
For arrangement polish, create a separate FX audio track using stock devices like Wavetable, Operator, or noise from Analog/Analog-style chains if you prefer. You can also use Auto Filter on white noise from a simple oscillator source.
Build a short 1-bar transition:
- High-passed noise rise
- Reverse shimmer or filtered splash
- Downlifter into the next 8-bar section
Keep it classic and not overdone:
- Use Auto Filter with a rising cutoff
- Add Reverb before resampling if you want a smeared trail
- Use Simpler to reverse the result if needed
- End the fill by cutting the top loop for 1/8 or 1/4 note before impact
In oldskool DnB, a brief dropout before the drop often hits harder than a giant cinematic build.
9. Resample your best top-loop moment for commitment
Once the layered loop feels right, resample it to audio. This helps you commit to a vibe and makes editing faster.
Workflow:
- Create a new audio track called TOP LOOP PRINT
- Set input from resampling or the group bus
- Record 4–8 bars
- Edit the best section into a clean loop
After resampling:
- Use Warp carefully if needed, but avoid over-tweaking
- Slice a few hits and rearrange them for variation
- Automate clip gain or fades for tiny transitions
Why this is useful: resampling gives you the messy, glued, sample-based feel that suits jungle and oldskool DnB, while still letting you keep Ableton’s precision.
10. Check the loop in the full arrangement and simplify if necessary
Put the loop back into the full track with bass, kick, snare, and any lead or stab elements. Listen for:
- Does it add energy, or just noise?
- Is the groove clearer with the loop on?
- Does the bass still punch through?
- Are the highs fatiguing after 8 bars?
Use Utility on the top loop group and hit Mono briefly to check phase and centre impact. If the loop disappears or gets harsh, reduce stereo effects and trim the top end with EQ. In DnB, a smaller, cleaner loop often feels bigger in context.
---
Common Mistakes
Fix: lower the group level and let the arrangement do the work. The loop should support the drop, not dominate it.
Fix: leave holes. Jungle groove comes from syncopation and anticipation, not constant motion.
Fix: use EQ Eight to tame 6–10 kHz if hats or noise become brittle. Saturate more gently instead of just boosting highs.
Fix: test the top loop with the sub and reese playing. If the bass loses authority, high-pass more and reduce low-mid spill.
Fix: automate filter, density, and mute states across phrases. Even tiny changes every 4 bars matter.
Fix: keep the important rhythmic elements closer to centre. Too much width can weaken the drop and cause phase issues.
---
Pro Tips for Darker / Heavier DnB
Pair a crisp hat pulse with a dirty break-top layer. The tension between clean and grimy is what makes it feel underground.
A little Drive and Crunch can make the loop feel more physical. Too much and the transient detail collapses.
Increase Saturator Drive by just a small amount in the last 1–2 bars before the drop. That subtle push adds aggression without a fake riser.
Very slow or sync’d motion can make the top loop feel uneasy and alive. Keep it subtle so the groove stays focused.
Print one version with more Erosion, saturation, or filtering. Use it only for switch-ups, 1-bar fills, or the second half of a drop.
In darker DnB, an intro often needs space for mixing. Start with filtered top-loop fragments, then open the loop gradually to reward the drop.
Many classic jungle arrangements don’t explode instantly. They tease the loop, then reveal its full rhythmic character after a few bars. That slow reveal is a major part of the vibe.
---
Mini Practice Exercise
Set a timer for 15 minutes and do this:
1. Open a fresh Ableton Live set at 172 BPM.
2. Create a Drum Rack top-loop track with:
- one closed hat
- one shaker
- one metallic tick
3. Program a 4-bar pattern with at least:
- one repeating 16th pulse
- one syncopated accent
- one empty space in each bar
4. Add Saturator and EQ Eight on each layer or on the group bus.
5. Create a second layer using Simpler with a short chopped break-top fragment.
6. Add one automation move:
- filter cutoff
- or Saturator drive
- or volume fade into bar 4
7. Print the loop to audio with Resample.
8. Listen back in context with a bassline or kick/snare and make one fix:
- reduce harshness
- remove one hit
- change one accent
- tighten the high-pass
Goal: by the end, you should have a top loop that already feels like it belongs in an actual DnB arrangement, not just a practice pattern.
---
Recap
If you get the top loop right, the rest of the track instantly feels more finished, more urgent, and more like proper DnB.

