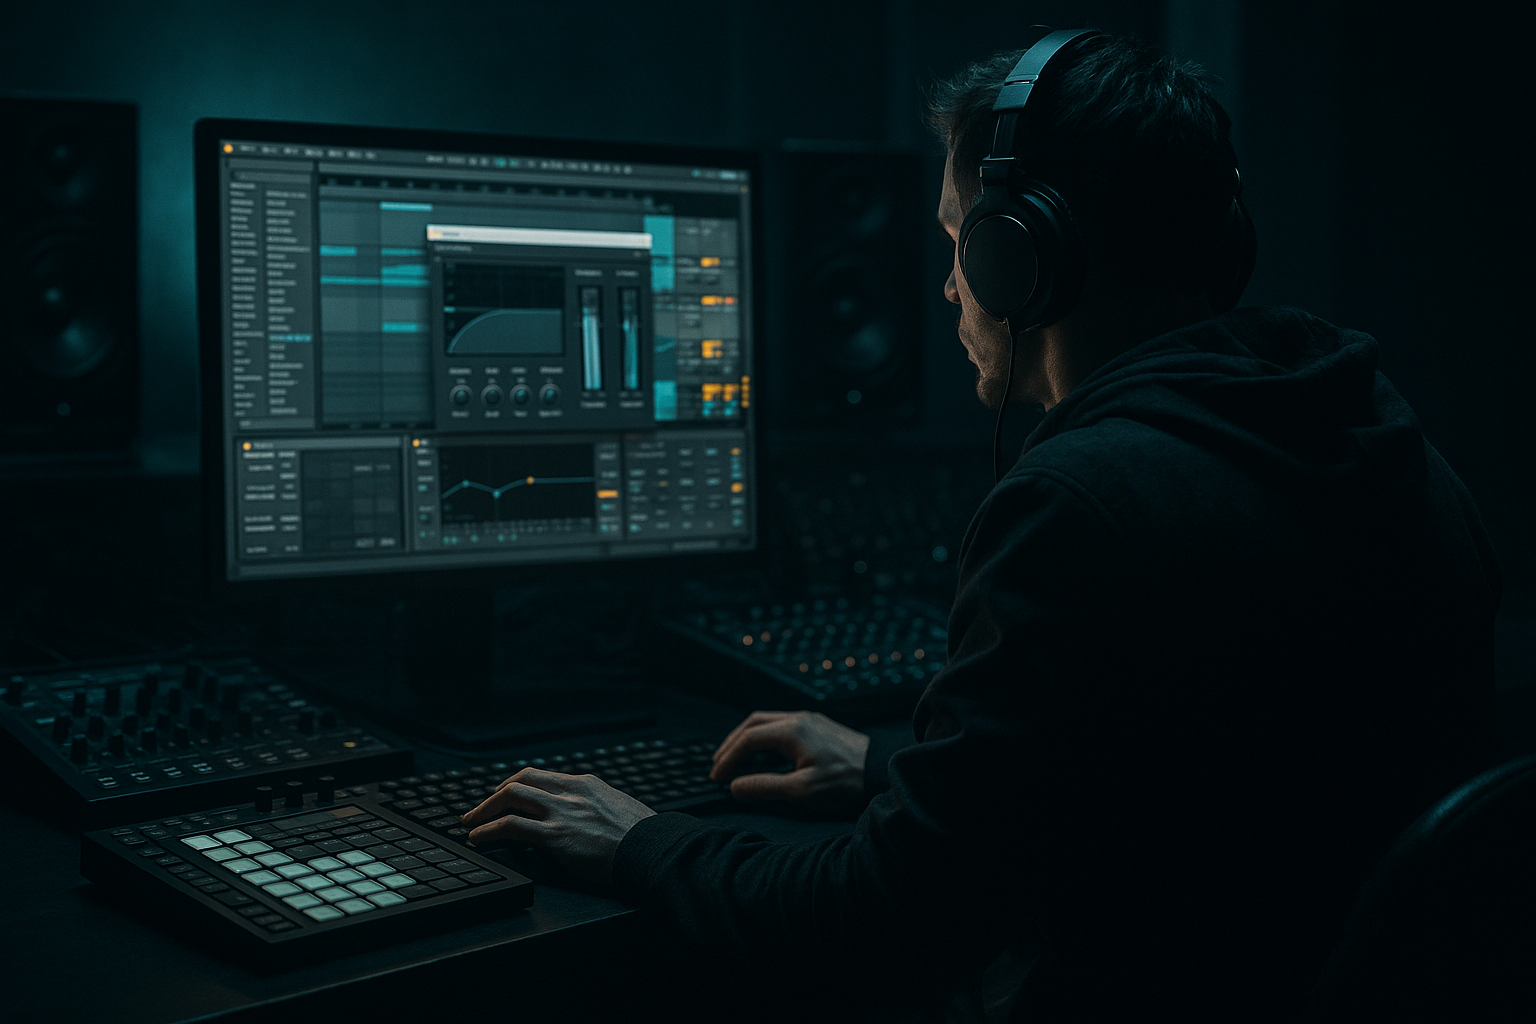
DNB COLLEGE

Drum & Bass Ableton Live 12 Tutorials

LESSON DETAIL

Guide for reese patch with jungle swing in Ableton Live 12 (Intermediate)

An AI-generated intermediate Ableton lesson focused on Guide for reese patch with jungle swing in Ableton Live 12 in the Sound Design area of drum and bass production.

Back to lessons
Guide for reese patch with jungle swing in Ableton Live 12 (Intermediate) cover image

Narrated lesson audio

The voice track includes the tutorial plus extra teacher commentary.

Open audio file

Main tutorial

Guide: Reese Patch With Jungle Swing in Ableton Live 12 (Intermediate) 🔊🥁

1. Lesson overview

In this lesson you’ll build a proper DnB reese bass (wide, gritty, moving) and lock it into a jungle-style swing so it rolls instead of sounding stiff. We’ll do it with Ableton stock devices and a workflow that fits real drum & bass sessions: quick patching, resampling options, and arrangement moves that translate straight into a 16–32 bar idea.

---

2. What you will build

By the end you’ll have:

  • A Reese bass instrument rack:
  • - Detuned oscillators → saturation → filtering/movement → mid/side control → optional resample layer

  • A jungle swing bass pattern that sits with breaks (or modern DnB drums):
  • - Groove pool + micro-timing + note length control

  • A mini arrangement idea:
  • - 16 bars with call/response bass, fills, and automation

    ---

    3. Step-by-step walkthrough

    A) Session setup (DnB-ready)

    1. Tempo: set 170–174 BPM (try 172 BPM).

    2. Create tracks:

    - MIDI Track: `REESE`

    - Audio Track: `REESE RESAMPLE` (for printing)

    - Drums track: a break loop or Drum Rack (Amen-ish works great)

    3. Optional but recommended:

    - Add Spectrum on the Master (visual sanity check).

    - Keep Master peaks around -6 dB while designing.

    ---

    B) Build the core reese (stock Ableton “Wavetable” method)

    On the `REESE` track, load:

    #### 1) Wavetable (main synth)

  • Osc 1: Basic ShapesSaw
  • - Unison: 2–4 voices (don’t go too crazy yet)

    - Detune: small (around 8–15% depending on taste)

  • Osc 2: Basic ShapesSaw (or Square for more bite)
  • - Tune -12 semitones OR keep same octave and detune differently

    - Slight detune offset to create movement (e.g. Osc2 detune slightly different than Osc1)

  • Voices: Mono
  • Glide/Portamento: 40–90 ms (classic sliding reese feels alive)
  • Filter: LP24
  • - Cutoff: start around 150–400 Hz (we’ll modulate later)

    - Drive: 2–6 dB

    - Resonance: low (0.10–0.25) to avoid whistling

    ✅ Goal: You should already hear a wide, buzzy tone that feels “chorused” but not thin.

    ---

    C) Add the classic reese “movement” (phasing/comb-style)

    Right after Wavetable, add one of these (pick one to start):

    #### Option 1: Phaser-Flanger (easy win)

  • Device: Phaser-Flanger
  • Mode: Phaser
  • Rate: 0.08–0.25 Hz (slow = rolling)
  • Amount: 40–70%
  • Feedback: 10–30%
  • Dry/Wet: 15–35%
  • This gives the reese that signature “talking/chewing” movement without needing 3rd-party chorus.

    #### Option 2: Chorus-Ensemble (more modern smoothness)

  • Mode: Ensemble
  • Rate: 0.20–0.60 Hz
  • Amount: 20–45%
  • Spread: 80–120%
  • Dry/Wet: 15–30%
  • ---

    D) Add grit + density (DnB needs harmonics) 😈

    Add Saturator next:

  • Mode: Analog Clip (or Soft Sine for rounder)
  • Drive: 3–8 dB
  • Turn on Soft Clip
  • Optional: Color ON, set around 1.5–3.5 kHz if you want more “speak”
  • Then add Roar (Live 12) for heavier character (optional but powerful):

  • Type: start with a mild distortion style (avoid full chaos at first)
  • Drive: 5–20%
  • Use its Filter to keep low end controlled (LP around 4–8 kHz)
  • Mix: 10–30% (parallel vibe)
  • ✅ Check: You want it to feel “thick” on small speakers, not just sub rumble.

    ---

    E) Split sub and mid (so the low end stays clean)

    This is crucial for professional DnB.

    1. Create an Audio Effect Rack after distortion.

    2. Make two chains: `SUB` and `MID`.

    #### SUB chain (clean + mono)

  • Add EQ Eight
  • - Enable Lowpass around 80–120 Hz (24 dB slope)

    - Cut everything above that

  • Add Utility
  • - Width: 0% (mono)

    - Optional: Bass Mono if you like (but 0% width is safest)

  • Optional: light Saturator (Drive 1–2 dB) to help translation
  • #### MID chain (movement + stereo)

  • Add EQ Eight
  • - Enable Highpass around 90–140 Hz

  • Add Utility
  • - Width: 110–160%

  • Optional: Auto Filter (for animated cutoff)
  • - Filter: LP12

    - Cutoff: 200–900 Hz (map to Macro)

    - Envelope or LFO: subtle

    ✅ Result: sub stays solid and centered; the mid layer does the wide reese thing.

    ---

    F) Macro controls (make it playable)

    Map key parameters to 8 Macros in the rack. Suggested macro set:

    1. Cutoff (Auto Filter or Wavetable filter)

    2. Drive (Saturator or Roar)

    3. Movement (Phaser Dry/Wet)

    4. Sub Level (chain volume)

    5. Mid Level (chain volume)

    6. Stereo Width (Mid Utility width)

    7. Glide Time

    8. LFO Rate (if using Auto Filter LFO)

    This turns your patch into a performance instrument for automation and arrangement.

    ---

    G) Program a jungle swing bassline (groove + micro-timing) 🕺

    1) Write a basic 2-bar riff (MIDI)

    In the clip for `REESE`:

  • Set clip length: 2 bars
  • Use a typical DnB key like F minor or G minor
  • Start simple:
  • - Notes around F1–F2 range (sub fundamentals)

    - Try a pattern like: F1 (short), F1 (short), Eb1 (short), F1 (long)

    - Add one slide note by overlapping slightly (Mono + Glide makes it sing)

    2) Swing it with Groove Pool (the “jungle” feel)

    1. Open Groove Pool.

    2. Drag in a groove:

    - Start with Swing 16-55 or Swing 16-57

    - For more “breaky” feel, try MPC 16 Swing variants (if available)

    3. Apply groove to your bass clip:

    - Timing: 20–40 (don’t overdo; bass gets messy fast)

    - Random: 2–6 (subtle human wobble)

    - Velocity: 0–10 (optional—reese is more about tone than velocity)

    4. Click Commit only if you’re sure. Otherwise keep it live for tweaking.

    3) Jungle-style push/pull: nudge specific notes

    Even with groove, I’ll often do 2 manual edits:

  • Pull back one offbeat note by -8 to -15 ms
  • Push forward a pickup note by +5 to +12 ms
  • In Live:

  • Turn on Delay in the clip’s Notes panel? (Not per-note)
  • Better: use nudge with keyboard shortcuts or drag notes slightly off grid.
  • 4) Control note length (tight low end!)

  • Keep sub notes shorter than you think (often 1/16–1/8)
  • Let mid movement carry sustain, not the sub.
  • If it’s smearing with kicks, shorten notes first before EQ’ing.
  • ---

    H) Make it roll with drums (sidechain + arrangement)

    1) Sidechain compression (classic DnB pump)

    On the REESE rack (or on SUB chain only), add Compressor:

  • Enable Sidechain → input from Kick (or Drum Rack post-FX)
  • Ratio: 3:1–5:1
  • Attack: 3–10 ms
  • Release: 60–140 ms (match groove)
  • Gain reduction: aim for 2–6 dB
  • For jungle breaks, sidechain can be lighter; too much can feel “EDM.”

    2) 16-bar arrangement idea (quick and effective)

  • Bars 1–4: mid-reese filtered (Cutoff low), sub quieter
  • Bars 5–8: open cutoff, bring full mid layer
  • Bars 9–12: call/response: remove sub on bar 10, add a glide fill bar 12
  • Bars 13–16: variation:
  • - automate Phaser wet up slightly

    - add a 1/8 note stab fill at end of bar 16 (classic DnB turnaround)

    Add interest with automation lanes:

  • Cutoff macro
  • Drive macro
  • Mid width macro (narrow on drops, widen in transitions)
  • ---

    I) Optional: Resample for that “printed” jungle weight 🎛️

    1. Set `REESE RESAMPLE` input to Resampling (or “REESE” track).

    2. Record a few bars of the bass.

    3. Now you can:

    - Warp mode: Complex Pro (or Beats for gritty artifacts)

    - Slice to new MIDI track (right click) for old-school chopped reese hits

    4. Add Redux very lightly for texture:

    - Bit reduction: 10–14 (subtle!)

    - Downsample: tiny (or none)

    This is a huge jungle move: print it, chop it, re-sequence it.

    ---

    4. Common mistakes (and quick fixes)

    1. Too much stereo in the sub

    Fix: SUB chain Utility width 0%, highpass MID chain properly.

    2. Over-swinging the bass

    If swing timing is high, the low-end feels late and sloppy.

    Fix: groove Timing 20–35, then manually nudge only 1–2 notes.

    3. Reese sounds huge solo, weak in the mix

    Usually missing harmonics or too much low-mid mud.

    Fix: add mild Saturator/Roar, then cut 200–400 Hz a touch on MID.

    4. Clashing with the break/kick

    Fix: shorten note lengths + sidechain SUB only.

    5. Phaser/Chorus washing it out

    Fix: keep modulation Dry/Wet under ~35%, or apply it to MID chain only.

    ---

    5. Pro tips for darker/heavier DnB 🖤

  • Make the mid layer angry, keep sub pure:
  • Distort MID chain harder; leave SUB mostly clean and mono.

  • Use Roar as parallel dirt:
  • Put Roar on MID chain, Mix 10–25%, then EQ after it.

  • Automate filter cutoff down in the drop:
  • Dark DnB often feels heavier when it’s more contained, not more open.

  • Add a notch for “hollow menace”:
  • EQ Eight on MID: notch 300–600 Hz, small cut (2–4 dB), sweep until it growls.

  • Sub discipline:
  • Keep the fundamental consistent (often F1–G1 range). Big note jumps in sub can lose power on systems.

  • Layer a quiet “metallic top” texture:
  • A very subtle noise/texture (even Operator noise) highpassed above 2–3 kHz can add presence without turning up mids.

    ---

    6. Mini practice exercise (20–30 min)

    1. Build the reese rack (Wavetable → Modulation → Saturation → Rack split SUB/MID).

    2. Write a 2-bar bass loop in F minor.

    3. Apply Swing 16-57:

    - Timing 30, Random 4

    4. Create two variations:

    - Variation A: tighter (less glide, less phaser)

    - Variation B: nastier (more drive, slightly more phaser)

    5. Arrange 8 bars:

    - Bars 1–4: A with filter more closed

    - Bars 5–8: B with filter more open + one fill at bar 8

    Export a quick bounce and listen on phone speakers—does the bass still “exist”? If not, add a touch more mid saturation.

    ---

    7. Recap ✅

  • You built a reese bass using Ableton stock tools: Wavetable + modulation + Saturator/Roar.
  • You made it mix-ready by splitting SUB and MID, keeping sub mono and clean.
  • You added jungle swing with Groove Pool plus a couple of intentional micro-timing nudges.
  • You shaped a real DnB arrangement with automation, sidechain, and variation.
  • Bonus: you learned the classic jungle move—resample and chop for character.

If you tell me your target sub key (e.g., F, F#, G) and whether you’re using breaks or 2-step drums, I can suggest a specific 2-bar MIDI pattern that will lock to your groove perfectly.

Ask GPT about this lesson

Chat with the lesson tutor, get follow-up help, or use quick actions.

Bigup 👽 Ask me anything about this lesson and I’ll answer in context.

Narration script

Show spoken script
Welcome back. In this intermediate Ableton Live 12 lesson we’re going to build a proper drum and bass reese bass using only stock devices, and then we’ll make it move with that jungle swing so it rolls like it’s sitting inside a break, not pasted on top.

The goal is two things at once: a bass patch that feels wide, gritty, and alive… and a bass pattern that has pocket. Because in jungle and DnB, the sound and the timing are basically one instrument.

Let’s set up the session first.

Set your tempo somewhere between 170 and 174 BPM. I’ll pick 172. Create three tracks: a MIDI track called REESE, an audio track called REESE RESAMPLE, and a drums track with a break loop or a Drum Rack. An Amen-style break works great, but anything with ghost notes will help you hear the swing.

Quick level habit that will save you later: throw Spectrum on the master so you can sanity-check your low end, and keep your master from slamming while you design. Aim to peak around minus six dB. You want headroom because distortion and resonance will creep up on you.

Now, on the REESE MIDI track, load Wavetable.

For Oscillator 1, choose Basic Shapes and set it to a saw. Add a little unison, like two to four voices. Keep the detune modest, maybe eight to fifteen percent. You’re going for width and motion, not instant blurry soup.

Oscillator 2, also Basic Shapes, also a saw to start. If you want more bite later, you can try square, but stick with saw for now. You can tune Osc 2 down an octave, minus 12 semitones, or keep it in the same octave and detune it differently than Osc 1. The important part is that they’re not identical. That slight disagreement creates the reese “arguing with itself” sound.

Set Wavetable’s voices to mono. This matters, because we want glide to behave like a real bass line, with slides that connect notes. Turn on glide or portamento and set it somewhere around 40 to 90 milliseconds. If you’re unsure, go around 60 milliseconds. You want to hear it, but not turn every phrase into a cartoon.

Enable the filter in Wavetable, pick LP24. Start the cutoff somewhere around 150 to 400 Hz. Don’t overthink it yet, because we’ll modulate and reshape later. Add a little filter drive, two to six dB, and keep resonance low, around 0.10 to 0.25, so it doesn’t whistle.

At this point, play a low note around F1 or G1. You should hear a wide buzzy tone, already kind of chorused just from detune and unison. If it’s thin, reduce unison voices and increase oscillator level balance; if it’s too smeary, reduce detune.

Now we add the classic movement. After Wavetable, drop in Phaser-Flanger. Set it to Phaser mode. Keep the rate slow: 0.08 to 0.25 Hz. Slow is what makes it roll. Amount somewhere like 40 to 70 percent, feedback 10 to 30 percent, and dry/wet 15 to 35 percent.

Teacher note here: phaser is powerful, but it’s also one of the fastest ways to destroy punch and clarity. If you put it at 50% wet and then wonder why the bass disappears in the mix, it’s usually the modulation washing out your mid definition. Keep it tasteful.

Next comes harmonics. Add Saturator after the phaser. Choose Analog Clip, drive it three to eight dB, and turn on Soft Clip. If you want the bass to “speak” more on smaller speakers, enable Color and aim it somewhere around 1.5 to 3.5 kHz, lightly. The idea is not “treble,” it’s intelligibility.

And because we’re in Live 12, you’ve got Roar. This is optional, but it’s a big part of modern DnB character. Put Roar after Saturator for now, choose a mild distortion style, keep drive modest, maybe five to twenty percent, and keep the mix in that ten to thirty percent range so it feels parallel. Use Roar’s filter to keep the top controlled; lowpass around 4 to 8 kHz so the fizz doesn’t take over.

Quick check: turn your drums on quietly and see if the bass still reads. If it only sounds good solo, it’s not done. DnB bass has to survive context.

Now we do the professional step: split sub and mid so the low end stays clean.

Add an Audio Effect Rack after your distortion section. Create two chains, name them SUB and MID.

On the SUB chain, add EQ Eight and lowpass around 80 to 120 Hz with a steep slope. The mission is simple: only sub lives here. Then add Utility and set width to zero percent, full mono. If you want, add a tiny Saturator here, one to two dB, just to help translation, but keep it subtle. The sub should feel like a pillar.

On the MID chain, add EQ Eight and highpass around 90 to 140 Hz. If you hear phase weirdness later, don’t be scared to push that highpass up even to 150 or 200 Hz. Then add Utility and widen it a bit, like 110 to 160 percent. The mid is where your movement and width live.

Here’s an important phase sanity check. Mute the MID chain and listen to the sub alone. Then unmute MID. If the low end gets smaller when MID is on, that means the MID chain still has low content that’s fighting the sub, causing cancellation. Fix it by raising the MID highpass, and then re-check. This one habit will save you from “why is my bass weak on the drop” syndrome.

Optional but really useful: add an Auto Filter on the MID chain for animated cutoff. LP12 works nicely. Put the cutoff somewhere like 200 to 900 Hz and plan to map it to a macro so you can “open” and “close” the bass over sections.

Now, let’s turn this into an instrument you can actually play and automate.

Go into the rack macro mappings and set up eight performance controls. Map a cutoff macro, map drive to either Saturator or Roar, map movement to the phaser dry/wet, map sub level and mid level to chain volume, map mid stereo width, map glide time, and if you’re using an LFO somewhere, map the LFO rate.

The reason we do this is simple: DnB arrangement is automation. You want to perform this bass, not just loop it.

Now we write the bassline, and this is where jungle swing becomes real.

Before you place notes, pick an anchor note for the sub. Choose one root that shows up constantly. For this lesson, let’s do F minor, and our anchor is F1. The groove feels tighter when the sub mostly stays loyal to one fundamental, and the variation comes from rhythm, short passing notes, and mid-layer tone movement.

Create a MIDI clip on the REESE track. Set it to two bars. Keep your notes mostly in the F1 to F2 range. Start with something simple: a couple short F1 hits, a quick Eb1 as a passing note, and then an F1 that lasts longer. And add one glide moment by overlapping two notes slightly. Because we’re in mono with glide, that overlap creates the slide. If there’s no overlap, there’s no real slide, so make it intentional.

Now, let’s swing it.

Open the Groove Pool. Drag in a groove like Swing 16-55 or Swing 16-57. If you have MPC 16 swing grooves, try those too; they often feel a little more break-oriented.

Apply the groove to your bass clip. Set timing around 20 to 40. Start at 30. Add a little random, like 2 to 6, so it doesn’t feel robotic. Velocity amount can be low, like 0 to 10, because reese perception is mostly timbre, not volume.

One big coaching note: calibrate swing against the break, not against the grid. Turn your drums on. Listen to where the ghost notes and hats sit. If your bass is swinging but it’s swinging in the wrong direction compared to the break, it will feel like two drummers disagreeing.

And even after groove, do a tiny bit of manual micro-timing. Pick one offbeat note and pull it back by about 8 to 15 milliseconds. Then pick one pickup note, something leading into a hit, and push it forward by about 5 to 12 milliseconds. You’re basically creating push and pull like a real player would.

Now control note length. This is the part most people skip, and it’s why their low end turns to fog.

Keep sub notes shorter than you think. Often they’re just a sixteenth to an eighth note long. Let the MID chain movement imply sustain. If the bass is clashing with kicks, shorten the note lengths before you start carving EQ. Nine times out of ten, it’s not an EQ problem, it’s an overlap problem.

Also, use negative space. Leave tiny gaps before important drum hits. Even a thirty-second note gap can make the bass feel rhythmic, like it’s dancing with the break instead of steamrolling over it.

Now let’s make it sit with the drums using sidechain.

Add a Compressor either on the full rack, or better, on the SUB chain only. Turn on sidechain, choose the kick or the drum rack as the input. Ratio three to one up to five to one, attack three to ten milliseconds, release around 60 to 140 milliseconds. Release is the groove knob here. You want the bass to breathe back in time with the drum pocket. Aim for two to six dB of gain reduction.

For jungle breaks, keep sidechain lighter than you would in house or EDM. You want motion, not a huge obvious pump.

Now, let’s do a quick 16-bar arrangement so this isn’t just a loop.

Bars 1 to 4: keep it teased. Close the cutoff, keep the mid layer a little quieter, maybe even narrow the mid width a touch. This makes the drop feel like it arrives, even without changing the notes.

Bars 5 to 8: open the cutoff and bring the full mid layer in. This is where your reese announces itself.

Bars 9 to 12: do a call and response. One easy trick is to keep the sub pattern basically consistent, but change the mid register. For example, duplicate the clip, and for the MID idea, answer a phrase by going up an octave to F2 on certain hits, while keeping the SUB chain stable. It reads as variation without destabilizing the low end.

Bars 13 to 16: add a variation with automation. Push the phaser wet up slightly over a couple bars, or modulate Roar drive subtly so the harmonic density breathes. Then add a quick turnaround fill: an eighth-note stab at the end of bar 16 is a classic move.

Here’s a really advanced but simple discipline trick: make your modulation reset every bar. For example, automate the phaser rate or Roar drive to ramp for three beats, then snap back on beat one. That bar-line reset makes the rolling feel intentional, like a drummer’s pattern repeating.

Now for the optional, very jungle move: resampling.

Set your REESE RESAMPLE track input to resampling, or directly from the REESE track. Record a few bars of the bass while the groove is happening. Once it’s audio, you can warp it. Complex Pro if you want it smooth, or Beats if you want it gritty and a bit artifact-y.

Then right-click and slice to a new MIDI track if you want that old-school chopped reese vibe. That’s where jungle gets playful: print it, chop it, re-sequence it. And if you want extra texture, add Redux very lightly. Keep bit reduction subtle, like 10 to 14, and don’t destroy it. You’re seasoning, not burning dinner.

Let’s hit a few common mistakes so you can self-diagnose fast.

If your sub feels wide or wobbly, that’s almost always stereo in the low end. Fix it by ensuring the SUB chain is mono width at zero percent, and that your MID chain is properly highpassed.

If your bass feels late and sloppy, you probably overdid swing timing. Bring groove timing down to 20 to 35, and then manually nudge only one or two notes.

If your reese sounds huge solo but weak in the mix, you’re missing harmonics or you have low-mid mud. Add mild saturation, then consider a small cut around 200 to 400 Hz on the MID chain.

If it’s clashing with the break or kick, shorten note lengths and sidechain the SUB chain. Don’t immediately reach for a massive EQ scoop.

And if your phaser or chorus is washing everything out, keep modulation under about 35% wet, or apply it only to the MID chain, never the sub.

Before we wrap, here’s a powerful upgrade: add a third chain called PRESENCE.

Highpass it around 700 Hz. Add a stronger Saturator there, then shape it with EQ so you’re aiming for audible information around 1 to 3 kHz. Keep it low in volume. This chain is not for “more mids,” it’s for making the bass identifiable on laptops and phone speakers without turning the whole mix into a harsh mess.

Finally, a quick practice plan you can do in 20 to 30 minutes.

Build the rack: Wavetable into modulation, into saturation, then your SUB and MID split. Write a two-bar bass loop in F minor with an anchored F1. Apply Swing 16-57 with timing around 30 and random around 4. Make two variations: one tighter, less glide and less phaser; one nastier, more drive and slightly more movement. Arrange eight bars: first four bars filtered and controlled, next four bars more open with one fill at the end. Then bounce it and listen on phone speakers. If the bass doesn’t exist there, add a touch more mid saturation or bring in that presence chain slightly.

Recap: you built a stock-device reese that’s wide and moving, you made it mix-ready by splitting SUB and MID with mono discipline, you created jungle swing using Groove Pool plus a couple intentional micro-timing nudges, and you turned it into an arrangement with automation and sidechain. And if you went the extra mile, you resampled and chopped it for that printed jungle weight.

If you tell me your root note, like F, F sharp, or G, and whether you’re using an Amen, Think, or a clean 2-step, I can suggest exact ghost-note placements that usually lock perfectly to that drum pocket.

mickeybeam

Go to drumbasscd.com for +100 drum and bass YouTube channels all in one place - tune in!

Generating PDF preview…