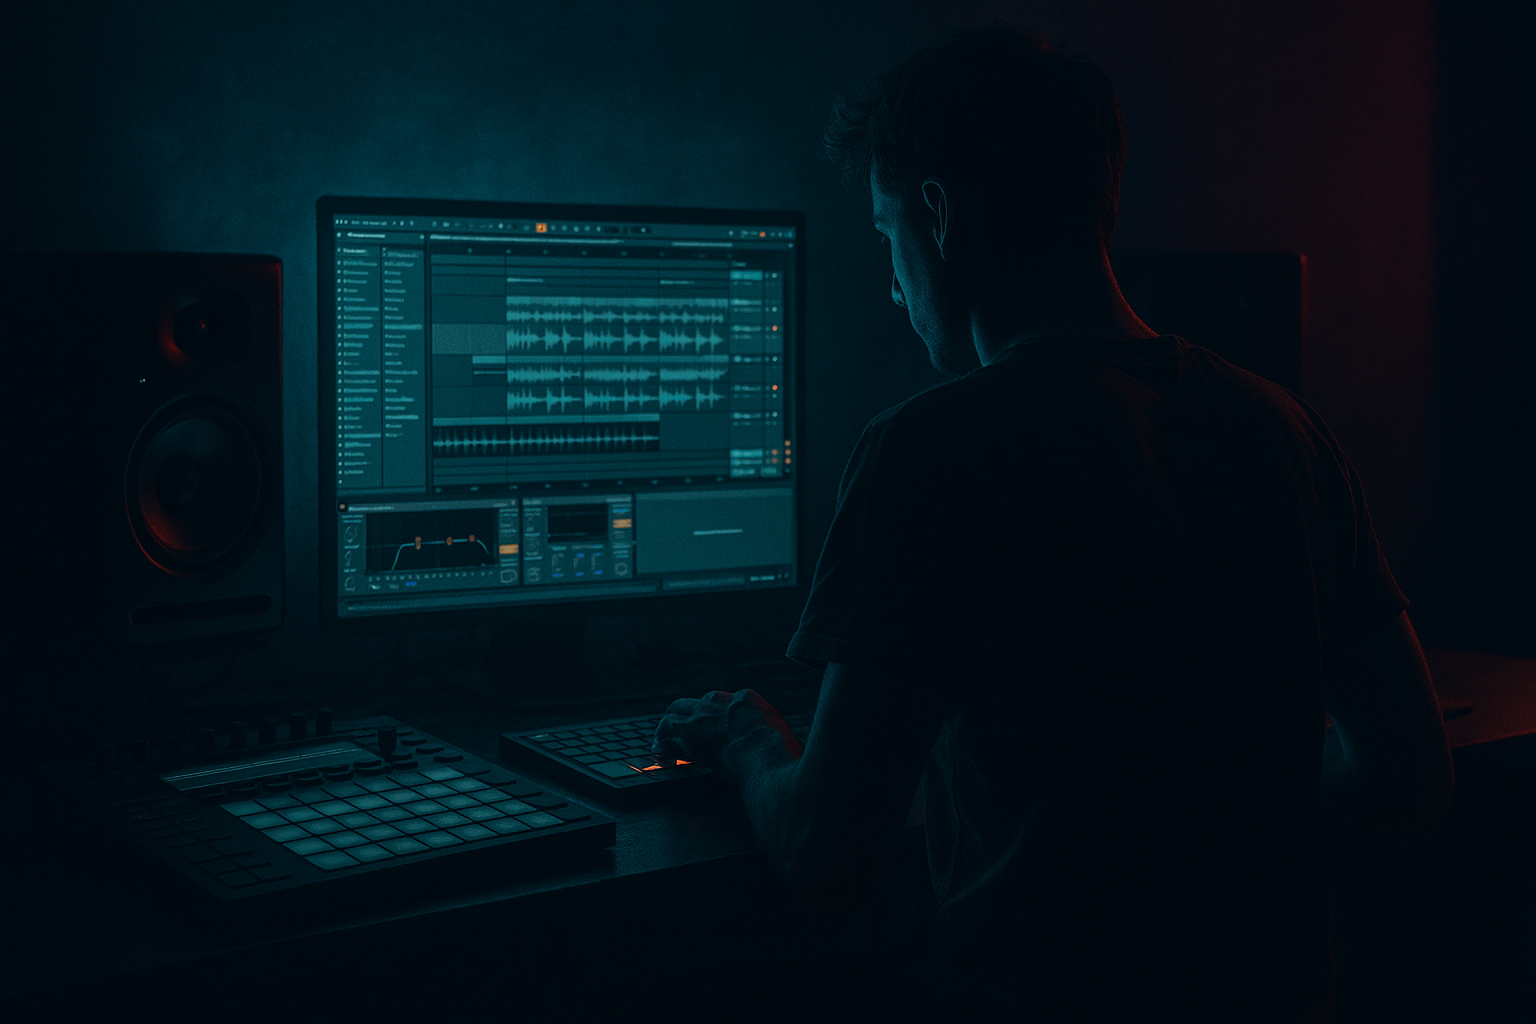
DNB COLLEGE

Drum & Bass Ableton Live 12 Tutorials

LESSON DETAIL

Glue oldskool DnB sub for ragga-infused chaos in Ableton Live 12 (Beginner)

An AI-generated beginner Ableton lesson focused on Glue oldskool DnB sub for ragga-infused chaos in Ableton Live 12 in the Automation area of drum and bass production.

Back to lessons
Glue oldskool DnB sub for ragga-infused chaos in Ableton Live 12 (Beginner) cover image

Narrated lesson audio

The voice track includes the tutorial plus extra teacher commentary.

Open audio file

Main tutorial

Glue oldskool DnB sub for ragga‑infused chaos in Ableton Live 12 (Automation)

1) Lesson overview

You’re going to make that classic, steady jungle/DnB sub that doesn’t fall apart when ragga vocals, sirens, edits, and breaks are going wild. The goal is glue + control, using automation to keep the low end consistent while your arrangement gets chaotic. 🔥

Key idea:

Sub stays simple + mono + stable → everything else can be noisy and hype.

---

2) What you will build

A practical Ableton Live 12 setup with:

  • A pure oldskool sub (sine/triangle) that tracks a bassline
  • A glue chain using stock devices (EQ Eight, Saturator, Compressor, Glue Compressor, Utility)
  • Sidechain + automation that makes the sub “breathe” around the kick/snare and avoid vocal clashes
  • An arrangement approach for ragga chaos: drops, fills, rewinds, and switch-ups while the sub stays locked 🧱
  • ---

    3) Step-by-step walkthrough

    Step 0 — Project + routing prep (2 minutes)

    1. Set tempo to 170–175 BPM (try 174).

    2. In Arrangement View, create tracks:

    - SUB (MIDI track)

    - DRUMS (Audio or Drum Rack)

    - RAGGA VOX (Audio)

    - SFX/RISE/EDITS (Audio/MIDI)

    3. Group your drums if needed:

    - Select drum tracks → Cmd/Ctrl + G → name it DRUM BUS

    Why: you’ll sidechain the sub from the drum bus for consistent pumping.

    ---

    Step 1 — Build an oldskool sub in Operator (simple + strong)

    On SUB track:

    1. Load Operator (stock).

    2. Oscillator A:

    - Waveform: Sine

    - Level: 0 dB

    3. Turn off other oscillators (B/C/D).

    4. Envelope (AMP):

    - Attack: 0.0–2 ms

    - Decay: ~300 ms (optional)

    - Sustain: -inf if using plucks, 0 dB if using held notes

    - Release: 80–140 ms (prevents clicks while staying tight)

    Oldskool vibe tip: If pure sine feels too “clean,” change Osc A to Triangle or keep sine and add subtle harmonics later.

    ---

    Step 2 — Write a beginner-friendly rolling sub pattern (DnB-jungle logic)

    Keep sub patterns simple and repetitive. Ragga chaos sits above it.

    1. Create a 2-bar MIDI clip on SUB.

    2. Choose a key that works well for sub: F, F#, G are common.

    3. Try this basic pattern idea:

    - Notes mostly on root (e.g., F1), occasional 5th (C2) or octave (F2)

    - Rhythm: follow the kick + some offbeats for roll

    Starter rhythm (2 bars):

  • Bar 1: long note on 1, shorter notes around 1.3–1.4 and 2.3
  • Bar 2: similar, with one variation near the end to lead into a fill
  • Keep it minimal: the “movement” later comes from automation, not complicated notes.

    ---

    Step 3 — The Glue Chain (stock devices, in order)

    On the SUB track, build this device chain:

    #### 1) EQ Eight (clean the sub)

  • Enable HP filter at 20–30 Hz (24 dB/oct)
  • Cuts rumble you can’t hear but that eats headroom.

  • Optional tiny dip if needed:
  • - If your kick is heavy at 55–65 Hz, you might dip the sub slightly there later, but don’t overdo it.

    #### 2) Saturator (add harmonics so the sub reads on small speakers)

  • Mode: Soft Sine or Analog Clip
  • Drive: +2 to +6 dB
  • Output: reduce to match level (avoid louder = “better” trick)
  • Turn on Soft Clip
  • Goal: audible weight without turning the sub into a reese.

    #### 3) Compressor (level control before sidechain)

  • Ratio: 2:1
  • Attack: 15–30 ms (lets the front through)
  • Release: 80–150 ms
  • Threshold: aim for 1–3 dB gain reduction on louder notes
  • This is “evening,” not pumping.

    #### 4) Glue Compressor (the “lock it in” stage)

  • Ratio: 2:1
  • Attack: 10 ms
  • Release: Auto (great for DnB movement)
  • Threshold: aim for 1–2 dB GR most of the time
  • Soft Clip: optional ✅ (if you need extra control)
  • #### 5) Utility (mono + final level)

  • Width: 0% (hard mono)
  • Gain: set so sub peaks are controlled (don’t clip the master)
  • Sub should be mono, centered, stable. 🧱

    ---

    Step 4 — Sidechain: make room for kick/snare without wrecking the sub tone

    On the SUB track, add Compressor after Glue Compressor (yes, another one) dedicated to sidechain.

    1. Add Compressor at end of chain.

    2. Enable Sidechain.

    3. Audio From: DRUM BUS (or your kick track if isolated)

    4. Settings:

    - Ratio: 4:1

    - Attack: 0.5–3 ms

    - Release: 60–120 ms (tempo-dependent)

    - Threshold: lower until you get 2–5 dB ducking on hits

    DnB tip: If the sub is “wobbling” too long, shorten release. If it feels like it never comes back, release is too long or threshold too low.

    ---

    Step 5 — Automation: “ragga chaos above, sub stays king” 👑

    Now the fun part: you automate sub behavior across arrangement sections.

    #### A) Automate Saturator Drive for drop energy

    In Arrangement View:

    1. Press A to show automation.

    2. Choose device: Saturator → Drive

    3. Automate:

    - Intro/Break: Drive +1 to +3 dB

    - Drop: Drive +3 to +6 dB

    - Fill/rewind moments: quick ramps up/down for hype

    Rule: Small moves go a long way in sub ranges.

    ---

    #### B) Automate sidechain amount between sections

    You can automate either:

  • Compressor Threshold (common), or
  • Compressor Dry/Wet (if you prefer parallel feel)
  • Suggested:

  • Verse/Drop: more ducking (clear drums)
  • Breakdowns: less ducking (longer sub notes feel cinematic)
  • Example:

  • Drop threshold: set for ~4 dB ducking
  • Breakdown threshold: set for ~1–2 dB ducking
  • This keeps vocals + edits from masking drum punch.

    ---

    #### C) Automate a “Sub Safety EQ” when ragga vocals get dense

    Ragga vocals and sirens often stack low-mids. You can automate a tiny cut to keep the bass clean without losing sub weight.

    On SUB track EQ Eight:

  • Add a bell around 120–200 Hz
  • Q: 1.0–1.4
  • Gain: 0 dB normally
  • During dense vocal sections: automate to -1.5 to -3 dB
  • This is subtle “mix glue” that keeps the chaos readable. 🎛️

    ---

    #### D) Automate Utility Gain for controlled drop impact (simple but powerful)

    Sometimes the bassline is perfect but the drop needs a moment.

  • Automate Utility → Gain
  • Do a micro-dip right before the drop:
  • - Last 1/8 or 1/4 bar before drop: -1 to -2 dB

    - At drop: back to 0 dB

    This makes the drop feel bigger without actually adding bass.

    ---

    Step 6 — Arrangement ideas: oldskool DnB with ragga energy

    Here’s a reliable structure:

  • 0:00–0:32 Intro: drums filtered, teaser vocal FX, sub very light (lower Saturator drive)
  • 0:32–1:04 Build: bring break layers, dub siren, tiny sub hints
  • 1:04 Drop A: full sub + drums, vocal chops, edits
  • 1:36 8-bar switch: automate sidechain slightly more, add fills, stop-time hits
  • 2:08 Drop B (variation): same sub notes, but automate:
  • - Saturator drive up slightly

    - Sidechain stronger

    - Midbass layer can change (sub stays consistent)

    Oldskool truth: Keep subline stable; vary drum edits, vocals, FX, and mid layers.

    ---

    4) Common mistakes

    1. Stereo sub (wide bass = weak bass)

    Fix: Utility Width 0%.

    2. Too much saturation turning sub into fuzz

    Fix: back down Drive; keep sub mostly fundamental.

    3. Sidechain release too long → “seasick” pumping

    Fix: release 60–120 ms range; tune by ear.

    4. No HP filter → wasted headroom and limiter distortion

    Fix: EQ Eight HP at 20–30 Hz.

    5. Automating the wrong thing (wild EQ boosts on sub)

    Fix: automate subtle gain/drive/sidechain; keep EQ moves small.

    ---

    5) Pro tips for darker/heavier DnB 🕳️

  • Parallel harmonics (safe weight):
  • Duplicate SUB track → on copy, HP at 80–120 Hz, saturate harder, keep low end removed. Blend quietly. This adds “audible bass” without messing the real sub.

  • Key choice matters:
  • Very low notes (like D or E) can feel huge but eat headroom. Try F–G for safer club translation.

  • Stop-time control:
  • In ragga drops, do 1-beat or 1/2-bar mutes of the sub using Utility Gain automation (hard cut), then slam it back.

  • Clip the sub gently before the master:
  • Use Saturator Soft Clip or Glue Soft Clip to tame peaks. Cleaner loudness, less limiter pumping.

  • Sidechain from “kick only” if possible:
  • If your snare is triggering too much ducking, create a ghost kick MIDI/audio trigger and sidechain from that.

    ---

    6) Mini practice exercise (15 minutes)

    1. Build the SUB track + chain exactly as above.

    2. Write a 2-bar sub pattern in F.

    3. Arrange 16 bars:

    - 8 bars “Break”

    - 8 bars “Drop”

    4. Automate:

    - Saturator Drive: Break +2 dB, Drop +5 dB

    - Sidechain Threshold: Break less ducking, Drop more ducking

    - EQ Eight low-mid dip: only during the busiest vocal phrase

    5. Bounce/export a quick test and listen on:

    - headphones

    - laptop speakers (you should still sense the bass via harmonics)

    ---

    7) Recap

  • Build an oldskool sub with Operator (sine/triangle), keep it mono + simple.
  • Use a glue chain: EQ Eight → Saturator → Compressor → Glue Compressor → Utility.
  • Add sidechain compression for drum space.
  • Use automation to adapt the sub across arrangement sections:

- Saturator Drive for intensity

- Sidechain amount for groove control

- Small low-mid EQ dips for vocal chaos

- Utility Gain for drop drama

If you want, tell me your BPM and drum style (break-heavy jungle vs. 2-step roller), and I’ll suggest a sub rhythm and sidechain release timing that locks to your groove.

Ask GPT about this lesson

Chat with the lesson tutor, get follow-up help, or use quick actions.

Bigup 👽 Ask me anything about this lesson and I’ll answer in context.

Narration script

Show spoken script
Title: Glue oldskool DnB sub for ragga-infused chaos in Ableton Live 12 (Beginner)

Alright, let’s build an oldskool drum and bass sub that stays solid and confident while everything above it goes full ragga chaos. Think: steady low-end foundation, and then you can throw vocals, sirens, rewinds, edits, whatever you want on top without the mix turning to soup.

Today’s focus is automation. Not automation for fancy tricks, but automation for control. We’re going to make the sub behave differently in the intro, in the drop, and in those hectic fill moments, without changing the bassline into some complicated monster. Classic rule: sub stays simple, mono, stable… everything else can get rowdy.

First, quick setup.

Set your tempo to something in the jungle pocket: 170 to 175 BPM. I’ll use 174.

Go to Arrangement View, and create four tracks:
One MIDI track called SUB.
Then DRUMS, which can be audio tracks or a Drum Rack.
Then RAGGA VOX as an audio track.
And an SFX or edits track for risers, sirens, impacts, all that good chaos.

If you’ve got multiple drum tracks, group them and name it DRUM BUS. This is important because we’re going to sidechain the sub from the drums in a consistent way.

Now let’s build the actual sub sound. Beginner-friendly and bulletproof.

On the SUB MIDI track, load Operator. We’re keeping this clean.
Use Oscillator A only.
Set it to a sine wave. Level at 0 dB.
Turn off oscillators B, C, and D so we’re not accidentally making harmonics before we’re ready.

Now the amp envelope. This is where beginners often get clicks or sloppy tails.
Set Attack super fast, basically 0 to 2 milliseconds.
Release around 80 to 140 milliseconds. That little bit of release stops clicking when notes end, but still keeps the bass tight.
If you’re doing held notes, keep sustain up at 0 dB.
If you’re doing plucky notes, you can drop sustain way down and use decay… but for now, held notes are easier for stability.

If the sine feels too clean and polite, you can switch Osc A to triangle. That’s still oldskool, still pure, just a bit more edge. Or we keep sine and add harmonics later with saturation. That’s usually the safest way.

Now, let’s write a simple rolling sub pattern.

Create a 2-bar MIDI clip on SUB.
Pick a key that behaves well in the low end. F, F sharp, or G are common for a reason: they hit hard without destroying your headroom.
Let’s go with F.

Here’s the mindset: your sub pattern is not the “main character.” The drums and ragga bits will do the talking. The sub is the wall underneath everything.
So keep most notes on the root, like F1, and only occasionally jump to the fifth, like C2, or the octave, F2.

Rhythm-wise, start simple: one longer note on the downbeat, then a few shorter notes that roll around the kick pattern. If you’re not sure, just mirror the kick moments and add one or two offbeat notes for motion.

And a huge coaching tip right here: if the sub feels inconsistent, don’t immediately reach for more compression. First check your MIDI note lengths. Overlaps and messy tails can cause random booms, especially depending on how the synth retriggers its envelope. Clean note endings can fix “mystery loud notes” instantly.

Now we build the glue chain. Stock Ableton devices only, in a specific order.

On the SUB track, first add EQ Eight.
Put a high-pass filter at about 20 to 30 Hz. Use a steeper slope, like 24 dB per octave.
You can’t really hear that rumble, but your limiter can, and it eats headroom. This one move makes your whole track louder and cleaner later.

Next, add Saturator.
Choose a mode like Soft Sine or Analog Clip.
Drive around plus 2 to plus 6 dB.
And make sure Soft Clip is on.
Then compensate with the output so you’re not fooling yourself with loudness. When you saturate a sub, it will feel better just because it got louder, so always level-match.

What are we doing here? We’re creating harmonics so the bass is still felt on small speakers. Not turning it into a reese. Just giving it enough grit to translate.

Next, add a Compressor for gentle leveling before we do any pumping.
Ratio about 2 to 1.
Attack around 15 to 30 milliseconds, so the front of the note doesn’t get crushed.
Release around 80 to 150 milliseconds.
Then set the threshold so you’re only getting 1 to 3 dB of gain reduction on the loudest notes.

This compressor is not for groove. It’s for consistency.

After that, add Glue Compressor.
Ratio 2 to 1.
Attack 10 milliseconds.
Release on Auto, because it tends to move really nicely for DnB.
Aim for 1 to 2 dB of gain reduction most of the time.
And if you need extra peak safety, you can turn on Soft Clip here too. Think of it as tidy control, not aggression.

Finally, add Utility.
Set Width to 0 percent. Hard mono.
This is non-negotiable for classic sub. Wide bass is weak bass, and it will collapse in clubs and in mono playback.
Then adjust Utility gain so you’re not clipping anywhere.

At this point, you should have a sub that sounds stable and boring in the best way. Like a reliable engine.

Now we add sidechain. This is where the sub “breathes” around the drums.

After the Glue Compressor, add another Compressor at the end of the chain, dedicated to sidechain only.
Turn on Sidechain.
Set Audio From to your DRUM BUS, or your kick track if you have the kick isolated.

Set ratio to 4 to 1.
Attack very fast: 0.5 to 3 milliseconds.
Release in the 60 to 120 millisecond range.

At 174 BPM, a great starting pocket is about 80 to 110 milliseconds.

Then lower the threshold until you see about 2 to 5 dB of ducking when the kick hits.

Here’s the quick method to dial release like a producer instead of guessing: loop one bar of kick and sub, and slowly move the release knob. You want the sub to return just before the next important drum hit. If it returns after, the groove feels late. If it returns way before, your kick won’t read as clearly because the bass rushes back on top.

Also: if the sub feels seasick and wobbly, your release is probably too long, or you’re ducking too deep. Tighten release, or raise the threshold a touch.

Cool. Now we get into the main topic: automation. This is how we keep the low-end locked while the arrangement goes wild.

Press A to show automation lanes in Arrangement View.

We’re going to build three repeatable “scenes” for the sub:
Calm, for intros and breaks.
Drop, for the main impact.
And Rewind or Fill, for those momentary tricks.

First automation: Saturator Drive.

Find Saturator, pick Drive.
In calmer sections like intro or break, keep Drive around plus 1 to plus 3 dB.
In the drop, push it to plus 3 to plus 6 dB.

This is one of those subtle moves that sounds way bigger than it looks. In the sub range, tiny changes are massive. Don’t do huge sweeps. We’re not trying to hear distortion, we’re trying to feel confidence.

Second automation: sidechain amount.

Most people automate the sidechain compressor threshold, because it’s simple and predictable.
Set your drop to a point where you’re getting around 4 dB of ducking.
Then in breakdowns, ease it off so you’re only ducking 1 to 2 dB.

Why? In a breakdown, you often want the sub to feel longer and more cinematic. In the drop, you want drums to punch cleanly through the bass, especially with ragga vocals and edits fighting for attention.

Third automation: a “sub safety EQ” for vocal density.

Ragga vocals and sirens love to stack in the low-mids. That doesn’t always mask the pure sub fundamental, but it can make the bass feel cloudy and undefined.

Go to EQ Eight on the sub.
Add a bell around 120 to 200 Hz.
Set Q around 1.0 to 1.4.
Keep it at 0 dB most of the time.

Then only during dense vocal moments, automate that bell down to about minus 1.5 to minus 3 dB.

Notice what we’re not doing: we’re not boosting anything down there. We’re doing tiny cleanup moves only when needed. That’s how you keep oldskool weight.

Fourth automation: Utility gain for drop drama.

This one is deceptively powerful.
Automate Utility gain so that in the last eighth note or last quarter note before the drop, you dip the sub by 1 to 2 dB.
Then right on the downbeat, return to zero.

You didn’t add any bass, but the drop feels bigger. Your ear loves contrast.

And for classic ragga stop-time energy, do a hard cut: automate Utility gain all the way down for one beat, then slam it back in exactly on the one. That rewind vibe, without destroying your mix.

Now let’s talk arrangement approach, because automation is only useful if the structure gives it a job.

A super reliable template:
Intro, around 0:00 to 0:32: filtered drums, teaser vocal effects, and keep the sub calm. Lower saturation drive, lighter ducking.
Build, 0:32 to 1:04: bring in break layers, sirens, maybe hint the sub in and out.
Drop A: full sub and drums, vocal chops, edits.
Then an 8-bar switch-up: increase sidechain a touch, add fills, do a stop-time moment.
Drop B: keep the same sub notes, but change the intensity with automation. Slightly more drive, slightly stronger ducking, and let your mid layers do the variation.

That’s the oldskool truth: stability below, variation above.

Before we wrap, quick common mistakes to avoid.

If your sub is stereo, it will feel impressive in headphones and disappear everywhere else. Keep it mono with Utility width at 0.
If you saturate too hard, the sub turns into fuzz and you lose the fundamental. Back the drive down and level-match.
If sidechain release is too long, you get that seasick pumping. Keep it in that 60 to 120 millisecond zone, then fine-tune by ear.
If you don’t high-pass around 20 to 30 Hz, you’re wasting headroom and your master will suffer.
And don’t do wild EQ boosts on a sub with automation. Your automation should be small and intentional: drive, ducking, tiny low-mid cuts, and controlled gain moves.

Mini practice, 15 minutes.

Build the sub track and chain exactly like we did.
Write a 2-bar pattern in F.
Arrange 16 bars: 8 bars break, 8 bars drop.
Automate Saturator Drive so the break is around plus 2 dB and the drop is around plus 5 dB.
Automate sidechain threshold so the break ducks less and the drop ducks more.
Automate that low-mid dip only during the busiest vocal phrase.
Then export a test bounce and listen on headphones and on laptop speakers. On the laptop you won’t hear 50 Hz, but you should still sense the bass because of the harmonics you added.

One last coach move: mono-check early. Even if your sub is mono, other tracks can throw low stereo energy into the mix and mask it. Every so often, put a Utility on the master temporarily, set width to 0, and confirm the kick still punches and the sub still reads.

Recap.

Operator gives you the pure oldskool sine or triangle foundation.
Your glue chain is EQ Eight, Saturator, Compressor, Glue Compressor, Utility.
Then sidechain compression at the end to carve space for the drums.
And automation is your control system: drive for intensity, sidechain amount for groove and clarity, tiny low-mid safety cuts for dense vocal moments, and Utility gain dips for drop impact and rewinds.

If you tell me your BPM, whether you’re doing break-heavy jungle or a cleaner 2-step roller, and what key you’re in, I can suggest a tight sub rhythm and a sidechain release target that locks perfectly to your groove.

mickeybeam

Go to drumbasscd.com for +100 drum and bass YouTube channels all in one place - tune in!

Generating PDF preview…