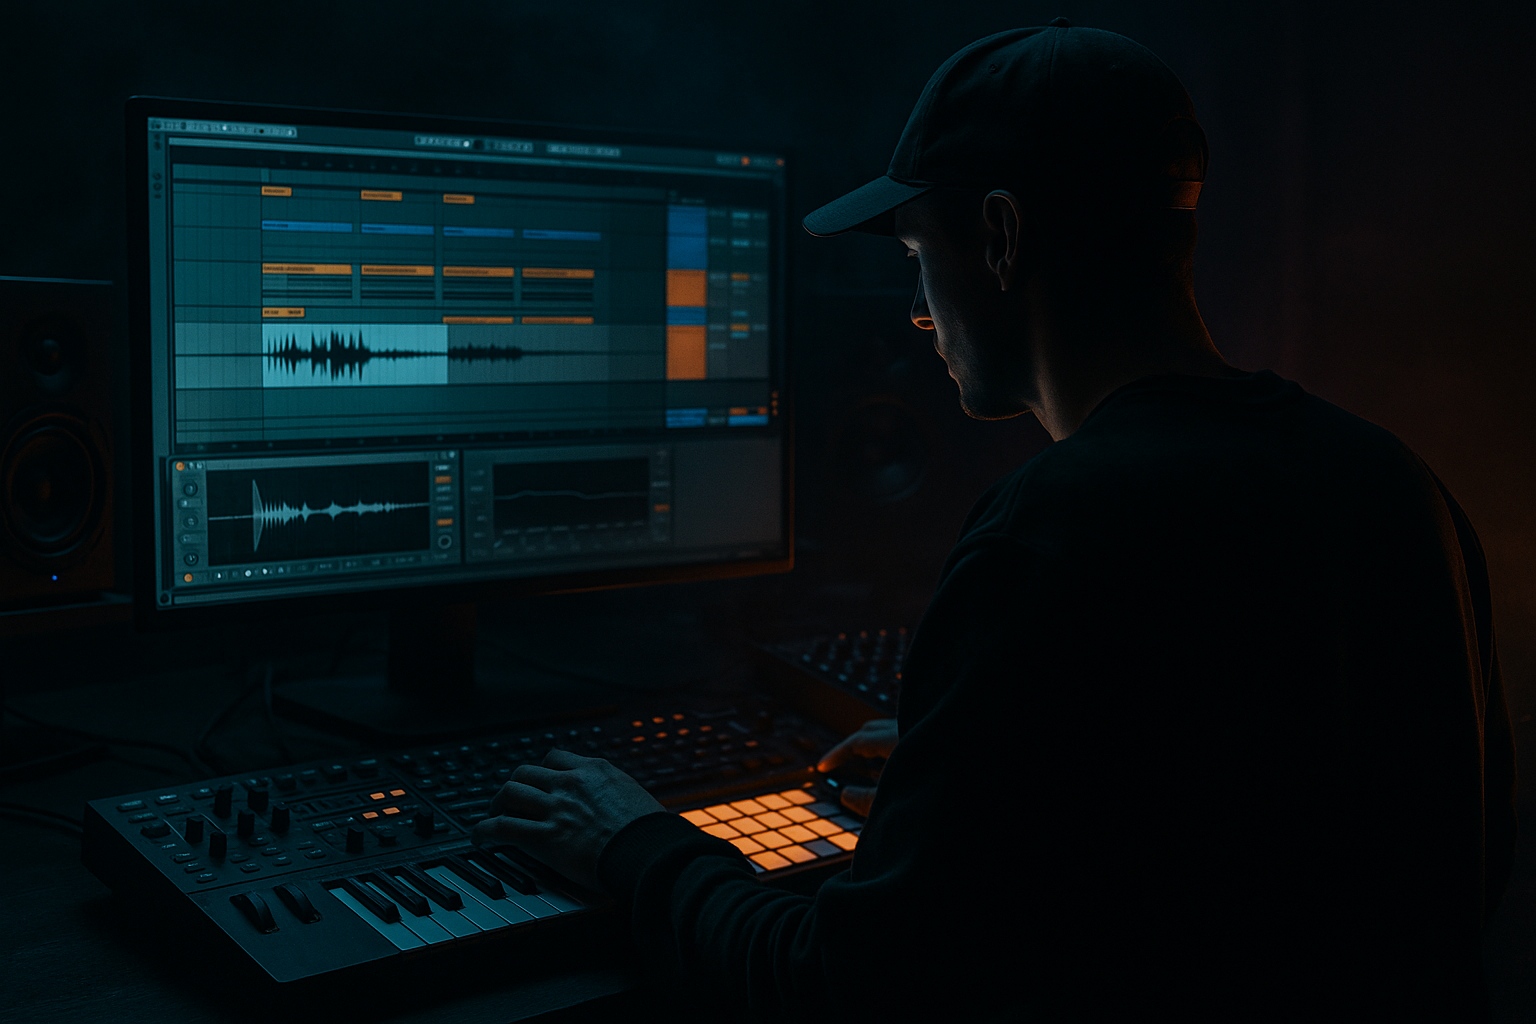
Main tutorial
```markdown
Glue a Drum Bus Using Groove Pool Tricks in Ableton Live 12 (Jungle / Oldskool DnB) 🥁⚡
1. Lesson overview
In jungle and oldskool DnB, the “glue” isn’t just compression—it’s micro‑timing and swing. Ableton Live’s Groove Pool can make your breaks, hats, rides, and ghost snares feel like they’re being played by the same drummer, even if they come from different samples.
In this lesson you’ll learn how to:
- Use the Groove Pool to create shared feel across a drum bus
- Push/pull key hits (kick/snare) while keeping the loop rolling
- Combine groove with a simple stock Ableton drum bus chain for that classic “togetherness”
- A chopped break (Amen-style) for character
- Clean kick + snare reinforcement for weight
- Hats/perc for movement
- All unified by one main groove applied intelligently (not “slapped on everything”)
- Duplicate the clip to get an 8-bar drum phrase, then later add fills at bar 8/16.
- Timing (push/pull)
- Velocity pattern
- Random feel (depending on source)
- Use the groove extracted from the break as the master groove.
- Apply it to your one-shots and hats so they “play like the break.”
- In Groove Pool, load a built-in groove (click Hot-Swap on the groove):
- This gives cleaner consistency, less chaos.
- Timing: 15–30% (start 20%)
- Velocity: 0–15% (start 5%)
- Random: 0–5% (start 2%)
- Base: leave default (usually 1/16)
- Apply the same groove to the hats clip.
- Try:
- If your break is already perfect: don’t apply additional groove.
- If you want it to match a different master groove (e.g., MPC swing):
- Keep it uncommitted while arranging so you can tweak feel live.
- You’re printing stems
- You want to resample/flatten the break
- You’re doing detailed edits and want fixed timing
- Keep groove “live” during writing.
- Commit only before final mixdown.
- Bars 1–8 (Intro):
- Bars 9–16 (Pre-drop):
- Bars 17–32 (Drop):
- Use groove to make ghost snares talk
- Parallel distortion on drums
- Tighter low end: keep sub straight
- Break layering trick
- Resample your grooved drum bus
- Jungle “glue” is shared timing feel, not just compression.
- Extract Groove from a break, then apply it across layers intelligently.
- Keep groove subtle on anchors, stronger on hats/ghosts.
- Finish with a clean stock chain: EQ Eight → Drum Buss → Glue Compressor.
- Keep groove uncommitted until your arrangement locks.
Beginner-friendly, but rooted in proper DnB workflow.
---
2. What you will build
A classic jungle drum bus (break + one-shots) that feels tight and glued:
End result: rolling, oldskool swing without the loop sounding drunk.
---
3. Step-by-step walkthrough
Step 0 — Session setup (DnB-friendly defaults)
1. Set tempo to 170–174 BPM (start at 172 BPM).
2. Create tracks:
- Audio 1: `BREAK`
- MIDI 1: `KICK+SNARE` (Drum Rack)
- MIDI 2: `HATS/PERC` (Drum Rack)
3. Group them: select all → Cmd/Ctrl+G → name group DRUM BUS.
> Goal: you’ll apply groove in a controlled way across these layers.
---
Step 1 — Load and prep a break like a jungle producer
1. Drag a break (Amen / Think / Funky Drummer vibe) into `BREAK`.
2. In the Clip View:
- Turn Warp: ON
- Warp mode: Complex Pro (safe for breaks)
- If it gets phasey, try Complex instead.
3. Click Warp From Here (Straight) if needed to align bar 1.
4. Set Clip Loop to 1 bar or 2 bars (jungle often loves 2-bar phrases).
Quick vibe move:
---
Step 2 — Extract groove from the break (this is the secret sauce) 🧪
1. Right-click the break clip → Extract Groove.
2. Open the Groove Pool (hotkey: Shift + Cmd/Ctrl + G).
3. You’ll see a new groove like: `Breakname 16` (varies)
This extracted groove contains:
---
Step 3 — Choose a “master groove” strategy (oldskool logic)
You have two solid options:
#### Option A (most junglist): Break = master feel
#### Option B (tighter modern rolling): MPC-ish swing as master
- Try MPC 16 Swing 57–62
- Or SP1200-ish swings if you see them
For oldskool jungle vibes, start with Option A.
---
Step 4 — Apply groove to the right clips (not everything!)
#### 4A) Apply groove to `KICK+SNARE` (but keep it controlled)
1. Program a simple 2-step DnB pattern:
- Kick on 1
- Snare on 2 and 4
2. Select the MIDI clip → in Clip View find Groove chooser → select your extracted groove.
Now set groove parameters (in Groove Pool):
Why so low? In DnB, kick and snare are the anchors. Too much timing swing = floppy drops.
#### 4B) Apply groove more strongly to `HATS/PERC`
Hats and ghost notes are where groove shines.
- Timing: 35–60% (start 45%)
- Velocity: 10–25% (start 15%)
- Random: 3–10% (start 6%)
This creates the “rolling” motion without messing up the backbeat.
#### 4C) Apply groove to the break (optional)
This sounds weird, but can be useful:
- Apply the MPC groove to the break at 10–25% Timing.
- This subtly reshapes the break without destroying it.
---
Step 5 — Commit the groove at the right time (and when NOT to)
In Groove Pool, you’ll see Commit.
Do NOT commit immediately.
Commit when:
Workflow tip (very DnB):
---
Step 6 — Glue it further with a simple stock Drum Bus chain 🔥
Groove gets the band playing together. Now we make it hit like a record.
On the DRUM BUS group, try this chain (stock devices):
1. EQ Eight
- HPF at 25–35 Hz (clean sub rumble)
- Small dip 250–400 Hz if boxy (–2 to –4 dB)
2. Drum Buss
- Drive: 5–15% (start 8%)
- Crunch: 0–10% (start 4%)
- Damp: around 10–20 kHz if too bright
- Boom: 0–20% (careful—breaks can get flabby)
- Transients:
- If too spiky: -5 to -15
- If too soft: +5 to +15
3. Glue Compressor
- Attack: 3 ms (classic snap)
- Release: Auto
- Ratio: 2:1
- Aim for 1–3 dB gain reduction on loud hits
- Soft Clip: ON (nice for jungle drums)
4. Utility
- If needed, reduce gain -1 to -3 dB to avoid clipping later.
This chain + groove = “cohesive” without killing punch.
---
Step 7 — Arrangement ideas (oldskool energy)
Here’s a practical 32-bar sketch:
- Break filtered (Auto Filter LP)
- Hats/pperc groove prominent
- Add kick+snare reinforcement
- Add a little snare rush at bar 16 (1/32 or triplet feel)
- Full drums + bass
- At bar 25, swap to a variation of the break (slice/rearrange)
- At bar 32, add a classic stop/start (1 beat silence)
Groove makes these transitions feel intentional rather than robotic.
---
4. Common mistakes
1. Grooving the kick/snare too much
- Your drop will feel late and weak. Keep Timing low on anchors.
2. Using Random like it’s “humanize magic”
- Too much Random = messy jungle, not rolling jungle. Keep it subtle.
3. Forgetting to apply the same groove across layers
- Break swings one way, hats another, one-shots straight = “flam city.”
4. Committing too early
- You lose flexibility. Keep it live until your arrangement is stable.
5. Over-compressing to “glue”
- If the feel is wrong, compression won’t fix it. Groove first, then Glue.
---
5. Pro tips for darker/heavier DnB 🖤
- Program low-velocity ghost notes between 2 and 4.
- Apply groove with higher Velocity influence on the ghost layer only.
- Create a return track with Saturator (Drive 6–12 dB) + EQ Eight (cut lows below 120 Hz)
- Send break/snare into it lightly (10–25%) for gritty 90s bite.
- Don’t groove your sub-bass MIDI. Let drums swing, let sub stay locked.
- Layer a clean top break (HPF ~200 Hz) with a punchy kick/snare.
- Apply the same groove to both so they feel like one loop.
- Print 8 bars of drums to audio, then chop/retrigger for classic hardware vibe.
---
6. Mini practice exercise (10 minutes) ⏱️
1. Load a 2-bar break and extract groove.
2. Program:
- Kick on 1
- Snare on 2 & 4
- 1/8 hats + a few offbeat shakers
3. Apply the extracted groove:
- Kick/snare Timing 20%
- Hats Timing 50%
4. A/B test:
- Toggle groove on/off in each clip
- Listen for: roll, cohesion, less stiffness
5. Add Drum Buss + Glue Compressor on the drum group and aim for:
- Drum Buss Drive 8%
- Glue GR 2 dB
If it starts to feel late: reduce Timing on kick/snare first.
---
7. Recap
If you want, tell me what kind of break you’re using (Amen/Think/other) and whether you’re going for ragga jump-up or dark roller, and I’ll suggest specific groove percentages and a matching drum bus chain.
```

