Show spoken script
Welcome back. This is an advanced Ableton Live 12 drum and bass drums lesson, and we’re going deep on ghost kick placement from scratch using only stock packs and devices.
Quick mindset shift before we touch anything: ghost kicks are not “extra kicks.” They’re micro-accents. They’re there to make the groove feel like it’s rolling forward, to glue the kick and bass together, and to make the snare feel inevitable. If someone listening can point at the ghost and say “oh, that’s another kick,” it’s too loud, too subby, or too long.
Alright, let’s build a system you can reuse in every project.
First, set your tempo. Put it somewhere in the drum and bass pocket: 172 to 176 BPM. I’ll sit at 174.
Now go to the Groove Pool. Pick a groove that matches your lane. If you’re doing modern rollers, you want subtle swing: low timing, low random. If you’re leaning jungle, choose something with a bit more shuffle. But don’t apply it yet. For now, keep your MIDI quantized to a straight sixteenth grid. Advanced rule: don’t start by nudging notes randomly. We’re going to earn the feel with intention.
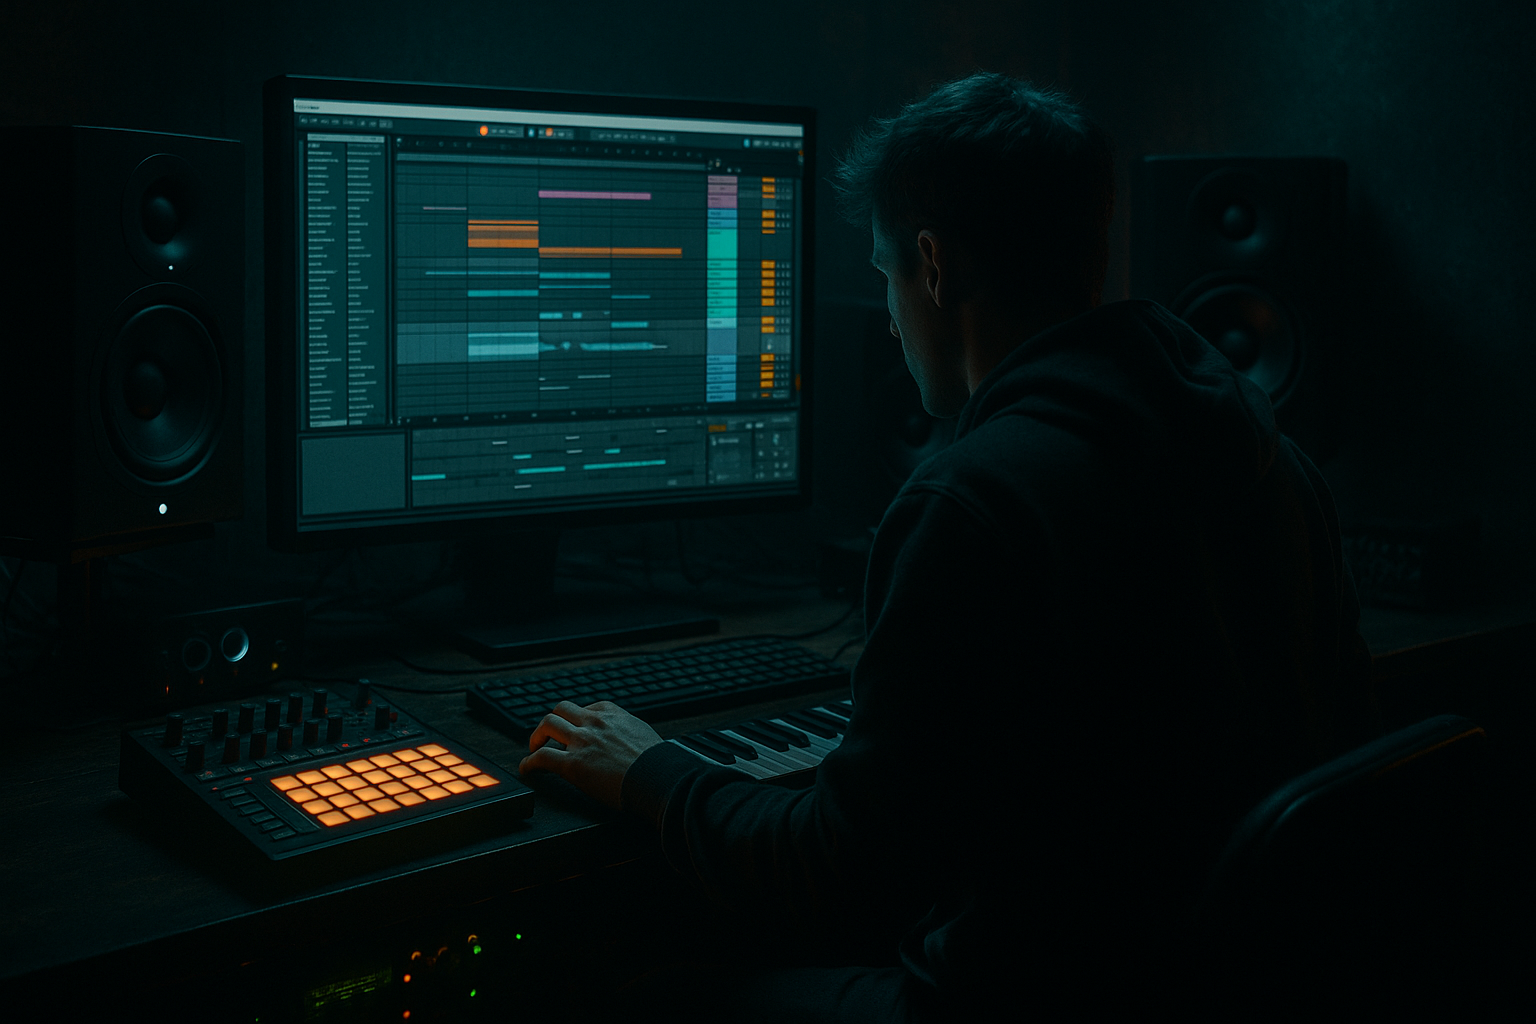
Create a new MIDI track and drop a Drum Rack on it. Name this track KICK RACK.
Slot one is your main kick. Use a stock kick from Live’s library that has a clear click and a short low tail. Short tail matters because your bass needs room, and in DnB the bass is not a guest, it’s a co-lead. Your main kick’s job is weight and a reliable transient.
Slot two is your ghost kick. You can duplicate the main kick to start, or pick a different one. A lot of the time, the best ghost is more thuddy or papery, with less sub. Or you can go the opposite direction: a clicky kick that you’ll filter so it lives above the low end. Rename this pad GHOST.
Now let’s build the ghost chain, stock devices only, inside the GHOST pad.
First device: EQ Eight. High-pass it. Start around 60 to 90 Hz with a steep slope, like 24 dB per octave. If you’re making heavier or denser DnB, push that higher than you think. 100 to 150 Hz is totally normal when the sub is dominant. The goal is for this ghost to stop being a low-end event and start being a rhythmic cue.
While you’re here, do a quick honesty move: if it still feels like it’s adding weight down low, the filter is too low, or the sample has too much tail. And if the low-mids get cloudy, dip a little around 120 to 200 Hz. If you need a tiny bit more tick, a gentle boost around 2 to 5 kHz can help, but don’t force it. We’re not trying to turn this into a snare.
Next device: Drum Buss. We’re going to make the ghost speak without making it big. Drive somewhere around 2 to 8 percent. Keep it restrained. Turn Transients up, maybe plus 10 up to plus 35. That’s a big part of the trick: ghosts should be transient-forward, not tail-forward. Boom is usually off for ghost kicks. If you turn Boom on, you risk reintroducing the low-end problem you just solved. Damp to taste so it stays tight.
Next: Saturator. Soft Sine or Analog Clip both work. Drive maybe 1 to 4 dB, and then level match with the output. Level matching is non-negotiable here. If you don’t level match, you’ll think you made it better when you just made it louder.
Last: Utility. Set Width to 0 percent. Mono discipline. The center is where punch lives. If you want stereo interest later, we’ll do it as a parallel “tick” layer above a couple kilohertz, not in the core.
So that’s our ghost instrument: filtered, transient-shaped, saturated, mono, and controlled. Audible as movement, not audible as a second kick.
Now let’s program context: the backbone.
Make a one-bar loop. Put a snare on beats 2 and 4. Classic. For the main kick, start simple: kick on 1. If you want a slightly busier two-step, you can add another kick on the “and” after 2, but let’s not complicate it yet. Ghost kicks work best when the foundation is stable.
Now we get into placement. Set the MIDI grid to sixteenths. Keep thirty-seconds available for later, but do not jump to micro-grid obsession too early.
Here’s the first placement concept, and it’s a roller staple: the pre-snare push.
Place a ghost kick one sixteenth before the snare. That means just before beat 2, and just before beat 4. In Ableton’s bar.beat.sixteenth language, you’re aiming for 1.4 before the snare on 2, and 3.4 before the snare on 4. If you don’t think in those numbers, just remember: last sixteenth of the beat right before the snare.
Why it works: you’re building a ramp. The listener doesn’t register “extra kick,” they register momentum. This is the ghost kick doing job number one: snare setup.
Set ghost velocity low. Start around 15 to 35, while your main kick might be around 95 to 115. A good starting point is main kick at 105, pre-snare ghost at about 22. Quiet, but intentional.
Second placement concept: between the kick and snare glue.
If your main kick is on 1, put one ghost either on 1.2 or 1.3. That’s the “e” of one, or the “and” of one. Use only one at first. This ghost is doing job number two: subdivision anchor. It makes the sixteenth-note grid feel inevitable, even if you’re not actually filling the grid.
Teacher tip: when you add this in-between ghost, make it weaker than your pre-snare ghost. Because anything that lands after a big event can accidentally feel like a new downbeat. So if your pre-snare is 22, try the in-between at 16.
Third concept: call-and-response with bass stabs.
This one is huge in neuro and tech rollers. If your bass has a stab on the “and” of 1 or the “and” of 3, place a ghost kick one sixteenth before that bass stab. It’s like underlining the bass rhythm with a pencil, but the pencil is a kick transient. On small speakers, that transient can make the bass rhythm readable without turning the bass up.
Fourth concept, jungle-leaning skip, and use it sparingly.
Place a tiny ghost right after the snare, like 2.3, or similarly 4.3. Very low velocity. This suggests breakbeat motion inside a two-step framework. But be careful: if your bass is already heavy right after the snare, this can clutter the moment. Use it when there’s space.
Now let’s talk about the part that separates “I added ghost notes” from “this rolls like a record”: velocity curves and micro-timing.
Velocity is not just loudness. Velocity is groove design.
Think of ghost velocity as a curve across the bar. Ghosts that point toward a major event can be a little stronger. Ghosts that land after a major event should be weaker. So your pre-snare ghosts can be your strongest ghosts, and anything right after the snare should be almost a whisper.
Now note length: keep ghost notes short in MIDI. In one-shot samples it may not change the sound, but it keeps your editing clean and your intentions clear.
Micro-timing comes last. Only after velocities are right.
Apply your Groove from the Groove Pool to the clip at about 10 to 25 percent. Start at 15 percent. Listen. If it suddenly feels drunk, your groove amount is too high. Controlled is the word.
If you want to micro-nudge manually, do it in milliseconds, not huge grid jumps.
Try this: nudge the pre-snare ghosts slightly late, about 3 to 8 milliseconds. That creates a heavier “drag” into the snare. Then, if you’re using an in-between ghost, you can nudge it slightly early, maybe 2 to 6 milliseconds, to create urgency.
And a big warning here: separate “feel” from “flam.” If you hear an obvious double-hit, that’s not vibe. That’s a flam. Either your timing move is too big, or the sample transient is too soft and long. Before you nudge more, tighten the sample.
Do that in Simpler. Move the Start point forward just a tiny bit until the click is immediate. Shorten Decay so the ghost occupies less time. The ghost should be a cue, not a mini kick performance.
Now let’s make sure the bass relationship is clean, because this is where a lot of people accidentally destroy their own groove.
Option one, and usually the best: sidechain the bass from the main kick only. Not the whole kick rack. Not the ghost layer. On your bass group, put a Compressor, enable Sidechain, and choose the main kick pad or the main kick track as the input. Ratio around 4 to 1. Attack 2 to 10 milliseconds. Release 60 to 140 milliseconds, timed so it breathes with the tempo. Set threshold so you get about 2 to 5 dB of gain reduction on main kick hits.
That way your bass ducks for the real kick, but it doesn’t pump every time a ghost whispers.
Option two: because we high-passed the ghost, it can live above the bass without heavy ducking. That’s the whole point of the ghost chain we built.
Now, advanced sound design options, still stock, if you want the ghost to translate on small speakers.
You can make a mid-only ghost that never fights the sub. High-pass at 100 to 150, then after saturation add another EQ Eight and cut where your bass speaks most. Often that’s 180 to 280 Hz, or sometimes 400 to 700 depending on your patch. Now your ghost is basically a rhythmic mid marker.
And if you want more definition without turning the ghost up, create a parallel tick channel. Use a return track with EQ Eight band-pass around 1.5 to 7 kHz, then Saturator, then Drum Buss with transients up. Send only the ghost to it, and keep the send super low. Presence, not volume.
One more pro move: if your pre-snare ghost is stepping on your snare crack, add a Compressor on the ghost chain sidechained from the snare. Fast attack, short release, tiny gain reduction. Think tuck, not pump. The ghost still pushes into the snare, but the snare wins the moment every time.
Now arrangement, because ghost kicks are not just loop seasoning. They’re energy control.
Here’s a simple 16-bar plan.
Bars 1 through 4: minimal. Maybe only the pre-snare ghost going into beat 2.
Bars 5 through 8: add the pre-snare ghost going into beat 4 as well.
Bars 9 through 12: add one in-between ghost, like 1.2.
Bars 13 through 16: raise ghost velocities by 5 to 10, and maybe automate a tiny bit more saturation or transient. Subtle. You’re building pressure.
Then here’s a classic impact trick: one bar before the drop, strip the ghosts down hard. Either mute them or slam the velocities down. First bar of the drop, bring them back at normal level. That contrast makes the groove feel bigger without touching the kick or snare.
Now do quick mix checks. Fast but critical.
Mono check: throw a Utility on the drum bus and set width to zero temporarily. Your groove should not fall apart. Ghost core should already be mono, so this should feel stable.
Low-end check: toggle the ghost chain on and off. If your sub changes, you have too much low in the ghost. Raise the high-pass, shorten the tail, or choose a different sample.
Transient clarity check: if the ghost blurs the main kick transient, lower the ghost velocity, increase Drum Buss Transients a bit, and tighten the sample in Simpler with Start and Decay.
Now I want you to do a 15-minute practice run, because this locks it in.
Build a two-step: main kick on 1, snare on 2 and 4.
Add ghosts at 1.4 and 3.4, pre-snare. Add one in-between at 1.2.
Set velocities: main kick 105. Pre-snare ghosts 22. In-between ghost 16.
Apply your Groove at 15 percent.
Nudge only the pre-snare ghosts 5 milliseconds late.
Then A/B test three ways: ghost chain on and off, groove on and off, and pre-snare ghosts muted and unmuted.
Your win condition is specific: with ghosts on, the loop leans forward and the snare feels more inevitable, but it never sounds like you added another kick pattern.
Before we wrap, here are the mistakes to avoid, the ones that even advanced producers still slip into.
Ghosts too loud. If you notice them as kicks, they’re not ghosts. Drop velocity, high-pass more, shorten decay.
Stacking sub energy. If your ghost has low tail, it will smear with bass and main kick, and you’ll lose punch.
Over-randomized groove. Too much groove amount makes rollers feel sloppy. Controlled swing, not chaos.
Ghosts triggering bass ducking. Sidechain from the main kick only, unless you intentionally want ghost pumping, which is rare in this style.
And too many ghosts everywhere. Movement needs contrast. Leave pockets empty so the ghosts that remain actually mean something.
Final coach note: decide what the ghost is for before you place it. Snare setup, subdivision anchor, or bass translator. Pick one per section. That’s how you avoid over-feeding the grid and ending up with busy drums that don’t actually roll.
If you want to take it further, build three different ghost engines using the same main kick and snare: one that’s purely a snare magnet, one that anchors subdivision, and one that mirrors your bass rhythm. Then pick the best one by translation: low playback volume and a small speaker test. Not by solo.
That’s the full system: separate ghost layer, disciplined processing, intentional placement, velocity-first groove design, millisecond timing, and arrangement control.
If you tell me what sub style you’re making, liquid roller, neuro, or jungle, and whether your main kick is short punch or longer boom, I can suggest two or three precise ghost patterns that fit your bass phrasing and show you what to remove for maximum roll.