Main tutorial
Lesson Overview
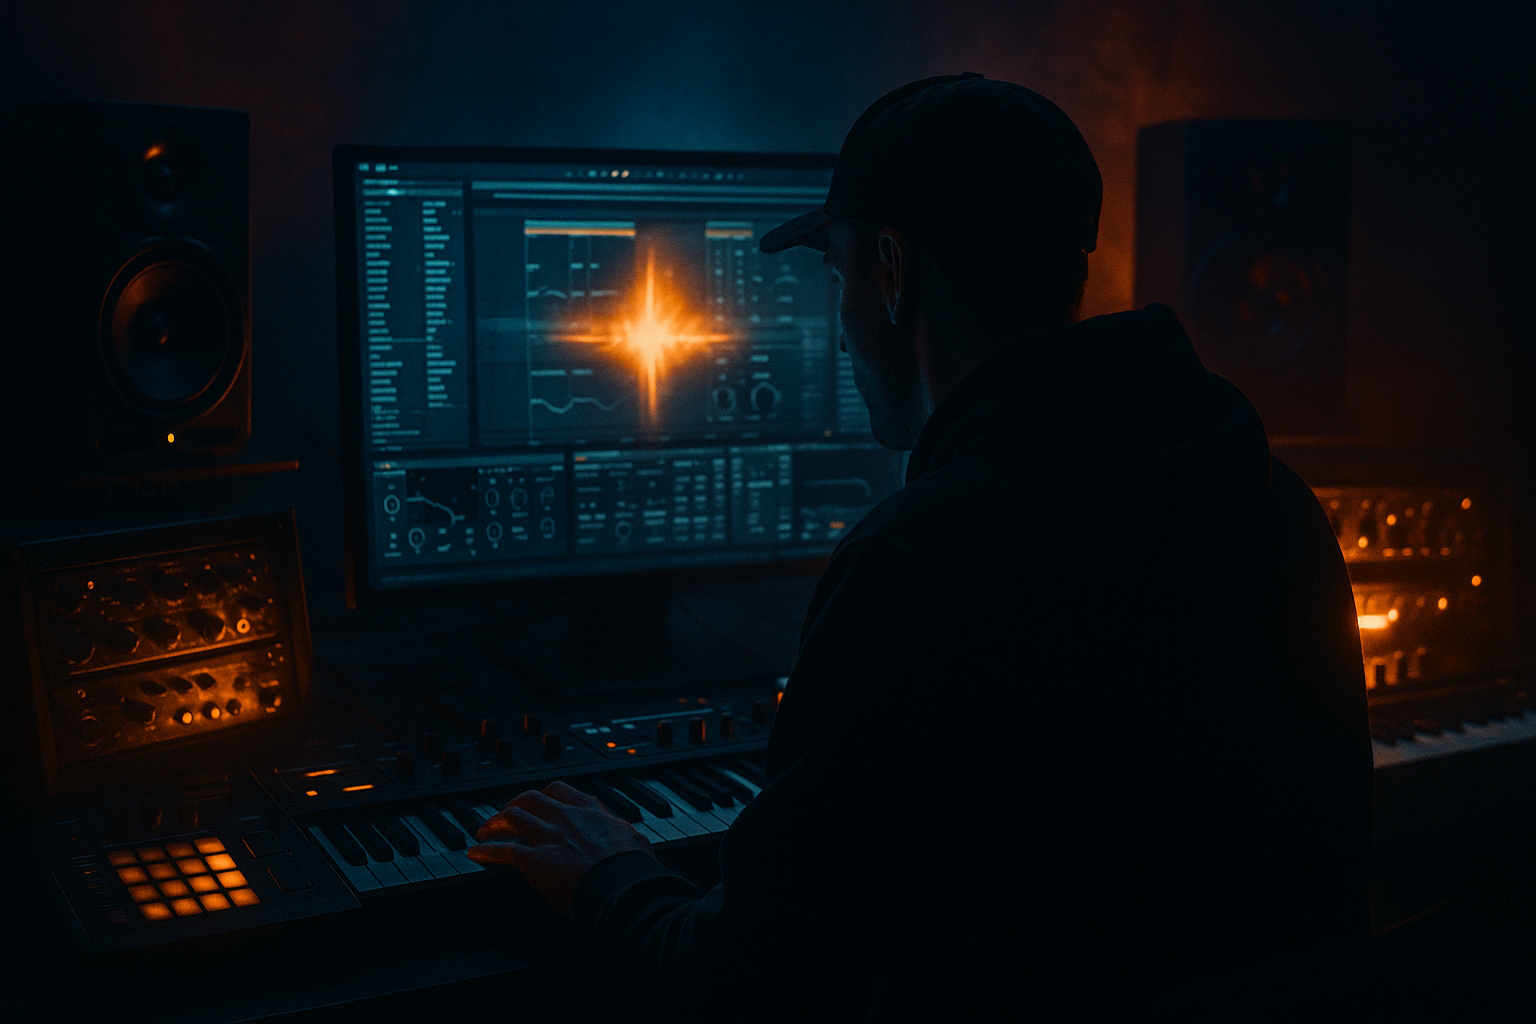
In this lesson you’ll build a ghosted Amen-style mid bass with a crunchy sampler texture in Ableton Live 12, designed for dark Drum & Bass / jungle / rollers energy. The focus is on creating a bass line that feels like it “haunts” the groove rather than constantly shouting over it: short calls, muted answers, gritty movement, and automated texture changes that keep the drop evolving.
This technique matters because a lot of heavyweight DnB basslines are not full-volume all the time. The best ones leave space for the breakbeat, sub, and drum edits to breathe while still creating tension. A ghosted mid bass can sit behind the Amen, accent certain kicks/snares, and then bloom into a more aggressive phrase at key moments. In a 16-bar drop, that contrast is everything.
We’ll use stock Ableton devices and a workflow that makes sense in a real studio session:
- Wavetable or Operator for the bass source
- Drum Rack / Simpler for crunchy sample texture
- Saturator, Auto Filter, Frequency Shifter, Utility, EQ Eight, Glue Compressor, Envelope Follower, and automation lanes
- A route that keeps sub clean, mid bass controlled, and texture noisy but manageable
- sits around the low-mid / mid-bass region with a dirty, crunchy edge
- ducks out of the way of the snare and break hits
- uses automation to “appear” and “disappear” for tension
- contains a sample-based texture layer that adds bite, dust, and mechanical movement
- works as a roller-style phrase, or as a darker Amen/jungle hybrid bass behind a chopped break
- stays mono-compatible in the low end with controlled stereo only in the upper texture
- Use a 2-bar loop
- Keep the break fairly busy, but leave one or two snare-led gaps where the bass can speak
- If your break is over-edited, simplify first so the bass has room
- Call: bass on beat 1 or the “&” before 2
- Response: a short ghost note after the snare
- Leave silence where the break is busiest
- Oscillator 1: Saw or a rich analog-style wave
- Oscillator 2: optional, detuned slightly or turned off if you want a cleaner core
- Unison: keep it modest, around 2–4 voices
- Detune: subtle, roughly 5–15%
- Filter: Low-pass 24 dB or a character filter with a bit of drive
- Envelope: short amp envelope with fast attack, short decay, low sustain, short release
- Notes should be short and punchy
- Don’t hold long notes yet
- Use a MIDI pattern with rests so the bass feels ghosted instead of constant
- Bar 1: note on beat 1, short rest, second note on the “&” of 2
- Bar 2: pickup note before beat 1, then a low stab on beat 3
- Repeat with a small variation every 4 bars
- Short notes for the “ghost” feel
- One slightly longer note at the end of the phrase to create a mini-release
- Try note lengths around 1/16 to 1/8, with the occasional longer held note only if the arrangement needs it
- a chopped break fragment
- a noisy vinyl hit
- a short metallic stab
- a resampled bass grunt
- a dusty percussion one-shot
- Start/End: trim tightly so it doesn’t clutter
- Warp: off for one-shots, on if you need timing control
- Filter: low-pass or band-pass to focus the gritty edge
- Volume envelope: short decay for a percussive “crunch”
- Transpose: move it until it sits in a useful midrange register
- Saturator: Drive around 3–8 dB, Soft Clip on
- Auto Filter: band-pass or low-pass for motion
- EQ Eight: cut unnecessary lows below roughly 120 Hz
- Optional Redux very lightly if you want more digital bite, but use carefully
- Keep the main bass track focused on the core tone
- Use a second texture layer for grit and highs
- On the texture layer, high-pass aggressively enough that the sub is not doubled
- On the main bass, protect the sub region and keep it mono
- Utility: Width at 0% or close to it for the low layer
- EQ Eight: gentle cleanup if needed, especially around muddy low-mids
- Saturator: a small amount for harmonics, not destruction
- Glue Compressor: subtle, maybe 1–2 dB of gain reduction if it helps glue the phrase
- Sub layer: low-passed, mono, very controlled
- Mid layer: high-passed above the sub region, with more distortion and movement
- Auto Filter cutoff
- Saturator drive
- Wavetable filter position
- Volume of the texture layer
- Utility gain on the mid layer
- Optional Frequency Shifter amount for tiny movement
- Keep the bass darker and more muted in the first half of the phrase
- Open the filter slightly before a snare accent or phrase change
- Increase saturation only on the second hit of a call-and-response
- Pull the texture down for one beat, then let it flare back up
- Automate a tiny volume lift, about 1–2 dB, on the ghost note that answers the break
- Auto Filter cutoff: move between roughly 150 Hz and 1.5 kHz depending on how wide the sound should feel
- Saturator drive: automate within 0 to 6 dB for subtle movement, or higher if the texture track is separate and controlled
- Utility gain: small adjustments of -3 to +2 dB are often enough
- Auto Filter with subtle envelope changes or slow cutoff automation
- Frequency Shifter in fine mode, moving only a tiny amount for metallic instability
- Chorus-Ensemble at very low depth if you want width only in the mid/high grit
- Grain Delay can work, but use sparingly; it can quickly get too stylized for a practical roller
- Put Auto Pan on the texture layer set to a slow rate for micro-motion
- Then automate its amount so it’s stronger in transitions and lower during dense drum sections
- Sidechain from the main drum bus or snare group
- Fast attack, medium release
- Aim for only 1–3 dB of reduction on the mid bass, more if the pattern is dense
- Shorten note lengths before strong break hits
- Let a ghost note rise after the snare instead of on top of it
- Use silence as a transient tool
- Bars 1–4: muted ghost phrase, minimal automation
- Bars 5–8: open the filter slightly, increase texture activity
- Bars 9–12: introduce a variation with one higher note or a small pitch jump
- Bars 13–16: strip the bass back, then hit a stronger version into the next section
- In a roller section, keep the bass sparse and forward-moving, with subtle automation
- In a darker neuro-leaning intro to the drop, use more filtering and harsher texture, then let the full ghost phrase land on bar 9 or bar 13
- A one-bar drum fill before the bass variation
- A filtered break turnaround
- A short riser or noise lift before the stronger phrase
- DJ-friendly intros/outros if you want it to mix well in a set
- Utility on the bass group for mono checks
- EQ Eight to remove muddy overlap if the break and bass are crowding the same area
- Spectrum to confirm where the energy is living
- Reference against a dark DnB tune to judge bass-to-drum balance
- The sub should stay centered and stable
- The crunchy texture should not dominate the snare
- The bass should feel loud even when its RMS isn’t huge, because the rhythm is doing the heavy lifting
- If harshness appears around the upper mids, reduce distortion or automate the filter slightly lower in busy sections
- Making the bass too constant
- Letting the texture layer carry too much low end
- Overdistorting everything
- Ignoring the Amen break
- Too much stereo width in the low-mid
- Automation that changes too wildly
- Use resampling: print your bass with automation into audio, then chop the best moments into new phrases. This often sounds more “real” than endless MIDI tweaking.
- Layer a tiny reverse texture before the bass hit for tension, especially at the end of 4- or 8-bar phrases.
- Automate filter resonance very carefully on the texture layer to create bite before a transition.
- For extra underground grit, add a very subtle vinyl-noise or break residue layer under the phrase and automate it up only in fills.
- If the bass feels polite, try a second pass of Saturator into EQ Eight into Saturator on the texture track rather than brute-force clipping everything.
- For heavier rollers, use shorter bass notes with more aggressive rhythmic placement instead of simply making the patch bigger.
- If the drop needs more pressure, automate the mid bass to open only on select notes, so the reveal feels stronger when it happens.
- Keep a “clean version” of the bass group and a “dirty version” on separate tracks. You’ll make arrangement decisions faster.
The goal is not just a sound — it’s a usable drop component that can be automated, arranged, and repeated across a full track without getting boring. 🎛️
What You Will Build
By the end, you’ll have a ghosted mid-bass phrase that:
Musically, imagine a 174 BPM drop where the Amen loop is chopping hard, the sub is holding the foundation, and this bass plays 2-bar answer phrases: a short growl on beat 1, a muted tail into beat 3, then a ghosted pickup into the next bar. The texture layer spits and crackles like an overdriven sampler, giving it that worn-tape, warehouse-system character.
Step-by-Step Walkthrough
1) Set up the drop context and lock the rhythm first
Start with a 174 BPM project, because the phrasing and energy will immediately feel like DnB rather than just “fast bass music.” Place an Amen break or Amen-style break edit on an audio track and get the groove moving before you design the bass. The bass should respond to the drums, not fight them.
A practical starting point:
For this lesson, think in call-and-response:
Why this works in DnB: the Amen already contains a lot of midrange motion, so a mid bass that “ghosts” in and out creates density without masking the break. That contrast is one reason darker rollers feel powerful.
2) Build the main bass source with Wavetable or Operator
Create a MIDI track and load Wavetable. Choose a simple source that will take distortion well.
A strong starting patch:
Suggested bass behavior:
If you prefer Operator, use a simple sine or saw-based FM-ish patch, then add saturation later. Operator can be great for a more focused mid bass because it stays disciplined in the low end.
Workflow choice: keep this first patch dry and simple. The character will come from automation and texture layers, not from an overcomplicated source.
3) Shape the bass into a ghosted phrase
Program a 2-bar MIDI bassline that interacts with the break. Start with just 3–5 notes per bar and leave space. In dark DnB, less can hit harder than a busy pattern.
A good example phrase concept:
Use note placement as part of the sound:
If the bass and break are colliding, move the bass phrase away from the snare tail. In DnB, the snare is often the anchor of the drop, so bass that ducks around it feels intentional and professional.
4) Add the crunchy sampler texture layer with Simpler or Drum Rack
Now create a second track for the texture. Load Simpler with a gritty sample:
Set Simpler to Classic mode for a one-shot texture, or Slice mode if you want rhythmic variation from a longer sample.
Good settings to try:
Then process it:
This texture layer should not sound like a separate instrument. It should feel like the bass is wearing a damaged sampler skin.
5) Split the low end from the texture
At this point, create a clean low-end separation so the bass stays powerful and the texture doesn’t wreck the mix.
A practical setup:
On the main bass chain:
If you want a more advanced workflow, duplicate the bass track and split it:
This makes automation easier later, because you can move the mid layer without upsetting the foundation.
6) Use automation to make the bass “ghost” in and out
This is the core of the lesson. The ghosted feel comes from automation, not just note programming.
Automate the following over 4, 8, or 16 bars:
Automation ideas:
Suggested range examples:
Why this works in DnB: the breakbeat already creates motion, so automation gives the bass a living, reacting quality without overcrowding the groove. It’s the difference between a loop and a drop that feels like it’s breathing.
7) Add movement and grime with modulation tools
Now make the texture sound less static. Add Auto Filter, Frequency Shifter, or even Chorus-Ensemble very lightly to the texture chain.
Good options:
A nice trick:
Keep the sub and main punch centered. Let the weirdness live in the upper harmonics only.
8) Glue the drum-bass relationship with sidechain and transient control
On the bass group, add Compressor or Glue Compressor sidechained from the kick/snare elements if needed. In Amen-driven DnB, the snare often needs breathing room more than the kick.
Try this:
If the bass loses punch, reduce the amount and lean more on note placement. The best sidechain in DnB is often rhythmic arrangement, not over-compression.
You can also use Transient shaping by arrangement:
9) Arrange it like a real drop, not a loop
Build the bass across a 16-bar section so it develops:
A good musical context example:
Add arrangement details:
10) Finish the mix with mono discipline and reference checks
Group the bass layers and check the mix in a disciplined way.
Use:
Important checks:
Common Mistakes
- Fix: remove notes. A ghosted bass needs space to feel intentional.
- Fix: high-pass it more aggressively and keep the sub on a separate, controlled layer.
- Fix: distort the mid layer, not the sub. Use saturation for harmonics, not chaos.
- Fix: program the bass around the snare and key break hits. Don’t treat drums and bass as separate worlds.
- Fix: keep the core bass mono and reserve width for higher texture only.
- Fix: smaller moves often sound more professional in DnB. Think 1–2 dB, not dramatic swings every bar.
Pro Tips for Darker / Heavier DnB
Mini Practice Exercise
Spend 10–20 minutes building a 2-bar ghost bass loop:
1. Load an Amen break and loop two bars at 174 BPM.
2. Create a Wavetable or Operator bass with a short envelope.
3. Write a sparse MIDI phrase with at least one silence before each snare.
4. Add a Simpler texture layer using a chopped break hit or noisy one-shot.
5. High-pass the texture and saturate it lightly.
6. Automate one filter cutoff movement across the 2 bars.
7. Automate the texture volume so it appears only on the phrase ending.
8. Toggle mono on the bass group and check the balance.
9. Duplicate the loop and make one variation with a different final note.
10. Export or resample the best 4 bars so you can revisit it later.
Goal: make the bass feel like it’s lurking inside the groove, not sitting on top of it.
Recap
The key to a ghosted Amen-style mid bass is space, contrast, and automation. Build a solid core bass, add a crunchy sampler texture, keep the sub clean, and automate filter, drive, and level so the bass appears and fades like part of the drum performance. In DnB, that relationship between the break and the bass is what makes the drop feel alive.

