Show spoken script
Title: FX Timing Around Backspin Style Reloads (Advanced)
Alright, let’s get into one of the most powerful arrangement weapons in drum and bass: the backspin-style reload.
Because a reload isn’t just “throw a backspin sample in and call it a day.” The real magic is FX timing. What happens right before the spin, what happens during the spin, and what happens on the exact moment you re-enter the drop.
If you nail those three zones, the reload feels physical, like a DJ actually grabbed the record. And the drop lands harder without you having to push loudness or crush your headroom.
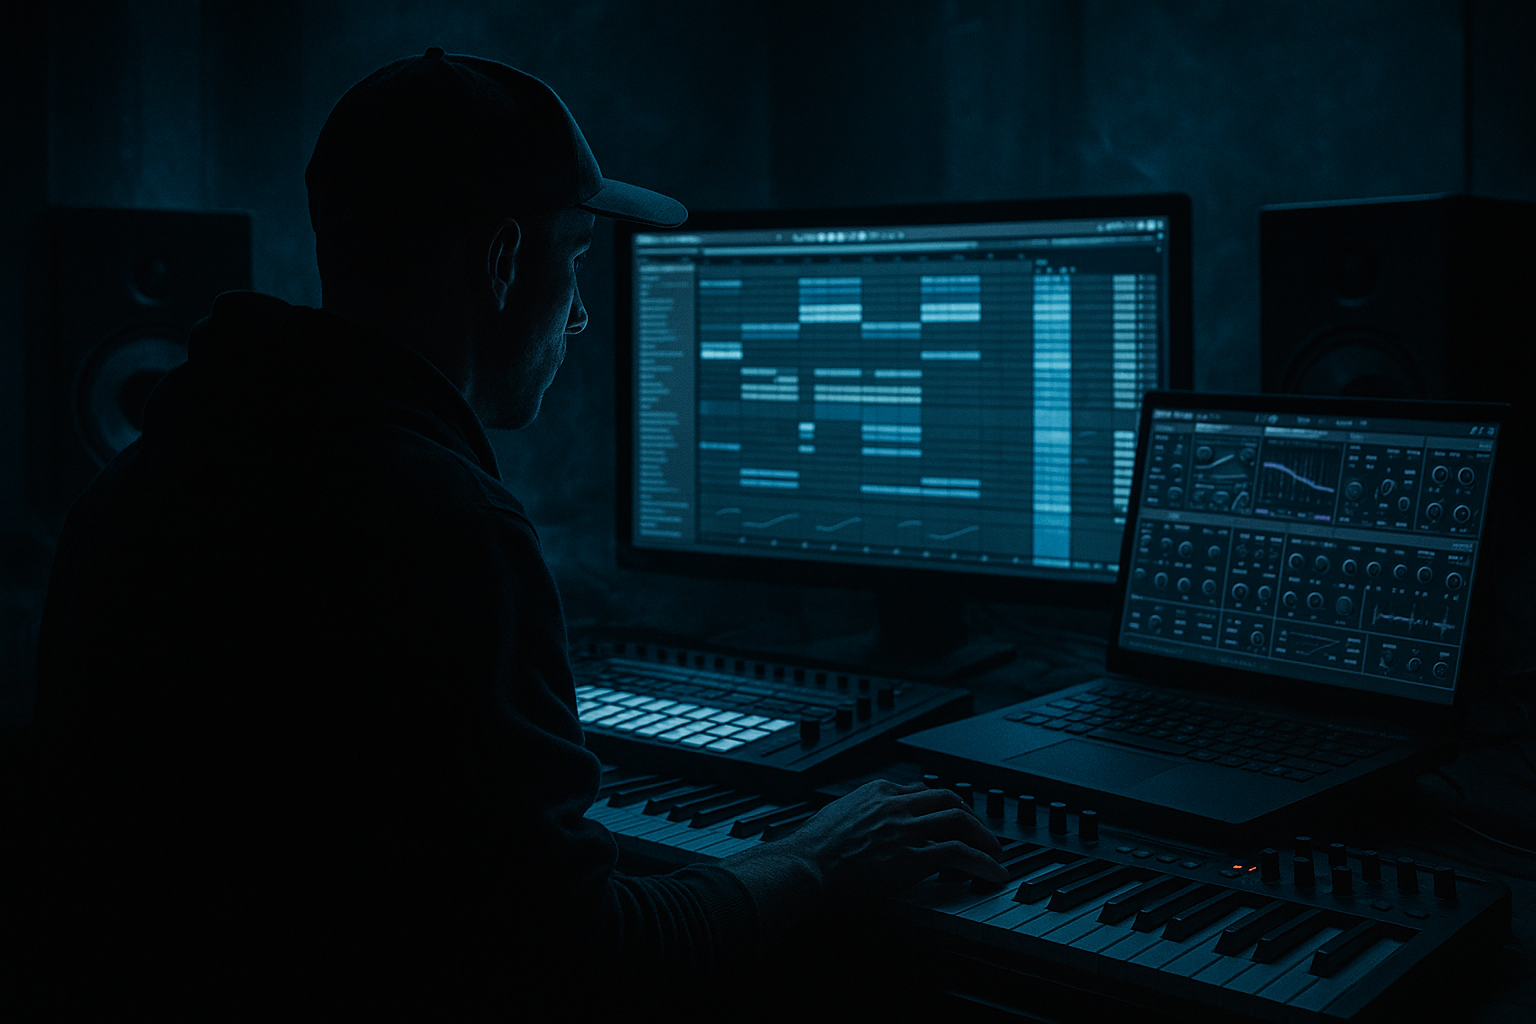
In this lesson we’re building a repeatable workflow in Ableton Live: you’ll make a “spin print” from your own music, shape it with warp and pitch behavior, then design a tight suction into the reload, a controlled bloom during it, and a clean, illegal-feeling downbeat on the other side.
First, a mindset thing. Think “gesture length” before you think FX.
Imagine the reload as a physical motion.
A quick wrist flick: that’s two beats or less. Minimal tail. Hard stop.
A full platter drag: that’s one bar. More pitch travel. Bigger room bloom.
That imagined motion tells you how long the pre-sweep should be, how dramatic the pitch move should feel, and how much tail you can get away with before it starts masking your drop.
Now step one: choose the musical placement on the grid.
In DnB, the classic is a one-bar reload right before the drop.
Modern rollers often use a half-bar reload, like two beats, for a tighter, more forward feel.
And if you want the big “MC moment” crowd-control vibe, you can stretch it to two bars, but that’s a different level of commitment and you need the arrangement to support it.
In Ableton, set your arrangement grid to sixteenth notes. Then set a loop brace around the bar leading into your reload so you can iterate fast. You want to be able to tweak automation and immediately hear whether the downbeat got better or worse.
Now, the key move: don’t grab some random backspin sample. Print your own.
Create a new audio track and name it RELOAD PRINT.
Set Audio From to Resampling.
Arm the track, and record the last one to two beats before the reload point. Get your actual drums and bass, maybe a stab, maybe a crash. Whatever is making your groove feel like your tune.
Then consolidate it so it becomes one clean clip.
This matters because when the backspin “grabs” your snare transient and your bass harmonics, it instantly feels real. It matches the sonic fingerprint of your track. That’s how you avoid the pasted-on FX vibe.
Quick teacher note: if the print is hitting your devices too hard, don’t immediately start compensating with device output gains. Reduce the clip gain on the printed audio first. That way your saturation, echo, and reverb respond predictably every time you swap in a new print later.
Alright. Now we build the backspin movement, and this is where a lot of people accidentally kill it.
Warp mode matters. Use Re-Pitch. Re-Pitch gives you the vinyl or tape style pitch change when the timing changes.
There are two main approaches.
Option one is the clean modern tape-stop vibe.
Put Warp on Re-Pitch. Then stretch the clip so it decelerates into the end point.
A practical way: decide exactly where your drop starts, like bar 33, beat 1. Place the clip so it ends exactly on that downbeat. Then drag the start earlier and stretch it so the audio slows down as it approaches the end. You’re basically making time slow down right before the cut.
Option two is the classic “true backspin” behavior.
Duplicate the printed clip, hit Reverse, keep Warp on Re-Pitch, and then stretch it so it accelerates into the end point. That acceleration gives the feeling of winding up, then you hard cut.
In a lot of jungle and DnB reloads, it’s not just the spin. It’s the pull-back, then a hard cut, then the drop. The cut is a feature, not a mistake.
Now we get to the core concept: the three-zone FX timing model.
Zone one: Pre-Spin. This is anywhere from half a beat to a full bar before the spin starts.
Zone two: Spin Moment. That’s the actual audible spin clip.
Zone three: Re-Entry. That’s the first kick and snare of the drop, the moment you must protect.
If you remember nothing else, remember this: you automate differently in each zone, and you do it on purpose.
Let’s build zone one: pre-spin suction and spotlight.
A really reliable combo is filter sweep plus width collapse plus a little transient emphasis.
On your drum bus, or a group bus, add Auto Filter.
Set it to a low-pass 24 dB slope, LP24. Add a bit of drive, like 2 to 6 dB. Resonance around 0.7 to 1.2, but don’t let it whistle.
Now automate the cutoff over one bar: sweep down from something like 18 kHz to around 300 to 800 Hz. Then in the last eighth note, do a sharper dip, like down toward 200 to 400 Hz, so the mix hollows out right before the spin.
That hollow is the “suck-in.” It’s telling the listener: something is about to happen.
Next, add Utility and automate width.
Take width from maybe 120% down to near mono, like 0 to 30%, in the last half-bar. This is a cheat code. When you collapse to mono, the drop feels wider when you snap back.
Then, transient prep: on your drum group you can use Drum Buss.
Keep it controlled. Drive maybe 2 to 10 percent, Boom off or super subtle, and push Transients a bit, like plus 5 to plus 15, just in the last beat before the spin. The reason is simple: the spin feels more convincing when it “catches” a strong transient, especially a snare.
Now we’re ready for zone two: the spin moment.
On the RELOAD PRINT track, build a dedicated chain. Keep it stock to make it portable:
EQ Eight, Saturator, Echo, Reverb, then a Limiter just as a safety net.
Start with EQ Eight. High-pass it. Seriously. Somewhere around 80 to 150 Hz, fairly steep. If it’s muddy, dip a bit around 250 to 400. And if it’s hissy, a gentle shelf down above 12 kHz.
This is how you keep the tail exciting without destroying your drop’s low-end clarity.
Then Saturator. Soft Sine or Analog Clip works great. Drive 2 to 6 dB, Soft Clip on. The goal is density and presence so the spin reads on smaller speakers.
Now Echo. Set it to Repitch mode if you can; it often complements the pitch movement.
Timing: try an eighth note or a quarter note.
Feedback somewhere like 20 to 45 percent.
Filter it: high-pass around 300 Hz, low-pass around 6 to 10 kHz.
Keep modulation low unless you want chaos.
Automation move: at the start of the spin, push Echo wet up fast, like from zero to 25 or 40 percent, then pull it back before the re-entry. You want smear during the spin, not smear on the downbeat.
Now Reverb for the bloom.
Plate is a classic choice, Hybrid Reverb with a plate algo also works beautifully.
Decay maybe 1.2 to 3.5 seconds, pre-delay around 10 to 25 milliseconds.
High-pass the reverb, like 200 to 400 Hz, and low-pass it somewhere like 7 to 12 kHz.
Automate wet from zero up to maybe 15 to 30 percent.
Here’s the key timing move: let the reverb peak right before the silence, then cut it fast. If the reverb washes over your first snare, you just stole impact from the most important moment.
And finally, a Limiter with the ceiling around minus 1 dB, just catching rogue peaks. This is not for loudness. It’s for safety.
Now let’s talk about the thing most people skip: the hard cut.
Silence is part of the effect.
Add a mute gap before the drop. Something like a sixteenth note to an eighth note. Cut nearly everything. You can leave a tiny intentional element, like a quiet vinyl crackle, or a tiny band-passed noise tick, or a short reversed cymbal that ends exactly on the downbeat.
That little detail keeps continuity while still giving the ear the “stage reset.”
And if you want a cleaner workflow than micro-fading ten tracks, do this: route your reload FX to a return or FX bus and automate a Utility gain to minus infinity for that micro-slice. Or even better, build a “drop shield.”
The drop shield is simple: after your reverb and echo on the return, put a Gate or even something like Auto Pan used as a fast mute trick, and automate it so it slams shut right on the downbeat. It’s cleaner than trying to chase tails across multiple devices.
Now zone three: the re-entry. This is where you make the first snare feel ridiculous, but still clean.
First, duck your FX return.
If your spin FX are on a return track, add a Compressor after the reverb and echo.
Turn on sidechain. Use the kick, or even better, a dedicated sidechain trigger track that just plays clean quarter notes through the drop.
Set ratio somewhere between 4 to 1 and 10 to 1.
Attack very fast, like 0.1 to 3 milliseconds.
Release around 80 to 200 milliseconds, and time it to the groove.
Aim for 3 to 8 dB of gain reduction on those drop hits.
What you’re doing is letting the FX be huge, but forcing them to bow down the instant the drop speaks.
Second, support the transient on the first hit.
On the drum group or snare, do a tiny transient boost, or automate a small saturator drive bump just for that first impact. The idea is not “make it louder,” it’s “make it clearer.”
Third, width snap-back.
If you collapsed width pre-spin, bring it back immediately on the downbeat. Like straight to 110 to 140 percent.
That width opening is an emotional moment. It feels like the room suddenly expands.
Now, a few advanced variations if you want to go beyond the basic reload.
One is a stutter-catch reload. Right before the spin, repeat the last sixteenth or eighth note a few times, two to four repeats, using Beat Repeat or manual slicing. Then launch the spin. It sounds like the platter is catching before it drags.
Another is dual-speed spin. First half decelerates smoothly, then in the last eighth note it suddenly snaps faster, or the reverse. That last snap is where people react.
Another is keyed reload. If your drop is in F, try to make the spin end on a transient that suggests F. It doesn’t need to be perfectly tonal. But a little musical resolution makes it feel integrated instead of like a random DJ trick stapled on top.
And a nasty one: pitch the spin print down by two to seven semitones for heavier DnB. Add a touch of Redux, lightly downsampling, then low-pass after it so it’s gritty but not spiky.
Also, if you want distortion, distort into a low-pass, not after. Saturator or Overdrive, then EQ low-pass around 5 to 10 kHz, then into Echo and Reverb. That gives aggression with fewer harsh peaks.
Now, common mistakes to avoid.
Leaving low end in your reverb and echo. That will mud the drop. High-pass your FX returns.
Over-long tails that overlap the first snare. If your first snare doesn’t feel like the clearest transient, your reload is stealing impact.
Using the wrong warp mode. Beats or Complex often kills the vinyl pitch behavior. Re-Pitch is your friend.
No silence. If there’s no contrast, the reload feels weak.
And lastly, going too hard with master FX. It can wreck your mix balance. Do this on groups, prints, and returns whenever possible.
Here’s a quick practice routine you can do in about twenty minutes.
Pick an eight-bar rolling section with drums and bass.
Create a one-bar reload before bar nine.
Resample into RELOAD PRINT.
Make two versions: one tape-stop style decelerate, one reverse accelerate.
Add the pre-spin filter sweep down to around 500 Hz.
Add echo and reverb bloom during the spin.
Add a sixteenth note silence before the drop.
Sidechain duck your FX return on the re-entry.
Then bounce both versions and listen at low volume.
At low volume, you’ll hear the truth.
Does the spin read clearly?
Is the silence noticeable?
And is the first snare the loudest perceived event?
If yes, you’ve nailed the timing.
To wrap it up: think in three zones. Pre-spin, spin, re-entry.
Use Re-Pitch warp so the pitch movement feels real.
Build tension with suction, spotlight, and width collapse.
Use a micro-silence like a weapon.
And protect the downbeat with ducking or a drop shield so your FX can be massive without ruining your punch.
That’s how you get that jungle reload energy with modern, rolling DnB polish.