Main tutorial
FX Tails Without Clutter Masterclass (Pirate‑Radio Energy) 📻🔥
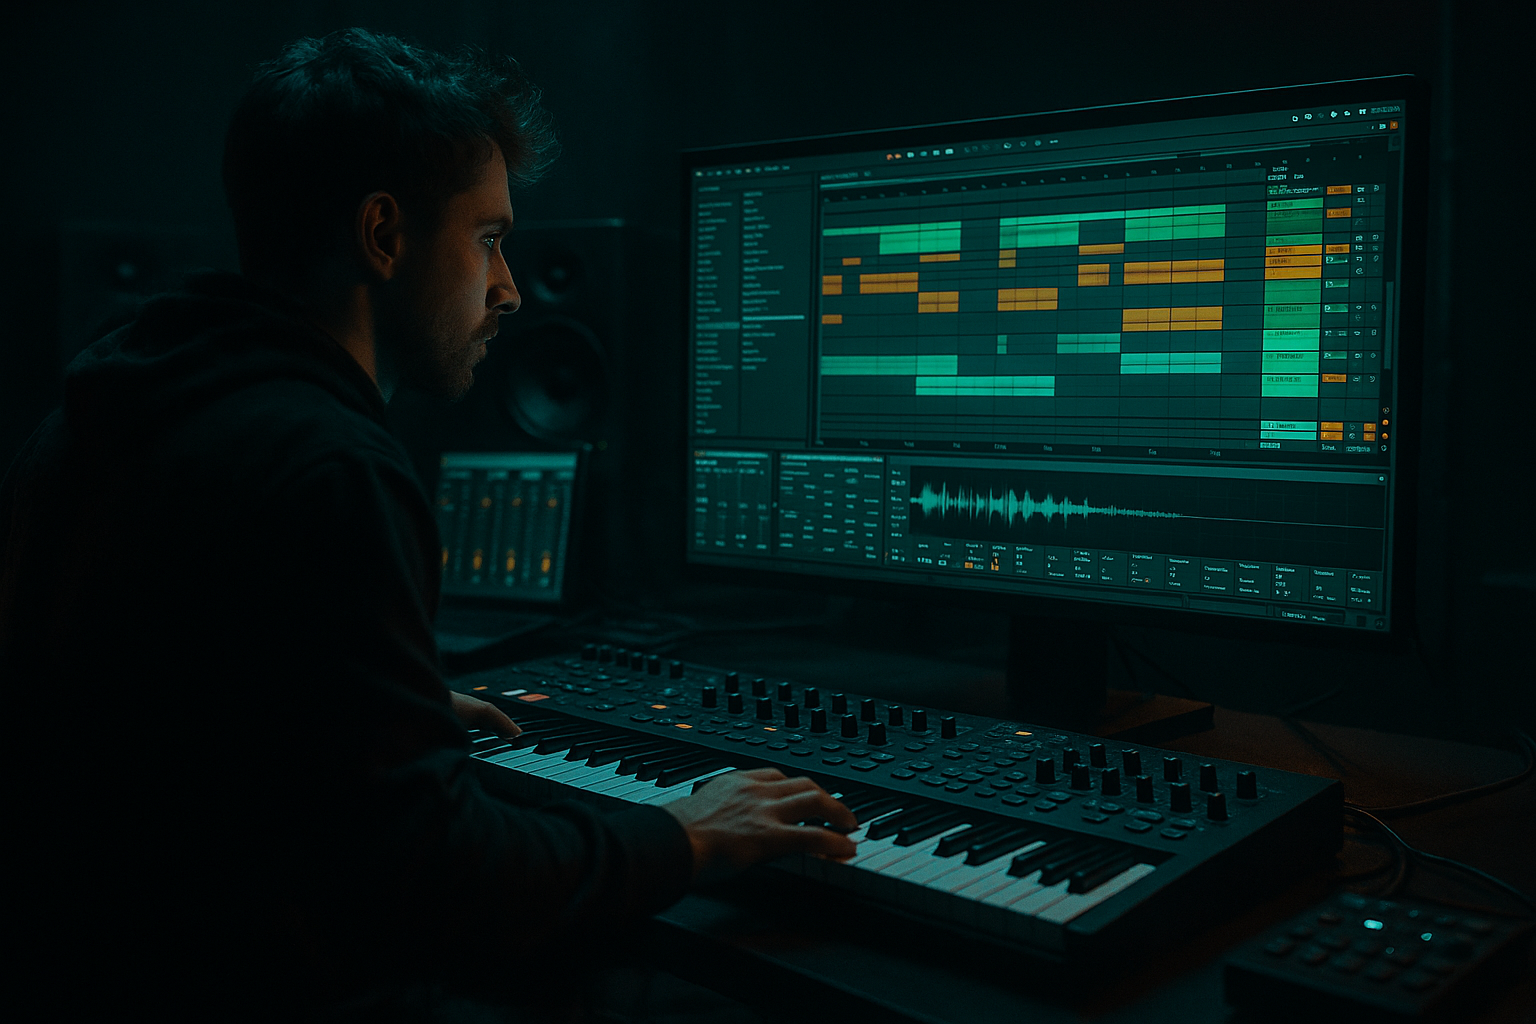
Advanced Mixing for Drum & Bass in Ableton Live
---
1. Lesson overview
“Pirate‑radio energy” in DnB is that big, wet, atmospheric feeling—sirens, dubby throws, cavernous snares, rinsed-out vox chops—without the mix turning into a smeary mess. The trick is to design tails that live in the track (groove + tone + timing) and control them like instruments (ducking, filtering, mid/side, resampling).
In this lesson you’ll build a repeatable Ableton workflow to:
- Keep reverb/delay tails huge but tucked
- Make tails pulse with the groove (rather than washing over it)
- Create momentary “broadcast” moments (pirate radio vibes) while preserving punch
- A — Drum Space (tight reverb)
- B — Dub Delay (tempo‑synced, filtered)
- C — Atmos Tail Bus (long, controlled, sidechained)
- HP/LP shaping
- Ducking keyed from drums
- Optional mid/side management
- Saturation for density at low level
- Tail “gates” to only open at phrase ends
- Resampled tail one‑shots for clean, repeatable throws
- Roller: tails are short, rhythmic, mostly background
- Jungle / ragga vibe: more dubby throws + springy space
- Dark halftime sections: longer tails but ducked + filtered
- Snare: -12 to -6 dB send depending on vibe
- Hats: -18 to -12 dB send
- Kick: usually none (unless you want a special moment)
- Vox chops / shouts: automate sends (momentary throws)
- Snare: occasional end-of-8/16 bar sends
- FX hits: perfect for “call and response”
- Pads/atmos: moderate
- Snare: light but consistent
- Reese/bass: generally tiny or none (unless filtered first)
- Sidechain input: SC Key
- Start settings (tune by ear):
- Chain 1: Dry
- Chain 2: To Sends (Filtered)
- Add Gate
- Open more at phrase ends (bar 8/16 transitions)
- Tighter during dense drop sections
- Automate send levels on specific words/hits (not whole bars).
- Combine with quick HP filter sweeps for that “transmission” vibe.
- Sending full-range bass to long reverb → instant mud and phase confusion.
- No pre-delay on reverb → snare loses crack and feels distant.
- Wide delays with no filtering → harsh, fizzy, distracting repeats.
- One return for everything → tails stack and mask each other.
- Over-long release on ducking → tails never recover; mix feels flat.
- Too much 200–600 Hz in reverb → “cardboard room” that kills clarity.
- Automating wetness instead of send (on returns) → unpredictable gain jumps.
- Saturate your returns, not your master:
- Distorted “air” instead of bright EQ:
- Use shorter, dirtier spaces for neuro/tech rollers:
- Rhythmic gating synced to the groove:
- Make tails react to snare more than kick:
- Use reverb as a transition weapon:
- Build multiple returns with specific roles (tight room, dub delay, long atmos).
- Pre-filter what you send so time-based FX don’t inherit mud.
- Sidechain duck returns from a clean drum key so tails groove around the hits.
- Use gates + automation to make tails appear at phrase moments (pirate-radio drama).
- Resample throws for surgical control in dense drops.
- Shape tails with M/S so the center stays punchy and mono-safe.
---
2. What you will build
A flexible FX system in Ableton Live consisting of:
1) Three return tracks (A/B/C) tuned for DnB:
2) A Tail Control Rack on each return:
3) Two arrangement tools:
---
3. Step-by-step walkthrough
Step 0 — Set the goalposts (so you don’t mix in circles)
Before devices: decide what role FX tails play in your tune.
Keep one rule: FX tails must not compete with kick + snare transient clarity.
Everything you do below serves that.
---
Step 1 — Build three purpose-driven Return tracks (not one “mega reverb”)
Return A: Drum Space (tight & punch-friendly) 🥁
Use this for snare body, hats glue, small room vibe.
Device chain (Return A):
1. Hybrid Reverb (or Reverb if you prefer classic)
- Mode: Algorithmic
- Size: Small/Medium
- Decay Time: 0.35–0.8 s
- Pre‑Delay: 10–25 ms (lets the transient hit first)
- Hi Cut: 6–9 kHz
- Low Cut: 180–350 Hz
- Early Reflections: up a bit for “room” presence
2. EQ Eight
- High‑pass: 24 dB/oct @ 200–350 Hz
- Gentle dip: 2–4 kHz if it bites on snare
3. Glue Compressor (gentle control)
- Ratio: 2:1
- Attack: 10 ms
- Release: Auto
- GR: 1–2 dB
4. Utility
- Width: 80–120% (don’t go extreme yet)
Sends usage:
---
Return B: Dub Delay (sync’d, filtered, musical) ⏱️
This is your “pirate station” throw—phrase punctuation without mud.
Device chain (Return B):
1. Echo
- Time: 1/4 or 1/8D (classic DnB energy)
- Feedback: 25–45% (higher only for special moments)
- Filter:
- HP: 250–500 Hz
- LP: 4–7 kHz
- Modulation: low (2–10%) for movement
- Stereo: 100–140% (careful: too wide = unfocused)
2. Saturator
- Drive: 2–6 dB
- Soft Clip: On
3. EQ Eight
- Notch any whistle resonances (often 1–3 kHz)
4. Compressor (sidechain ducking — see Step 2)
Sends usage:
---
Return C: Atmos Tail Bus (long but controlled) 🌫️
This is the big tail that feels massive but sits behind the drop.
Device chain (Return C):
1. Hybrid Reverb
- Mode: Convolution (pick a Warehouse / Hall / Plate style IR)
- Decay: 1.8–4.5 s (yes, long—control comes later)
- Pre‑Delay: 20–45 ms
- Low Cut: 250–450 Hz
- Hi Cut: 5–8 kHz
- Dry/Wet: 100% (since it’s a return)
2. EQ Eight (aggressive shaping)
- HP: 24–48 dB/oct @ 250–500 Hz
- Optional dip: 300–700 Hz (boxy buildup zone)
- Optional dip: 2–4 kHz (harsh reverb glare)
3. Compressor (sidechained hard — Step 2)
4. Utility
- Bass Mono: On @ 120–200 Hz
- Width: 120–160% (air in the sides, mono-safe lows)
Sends usage:
---
Step 2 — Make tails “bounce”: sidechain ducking the returns (the secret sauce) 🦘
Instead of drowning the master, you let FX bloom between drum hits.
Create a clean sidechain source
1. Add a new audio track: “SC Key”
2. Set its input to your Drum Bus (or a pre-fader kick+snare group)
3. Put Utility on it and turn Gain to -inf (so you don’t hear it)
4. Optional: add EQ Eight to emphasize the snare for ducking:
- HP @ 120 Hz
- Gentle boost 180–250 Hz if you want snare-driven pump
Duck each return
On Return A/B/C, add Compressor (if not already) and enable Sidechain:
- Ratio: 4:1
- Attack: 0.1–1 ms (fast catch)
- Release: 80–180 ms (sync to groove; faster for rollers)
- Threshold: aim for 3–8 dB of gain reduction on snare hits
DnB tip:
For rollers, use shorter release so tails “flutter” in the pocket.
For halftime/darker, slightly longer release gives that looming swell.
---
Step 3 — Stop low-mid fog: pre-filter BEFORE time-based FX
A classic clutter mistake is feeding full-range signals into reverb/delay.
Make a “Send-Prep” rack on key channels
On snare, vox, synth stabs (anything you send a lot), add:
Audio Effect Rack: “FX Send Prep”
- EQ Eight
- HP: 200–500 Hz
- LP: 6–10 kHz
- Saturator (optional)
- Drive: 1–3 dB for density
Now send from the filtered chain (or automate the rack chain selector).
Result: tails stay airy + audible without muddying bass/kick.
---
Step 4 — Control tail length with automation + “tail gates”
Even with ducking, constant long tails can blur drops. You want intentional wet moments.
Tail “gate” method (super clean)
On Return C (long reverb), after the compressor:
- Threshold: set so it opens mainly when something is sent
- Return: 6–12 dB
- Attack: 1–5 ms
- Hold: 80–200 ms
- Release: 200–800 ms (tune to taste)
Then automate Gate Threshold or Hold:
This gives that “broadcast space” without constant wash.
---
Step 5 — Pirate-radio “throws” without chaos: automate sends like a DJ
For classic DnB energy:
Practical throw recipe (vox chop example)
On a vox track:
1. Add Auto Filter
- HP mode
- Cutoff automate from 200 Hz → 1.5 kHz on the throw
- Resonance 10–20%
2. Automate Send B (Echo) from -inf → -6 dB for just the last syllable
3. Immediately after, pull send back down to -inf
4. Optional: send a touch to Return C just for the trailing tail
This reads like a DJ flicking an effects send on a mixer—very pirate.
---
Step 6 — Resample tails for maximum cleanliness (and insane control) 🎛️
When the drop is too busy, stop running “live” FX everywhere.
Workflow
1. Create an audio track: “TAIL PRINT”
2. Set input to Resampling
3. Solo the element + returns you want (e.g., vox + Return B/C)
4. Record a clean throw + tail (1–2 bars)
5. Now:
- Turn down the original sends
- Use the printed audio as a one-shot tail:
- Fade in/out precisely
- Warp off or Complex Pro depending on content
- High-pass it aggressively
- Place it in arrangement exactly where it hits hardest
DnB advantage: You get huge tails with zero unpredictability in the mix.
---
Step 7 — Make space with Mid/Side (without gimmicks)
Wide tails feel expensive—but can smear the center.
Simple M/S control using stock devices
On Return C:
1. Add Utility
- Width: 140–160%
2. Add EQ Eight
- Use M/S mode:
- Mid: HP a bit higher (e.g., 350–600 Hz)
- Side: keep more air (LP higher, less aggressive)
Goal: center stays punchy; sides carry “station haze”.
---
4. Common mistakes
---
5. Pro tips for darker/heavier DnB 🖤
Saturator (2–6 dB) on Return C makes tails audible at lower volume—so you can lower them and still feel them.
If tails need presence, try gentle saturation + a small shelf, not massive 10k boosts.
Return A with 0.4–0.6s + saturation reads “warehouse”, not “cathedral”.
Replace Gate with Auto Pan (phase 0°, Amount 100%) for tremolo-like chopper tails.
Rate: 1/8 or 1/16, Shape: square-ish. Subtle = menace.
Feed SC Key with snare-heavy signal so the tail “breathes” around the backbeat—classic DnB propulsion.
For 16-bar drop phrases, increase Return C send only on bar 15–16 to lift into the next section.
---
6. Mini practice exercise (15–25 minutes) ✅
Goal: Build a clean roller drop with audible atmosphere that never masks the snare.
1. Load or create a simple loop:
- Kick + snare (2-step)
- Hats/shaker loop
- Reese bass (mono-focused)
2. Create Return A/B/C exactly as above.
3. Add SC Key and sidechain all three returns.
4. On snare:
- Send to Return A: constant -9 dB
- Automate Send B (Echo) only on every 4th snare (end of 4 bars)
5. On a short vocal stab:
- Automate a single throw into Return B and print it (resample)
6. Check clarity:
- Bypass all returns: note dry punch
- Enable returns: punch should remain, space should “fill the gaps”
7. Final check:
- Turn the master down very low: can you still feel the space?
- If not, add a touch of saturation to Return C and lower its level.
---
7. Recap
If you want, tell me your tempo (e.g., 172), vibe (roller/jungle/neuro), and what’s cluttering (snare? bass? vocals?), and I’ll suggest exact ducking timings + return EQ targets for your specific case.

