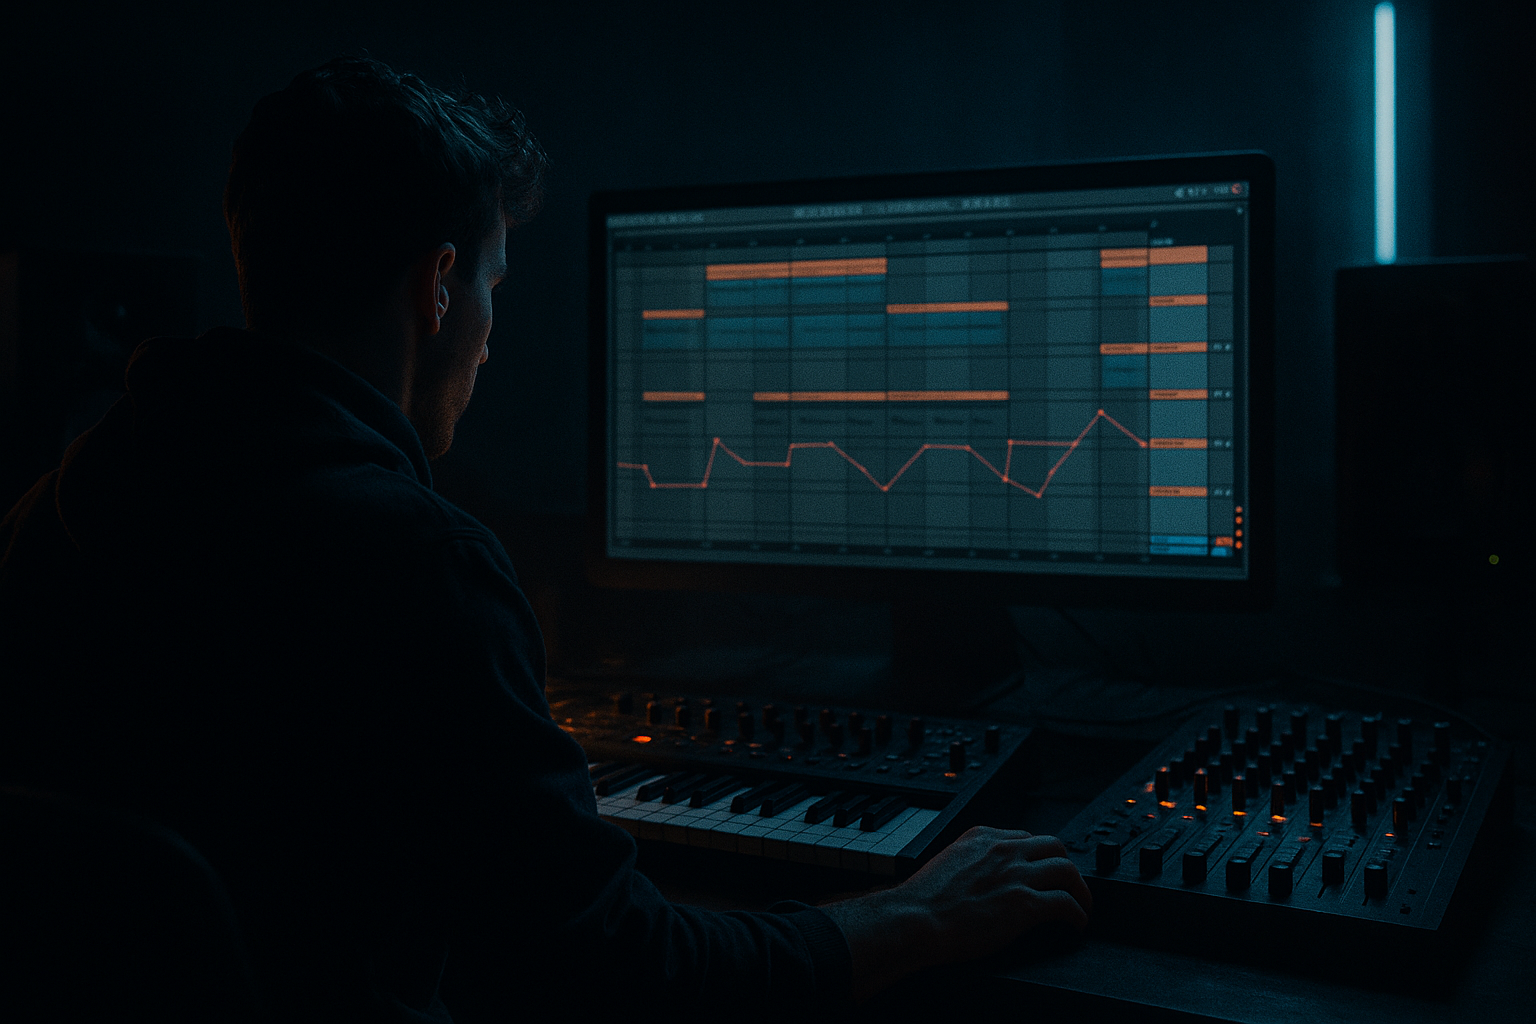
Main tutorial
FX Chain Tighten Masterclass: Modern Punch + Vintage Soul in Ableton Live 12 for Jungle / Oldskool DnB
1. Lesson overview
In this lesson, you’ll build a tight, performance-ready FX chain in Ableton Live 12 that works specifically for drum and bass, jungle, and oldskool rolling breaks. The goal is to make your tracks feel:
- Punchy and modern in the low-end and transient response
- Vintage and soulful in the texture, movement, and tonal coloration
- DJ-tool friendly for clean transitions, rewinds, drops, and quick mix-outs 🎧
- Tightening drums and breaks
- Adding subtle tape/saturation character
- Controlling low-end movement
- Building transition FX for mixes and performance
- Keeping the chain safe for club playback
- Set up return tracks for dub-style effects
- Automate FX for intros, breakdowns, and drop transitions
- Create a chain that sounds good on its own and in a DJ mix
- Kick and snare sitting clearly above the break texture
- Bass not fighting the sub of the kick
- Breaks with enough bite, but not harsh
- Headroom of around -6 dB peak on the master before mastering-style processing
- Route all drums to a Drum Group
- Route all bass layers to a Bass Group
- Keep the master fader at 0 dB
- Turn off any unnecessary limiter on the master while mixing
- Gain: adjust so the master input stays healthy, usually -3 to -6 dB if needed
- Bass Mono: turn on and set to around 120 Hz
- Width: keep at 100% initially
- Keeps sub frequencies locked in the center
- Helps the tune translate on club systems
- Makes the bass feel tighter and more focused
- High-pass filter very gently only if necessary, around 20–25 Hz
- If the mix feels muddy, dip a little around 200–350 Hz
- If the break is boxy, try a small cut around 500–800 Hz
- If the top end is brittle, tame slightly around 7–10 kHz
- Use wide Q for musical shaping
- Use small cuts, not big scoops
- Don’t try to “master” the track here — just clean up the mess
- Ratio: 2:1 or 4:1
- Attack: 10 ms or 30 ms
- Release: Auto
- Threshold: aim for 1–3 dB of gain reduction
- Soft Clip: On if you want extra safety and density
- Slower attack preserves drum transients
- Auto release keeps the groove moving naturally
- Gentle compression makes the break and bass feel glued together without flattening them
- Drive: +1 to +4 dB
- Soft Clip: On
- Curve Type: Analog Clip or Soft Sine
- Output: compensate to match level
- Adds density and perceived loudness
- Thickens snares and breaks
- Helps bass read on smaller systems
- Gives a vintage edge without sounding broken
- Break buses
- Reece bass layers
- Snare layers
- FX throws
- Drive: 5–15%
- Crunch: very low, or off if your break is already noisy
- Transient: +5 to +20 depending on how punchy you want it
- Boom: use carefully; often best around 0 to 10%
- Damp: adjust to prevent harshness
- Dirt: low to moderate
- This is perfect for adding a modern punch layer to classic breakbeats
- Transient control helps your snare slap through the mix
- Can add weight without needing extra drum processing
- Mode: LP24 for breakdown sweeps
- Frequency: automate from 20 kHz down to 200 Hz
- Resonance: moderate, around 1.5–3.0
- Use very lightly for metallic movement or intro tension
- Great for jungle FX stabs and alien fills
- Keep the Dry/Wet low unless it’s a special moment
- Ceiling: -0.8 dB or -1.0 dB
- Only catch occasional peaks
- If it’s doing more than 2–3 dB constantly, go back and fix the mix
- Prevents clipping
- Makes the tune safe for DJ playback
- Helps you preview how the track will sit loud in a set
- Echo
- EQ Eight after Echo
- Optional Reverb after Echo
- Sync: 1/4 or 1/8
- Feedback: 20–35%
- Filter: roll off lows heavily
- Dry/Wet: 100% on the return
- Snare throws
- Vocal chops
- Rewind moments
- Transition tails
- Reverb
- EQ Eight
- Decay: 1.2–2.5 s
- Pre-delay: 10–30 ms
- Size: medium
- Low cut: 200–400 Hz
- High cut: around 7–9 kHz
- Auto Filter
- Saturator
- Build-up sweeps
- Breakdown tension
- DJ-style filter rides on drums or stabs
- 16-bar intro with filtered drums and atmospherics
- 8-bar drum-only section for beatmatching
- Drop with bass entering cleanly
- 8-bar breakdown with echo tails and filtered breaks
- Second drop with more energy or a new bass variation
- Outro stripped back for mixing out
- Use chopped breaks in the intro
- Let one loop establish the groove before the bass arrives
- Add short FX stabs or reverse hits into transitions
- Use rewind-style stops or negative space before drops
- Intro
- Break
- Drop 1
- Breakdown
- Drop 2
- Outro
- Utility Width: slightly narrower in intros, wider in drops
- Auto Filter: sweep up before the drop, open fully at impact
- Echo Dry/Wet: automate throws only on selected hits
- Reverb Send: increase before a breakdown, pull back on the drop
- Saturator Drive: tiny boost in the second drop for extra urgency
- Automate Echo send up
- Add 1 bar of filter closing
- Cut everything for a half beat
- Let the drop slam back in full-width
- Select the devices on the master
- Group them if needed
- Save as an Audio Effect Rack
- Name it something like:
- Add Drum Buss, Glue Compressor, and Saturator
- Blend it underneath the clean drums
- This keeps the main break punchy while adding weight
- Saturator
- Dynamic Tube
- Overdrive on a bass layer
- Keep the sub clean, distort the mid-bass layer instead
- Small dip with EQ Eight around 8–12 kHz
- Add a little saturation to create a smoother top
- Use Auto Filter in subtle low-pass motion for transitions
- Bit reduction
- Frequency shifting
- Short grainy echoes
- A chopped break
- A sub bass or reese
- One stab or vocal hit
- Simple intro percussion
- Automate Auto Filter on the intro and breakdown
- Add one Echo throw on the last snare before the drop
- Does the kick still punch?
- Does the snare slap?
- Does the bass stay centered?
- Does the drop feel bigger than the intro?
- Version 1: dry mix
- Version 2: with FX chain
- Start with a good mix before touching master processing
- Use Utility, EQ Eight, Glue Compressor, Saturator, Drum Buss, and Limiter in a controlled chain
- Keep the sub mono
- Use returns for echo, reverb, and filters instead of drowning the master
- Automate FX for drops, rewinds, and breakdowns
- Preserve the breakbeat character while adding modern punch
- tighter
- louder
- more professional
- and ready for the dancefloor 💥
This is not about slapping random effects on the master. It’s about designing an FX chain with purpose so your drums hit hard, your bass stays controlled, and your arrangement has that authentic DJ utility energy.
We’ll focus on:
---
2. What you will build
By the end of this tutorial, you’ll have a reusable DJ tool master FX chain in Ableton Live 12 that includes:
Core chain
1. Utility – gain staging, bass mono, width control
2. EQ Eight – surgical cleanup and tonal shaping
3. Glue Compressor – bus-style punch and cohesion
4. Saturator – modern density with vintage edge
5. Drum Buss – transient control and low-end weight
6. Limiter – final safety and output control
Optional DJ-tool extras
7. Echo – for throws, fills, and transitions
8. Reverb – short atmosphere for space
9. Auto Filter – filter sweeps for breakdowns and tension
10. Frequency Shifter or Beat Repeat – special effect moments for jungle-style edits
You’ll also learn how to:
---
3. Step-by-step walkthrough
Step 1: Start with a balanced mix first
Before any master FX chain, get your drum and bass mix in decent shape.
For oldskool / jungle DnB, aim for:
Quick prep checklist
A tight FX chain only works if the mix is already reasonably controlled.
---
Step 2: Build the master FX chain in this order
Create these devices on the Master track in Ableton Live 12:
1) Utility
Place Utility first.
#### Settings:
#### Why:
For jungle / oldskool DnB, mono low-end is non-negotiable. Your break can be wide, but the sub should stay solid.
---
2) EQ Eight
Next, use EQ Eight for broad cleanup.
#### Suggested starting moves:
#### Tips:
#### DnB-specific note:
Oldskool breaks often carry a lot of midrange grit. That’s part of the vibe. Don’t over-clean them into modern emptiness.
---
3) Glue Compressor
Now add Glue Compressor for cohesion and punch.
#### Starting settings:
#### How to think about it:
For jungle, a little compression goes a long way. You want the drums to breathe, not get strangled.
---
4) Saturator
Add Saturator next for harmonics and attitude.
#### Starting settings:
#### Why:
#### Practical DnB approach:
Use subtle saturation on the master, but don’t be afraid to use more on:
A little harmonic dirt is one of the secret ingredients in oldskool-inspired DnB.
---
5) Drum Buss
Add Drum Buss after saturation.
#### Starting settings:
#### Why:
#### Best practice:
If your track already has heavy 808-style sub, keep Boom minimal. If you’re working with classic break samples and a leaner bassline, a little Boom can help the groove feel bigger.
---
6) Optional: Frequency Shifter or Auto Filter for character
If you want a more DJ-tool style chain, insert a creative effect here or keep it on a return track.
#### Auto Filter settings:
#### Frequency Shifter:
For a master chain, use these carefully. Many producers prefer these on returns or individual groups instead.
---
7) Limiter
Finish with Limiter.
#### Starting settings:
#### Why:
Do not use the limiter to crush the track into oblivion. You want pressure, not paper-thin distortion.
---
Step 3: Build a parallel FX return setup for DJ tools
For jungle and DnB DJ tools, the best workflow is often parallel returns, not overloading the master.
Create return tracks for:
Return A: Echo Throw
Insert:
#### Suggested Echo settings:
Use this for:
---
Return B: Dub Reverb
Insert:
#### Reverb settings:
This gives you space without washing out the break.
---
Return C: Filter FX
Insert:
Use this return for:
---
Step 4: Shape the arrangement for DJ utility
A strong FX chain is only half the story. The arrangement should support live mixing.
Ideal DJ-tool arrangement ideas:
For oldskool jungle vibes:
Ableton tip:
Use locators in Arrangement View to mark:
This makes it easier to audition as a DJ tool and useful for live set prep.
---
Step 5: Automate FX like a drum and bass performer
Your FX chain should come alive with automation.
Automation ideas:
Practical example:
On the last snare before a drop:
That’s classic DnB tension design.
---
Step 6: Save it as a reusable chain
Once your chain works, save it.
How:
- `DnB DJ Tool Master Tightener`
- `Jungle Punch Chain`
- `Oldskool Roll Master FX`
Now you can load it into new projects quickly and keep your sound consistent.
---
4. Common mistakes
1) Over-compressing the master
If your breaks stop breathing, you’ve gone too far. DnB needs movement and transients.
2) Making the low end stereo
This is a classic mistake. Keep sub frequencies centered with Utility Bass Mono or careful low-end discipline.
3) Using too much reverb on the master
That turns punchy jungle into blurry soup. Use returns and automate carefully.
4) Saturating before the mix is balanced
If your kick and bass aren’t already working, saturation will just exaggerate the problem.
5) Killing the break’s character
Oldskool jungle is about texture, grit, and swing. Don’t over-EQ every rough edge away.
6) Letting the limiter do all the work
A limiter is the final safety net, not the main loudness strategy.
---
5. Pro tips for darker/heavier DnB
Tip 1: Use parallel drum crush
Create a parallel drum bus:
Tip 2: Make the bass speak through harmonics
If your sub is too pure, it may disappear on smaller systems.
Try:
Tip 3: Darken the top without dulling it
Instead of simply reducing highs, try:
Tip 4: Use short, ugly FX tastefully
For darker DnB, a tiny bit of:
…can create menace without destroying clarity.
Tip 5: Automate space, not constant space
Dark DnB often sounds heavier when the mix is dry and upfront, then opens up only at key moments.
---
6. Mini practice exercise
Exercise: Build a 32-bar DJ tool with one tight FX chain
#### Step A: Create the groove
Use:
#### Step B: Apply the master chain
Use this order:
1. Utility
2. EQ Eight
3. Glue Compressor
4. Saturator
5. Drum Buss
6. Limiter
#### Step C: Add two automation moves
#### Step D: Test at DJ levels
Play the loop loud and check:
#### Step E: Export and compare
Render two versions:
Listen back on headphones and speakers. Choose the version that feels more like a real DJ tool.
---
7. Recap
You now have a practical Ableton Live 12 workflow for building an FX chain that tightens your DnB master while keeping the soul of jungle intact.
Key takeaways:
If you do this right, your track will feel:
If you want, I can also turn this into:
1. a step-by-step Ableton screenshot-style workflow, or
2. a preset-style chain with exact device settings for darker neuro-jungle or 1995 rave jungle.

