Main tutorial
Lesson Overview
This lesson is about turning a finished or near-finished FX chain into a crunchy sampler texture that sounds like it belongs in an oldskool jungle / DnB record, then using automation to make that texture breathe across the arrangement. In Ableton Live 12, this workflow is gold for when you want a short transition, a breakdown detail, or a signature ear-candy moment that feels handmade rather than “preset.” 🔥
In a real DnB track, this kind of sound usually sits in the 8-bar or 16-bar breakdown, the last bar before the drop, or as a call-and-response texture underneath drums and bass. It can also be used in intro DJ-friendly sections to hint at the drop vibe without giving away the full energy. The goal is to take a chain of effects — delay, reverb, distortion, filtering, modulation — and print it into a sampler instrument so you can chop, pitch, and automate it like a proper jungle break texture.
Why this matters: oldskool jungle and darker rollers often feel alive because they’re constantly mutating. A bounced FX chain gives you a controllable audio source with character, and once it’s inside Simpler or Sampler, you can automate filter movement, grainy start points, amp envelopes, pitch, and reverse behavior in a way that makes the arrangement feel intentional and physical.
What You Will Build
You will build a crunchy, resampled FX texture from a Drum & Bass-style chain and load it into Simpler for playable, automatable manipulation.
The finished result will sound like:
- a lo-fi, smashed atmospheric hit with a bit of reverb tail and delay smear
- a grainy sampler texture that can be pitched into fills, breakdown stabs, or transition hits
- a jungle-flavored movement layer that sits behind breaks and bass for tension
- something you can automate to swell, choke, reverse-feel, filter-open, or glitch out before a drop
- Bouncing too cleanly
- Letting the texture clash with the sub
- Using too much reverb and losing punch
- Automating everything at once
- Making the sample too wide
- Ignoring the phrase
- Print a filtered version and a crushed version
- Use Echo feedback automation like a ghost riser
- Chop the bounce like a break
- Darker automation curves work better than linear ones
- Use sample start automation for “broken tape” energy
- Keep the sub independent
- Reference classic tension design
- Build a short FX chain with movement, then print it into audio.
- Load the bounce into Simpler so it becomes a playable, automatable texture.
- Use filter, sample start, pitch, and volume automation to shape phrase-level tension.
- Keep the texture out of the sub range and under control in mono.
- Place it in the arrangement like a real DnB event: intro, breakdown, pre-drop, or switch-up.
Musically, think of it like a half-sung ghost of your original FX chain: still recognizably atmospheric, but now more percussive and playable. In a track with chopped breakbeats and a Reese bass, this kind of texture can become the glue between sections — especially when you want a raw, “sampled from a dusty DAT tape” feeling.
Step-by-Step Walkthrough
1. Build a DnB-friendly FX chain on an audio or return track
Start with a short source: a vocal breath, rim hit, synth stab, cymbal tail, or even a processed break fragment. For oldskool jungle vibes, a tiny slice of a break or a noisy one-shot works especially well.
A solid Ableton stock FX chain might be:
- Auto Filter: high-pass around 180–350 Hz to keep the source from fighting the sub
- Saturator: Drive around +3 to +8 dB, Soft Clip on
- Echo: Time set to 1/8 or 1/16 dotted, Feedback 20–40%, Filter on to darken repeats
- Hybrid Reverb or Reverb: small-to-medium size, Decay 1.2–3.5 s, low cut up around 200 Hz
- Redux: reduce sample rate lightly for grit, try 12–16 bit and subtle downsampling
- Optional: Drum Buss for density and transient shape, or Overdrive for extra bite
Keep the chain reactive, not huge. You want the FX to become a texture, not a washed-out pad. If you’re working on a roller or darker neuro-leaning tune, keep the delays tight and the reverb shorter so the result still punches.
2. Automate the FX chain before bouncing
This is where the magic starts. Before printing, draw in automation on the effect chain so the bounce has movement baked in.
Good automation targets:
- Auto Filter cutoff sweeping from 250 Hz up to 8–12 kHz
- Echo feedback rising from 15% to 55% at the end of a phrase
- Reverb dry/wet increasing only on the last hit of a bar
- Saturator Drive pushed harder during the lead-in to the transition
- Redux bit depth / downsampling for a brief lo-fi drop or crunch moment
A practical DnB move: automate the echo feedback upward during the final 1/2 bar before the drop, then cut it hard on the downbeat. That creates a classic tension-release moment without needing a huge riser. For jungle, this works beautifully when paired with break edits and a bass pickup.
3. Resample or freeze/bounce the chain into audio
Once the automation is written, print it. In Ableton Live, you can:
- Resample to a new audio track
- Freeze and Flatten if the source is inside a MIDI/instrument chain
- Consolidate the recorded region after bouncing for easy editing
Aim to capture a phrase that is 1, 2, 4, or 8 bars long. For DnB arrangement, 4 bars is often the sweet spot: enough evolution to feel musical, short enough to loop and chop.
Make sure the bounce contains the full movement, especially the tail of the delay and reverb. If the bounce sounds too clean, go back and exaggerate the automation a little more. Oldskool jungle textures usually sound better when they’re slightly overdriven and imperfect.
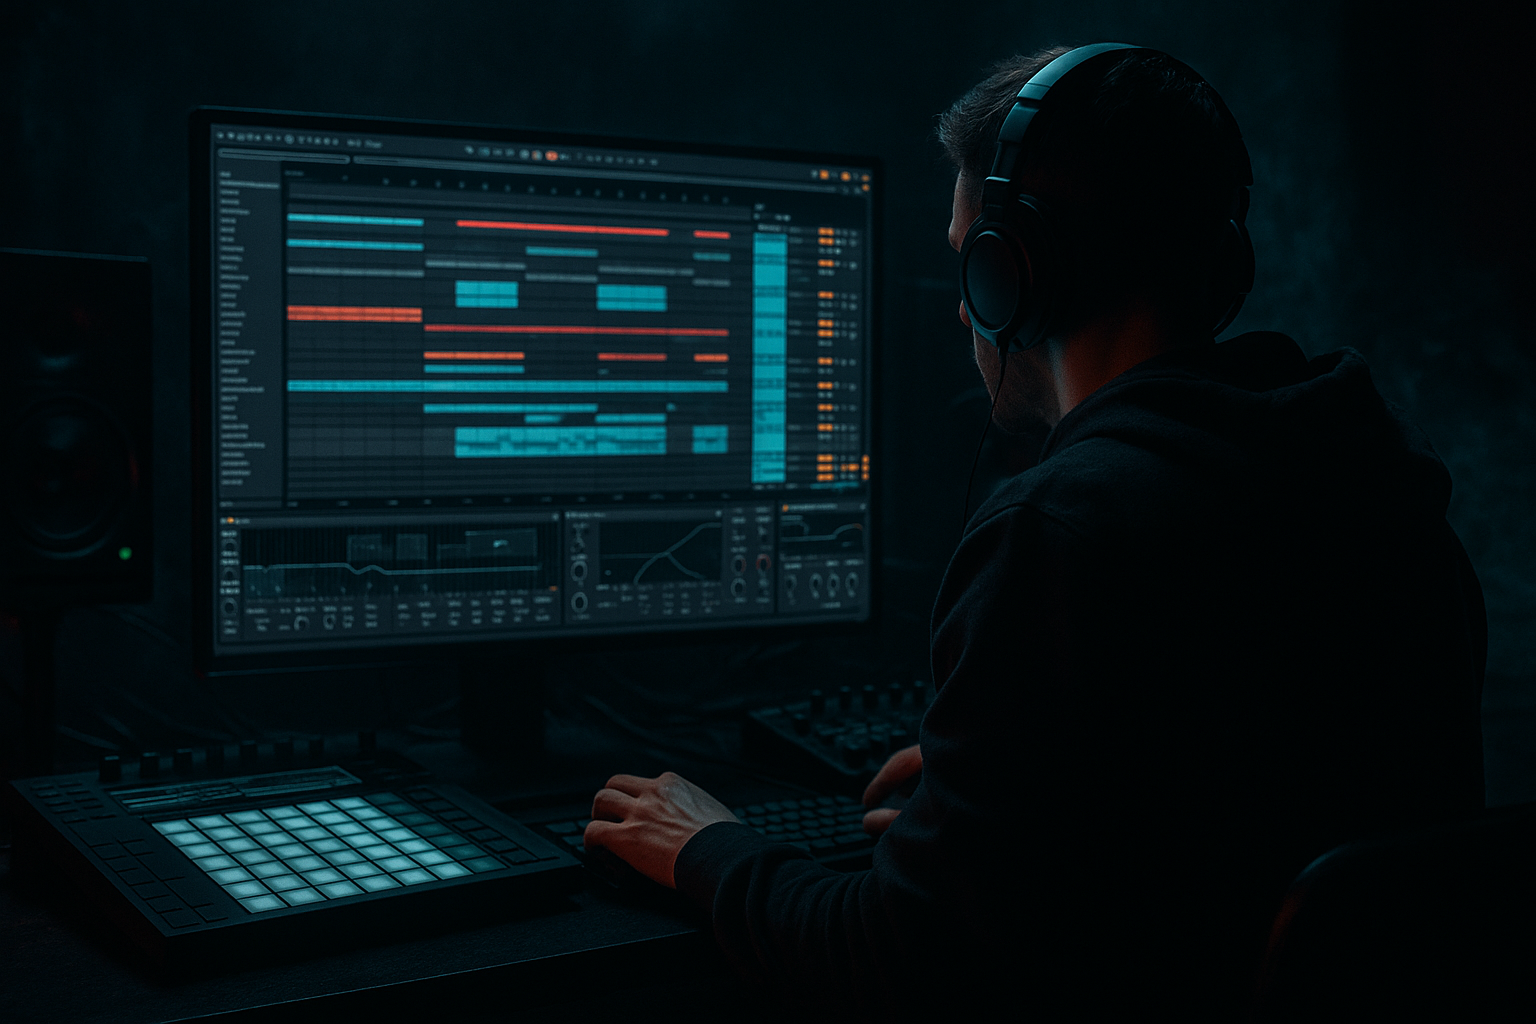
4. Load the bounced audio into Simpler for sampler-style texture control
Drag the bounced file into a new MIDI track and load it into Simpler.
Start with:
- Mode: Classic
- Trigger: Gate or Trigger depending on how you want to play it
- Warp: often off for one-shot texture, or on if you need tempo locking
- Filter: low-pass around 8–14 kHz if the bounce is too fizzy
- Amp envelope: short Attack, medium Release for tail control
If you want more jungle-style manipulation, use Slice mode instead and let Ableton chop the FX bounce into rhythmic fragments. But for a crunchy texture bed, Classic mode is usually cleaner and more controlled.
Why this works in DnB: you’ve turned a one-time FX event into a playable instrument. That means you can trigger it like a stab, automate it like a riser, and layer it against drums without relying on a long rendered audio clip that’s hard to perform.
5. Shape the sample like a DnB instrument, not just a playback file
Now focus on making the sampler respond musically.
Useful Simpler moves:
- Start point: move it until the attack lands right on the crunchy sweet spot
- Filter envelope: add a small amount of movement; try Attack 0–20 ms, Decay 150–600 ms, Amount moderate
- LFO to filter cutoff: slow wobble for atmosphere, or faster movement for nervous tension
- Transpose: drop it an octave for darker weight, or up 7 semitones for tension hits
- Voices: keep low if it’s a mono-style texture, especially if it has bass content
For oldskool jungle, try a sample start point that lands just after the transient and catches the crunchy body. That gives you the feel of a chopped vinyl stab or a borrowed break fragment. For darker rollers, keep the filter lower and let the texture live in the midrange pocket above the sub.
6. Map automation to make the texture evolve across the arrangement
This is the core of the lesson. Once the bounced FX is inside Simpler, automate it like an arrangement tool.
Useful automation ideas in Ableton:
- Simpler filter cutoff from dark to bright across 4 or 8 bars
- Sample start nudges to create variation on repeated hits
- Volume automation to swell into the downbeat, then duck out
- Reverb send on only the final trigger of a phrase
- Auto Filter resonance for a whistling tension peak
- Transpose automation by +/- 12 semitones for section changes
Example arrangement context:
- In bars 1–4 of a breakdown, keep the texture low and filtered
- In bars 5–8, open the cutoff and add a touch more send to Echo
- In the final bar before the drop, automate a quick pitch rise or filter sweep
- On the drop, cut the texture sharply or replace it with a short stutter hit
This gives you a classic DnB tension arc without needing a huge melodic part. The texture becomes a cue for the listener: “something is about to hit.”
7. Process the sampler texture on its own bus for grit and glue
Create a return or group for your sampler texture and shape it with stock devices.
Great group chain options:
- EQ Eight: high-pass around 120–250 Hz to keep room for sub
- Saturator: subtle drive for harmonic glue
- Drum Buss: keep Drive low to moderate, Crunch if you want more bite
- Compressor: light glue, or sidechain to kick if the texture fights the drums
- Utility: use Width cautiously; keep important low-mid textures more centered
In jungle or heavier DnB, your crunchy texture should occupy the midrange narrative without clouding the kick and sub. If it has too much stereo smear, narrow it. If it’s too flat, add a touch of saturation or reverb on a send.
8. Use the texture as a phrase-level arrangement tool
Place the texture where it supports the track’s story:
- Intro: filtered texture with automation to imply the drop energy
- Breakdown: full texture with reverb tail and pitch movement
- Pre-drop: chopped stabs or reversed-feeling hits
- Drop switch-up: a one-bar fill or half-bar response to the bassline
In a jungle arrangement, this could be a dusty, automated stab that answers the break every 2 bars. In a darker roller, it might be a low, crushed atmosphere that rises slowly under the drums, adding dread without stealing the groove.
The important thing is phrasing. Don’t just place the texture randomly — make it answer the drums and bass like a real musical event.
9. Perform a mono and low-end reality check
Because this is a texture made from an FX chain, it can easily contain hidden low end, stereo wash, or harsh upper mids. Check:
- Utility: flip to mono briefly
- EQ Eight: remove unnecessary lows and mud
- Spectrum: watch for excess buildup in 200–500 Hz or 3–6 kHz
If the bounce has any sub or low bass energy, high-pass it more aggressively. In DnB, the sub should usually be reserved for your bass layer, not your texture layer. Keep the crunchy sampler texture focused on character, movement, and tension.
Common Mistakes
- Fix: push the FX chain harder before printing. Add more saturation, more feedback, or a more obvious filter sweep.
- Fix: high-pass the sampler texture and keep its low end controlled. Use EQ Eight and Utility to manage space.
- Fix: shorten decay, reduce wet amount, or print the texture in a more controlled way. DnB needs movement, not mush.
- Fix: choose 1–3 main parameters per section. Over-automation can make the arrangement feel chaotic instead of intentional.
- Fix: keep the texture mostly centered or only mildly wide. In heavier DnB, a giant stereo wash can weaken the drop.
- Fix: align the texture automation to 4-bar or 8-bar musical logic. Jungle and roller arrangements rely on phrasing, not random motion.
Pro Tips for Darker / Heavier DnB
- Layer two bounces: one darker and more atmospheric, one more distorted and midrangey. Crossfade or automate between them for section changes.
- A quick rise in feedback at the end of a phrase, then a hard cut on the drop, is more effective than a generic riser in many DnB tracks.
- If the sampler texture feels too static, slice it into 1/8 or 1/16 fragments and trigger them with ghost-note-like timing.
- Make filter sweeps more dramatic near the end of the phrase. That creates tension without needing extra layers.
- Nudging the start point slightly on repeated hits can create a rough, unstable feel that suits oldskool jungle and dark rollers.
- Let the texture live above the bass. If you want weight, add mid-bass grit, not hidden low end.
- Think of your texture like an answer to a break edit or a rewind moment: short, memorable, and slightly unruly.
Mini Practice Exercise
Set a timer for 15 minutes and do this:
1. Pick a short source sound: a hat hit, vocal chop, break fragment, or synth stab.
2. Build a 4-device FX chain in Ableton using stock devices only:
- Auto Filter
- Saturator
- Echo
- Reverb or Hybrid Reverb
3. Automate at least two parameters over 4 bars:
- filter cutoff
- echo feedback
- reverb wet
- saturator drive
4. Bounce the result to audio.
5. Load the bounce into Simpler.
6. Make one version dark and one version bright by changing filter cutoff and sample start.
7. Place the texture in a 4-bar loop with drums and a bassline, then automate it into the last bar before the drop.
Bonus challenge: make the texture respond to the snare or break accents so it feels like part of the rhythm, not just a background sound.
Recap
This workflow gives you that crunchy, dusty, oldskool DnB character while staying fully inside Ableton Live stock tools.

