Main tutorial
Lesson Overview
This lesson is about turning a Funky Drummer top loop into a ghosted, groove-pool-driven jungle DnB layer in Ableton Live 12, then using that loop as a rhythmic bassline support tool rather than just a drum loop. The goal is not to make the break sound “clean” or modern in a sterile way — it’s to get that oldskool pressure, where the loop feels alive, unstable, and slightly ahead of the grid while still locking hard to the bass.
In real DnB production, especially jungle, rollers, darker halftime, and oldskool revival, the top loop is doing more than filling space. It’s a micro-arrangement engine: ghost notes create motion, groove creates swing, and tiny edits create lift before the drop. When the bassline comes in, the drum loop helps define the pocket, especially if the bass is a reese, sub-led call-and-response line, or distorted roller pattern.
Why this technique matters:
- It gives your track a recognizable break DNA without copying a full breakbeat arrangement.
- It creates forward motion between snare hits and bass notes.
- It helps you build a DJ-friendly intro where the groove slowly reveals itself.
- It lets you use Ableton’s Groove Pool and stock warping tools to make the break feel human, but controlled.
- It gives you a strong foundation for bassline phrasing, because the ghost course becomes a rhythm reference for sub movement and reese accents.
- ghost snare and ghost hat detail
- selective transient emphasis
- groove-shifted swing from Ableton’s Groove Pool
- filtered, band-limited processing so it sits above the kick/sub
- call-and-response interaction with a bassline
- enough character to work in a jungle intro, rolling drop, or darker bass track
- a ghosted break veil sitting above the main kick/sub
- a loop that pushes into snare backbeats
- a top layer that can sit behind a reese bassline without cluttering the low end
- a break texture that can be automated in and out for arrangement contrast
- a loop that makes the track feel “played,” even if the arrangement is heavily sequenced
- Letting the top loop carry low-end bleed
- Over-swanging the groove
- Making every ghost hit equally loud
- Ignoring phase and mono compatibility
- Too much saturation before timing is locked
- Bassline overplaying the same rhythmic space
- Use two-stage bass design: a clean sub in Operator and a more aggressive mid bass in Wavetable or Meld. Keep the sub mono and let the mid layer move.
- Add sidechain-style ducking with Compressor keyed from the kick or snare if the ghost loop gets masked by the bass. Gentle gain reduction around 1–3 dB is often enough.
- For darker rollers, put the ghost loop through Auto Filter with a slow resonance bump around 1–2 kHz to make hats feel more urgent without brightening the whole mix.
- Use Drum Buss Transients carefully on the top loop to sharpen the attack. Try +10 as a sweet spot, then back off if the loop gets brittle.
- For grime and tension, print a version with Saturator + Soft Clip, then layer it quietly under the cleaner version. This gives you density without losing transient definition.
- Automate a short delay throw with Echo only on selected ghost fills or snare pickups. Keep the feedback low, around 10–20%, so it doesn’t wash out the groove.
- If you want more underground pressure, low-pass the bass briefly before a drop, then reopen it when the ghost loop returns. That contrast makes the return feel bigger.
- In heavier DnB, keep the top loop moving but not too busy. The darkness comes from space plus attitude, not constant noise.
- Does the loop improve the bassline phrasing?
- Is the groove moving forward or just wobbling?
- Could the track survive with the loop quieter and the bass stronger?
- more saturation
- slightly narrower stereo
- one extra ghost snare fill before the drop
- high-pass the break and protect the sub
- use groove timing to create human swing
- make the bassline answer the ghost loop
- automate the loop through arrangement sections
- resample when the groove feels right
If you’ve ever felt like your drums are “fine” but the track doesn’t bounce like proper jungle or oldskool DnB, this is one of the highest-value fixes. 🥁
What You Will Build
You’ll build a tight top-loop ghost course based on the Funky Drummer break, edited into a top-only rhythmic layer with:
Musically, the result will feel like:
Think of it as the rhythmic spine above the bassline, not a full drum kit replacement.
Step-by-Step Walkthrough
1. Start with a clean drum/bass skeleton at DnB tempo
Set your project to 170–174 BPM for oldskool/jungle territory, or around 174–178 BPM if you want a more urgent modern DnB roll. Put down a simple foundation first:
- kick on 1 and pickup points
- snare on 2 and 4
- a sub or reese bassline that leaves space for the break
For the bassline, keep it simple at first: one or two-note movement, maybe a root and fifth, or a sub note plus a midrange reese response. The top loop will only work if there’s room for it. In DnB, the bass and break often “speak” in alternating spaces, so don’t crowd the grid immediately.
2. Import Funky Drummer and isolate the top loop elements
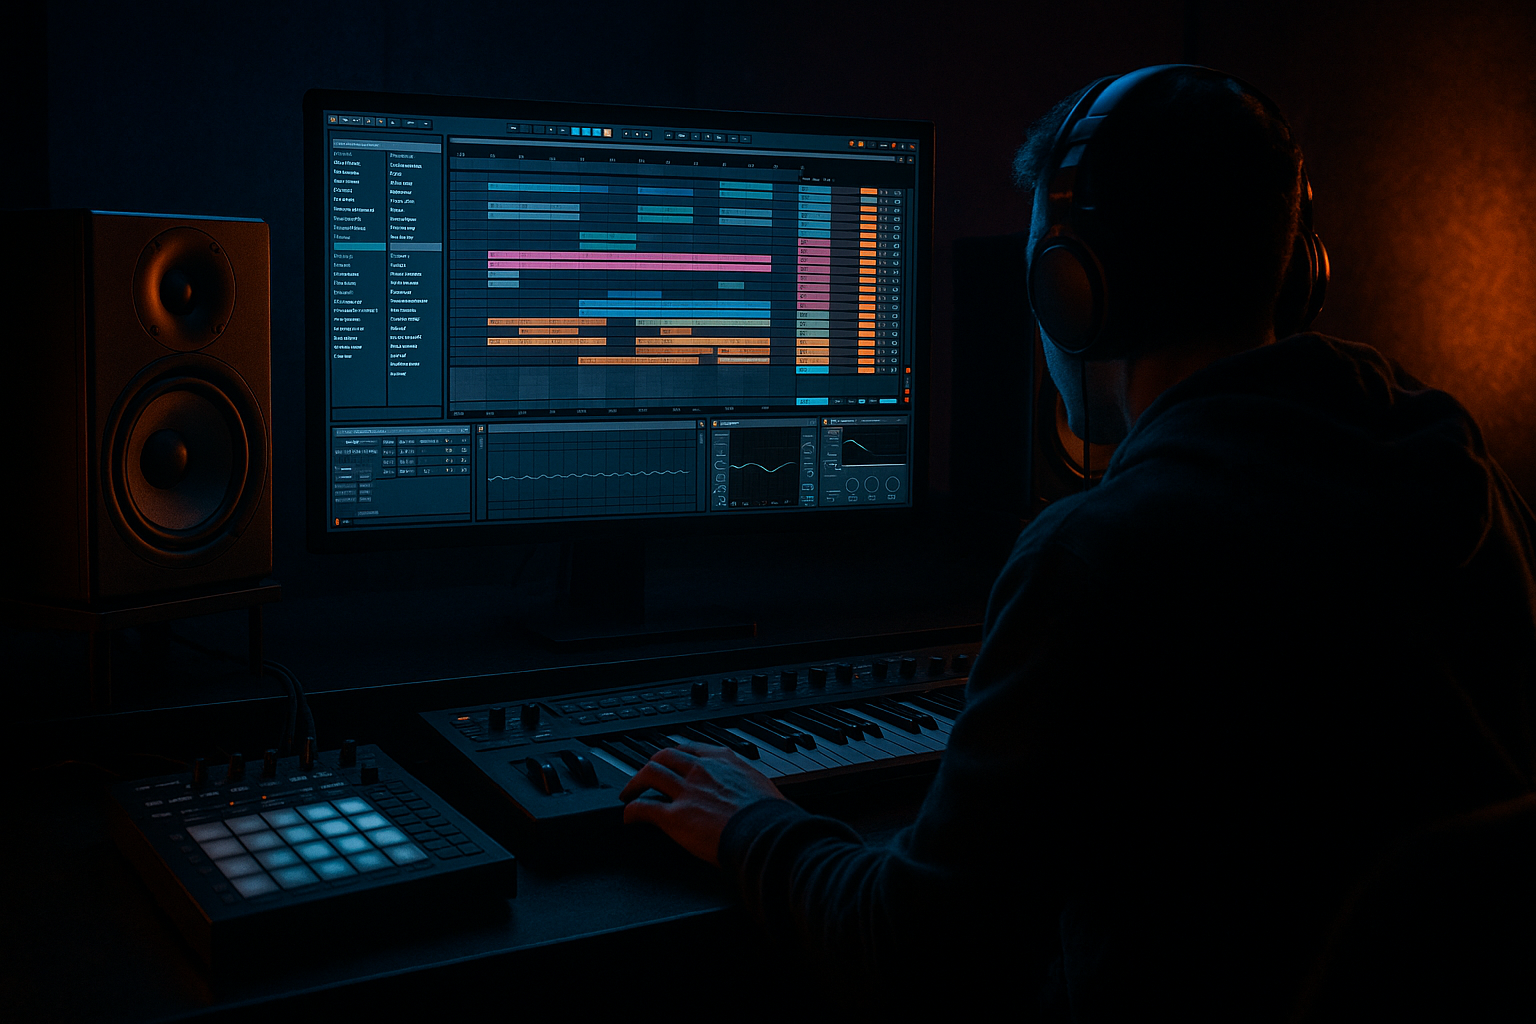
Drop your Funky Drummer sample into an Audio Track and turn on Warp. For oldskool jungle flavour, work with the break as audio rather than slicing too early. Use Complex Pro only if needed; for a more raw feel, Beats warp mode often keeps transient identity stronger.
Now create a top-loop pass:
- high-pass the break with EQ Eight
- start around 180–250 Hz and push higher if the sample is muddy
- if the room tone or kick bleed is too heavy, go up to 300–350 Hz
- optionally use Gate after EQ Eight if you want to reduce tail bleed from the original break
The goal is to preserve the ghost hats, tick details, and snare-air while removing anything competing with your kick and sub. For a bassline-focused arrangement, this matters a lot: the top loop should energize the groove without stealing low-end authority.
3. Slice the loop strategically for ghost control
Right-click the audio clip and choose Slice to New MIDI Track if you want very precise control. Use slicing by transients. In an advanced workflow, don’t slice every hit equally — keep the best transient pieces and let the quieter ghost fragments do the work.
In the resulting Drum Rack:
- keep main snare accents on separate pads
- assign ghost hats or tiny snare flams to adjacent pads
- delete any slices that clutter the groove
- leave room for repeated hits and micro-pickups
Then in MIDI, program a pattern that avoids sounding like a loop copy. Try:
- main ghost/hat detail on offbeats
- extra ghost notes leading into snare 2 and 4
- occasional dropouts on bar 2 or bar 4 to create breathing room
This is where the “ghost course” starts to feel like a composed drum phrase instead of a passive loop.
4. Apply Groove Pool swing with intention
Open Ableton’s Groove Pool and drag in a groove preset from a breakbeat or MPC-style source. For oldskool jungle vibes, use a groove with a noticeable but not cartoonish swing. Good starting points:
- Swing amount: 55–65%
- Timing: 8–20 ms feel depending on the source
- Random: 0–8% if you want subtle instability
- Velocity: 5–15% to humanize ghost dynamics
Apply the groove to your sliced MIDI or audio clip, then use Commit only once you know the feel works.
Why this works in DnB: the groove pool creates micro-timing offsets that make ghost hits feel like a drummer leaning into the pocket. In jungle and oldskool DnB, this is crucial because the energy often comes from small timing imperfections between hats, snares, and bass movement. If your bassline is rigid and your break is also rigid, the track can feel mechanical instead of propulsive.
5. Shape the top loop so it sits above the bassline, not inside it
Now process the loop with Ableton stock devices:
- EQ Eight: cut below 180–300 Hz; gently dip harsh zones around 3.5–6.5 kHz if needed
- Drum Buss: Drive around 5–15%, Boom off or very low for a top loop, Transients +5 to +20
- Saturator: Soft Clip on, Drive 2–6 dB for density
- Auto Filter: use a subtle high-pass sweep for intro building or breakdown transitions
If the loop is too wide or phasey, use Utility:
- narrow width to 70–90%
- check mono regularly
- for a tougher center, keep the ghost snare more mono-focused and let only the hats breathe slightly wider
Advanced tip: duplicate the loop onto two tracks:
- Track A: dry, more transient
- Track B: filtered, saturated, lower in volume
Blend them lightly. This creates an oldskool “stacked break” feel without overcomplicating the arrangement.
6. Make the bassline answer the ghost loop
This lesson is ultimately about basslines, so now let the break inform the bass phrasing. Program a reese or sub-reese that responds to the loop rather than masking it.
Useful bassline strategies:
- place bass notes just after ghost snare clusters
- let the sub hold on main snare beats while the reese darts around the offbeats
- use note lengths of 1/8, 1/4, or tied 1/16/1/8 combinations to create tension
- mute bass on the busiest ghost-fill moments so the loop can speak
In Ableton, use:
- Operator or Wavetable for a clean sub layer
- Analog, Wavetable, or Meld for a midrange reese layer
- Auto Filter with slow envelope movement or subtle LFO-style modulation
- Saturator or Pedal for edge, but keep the sub channel cleaner
A strong DnB move is to create a call-and-response bar:
- bar 1: bass hits on the downbeat, then leaves space
- bar 2: ghost loop fills the gaps while bass answers late in the bar
- bar 4: a short bass stab or pitch bend creates a phrase turnaround
This interaction is what makes the loop feel like part of the tune, not an overlay.
7. Use automation to build arrangement movement
The top loop should not stay static for the whole track. Automate it like a DJ tool.
Good automation moves:
- Auto Filter cutoff rising from 180 Hz to 500 Hz across 8 or 16 bars in intros
- Dry/Wet on Saturator or Drum Buss for section changes
- Utility width narrowing into drops, widening in breakdowns
- clip gain or track volume automation to bring the ghost loop forward in fills
Arrangement example:
- 16-bar intro: filtered top loop teased with no sub
- 8-bar pre-drop: ghost loop opens up, bass hints come in
- Drop 1: full bassline with loop at moderate level
- Bar 9 of drop: cut bass for half a bar and let the ghost loop lead into a snare fill
- Second drop: reintroduce the loop with slightly different groove or a different slice order
In DnB, these micro-arrangement changes matter because the listener is riding energy at high tempo. Tiny shifts feel huge.
8. Bounce and resample for a more authentic jungle edge
Once the loop feels good, resample it. Create a new Audio Track and set its input to Resampling or route the break bus to it. Print a phrase with the bassline playing, then edit the rendered audio.
After resampling:
- trim the best 1- or 2-bar phrases
- reverse a tiny tail for a pre-snare lift
- use Warp markers to slightly push a ghost hit ahead of the beat
- add Redux lightly if you want extra grime, but keep aliasing under control
This technique works because oldskool jungle often sounds convincing when it’s been committed, re-timed, and re-chopped. The slight instability gives the drum/bass pocket a lived-in character that digital-perfect programming usually misses.
Common Mistakes
- Fix: high-pass more aggressively with EQ Eight. If the loop still fights the sub, cut up to 350 Hz and use a narrower band stop on muddy resonances.
- Fix: reduce Groove Pool amount. If the loop starts sounding lazy instead of driving, pull swing back toward 50–58% and check the bassline against it.
- Fix: lower the velocity of secondary notes and vary them manually. Ghost notes should support the snare, not flatten into a machine-gun pattern.
- Fix: use Utility to check mono. If the loop collapses badly, reduce width, simplify stereo effects, or keep only one widened layer.
- Fix: get the groove and note placement right first. Then add Drum Buss, Saturator, or clipping. Distortion can exaggerate timing issues.
- Fix: leave gaps where the break breathes. In DnB, the bass often hits harder because it doesn’t play constantly.
Pro Tips for Darker / Heavier DnB
Mini Practice Exercise
Spend 10–20 minutes building one 8-bar phrase:
1. Load Funky Drummer and extract a top-loop version.
2. High-pass it with EQ Eight and get rid of all low-end bleed.
3. Slice or edit it into a 1-bar pattern with 2–4 ghost details per bar.
4. Apply a Groove Pool swing between 55–62%.
5. Write a simple bassline:
- sub notes on the main kicks
- one reese answer at the end of bar 2 or bar 4
6. Automate the loop filter opening over 8 bars.
7. Resample the result and listen back in mono.
Then ask yourself:
Repeat once with a darker version:
Recap
The core idea is simple: use a Funky Drummer top loop as a ghosted rhythmic layer, then shape it with Ableton Live 12 Groove Pool tricks so it locks into a jungle/oldskool DnB bassline without cluttering the low end.
Remember the essentials:
If you get the pocket right, this technique adds instant DnB identity, movement, and vintage pressure to your tune.

