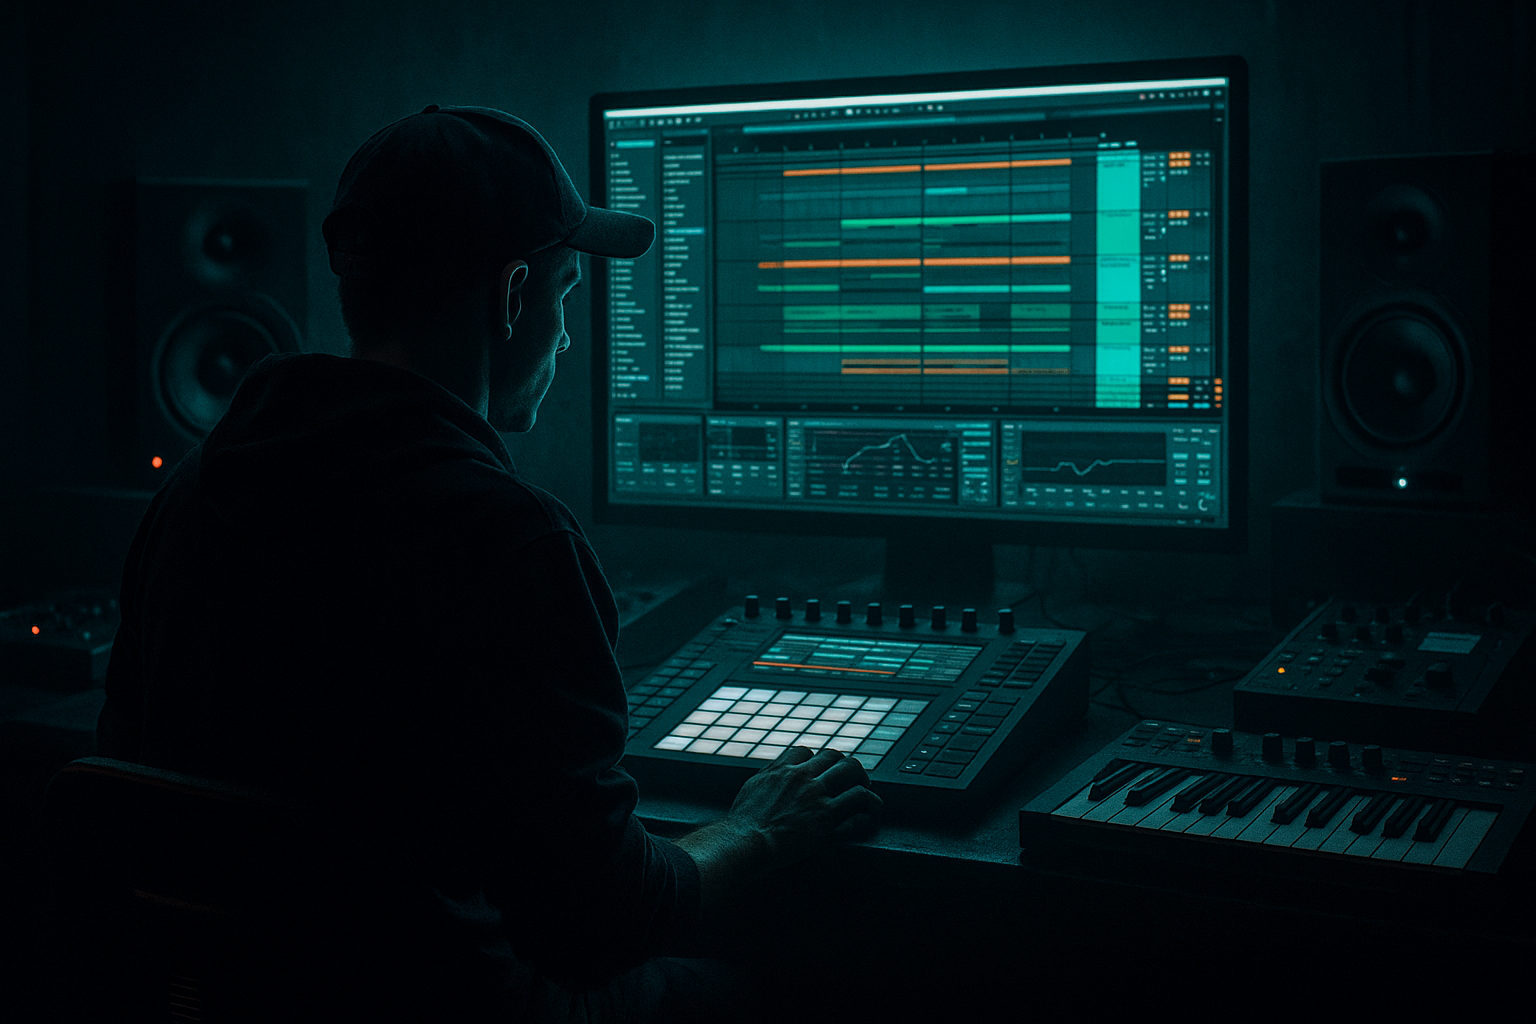
DNB COLLEGE

Drum & Bass Ableton Live 12 Tutorials

LESSON DETAIL

Funky Drummer jungle mid bass: blend and arrange in Ableton Live 12 (Beginner)

An AI-generated beginner Ableton lesson focused on Funky Drummer jungle mid bass: blend and arrange in Ableton Live 12 in the Sound Design area of drum and bass production.

Back to lessons
Funky Drummer jungle mid bass: blend and arrange in Ableton Live 12 (Beginner) cover image

Narrated lesson audio

The voice track includes the tutorial plus extra teacher commentary.

Open audio file

Main tutorial

```markdown

Funky Drummer Jungle Mid Bass: Blend & Arrange in Ableton Live 12 🥁⚡️

Skill level: Beginner

Category: Sound Design (with real arrangement + mix workflow)

---

1) Lesson overview

In this lesson you’ll build a classic jungle/DnB mid-bass that locks with a Funky Drummer-style break, then learn how to blend, automate, and arrange it into a rolling 32–64 bar idea in Ableton Live 12.

You’ll focus on:

  • Making a mid-bass that speaks on small speakers (the “growl/knock” layer)
  • Leaving space for sub and break transients
  • Using stock Ableton devices to shape tone, movement, and groove
  • Arranging like real jungle: intros, drops, edits, fills, and switches
  • ---

    2) What you will build

    By the end you’ll have:

  • A mid-bass rack (mid-only) that you can reuse
  • A break-driven groove with tight timing and punch
  • A simple arrangement:
  • - 16 bars intro (DJ-friendly)

    - 16 bars drop A

    - 16 bars variation/fill

    - (optional) 16 bars drop B switch

  • Automation for filter, drive, and movement to keep it rolling 🎛️
  • ---

    3) Step-by-step walkthrough

    Step 0 — Project setup (DnB basics)

    1. Tempo: Set to 165–172 BPM (try 170).

    2. Warp mode: Keep drums crisp—make sure your break is in Beats warp mode.

    3. Create tracks:

    - Audio Track: `BREAK`

    - MIDI Track: `MID BASS`

    - (Optional later) MIDI Track: `SUB`

    - Return Tracks: `A - SHORT ROOM`, `B - DUB DELAY` (optional)

    ---

    Step 1 — Load and prep a Funky Drummer-style break 🥁

    1. Drag your break sample onto `BREAK`.

    2. In Clip View:

    - Turn on Warp

    - Warp mode: Beats

    - Preserve: Transient

    - Set Transient Loop Mode: Forward

    - Adjust Start Marker so the first kick lands exactly on 1.1.1

    3. Slice the break (beginner-friendly method):

    - Right-click the clip → Slice to New MIDI Track

    - Slicing preset: Built-in → Slicing

    - Slice by: Transients

    Now you have a Drum Rack with break hits.

    Goal: We’ll keep the break’s vibe, but tighten its relationship with the bass.

    ---

    Step 2 — Make the break roll (basic jungle edits)

    1. In the sliced MIDI clip, program a simple 1-bar loop:

    - Keep the main kick/snare cadence intact

    - Add a couple of ghost notes (quiet snares/hats) between hits

    2. Groove without getting messy:

    - Select the MIDI notes → Quantize Settings

    - Quantize Amount: 70–85%

    - Add a little swing: Groove Pool → try MPC 16 Swing 55–60 (subtle)

    Quick tone shaping on the BREAK track (stock chain):

  • EQ Eight
  • - HP filter around 30–40 Hz (remove rumble)

    - Small cut 250–400 Hz if boxy

    - Gentle boost 6–9 kHz if dull (careful!)

  • Drum Buss
  • - Drive: 5–15%

    - Boom: 0–10% (don’t overdo; breaks can get flubby)

    - Crunch: 0–20% (taste)

  • Glue Compressor
  • - Attack: 3 ms

    - Release: Auto

    - Ratio: 2:1

    - Aim for 1–3 dB gain reduction on peaks

    ---

    Step 3 — Build the jungle mid-bass (the “speaker bass”) 🎚️

    Important concept: In DnB you usually split bass into:

  • SUB (mono, clean, low)
  • MID BASS (character, movement, audible on phones)
  • This lesson focuses on MID BASS.

    #### Option A (fast & effective): Wavetable mid-bass

    1. On `MID BASS`, load Wavetable.

    2. Settings:

    - Osc 1: Basic Shapes → Square (or Saw for brighter)

    - Osc 2: Off (for simplicity)

    - Voices: 1 (Mono)

    - Glide/Portamento: 40–80 ms (for slinky movement)

    - Filter: MS2 (or PRD) low-pass

    - Cutoff: start around 250–600 Hz

    - Resonance: 10–25%

    3. Add movement:

    - LFO 1 → map to Filter Cutoff

    - Rate: 1/8 (sync)

    - Amount: small to medium (enough to “talk”)

    #### Mid-bass processing chain (stock, practical)

    After Wavetable, add:

    1. Saturator

    - Mode: Analog Clip

    - Drive: 3–8 dB

    - Soft Clip: On

    2. Auto Filter (movement + control)

    - Filter: Low-pass

    - Envelope: tiny positive amount (optional)

    - Map cutoff for automation later

    3. Amp (optional but great for grit)

    - Preset style: start with Clean or Blues

    - Gain: low (don’t explode the mix)

    4. EQ Eight

    - High-pass at 120–180 Hz (this makes it mid bass, not sub)

    - Dip harshness at 2–4 kHz if needed

    - If it’s too nasal, cut 700–1.2 kHz

    5. Compressor (or Glue)

    - Ratio: 4:1

    - Attack: 10–30 ms

    - Release: 80–150 ms

    - Aim: stabilize it, not squash it to death (2–5 dB GR)

    Why HP at 120–180 Hz?

    Because your mid-bass should not fight the sub and kick. It should add texture + note definition.

    ---

    Step 4 — Write a bassline that fits jungle (simple but authentic)

    DnB/jungle basslines often lean on:

  • Short notes
  • Call-and-response
  • Offbeats
  • Little slides
  • In a 1-bar loop, try this starter pattern in A minor:

  • Notes: A1, G1, C2, D2 (adjust octave to taste)
  • Rhythm idea:
  • - Hit on 1.1

    - Short note on 1.2.3

    - Another on 1.3

    - Rest + hit on 1.4.2 (syncopation)

    Keep notes short (1/8 or 1/16). Jungle is about space and groove.

    ---

    Step 5 — Blend bass and break (the “lock”) 🔒

    This is where most beginners lose the vibe. Do these in order:

    #### A) Make room with EQ (fast win)

  • On `BREAK`, ensure there’s no massive low sub:
  • - HP at 30–40 Hz

  • On `MID BASS`:
  • - HP at 120–180 Hz (as above)

    - Keep it present around 200–800 Hz, but not honky

    #### B) Sidechain the mid-bass to the break’s kick/snare

    You want the mid-bass to duck slightly so the break punches through.

    Method (simple):

    1. Add Compressor to `MID BASS`.

    2. Enable Sidechain.

    3. Input: `BREAK` (or better: a separate kick ghost trigger if you have one).

    4. Start settings:

    - Ratio: 4:1

    - Attack: 1–3 ms

    - Release: 80–140 ms

    - Threshold: lower until you see 2–6 dB gain reduction on drum hits

    #### C) Control stereo: keep bass stable

  • Add Utility at end of `MID BASS` chain:
  • - Width: 80–120% (careful—too wide gets phasey)

  • If you later add sub: keep sub at 0% width (mono).
  • ---

    Step 6 — Add “jungle movement” with automation 🎛️✨

    DnB basslines stay interesting through automation, not constant new notes.

    In Arrangement View:

    1. Automate Auto Filter cutoff on `MID BASS`:

    - Close slightly during busy drum fills

    - Open on the “answer” phrase

    2. Automate Saturator Drive:

    - +1 to +3 dB in the drop

    - Pull it back in breakdowns

    3. Optional: automate LFO amount (Wavetable):

    - Less movement in intro

    - More movement in drop

    Think: A section = stable, B section = slightly wilder.

    ---

    Step 7 — Arrange a real jungle/DnB structure (32–64 bars)

    Here’s a beginner-friendly arrangement you can copy:

    #### Bars 1–16: Intro (DJ-friendly)

  • Break filtered (use Auto Filter on BREAK)
  • - Start cutoff around 500–1kHz, open gradually

  • Add tiny ear candy:
  • - One-shot FX

    - A hat loop

  • Mid-bass: tease it (low volume or filtered)
  • #### Bars 17–32: Drop A (full energy)

  • Full break + mid-bass
  • Add a crash on bar 17
  • Add a 1-bar fill at bar 32 (slice a snare roll from the break)
  • #### Bars 33–48: Variation

  • Change bass rhythm slightly (remove a note, add a syncopated hit)
  • Or switch the bass tone:
  • - Increase drive

    - Open filter

  • Add a break edit (drop kick for half a bar, let snares run)
  • #### Bars 49–64: Drop B (optional)

  • Introduce a new bass “reply” phrase
  • Or swap to a second mid-bass rack (copy the track and tweak)
  • Classic jungle trick: drop the bass for 1/2 bar before a phrase restart → instant hype.

    ---

    4) Common mistakes (and how to fix them)

    1. Mid-bass fighting the break’s punch

    - Fix: sidechain ducking + reduce 200–400 Hz on bass if it masks snare body

    2. Too much low end in the mid-bass

    - Fix: HP at 120–180 Hz on mid-bass (keep sub separate)

    3. Over-warping breaks (smearing transients)

    - Fix: use Beats mode, preserve Transient, avoid extreme stretching

    4. Bass sounds cool solo but weak in the track

    - Fix: add harmonics (Saturator), keep notes shorter, automate cutoff

    5. Arrangement feels looped

    - Fix: add fills every 8 or 16 bars, automate drive/filter, remove elements briefly

    ---

    5) Pro tips for darker/heavier DnB 🖤

  • Make the mid-bass dirtier, not louder:
  • Use Roar (if available in your Live version) or Saturator + Amp to add grit without blowing headroom.

  • Narrow the mid-bass, widen the tops:
  • Keep bass relatively centered; widen hats/atmos with Utility or Chorus-Ensemble.

  • Use a “reese-like” variation:
  • Duplicate the MID BASS track → detune Osc 1 slightly or add Osc 2 with small detune → then HP it so it stays mid-only.

  • Darkness = controlled highs:
  • Roll off harsh top end with EQ Eight (gentle shelf down from 8–10 kHz) while keeping snare crack present.

  • Tension edits:
  • Drop drums for 1 beat, keep bass tail, then slam back in. Jungle lives on edits.

    ---

    6) Mini practice exercise (15–25 minutes) ✅

    1. Make a 4-bar loop with your break and mid-bass.

    2. Create 2 bass variations:

    - Variation 1: change rhythm only

    - Variation 2: automate filter cutoff differently

    3. Arrange 16 bars:

    - Bars 1–8: filtered drums + filtered bass

    - Bars 9–16: full drums + full bass

    4. Add one fill at bar 8 or 16 using sliced break hits.

    Goal: it should feel like it “drops” even in just 16 bars.

    ---

    7) Recap

    You built a beginner-friendly jungle/DnB mid-bass and learned how to blend and arrange it with a Funky Drummer-style break in Ableton Live 12:

  • Break prep: Warp (Beats), slice, groove
  • Mid-bass: Wavetable + Saturator + Filter + EQ + Compression
  • Blend: EQ separation + sidechain ducking + stereo control
  • Arrange: intro → drop → variation → (optional) switch
  • Movement: automation = energy

If you want, tell me your tempo and what break you’re using, and I’ll suggest a tight 2-bar bass MIDI pattern and exact automation moves for a proper rolling drop.

```

Ask GPT about this lesson

Chat with the lesson tutor, get follow-up help, or use quick actions.

Bigup 👽 Ask me anything about this lesson and I’ll answer in context.

Narration script

Show spoken script
Title: Funky Drummer jungle mid bass: blend and arrange in Ableton Live 12 (Beginner)

Alright, let’s build a proper jungle-style mid-bass that locks with a Funky Drummer type break, and then actually arrange it into a real 32 to 64 bar idea in Ableton Live 12.

This lesson is beginner-friendly, but we’re doing it the real way: sound design plus blending plus a simple arrangement, so it stops feeling like an endless loop.

Before we touch anything, set your tempo to something in the drum and bass zone. I like 170 BPM for this. Anywhere from 165 to 172 is totally valid, but pick one now so you’re not changing the feel later.

Now do a quick level calibration. This is one of those “teacher” things that saves you pain later. Pull your faders down and aim for your break peaking around minus 8 to minus 6 dBFS, and your mid-bass peaking around minus 12 to minus 9. The reason is simple: you’re about to add saturation and compression, and you want headroom so the master doesn’t explode.

Create a few tracks:
An audio track called BREAK, a MIDI track called MID BASS, and optionally later you can add a SUB track. Also, if you want to keep it vibey, set up two return tracks: one short room reverb, and one dubby delay. Optional, but fun.

Step one: load and prep the break.

Drag your Funky Drummer style break onto the BREAK track. Click the clip, and in the clip view turn on Warp. For classic jungle breaks, you want them crisp, so set warp mode to Beats. Make sure it’s preserving transients, and set transient loop mode to Forward. Then adjust the start marker so the first kick lands exactly on 1.1.1. This matters more than people think. If the break is even slightly late, everything you add will feel wobbly.

Now we’re going to slice it in a beginner-friendly way so you can edit it like a drummer. Right-click the clip and choose Slice to New MIDI Track. Use the built-in slicing preset, and slice by transients. Now you’ve got a Drum Rack with all those break hits ready to reprogram.

The goal here is not to sterilize the break. Jungle is about attitude. We’re just giving ourselves control so the bass and break can “agree” rhythmically.

Step two: make the break roll with basic jungle edits.

Open the sliced MIDI clip and build a simple one-bar loop. Keep the main kick and snare cadence intact. That’s your identity. Then add a couple of ghost notes—quiet extra snares or hats between hits. Think “energy and shuffle,” not “new drum pattern.”

For quantize, don’t slam it to 100 percent unless you want it to feel like plastic. Go into quantize settings and use about 70 to 85 percent. Then, if you want a little swing, open the groove pool and try an MPC 16 swing around 55 to 60, subtle. The moment it feels like it’s stumbling, back it off.

Now tone-shape the BREAK track with a simple stock chain.

First, EQ Eight. High-pass around 30 to 40 Hz to kill rumble you don’t need. If it sounds boxy, do a small cut around 250 to 400 Hz. And if it’s dull, a gentle lift around 6 to 9 kHz can help, but careful—breaks can get harsh really fast.

Then add Drum Buss. Use Drive somewhere around 5 to 15 percent. Boom stays low, like 0 to 10 percent max, because too much boom makes breaks flubby. Crunch, tastefully, maybe up to 20 percent if you want it more aggressive.

Then add Glue Compressor. Try attack around 3 milliseconds, release on auto, ratio 2 to 1. You’re aiming for maybe 1 to 3 dB of gain reduction on peaks. This is “glue,” not “smash.”

Cool. Now the fun part.

Step three: build the jungle mid-bass. This is your “speaker bass,” the layer you’ll actually hear on small speakers and phones.

Important concept: in drum and bass you often split bass into sub and mid. Sub is clean, mono, and low. Mid bass is character, movement, and audibility. Today we’re focusing on the mid bass, and we’re going to high-pass it on purpose.

On the MID BASS track, load Wavetable.

For Oscillator 1, pick Basic Shapes and choose Square for a thicker, hollow vibe. Saw works too if you want brighter. Turn Oscillator 2 off for now. Set it to mono, one voice.

Turn on glide or portamento and set it around 40 to 80 milliseconds. That gives you those slinky little slides that feel very jungle.

Now set up a filter. MS2 or PRD low-pass is fine. Put the cutoff somewhere around 250 to 600 Hz to start, resonance around 10 to 25 percent. Don’t over-resonate yet; that can steal space from the snare.

Add movement: take LFO 1 and map it to the filter cutoff. Set the rate to 1/8 synced. Keep the amount small to medium. You want it to “talk,” but you don’t want a giant wobble that fights the break.

Now build a practical processing chain after Wavetable.

First, Saturator. Use Analog Clip mode, drive around 3 to 8 dB, and turn Soft Clip on. This is doing a big job: it adds harmonics so the bass reads on small speakers without you turning it up too loud.

Next, Auto Filter. Low-pass again. Think of this as your “arrangement filter,” the one you’ll automate later to open and close energy.

Optional but awesome: add Amp. Start with Clean or Blues. Keep the gain low. The point is texture, not volume.

Now EQ Eight. This is the key beginner move: high-pass the mid-bass around 120 to 180 Hz. Yes, really. This is how you prevent it from fighting the kick and your future sub. If it gets harsh, dip 2 to 4 kHz. If it sounds nasal, try a small cut around 700 Hz to 1.2 kHz.

Then compression. Regular Compressor or Glue is fine. Try ratio 4 to 1, attack 10 to 30 ms, release 80 to 150 ms. Aim for stability, not destruction—around 2 to 5 dB of gain reduction.

Step four: write a bassline that fits jungle.

Jungle basslines love short notes, call-and-response, offbeats, and little slides. In one bar, try something in A minor: A, G, C, D. Don’t overthink the music theory—this is about rhythm and vibe.

Here’s a rhythm you can try:
Hit on the downbeat at 1.1. Then a short note around 1.2.3. Another hit around 1.3. Then leave a rest and hit again around 1.4.2 for syncopation.

Keep most notes short, like eighths or sixteenths. Space is what makes the break feel faster and the groove feel deeper.

Now step five: blend the bass and the break. This is the “lock.” This is where it becomes jungle instead of “drums plus random bass.”

First, EQ separation.
On the BREAK, you already high-passed around 30 to 40 Hz. Great.
On the MID BASS, you high-passed around 120 to 180 Hz. Great.
Now listen to the snare body. A lot of classic breaks have weight around 180 to 260 Hz. If the snare suddenly feels small when the bass plays, do a narrow dip on the mid-bass around 200 to 240 Hz. Even 1 to 3 dB can be the difference between punchy and papery.

Second, sidechain.
Add a Compressor on the MID BASS. Turn on Sidechain. If you sidechain directly from the whole break, the hats and ghosts might make the bass pump in a messy way. So here’s a clean trick: create a dedicated duck trigger.

Make a new MIDI track. Load a Drum Rack, put a short click or tight kick on one pad. Program notes only where you want the bass to dip—usually the main kick and main snare spots. Turn its output down so you don’t hear it, or set it to sends only if you prefer. Then sidechain the MID BASS compressor to this Ghost Kick track.

Now your groove ducks consistently, without reacting to every tiny transient.

For starting sidechain settings: ratio 4 to 1, attack 1 to 3 ms, release 80 to 140 ms. Lower the threshold until you see about 2 to 6 dB gain reduction on the main hits. You want the drums to speak, but you don’t want the bass to disappear.

Third, stereo control.
Put Utility at the end of the MID BASS chain. Keep width modest, like 80 to 120 percent. If you go too wide, you’ll get phase issues and the bass will vanish in mono.

And do this check now, not later: put a Utility on the master temporarily and hit Mono. If your mid-bass changes tone drastically or disappears, reduce width or remove stereo modulation. Jungle in clubs needs mono compatibility.

Quick coaching move: tighten bass timing by ear.
Try nudging the entire bass a tiny bit late, like 5 to 15 milliseconds. You can do it with track delay or by nudging notes. Compare. Often, a slightly late bass feels heavier behind the break without dragging the tempo. Trust your body response here.

Step six: add jungle movement with automation.

In arrangement view, automate the Auto Filter cutoff on the MID BASS. Close it slightly during busy drum moments, and open it on the “answer” phrase. This makes the bass feel like it’s talking with the break.

Automate Saturator drive too. Add maybe 1 to 3 dB extra drive in the drop, and back it off in the intro and breakdown. That’s a classic way to increase energy without just turning up volume.

Optional: automate the LFO amount in Wavetable. Less movement in the intro, more in the drop. Think: A section stable, B section a little wilder.

Now step seven: arrange it like real jungle. Let’s turn the loop into a structure.

Here’s a simple 64-bar plan you can copy.

Bars 1 to 16: intro.
Filter the break with Auto Filter so it starts kind of thin, maybe a cutoff around 500 Hz to 1 kHz, and gradually opens. Add tiny ear candy if you want: a hat loop, a one-shot FX, maybe a little room reverb. Tease the mid-bass either very low in volume or heavily filtered, just enough that you feel it coming.

Bars 17 to 32: drop A.
Full break and full mid-bass. Add a crash at bar 17 for a clear “we are in” moment. At bar 32, do a quick one-bar fill. Easiest method: grab a little snare roll or shuffle from your sliced hits.

Bars 33 to 48: variation.
Change just one main thing. You can alter the bass rhythm slightly—remove a note, add a syncopated hit—or keep the MIDI the same and change the character: more drive, a more open filter, slightly more LFO. Also add a break edit: for example, drop the kick for half a bar and let the snares run. That’s instantly jungle.

Bars 49 to 64: optional drop B switch.
You can introduce a new “reply” phrase in the bassline, or duplicate the MID BASS track and tweak the sound for a second mid-bass rack. Even small changes like slightly different filter settings and drive can feel like a whole new section if the drums stay strong.

Classic jungle hype trick: drop the bass for half a bar right before a phrase restart, then slam it back in. You’ll hear the room react, even in a simple sketch.

If your arrangement still feels looped, use an 8-bar energy map. Every 8 bars, change one thing only: drum density, bass brightness, reverb or delay amount, or mute one element briefly. One change per block is enough.

And here’s a clean pre-drop tension move that doesn’t require new sounds: in the last bar before the drop, automate a high-pass up on the break to thin it out, and automate the bass filter down to thin that too. Then snap both back at the drop. The contrast makes the drop feel bigger.

A few common mistakes to avoid while you build:
If the mid-bass fights the break punch, fix it with sidechain and a small EQ dip around 200 to 400 Hz on the bass if it’s masking snare body.
If your mid-bass has too much low end, high-pass it at 120 to 180 Hz and keep the sub separate.
If the break transients feel smeared, stick to Beats warp mode with transient preservation and avoid extreme stretching.
If the bass sounds amazing solo but weak in the track, add harmonics with saturation, shorten notes, and use automation to create energy.
If everything feels like a loop, add a fill every 8 or 16 bars, and use mutes and automation like a DJ-friendly storyline.

Quick practice exercise if you want to lock this in fast:
Make a 4-bar loop with your break and mid-bass.
Create two bass variations. One changes rhythm only. The other keeps rhythm but changes filter automation.
Then arrange just 16 bars: first 8 bars filtered drums and filtered bass, next 8 bars full drums and full bass.
Add one fill at bar 8 or 16 using your sliced break hits.
The goal is that it feels like it “drops” even in 16 bars.

If you want a bigger homework challenge, make a 48-bar sketch that evolves every 8 bars without adding new instruments. Intro, drop A with clean ducking using a ghost kick, and a variation section where you switch bass character using drive automation, velocity-to-filter, or a rack chain selector swap. Then do a clear break edit at bar 48.

Let’s recap what you just built.
You prepped a Funky Drummer style break with crisp warping, slicing, and groove.
You built a mid-bass in Wavetable with saturation, filtering, EQ, and compression, and you high-passed it so it stays mid-focused.
You blended the two with EQ separation, sidechain ducking, and stereo control with mono checks.
And you arranged it into intro, drop, variation, and optional switch, using automation and edits for energy.

If you tell me your exact tempo and which break sample you picked, I can suggest a tight 2-bar bass MIDI pattern and a couple of specific automation moves for a rolling, proper drop in your project.

mickeybeam

Go to drumbasscd.com for +100 drum and bass YouTube channels all in one place - tune in!

Generating PDF preview…