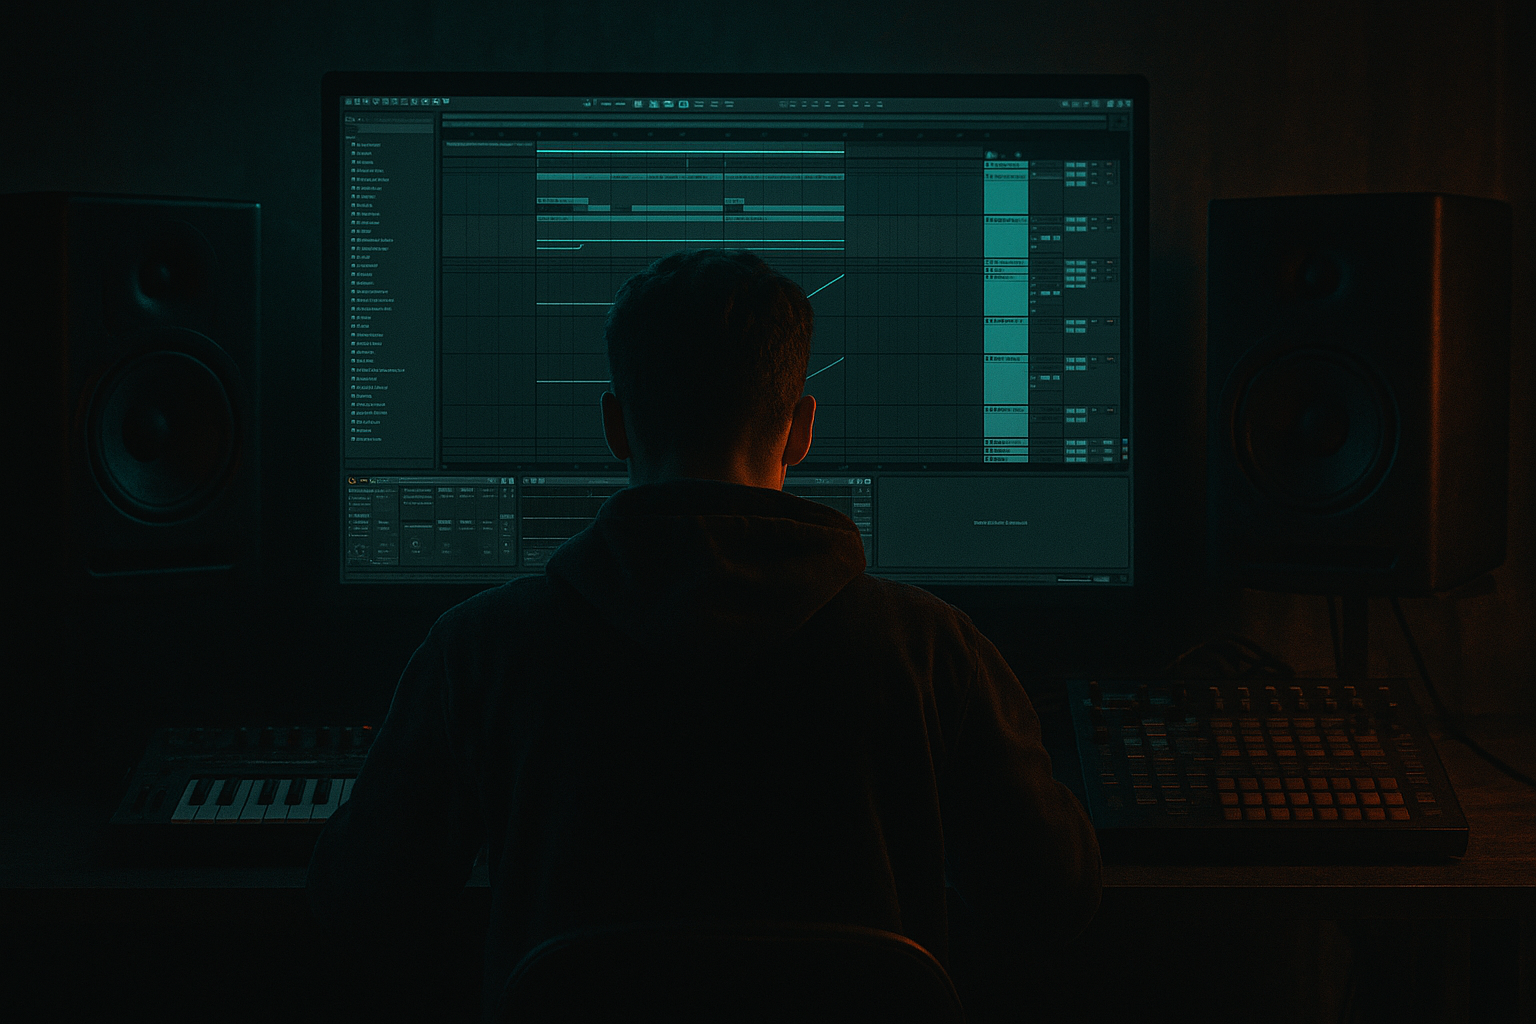
Main tutorial
Funky Drummer: Bassline Pull Using Macro Controls Creatively in Ableton Live 12 for Jungle / Oldskool DnB Vibes 🥁🔊
1. Lesson overview
This lesson is all about creating that push-pull, call-and-response bass movement you hear in jungle and oldskool drum & bass — where the bassline seems to duck, punch, and “pull away” from the drums in a musical, rhythmic way.
Instead of automating everything manually, you’ll build a resampled bass toolchain in Ableton Live 12 and use Macro controls to shape:
- Bass volume pull
- Filter movement
- Distortion drive
- Stereo width / mono focus
- Envelope character
- Rhythmic tension and release
- Jungle rollers
- Oldskool rave DnB
- Dark halftime-to-stepper hybrids
- Reese bass resampling
- Break-led bass arrangements
- Start with a simple synth bass or resampled bass hit
- Process it through filter, saturation, compression, and utility shaping
- Map key parameters to Macros so you can perform the pull
- Resample your bass into an audio clip for more character and control
- Arrange it so the bass leaves space for the break and returns with tension
- full-on midrange growl
- muted “pulled back” sections
- tighter sub-focused moments
- more aggressive drop accents
- High-pass very gently if needed around 25–30 Hz
- Cut mud around 200–350 Hz if the bass clouds the break
- Small boost around 80–120 Hz if the sub needs body
- Use a narrow cut if one note is resonating too hard
- Drive: 2–6 dB
- Soft Clip: On
- Try the Analog Clip curve for classic bite
- Type: Lowpass 12
- Resonance: 10–25%
- Drive: a little if needed
- This will be one of your main “pull” tools
- Sidechain from the kick or break if needed
- Attack: 5–20 ms
- Release: 50–120 ms
- Aim for gentle movement, not total flattening
- Bass should stay mono below the crossover area
- Width: automate or macro-control if you want midrange expansion
- Gain: useful as a macro-controlled pull/return tool
- Add subtle digital bite or heavier distortion
- Great for aggressive oldskool edge
- Keep it parallel or lightly blended unless you want destruction 😈
- Maps to:
- Purpose: this is your main “bass steps back / bass steps forward” control
- Maps to:
- Purpose: shifts the bass from dark to aggressive
- Maps to:
- Purpose: increases edge and urgency
- Maps to:
- Purpose: keeps the low end controlled while opening the upper bass
- Maps to:
- Purpose: brings the bottom back in for drops or phrase endings
- Maps to:
- Purpose: creates animated movement synced to the groove
- On the downbeat, let the bass hit full strength.
- On the next 1/8 or 1/16, pull it back slightly.
- Bring it back in before the snare or at phrase end.
- Shorter notes create tighter energy
- Longer notes can swell into the break
- Lower velocity on “pulled” notes helps the bass sit back naturally
- Bright on the accent
- Dark on the release
- Chop the audio into phrases
- Reverse small sections
- Time-stretch a pulled bass hit
- Fade, warp, or micro-edit the movement
- Layer with another sub or midbass
- your macro movements
- the saturation behavior
- subtle compressor pump
- the exact groove interaction with the drums
- Bars 1–2: sparse bass pulls, leave room for break
- Bars 3–4: full bass answer phrase
- Bars 5–6: more rhythmic stabs, less sub
- Bar 7: tension build with filter closing
- Bar 8: full release/drop section
- Use split clips to remove unnecessary tails
- Add tiny fades to avoid clicks
- Reverse small bass tails for a “suck-in” effect
- Duplicate the bass phrase and alter the macro movement between versions
- Keep sub bass mono
- Let the bass leave space for the snare crack
- If the kick is strong, carve a bit around 50–90 Hz
- If the break has strong low mids, reduce bass around 180–300 Hz
- Sidechain the bass lightly to the kick or snare
- Use Compressor or Glue Compressor
- Don’t overdo it — oldskool jungle often feels more like rhythmic negotiation than obvious EDM pumping
- filter
- saturation
- width
- envelope
- gain together
- distortion only on mids/highs
- parallel processing
- EQ before and after distortion
- Sub layer: clean sine or filtered low tone
- Mid layer: distorted, filtered reese or bass stab
- close the filter
- reduce width
- increase saturation a touch
- reduce upper mids slightly
- dry low-end
- distorted midrange copy
- a full bass
- a pulled bass
- a filtered bass
- a distorted accent
- filter cutoff
- volume
- pan
- send amount
- Use Macro controls to shape movement, not just loudness
- Combine filter, saturation, width, and gain for a convincing pull
- Resample your performance to capture the vibe
- Edit and arrange the audio like a jungle producer
- Let the bass interact with the break, not fight it
- a Ableton device chain recipe
- a Macro mapping diagram
- or a full 8-bar MIDI + resampling workflow for a specific jungle bass style.
The goal is to create a bass sound that feels alive and responsive to the funky drummer-style breakbeat energy — tight enough for the drums to breathe, but aggressive enough to drive the tune. 💥
This is especially useful for:
---
2. What you will build
You’ll make a macro-controlled bass instrument rack that can do the following:
Final result:
A live-playable DnB bass patch that can move between:
---
3. Step-by-step walkthrough
Step 1: Set up your drum break and tempo
Start with the right rhythmic context. This technique works best when the bass is responding to an actual breakbeat.
1. Set your project tempo to 165–174 BPM
- For classic jungle feel: 160–170 BPM
- For modern DnB: 172–174 BPM
2. Load a funky break or chopped amen-style loop onto an audio track.
- Use a break with good ghost notes and syncopation.
- If needed, slice it to MIDI with Slice to New MIDI Track.
3. Keep the break fairly dry at first.
- You want to hear the rhythmic interaction clearly.
- Don’t overprocess yet.
Tip: If you’re using a Funky Drummer-style break, keep the transient detail intact. The bass pull works best when the drum groove is articulate.
---
Step 2: Create the bass source
You can do this from a synth or from resampled audio. For a controllable starting point, use a synth first.
#### Option A: Simple synth bass using Wavetable
1. Create a new MIDI track.
2. Load Wavetable.
3. Start with:
- Oscillator 1: Saw
- Oscillator 2: Square or another saw, slightly detuned
- Unison: light, if any
4. Set the filter to a Lowpass 12 or 24 dB
5. Add a short amp envelope:
- Attack: 0–5 ms
- Decay: 200–400 ms
- Sustain: 40–70%
- Release: 50–120 ms
This gives you a tight bass that can be “pulled” in and out dynamically.
#### Option B: Simpler / resampled bass hit
If you already have a bass sound or a reese one-shot:
1. Drop it into Simpler
2. Set to One-Shot or Classic
3. Turn on Loop if you want a longer tonal bass
4. Filter it and process like a playable tone
---
Step 3: Build the bass processing chain
Now let’s make the bass feel like a real jungle weapon. Use an Instrument Rack or Audio Effect Rack depending on whether your source is MIDI or audio.
#### Recommended chain for bass movement:
1. EQ Eight
2. Saturator
3. Auto Filter
4. Compressor or Glue Compressor
5. Utility
6. Optional: Redux or Roar for grit
#### Suggested settings:
EQ Eight
Saturator
Auto Filter
Compressor / Glue Compressor
Utility
Roar or Redux (optional)
---
Step 4: Put the bass inside an Instrument Rack and map Macros
This is the heart of the lesson.
1. Select your bass device chain.
2. Group it into an Instrument Rack.
3. Open Macro Controls.
4. Map key parameters to make one knob create the bass pull movement.
#### Suggested Macro layout
Macro 1: Pull
- Filter cutoff on Auto Filter
- Utility gain
- Saturator drive
Macro 2: Tone
- Wavetable position or filter cutoff
- EQ Eight high shelf or mid presence
Macro 3: Bite
- Saturator drive
- Roar amount / drive
- Compressor threshold slightly
Macro 4: Width
- Utility width
- Chorus-Ensemble amount if you use it on mids only
Macro 5: Sub Focus
- EQ Eight low shelf
- Utility gain
Macro 6: Rhythm
- Auto Filter envelope amount
- LFO rate if using LFO MIDI or Max for Live devices
---
Step 5: Make the “bass pull” actually musical
A bass pull is not just volume automation. It’s a combination of less energy, less brightness, more space, and a tighter envelope.
Here’s how to do it in practice:
#### Method 1: Macro automation
Draw automation for Macro 1: Pull across the arrangement.
This creates that classic push-back motion against the break.
#### Method 2: MIDI note velocity and note length
If your bass is MIDI:
#### Method 3: Filter envelope shape
Use a sharper filter attack or slightly reduced cutoff for pulled notes.
This feels more organic than volume alone.
---
Step 6: Resample the bass for character
Since this is a resampling lesson, commit your sound to audio.
1. Route your bass track to a new audio track set to Resampling.
2. Record a few bars of the bass performance while moving the macros.
3. Consolidate the best sections.
Now you can:
#### Why resample?
Because resampling captures:
That’s where the jungle character starts to appear.
---
Step 7: Chop and arrange the resampled bass
Now arrange the resampled bass so it behaves like a live DnB phrase.
#### Practical arrangement ideas:
#### Useful editing tricks:
This is a huge part of oldskool DnB energy: variation through editing and resampling, not just endless looping.
---
Step 8: Combine bass with the break properly
Your bass pull only works if the drums and bass are speaking to each other.
#### Basic mix rules:
#### Sidechain suggestions:
#### Drum interaction:
If the break has ghost notes, try pulling the bass back on those micro-moments so the drums stay lively. That makes the groove feel more “played.”
---
4. Common mistakes
1. Pulling only the volume
A bass pull is not just a fader move. If you only lower gain, the result can feel flat. Use:
2. Making the bass too wide in the low end
Keep the sub focused and mono. Wide sub = weak club translation.
3. Overcompressing the bass
Too much compression kills the movement. You want bounce, not a brick.
4. Ignoring the break rhythm
The bass should feel like it’s answering the drums. If it doesn’t react to the break, it won’t sound like jungle.
5. Resampling too early
Get the sound and macro movement right first. Then resample. If you resample a weak patch, you’ll just print weakness.
6. Too much distortion on the full-range signal
If you distort everything, the low end loses definition. Consider:
---
5. Pro tips for darker/heavier DnB
Use parallel bass layers
Split your bass into:
Then macro-control them separately for a bigger pull effect.
Automate the “presence,” not just the loudness
For darker DnB, use a macro to:
This makes the bass feel more menacing and less obvious.
Use Roar or Saturator in parallel
Heavy bass often benefits from a parallel chain:
Blend the distortion carefully so the sub remains solid.
Resample ghost versions
Print:
Then layer or alternate them in the arrangement.
Use clip envelopes for micro-movement
In Live 12, clip envelopes are great for tiny changes:
Use them to make a 2-bar loop feel like a performance.
Try break-following macros
Map a macro to bass cutoff and automate it in sync with snare accents or break fills. That oldskool “respond to the drummer” energy is what sells the vibe. 🥁
---
6. Mini practice exercise
Exercise: Build a 4-bar bass pull loop
Goal: make a 4-bar jungle loop where the bass breathes around the break.
#### Step-by-step:
1. Load a breakbeat loop at 170 BPM
2. Create a Wavetable bass or resampled bass patch
3. Put it into an Instrument Rack
4. Map these macros:
- Pull = filter cutoff + gain + saturation
- Bite = drive amount
- Width = utility width
- Sub Focus = low shelf / sub gain
5. Write a 4-bar MIDI bassline with:
- notes on strong offbeats
- some short stabs
- one longer held note at bar 4 for tension
6. Automate Pull so it:
- opens on the first hit
- closes slightly after
- reopens for the phrase end
7. Resample the result to audio
8. Cut the best bar into two versions:
- Version A: more aggressive
- Version B: more pulled-back
9. Arrange A and B alternately across the loop
#### Challenge:
Make the bass feel like it is leaning into the drums, then backing off, without obvious volume pumping.
---
7. Recap
You’ve now built a macro-controlled bass pull system in Ableton Live 12 that’s perfect for jungle and oldskool DnB.
Key takeaways:
The big idea:
In DnB, especially jungle and oldskool styles, the bass should feel performed. The pull is what gives it groove, tension, and attitude. Once you start resampling your macro moves, you’ll get that authentic, hands-on energy that makes a tune feel alive. 🚀
If you want, I can also turn this into:

