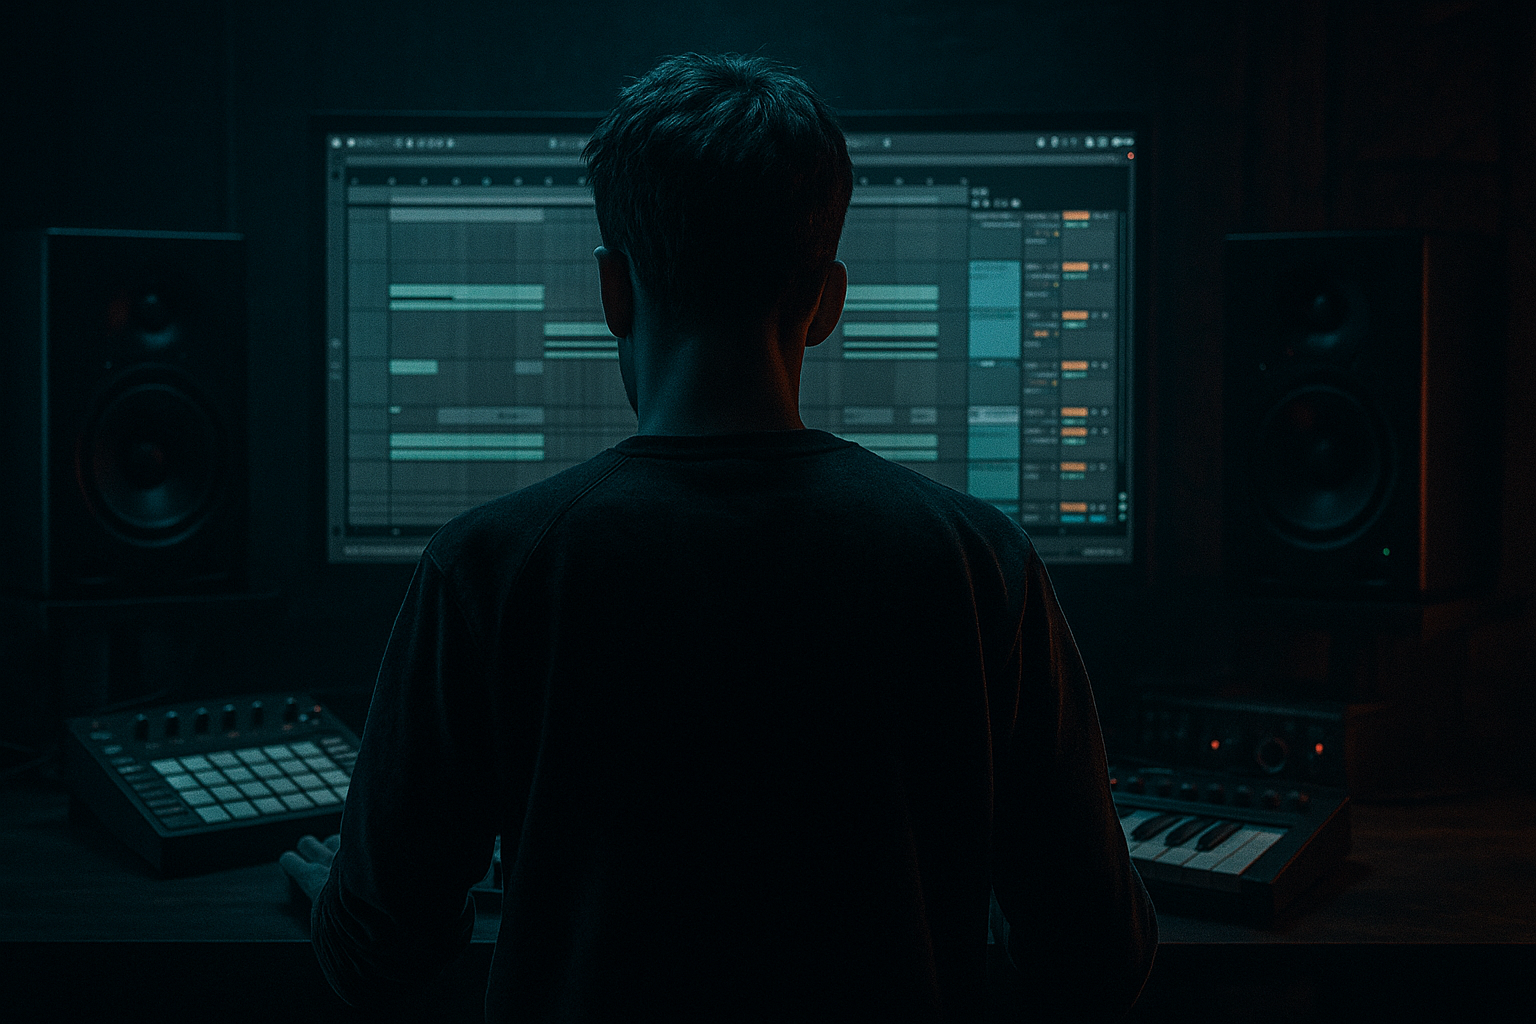
Main tutorial
Funky Drummer Top-Loop Tutorial (Ableton Live 12)
Resampling workflows for jungle / oldskool DnB vibes 🥁⚡
---
1) Lesson overview
This lesson is about building a proper “top loop” from a Funky Drummer-style break: the hats, shuffles, ghosty grit, and air that sit on top of your kick/snare and make your groove roll. We’ll do it using resampling in Ableton Live 12—classic jungle technique, but with modern control.
You’ll learn how to:
- Extract and exaggerate the high-frequency funk from a break
- Create tight, phase-coherent top loops that loop perfectly
- Use resampling + processing passes to “print” vibe and simplify CPU
- Get that oldskool DnB / jungle crispness while keeping it punchy
- A 2-bar top loop (or 1-bar if you prefer) made from Funky Drummer
- A printed/resampled audio loop that’s easy to drop into arrangements
- Multiple variations (A/B) for movement:
- Consolidate: select the recorded region → Cmd/Ctrl + J
- Name it: `FD_Tops_2bar_Print_A`
- If the loop feels too stiff:
- If it feels messy:
- EQ Eight: HP around 200 Hz, tiny air boost 8–12 kHz
- Add Auto Filter LP12
- Resample again to TOP LOOP ALT
- Use it for last 1 bar before drops or every 8 bars.
- Add Glue Compressor
- Then resample and slightly shorten to 1 bar for quick repeats.
- Bars 1–8: A (clean)
- Bars 9–16: A + small GRIME blend
- Bar 16 (last bar): B (telephone)
- Drop: A + C tucked in at low level for urgency
- Over-highpassing until it sounds thin
- Too much transient shaping
- Gate chopping the room in a bad way
- Resampling without level discipline
- Loop points slightly off
- Make the tops “smaller” but meaner
- Add controlled noise for menace
- Use Roar (Live 12) for nasty parallel grit
- Mid/Side cleanup
- Reverb philosophy
- You built a Funky Drummer-inspired top loop specifically for jungle/DnB using resampling to commit vibe.
- You used Ableton stock tools—EQ Eight, Gate, Saturator, Drum Buss, Auto Filter, Glue Compressor—to extract hats/shuffle and shape attitude.
- You printed variations and applied sidechain control so the loop supports modern kick/snare instead of fighting it.
- You now have a repeatable workflow that feels oldskool, hits hard, and stays mix-ready. ✅
---
2) What you will build
By the end you’ll have:
- Clean top loop
- Crunchy/comped top loop
- Filtered “radio” top loop for fills
And it’ll be ready to sit over a modern kick/snare, Reese, or rolling subline. 🔥
---
3) Step-by-step walkthrough
Step 0 — Session setup (DnB-ready)
1. Set tempo to 170–174 BPM (start at 172 BPM).
2. Create these tracks:
- Audio Track: BREAK (source)
- Audio Track: TOP LOOP (resample print)
- Audio Track: TOP LOOP ALT (variations)
- (Optional) Group: DRUM BUS to route tops + drums later
Tip: Work in 2-bar phrases for jungle authenticity—breaks “breathe” better.
---
Step 1 — Load Funky Drummer & warp it correctly
1. Drop your Funky Drummer break on BREAK (source).
2. In Clip View:
- Turn Warp: On
- Set Warp Mode: Complex Pro (or Complex if you want a slightly rougher vibe)
- Set Seg. BPM if needed; then align the downbeat.
3. Right-click the clip → Warp From Here (Straight) at the first transient (kick/snare).
Advanced check: Zoom in on bar 1. Make sure the first snare is not late. Jungle groove is often slightly behind, but your warp should be intentional—not sloppy.
---
Step 2 — Create a “tops-only” processing chain (on the BREAK track)
We’re going to extract hats/shuffle while minimizing kick/snare energy.
On BREAK (source) add this chain:
#### Device chain (in order)
1. EQ Eight
- HP filter: 24 dB/Oct at 180–250 Hz (adjust until kick is mostly gone)
- Add a gentle dip: -3 to -6 dB around 200–400 Hz (reduces boxiness)
- Optional: small boost: +2 dB at 7–10 kHz (air)
2. Gate (classic top-loop cleaner)
- Threshold: start around -25 dB (adjust to taste)
- Return: 80–120 ms
- Hold: 10–30 ms
- Floor: -inf or -15 dB if you want some room bleed
- Use Sidechain Filter inside Gate (if needed): focus it around 3–10 kHz so the gate reacts to hats/shuffle.
3. Saturator
- Mode: Analog Clip
- Drive: 2–6 dB
- Soft Clip: On
- Output: trim so you’re not clipping the channel
4. Drum Buss (the sauce 🧪)
- Drive: 5–15%
- Crunch: 0–15% (careful—too much gets fizzy)
- Boom: 0 (we’re doing tops; boom adds low-end)
- Transients: +5 to +20 (makes hats snap)
- Damp: adjust to keep brightness controlled
5. Auto Filter (movement)
- Filter: HP12 or HP24
- Frequency: 200–350 Hz
- Envelope: small amount (5–15) for dynamic bite
- (Optional) LFO: subtle, 0.05–0.15 Hz, tiny amount for “living loop”
Why this works: You’re not just high-passing—you’re printing character so the top loop already feels like a record.
---
Step 3 — Resample the processed tops (print your loop)
Now we commit it like oldskool workflow.
Method A (fast): Resampling via track input
1. Create TOP LOOP (resample print) audio track.
2. Set Audio From → BREAK (source).
3. Set Monitor → In.
4. Arm TOP LOOP (resample print).
5. Record 2 bars (or 1 bar) into Arrangement while the break plays.
Method B (cleaner): Resampling via “Resampling”
1. On TOP LOOP (resample print) set Audio From → Resampling.
2. Solo the BREAK track (so only tops are captured).
3. Record 2 bars.
After recording:
---
Step 4 — Tight looping and micro-timing (advanced)
1. Double-click the printed top loop clip.
2. Turn Warp On (yes, even though it’s printed—this is for precision).
3. Warp Mode:
- Beats (preserve transients)
- Transients: Preserve Transients
- Envelope: ~30–60 depending on how choppy you want it
Micro groove approach:
- Nudge a couple of hat transients slightly late (a few ms) using warp markers.
- Tighten the main hat accents to grid, keep ghost notes loose.
DnB note: Rolling jungle tops often feel like they “pull” forward while snares sit solid. Don’t quantize everything.
---
Step 5 — Add oldskool “break air” with parallel texture
Now create a parallel chain on the printed top loop (so it’s controllable).
On TOP LOOP (resample print) create an Audio Effect Rack with 2 chains:
#### Chain 1: CLEAN
#### Chain 2: GRIME (parallel)
1. Redux
- Bit Reduction: 10–12 bits
- Downsample: 1.5–3.0 (subtle!)
2. Overdrive
- Drive: 10–25%
- Tone: 6–8 kHz
3. EQ Eight
- HP: 350–500 Hz
- LP: 10–12 kHz to keep hiss under control
4. Set chain volume low, then blend in until you feel it, not hear it.
This gives that tape-to-sampler-to-mixer vibe without destroying transients. 😈
---
Step 6 — Build variations with resampling passes (A/B/C workflow)
You want movement across 16/32 bars.
Duplicate your printed loop clip and create:
#### Variation B: “Telephone / Filtered Fill”
- Frequency: 2–4 kHz
- Resonance: 10–20%
#### Variation C: “Pumped + Aggro”
- Attack: 0.3 ms
- Release: Auto
- Ratio: 4:1
- Gain Reduction: 2–5 dB
Arrangement idea (classic):
---
Step 7 — Make it sit with modern kick/snare (the “top loop job”)
A top loop should not fight your main drums.
On the TOP LOOP track add:
1. EQ Eight
- HP: 220–350 Hz (depending on your kick)
- Notch small harshness: -2 to -5 dB around 6–8 kHz if needed
2. Compressor (sidechain from your snare/kick bus)
- Sidechain Input: your main DRUMS group (kick/snare)
- Ratio: 2:1
- Attack: 3–10 ms
- Release: 50–120 ms
- Aim for 1–3 dB ducking on snare hits
This keeps the groove rolling while letting your snare crack through. 🎯
---
4) Common mistakes
Tops need some low-mid “paper” to feel real. Try HP at 220 not 500 unless your break is very boomy.
If Transients are too high (Drum Buss), hats become clicky and fatiguing.
If the groove loses glue, reduce Gate threshold or raise Floor (e.g. -18 dB) to keep ambience.
Keep peaks controlled before printing. If you print clipped tops, you’re locked in.
A 2-bar loop that’s 1–5 ms wrong will “flam” over time. Consolidate and recheck.
---
5) Pro tips for darker/heavier DnB 🖤
Dark DnB often has tight, controlled highs. Use EQ Eight LP at 12–14 kHz to reduce shiny modern air.
- Add Vinyl Distortion very subtly (Tracing Model, low Drive).
- Or add a Noise layer (Operator noise oscillator or a sample), then bandpass it around 6–10 kHz and tuck it in.
- Put Roar on a parallel chain, choose a mild distortion type, filter heavily, blend low.
- Keep it 15–25% wet equivalent (or chain volume low). Roar can get wild fast.
- EQ Eight in M/S mode:
- Cut a bit of 8–10 kHz on the Sides if hats feel too wide and distracting.
- Keep center crisp so it drives the roll.
- Avoid big reverbs on tops in dark DnB. Use short Room (Hybrid Reverb) with high-pass in the reverb and very low send.
---
6) Mini practice exercise (15–20 minutes)
1. Print three top loops from the same Funky Drummer break:
- A: clean + slight saturation
- B: telephone filtered (LP ~3 kHz)
- C: crunchy (Redux + Drum Buss)
2. Arrange a 32-bar drum section:
- Bars 1–16: A
- Bars 17–24: A + tiny C blend
- Bars 25–32: switch to B every 4 bars (one-bar fill)
3. Add a modern kick/snare underneath and sidechain the tops:
- Target 2 dB ducking on snares.
4. Bounce your drum bus and listen on low volume—does the groove still “talk”?
---
7) Recap
If you want, tell me what style you’re aiming for (early Metalheadz roll, ragga jungle, modern neuro-rollers, etc.) and I’ll suggest a tailored top-loop chain and arrangement pattern for that substyle.

