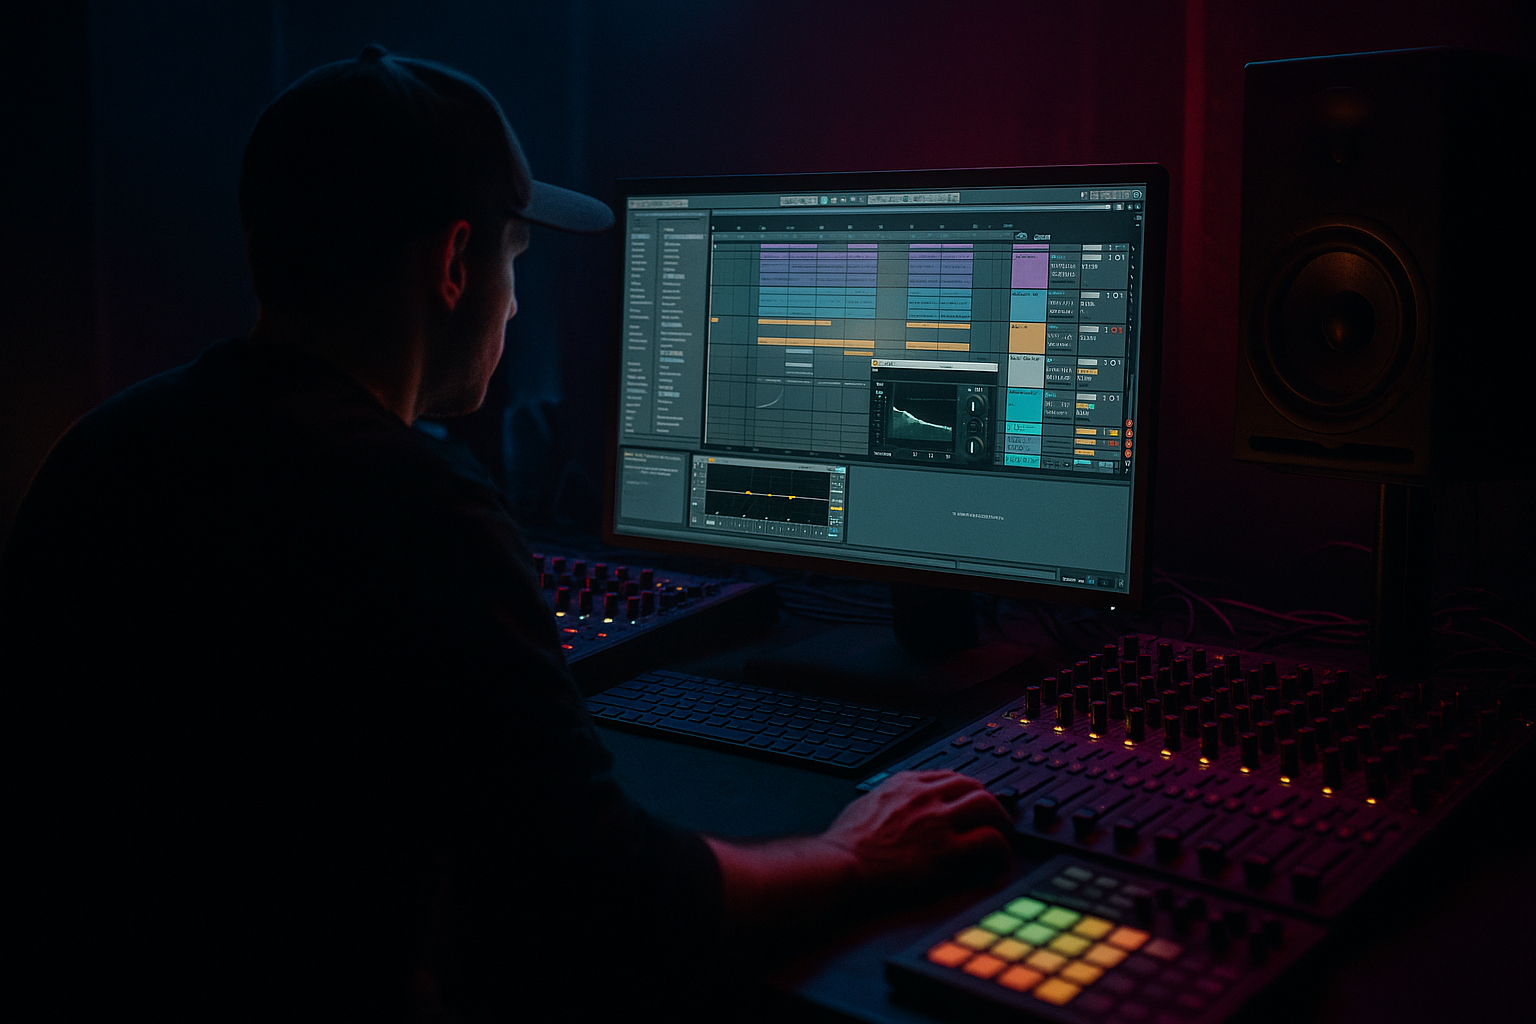
Main tutorial
Lesson Overview
A hoover stab is one of those sounds that instantly drops a track into oldskool jungle territory: sharp, urgent, wide enough to feel exciting, but controlled enough to sit between breakbeats and sub. In this lesson, you’ll build a practical framework for turning a Session View idea into a fully arranged hoover stab section in Arrangement View inside Ableton Live 12, with a focus on jungle / oldskool DnB vibes.
The goal is not just “make a hoover.” It’s to make a usable musical device: something that can answer the drums, punctuate a bassline, and create tension in the intro, drop, and switch-up sections. In DnB, this matters because the hoover stab often acts like a rhythmic hook — it fills space without taking over the low end, and it can be arranged to create call-and-response against breaks and bass movement.
This workflow also teaches an important production habit: build the idea in Session View, perform the energy, then commit to Arrangement View with intent. That’s a very DnB way of working. You want loop-based creativity first, then a clear arrangement pass that gives the track shape, momentum, and DJ-friendly structure.
---
What You Will Build
By the end of this lesson, you’ll have:
- A hoover stab instrument built from stock Ableton devices
- A Session View scene with multiple stab variations for groove and movement
- A breakbeat-compatible rhythm pattern that locks to jungle-style drums
- An Arrangement View section with intro, drop, and breakdown phrasing
- Automation for filter sweeps, reverb throws, and stereo movement
- A structure that works for oldskool jungle, rollers, or darker DnB depending on how you process it
- Load Wavetable or Analog
- Add Auto Filter
- Add Saturator
- Add EQ Eight
- Add Glue Compressor or Drum Buss
- Add Reverb on a return track if you want longer tails
- Oscillator 1: saw wave
- Oscillator 2: saw or square, slightly detuned
- Unison: 4–6 voices
- Detune: moderate, around 10–20%
- Filter: low-pass or band-pass depending on brightness
- Envelope to filter: medium amount so the attack opens then closes quickly
- Attack: 0–5 ms
- Decay: 200–500 ms
- Sustain: 0–20%
- Release: 80–200 ms
- Auto Filter
- Saturator
- EQ Eight
- Glue Compressor
- Put stabs on the “and” of 1, beat 2, and the “and” of 3
- Or create a call-and-response across 2 bars
- Leave space for snares and break accents
- Bar 1: stab on 1.2 and 1.4
- Bar 2: stab on 2.2, then a delayed stab on the last offbeat
- If your break is busy, your stab should be sparse
- If your break is simple, your stab can answer more often
- Filter cutoff moving up slightly across the clip
- Reverb send increasing on the last hit
- Velocity variation between stabs
- Place stab hits where the break has space
- Avoid fighting the snare unless you want a deliberate impact
- Let the stab answer ghost notes or kick pickup hits
- Break loop drives the momentum
- Stab lands after the main snare
- Bassline fills the low-mid pocket beneath or between the stabs
- Timing: 10–30%
- Random: low or off
- Velocity: a little variation if needed
- Trigger the main stab clip
- Bring in the filtered version for the intro
- Switch to the full version on the drop
- Drop out elements briefly for tension
- Use scene launches to capture the energy of your decisions
- 8-bar intro: filtered stab + break fragments
- 16-bar build: stab automation opens gradually
- 16-bar drop: full stab in call-and-response with bassline
- 8-bar switch-up: reduced stab rhythm, more room for edits
- 8-bar breakdown: filtered or reverb-heavy stab only
- Auto Filter cutoff opening over 8 bars
- Reverb dry/wet increasing on the last stab of a phrase
- Saturator drive slightly rising into a drop
- Track volume dipping before a fill, then snapping back
- Pan or width movement for higher stab layers only
- Intro: cutoff around 1–2 kHz, low resonance, minimal reverb
- Build: open to 4–6 kHz over 4–8 bars
- Drop: fully open but with controlled EQ to avoid harshness
- Breakdown: automate delay/reverb send higher, then cut sharply back into the next section
- Record the stab to a new audio track
- Freeze and flatten the MIDI track if the sound is finished
- Chop it more aggressively
- Reverse the tail into a transition
- Warp one hit slightly for tension
- Add Redux for gritty edge
- Use Simpler in Slice mode if you want to repurpose the stab as rhythmic material
- Keep everything below 120–180 Hz out of the stab
- If needed, use Utility to reduce width on the stab’s low mids
- Keep the sub mono and centered
- Use EQ Eight to tame any harshness before finalizing
- Cut a small notch around 2–4 kHz
- Reduce saturation slightly
- Shorten the release
- Lower reverb send on busy sections
- Add a parallel return with Reverb and Saturator
- Blend it quietly under the dry stab
- Keep the dry signal upfront and the wet signal supporting
- Making the stab too long
- Leaving too much low end in the stab
- Using too much reverb everywhere
- Ignoring the breakbeat pocket
- Arranging with no variation
- Over-widening the sound
- Too much brightness and not enough body
- Use minor or modal voicings
- Layer a low-mid body layer under the stab
- Print a distorted version for switch-ups
- Use filter envelope movement sparingly
- Let the tail answer the drums
- Try break-resampled atmospheres
- Mono-check the important energy
- Build the hoover stab as a rhythmic DnB instrument, not just a synth sound.
- Use Session View to test variations fast, then commit the best performance to Arrangement View.
- Keep the stab short, punchy, and harmonically simple so it works with breaks and sub.
- Automate filter, reverb, and tone changes to create arrangement movement.
- Resample when needed to make the sound feel more authentic, gritty, and jungle-ready.
- Always check the stab against the drums, sub, and mono compatibility so it stays powerful in a real DnB mix.
Musically, the result will sound like a short, aggressive synth stab that can hit on offbeats, answer a snare fill, or repeat in a syncopated pattern over chopped breaks. Think: 4–8 bar phrases, tension on the second half of the loop, and enough grit to feel authentic.
---
Step-by-Step Walkthrough
1. Set up a dedicated hoover stab rack in Session View
Start with a clean MIDI track in Session View and name it something obvious like Hoover Stab. This helps later when you move to Arrangement View and start layering multiple drum and bass elements.
Build the sound with stock Ableton devices:
For an oldskool jungle stab, Wavetable is a strong starting point because it can do that bright, brassy, slightly synthetic edge. Start with:
Aim for a short amp envelope:
Why this works in DnB: hoover stabs need to cut through fast breakbeats without blurring the groove. A short envelope keeps the sound percussive, so it behaves more like a rhythmic hit than a pad.
---
2. Shape the core tone for jungle character
Now make the sound feel less “clean synth preset” and more warehouse-ready. The trick is to keep the harmonic richness but avoid polite polish.
Try these stock-device settings:
- Filter type: Low-pass 24 or Band-pass
- Frequency: start around 1.5–4 kHz depending on brightness
- Resonance: 10–30%
- Drive: if available, small amount for edge
- Drive: 2–6 dB
- Soft Clip: On
- Color: subtle, if you want more midrange bite
- High-pass around 120–180 Hz to leave space for sub and kick
- Small boost around 1.2–2.5 kHz if the stab needs attack
- If harsh, cut a narrow band around 3.5–5.5 kHz
- Ratio: 2:1 or 4:1
- Attack: 10–30 ms
- Release: Auto or 0.1–0.3 s
- Aim for only 1–3 dB gain reduction
If you want a slightly more classic rave feel, slightly increase oscillator detune and use mild chorus-like width via Chorus-Ensemble after the synth. Keep it subtle — too much stereo wobble makes the stab less usable in a dense DnB mix.
---
3. Program a short rhythmic motif in Session View
Create a MIDI clip in Session View, usually 1 or 2 bars long. For jungle and oldskool DnB, don’t write a lush chord progression. Write a rhythmic motif.
Start simple:
Example concept:
Use this as a musical reference:
Keep the MIDI notes relatively short unless you want a more sustained rave stab. For oldskool flavor, notes around 1/8 to 1/4 bar often work better than long held chords.
If you want more movement, use slightly different inversions or voicings between repeated hits. A simple root + fifth + octave voicing can sound huge without eating up the mix.
---
4. Make 2–3 clip variations for performance and arrangement choice
In Session View, create multiple clip slots for the same instrument. This is a major workflow win in DnB because you can test energy quickly before committing.
Make at least three versions:
1. Main stab
- Full brightness
- Most punch
- Used in the main drop
2. Filtered stab
- Auto Filter cutoff lower
- Less top end
- Used in intro or breakdown buildup
3. Tighter stab
- Shorter release
- Slightly less detune
- Used where the drums are busier
You can also create a clip with a different chord extension or note placement for a variation every 8 bars. That keeps the groove alive without changing the identity of the sound.
Add clip automation inside the MIDI clip if needed:
This is especially useful in jungle because repetition is essential, but static loops get boring fast. Small changes every bar or two keep the track moving.
---
5. Lock the stab to the breakbeat groove
This is where the lesson becomes proper DnB. Your hoover stab should not sit on top of the break in a generic dance pattern. It should interlock with it.
If you’re using a chopped break:
A strong oldskool structure is:
Try Ableton’s Groove Pool if your MIDI feels too rigid. For jungle energy, a subtle swing or extracted groove from a break can make the stab feel more human. Use:
If the stab feels too straight, it will sound MIDI-programmed rather than part of the break. If it’s too loose, it will drift away from the drum pocket. You want that tense, slightly behind-the-grid feel common in jungle and rollers.
---
6. Design the Session View performance into Arrangement View
Once the loop feels good in Session View, record your performance into Arrangement View. This is where you turn idea into track.
Do a live pass:
A good arrangement framework might be:
This is where the DnB context matters. In a jungle track, the stab is often part of the arrangement’s identity, not just decoration. You can use it to signal phrase changes, help the DJ mix between sections, and create release before the next drum burst.
---
7. Automate movement so the stab evolves across the arrangement
In Arrangement View, use automation to stop the stab from looping mechanically.
Strong automation ideas:
Concrete approach:
If your stab is too static, automation can create the illusion of performance. In DnB, this is important because momentum is everything. A subtle filter rise or reverb throw can make the difference between “loop” and “arrangement.”
---
8. Resample for texture and make it feel more authentic
For extra jungle character, resample the stab inside Ableton. This is a classic move and very useful in darker bass music.
Two ways to do it:
Once it’s audio, you can:
A strong jungle technique is to bounce a stab with effects printed, then chop its tail to create a mini stab-fill. That gives you one sound source and multiple arrangement functions.
Why this works in DnB: resampling helps you turn a synth patch into part of the track’s percussion ecosystem. The stab becomes more than harmony — it becomes a rhythmic texture.
---
9. Balance it against the sub and drums before finalizing the section
The hoover stab should feel powerful without stealing the low end or masking the break.
Check these mix points:
If the stab is fighting the snare crack:
If the stab feels too small:
The key is contrast: the break should keep the groove moving, the sub should anchor it, and the stab should create attitude and tension.
---
Common Mistakes
Fix: shorten amp release and note length. DnB stabs usually hit and disappear fast.
Fix: high-pass it aggressively. Let the sub own the bottom.
Fix: keep the main stab relatively dry, then automate throws at phrase ends.
Fix: place stabs around snare hits and ghost notes instead of forcing them on top.
Fix: create filtered, full, and tighter clip versions, then automate between them.
Fix: keep the width focused and check mono compatibility, especially if the track is heavy or club-focused.
Fix: add controlled saturation or a small midrange boost rather than just cranking the top end.
---
Pro Tips for Darker / Heavier DnB
A minor triad, sus2, or a root + fifth + octave voicing keeps the stab dark and less cheesy.
Duplicate the instrument, remove the bright top, and keep only a narrow midrange chunk around 300–900 Hz for weight.
Drive a duplicate through Saturator or Pedal lightly, then automate it in only for certain bars.
A stab that opens quickly then clamps down feels aggressive and oldskool. Great for tension before the drop.
A short delay or reverb tail placed on the last stab of a phrase can create a very DnB-style transition without needing a huge riser.
Bounce the stab with a break fragment underneath it, then use that audio as a textured layer. This can make the section feel more “sampled” and underground.
Keep the core stab readable in mono. Width should enhance the vibe, not replace the punch.
---
Mini Practice Exercise
Spend 15 minutes making a one-drop jungle stab framework:
1. Build a hoover stab using Wavetable, Auto Filter, Saturator, and EQ Eight.
2. Create three Session View clips: main, filtered, and tight.
3. Program a 2-bar rhythm that leaves space for a snare-led break.
4. Perform a short Session View scene launch sequence and record it into Arrangement View.
5. Add cutoff automation across 8 bars and one reverb throw at the end of the phrase.
6. Bounce the stab to audio and make one chopped variation for a fill or transition.
Goal: end with an 8–16 bar arrangement that feels like a real DnB section, not just a loop.
---

