Main tutorial
Lesson Overview
Flipping a shuffle without losing headroom is one of those edit skills that instantly makes a DnB tune feel more alive. In jungle, oldskool, rollers, neuro, and darker halftime-adjacent bass music, shuffle is often what gives the groove its bounce and forward motion — but if you simply push the hats, ghost hits, and break layers louder, the whole mix can collapse fast, especially once the sub and reese come in.
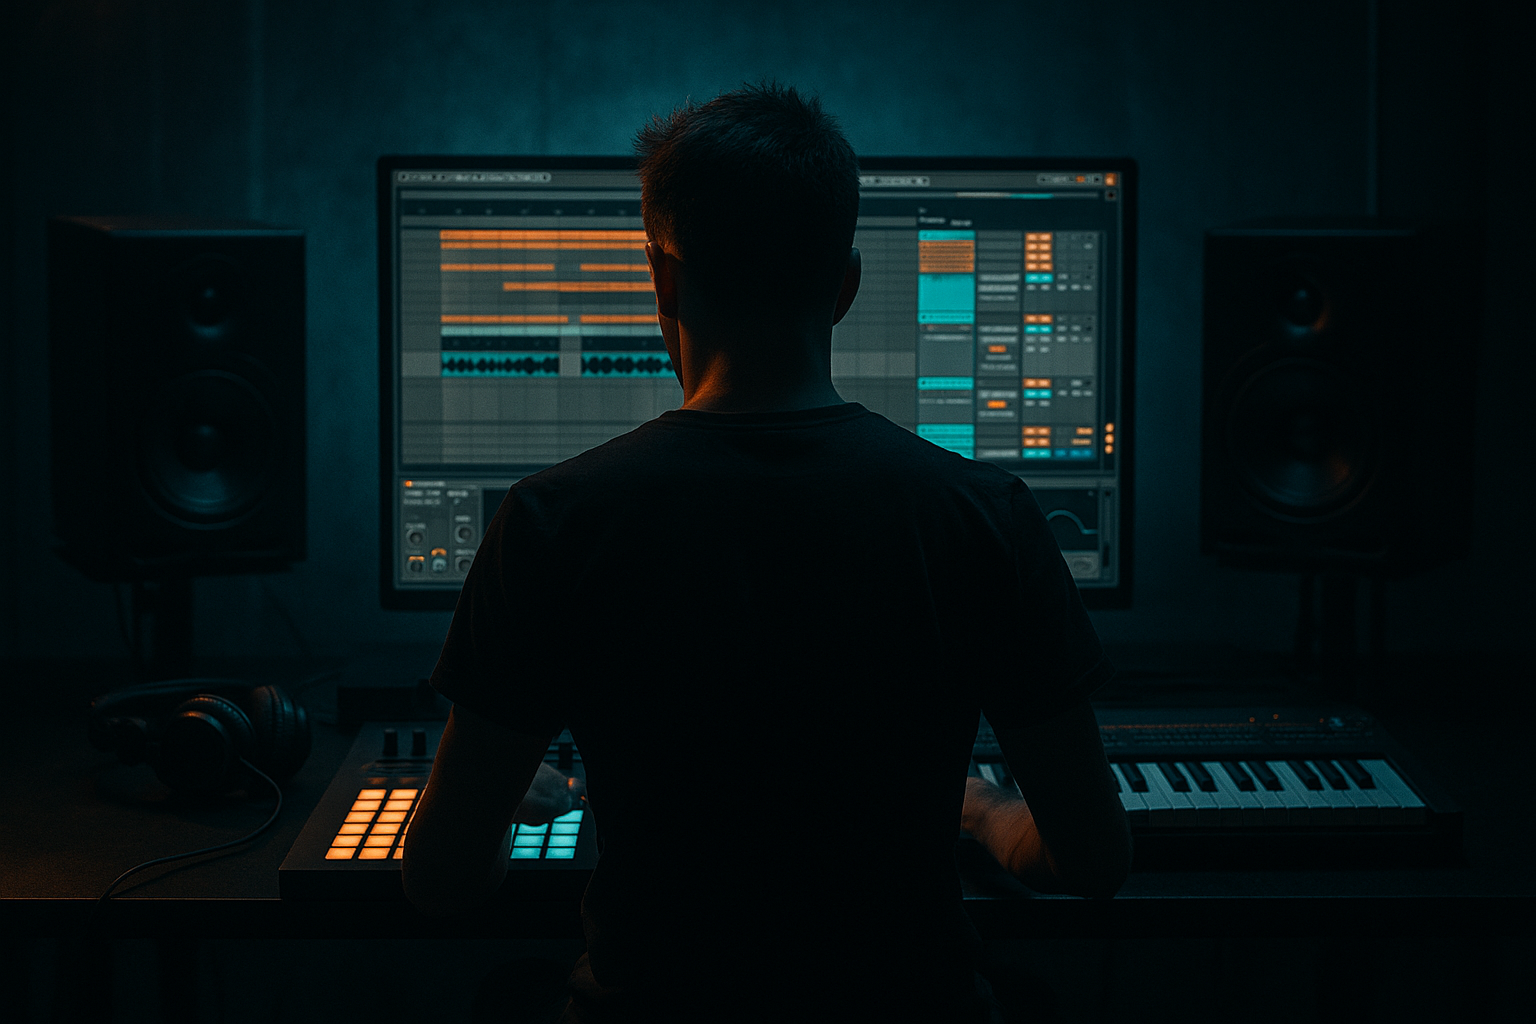
This lesson shows you how to take a shuffled drum feel and transform it into a bigger, more playable arrangement in Ableton Live 12 without eating your mix headroom. The focus is on edits: reshaping the groove, controlling transients, using gain staging properly, and creating movement through arrangement rather than volume. You’ll learn how to keep the swing feeling energetic while making room for a heavy low end, clear snare impact, and a clean master bus.
Why this matters in DnB: the genre lives and dies on low-end discipline. A shuffled break, if left unmanaged, can stack too many transients in the same frequency zone as the kick, snare, and bass. The result is loss of punch, reduced sub clarity, and a limiter that starts working too hard. Done properly, though, shuffle can make the track feel raw, vintage, and human — exactly what you want for oldskool jungle energy, while still keeping modern loudness and clarity. 🔥
What You Will Build
You’ll build a tight DnB edit around a shuffled break that:
- keeps the swing and character of an oldskool jungle loop
- uses controlled layering to thicken the drums without blowing the headroom
- leaves space for a sub-focused bassline or reese
- includes a clean switch-up and return section for arrangement impact
- sounds ready for a drop, with enough punch to support a darker DnB mix
- Making the shuffle louder instead of better edited
- Overusing transient-heavy layers
- Letting the bass fight the kick
- Pushing Drum Buss too hard
- Widening the whole drum kit
- Quantizing the life out of the break
- Use saturation on the mid-bass, not the sub
- Carve room for the snare around 180–250 Hz if needed
- Automate a short filter dip before the drop
- Use ghost notes as tension markers
- Resample your edited drum group
- Keep the low end simple during busy breaks
- Use short room reverb, not long wash
- For neuro-leaning darkness, modulate the bass movement, not the drum volume
- Shuffle in DnB should add motion, not steal headroom.
- Edit the break with intent: keep the useful hits, remove clutter.
- Use Utility, Drum Buss, Saturator, and EQ Eight to shape the drums before they overload the mix.
- Keep sub mono and separate from the drum transient zone.
- Create energy with arrangement edits, automation, and switch-ups rather than just adding more layers.
- Leave headroom early so your jungle / oldskool / darker DnB mix stays punchy later.
Musically, the result will feel like a 4- or 8-bar edit in a roller/jungle tune: shuffled hats, chopped break hits, a snappy snare backbeat, a restrained kick, and a bassline that can answer the drums without fighting them. Think classic break energy, but disciplined enough to sit under a modern sub and not collapse the master chain.
Step-by-Step Walkthrough
1. Start with a clean break and set the project for edit work
Load a drum break with a naturally shuffled feel — an amen-style loop, a funk break, or a chopped break with ghost notes. Put it on an audio track and loop 2 bars. Keep the initial level conservative: aim for the clip peaking around -12 to -10 dBFS before processing.
In Ableton Live 12, use the clip view to identify the strongest snare and kick transients, then turn on the grid and set Warp Mode to Complex or Beats depending on the source. For edit work, Beats mode is often better for preserving punch on breaks. Try Preserve with transients around 1/8 or 1/16 depending on the source.
Why this matters: if the source loop is already hot, every edit you make later will force you into gain recovery instead of creative shaping. Good headroom at the start makes every shuffle decision easier.
2. Extract the groove, but don’t over-quantize it
Right-click the break clip and choose Extract Groove, then apply that groove to a MIDI drum rack or to chopped break hits you build later. If the break already has useful swing, use it as your timing reference instead of flattening it.
Keep Grooves subtle. In the Groove Pool, use Timing around 10–25% and Random around 0–8% for a tight but human DnB feel. For oldskool jungle energy, you want enough looseness to feel like a break, not enough to smear the backbeat.
If you’re editing MIDI hats or percussion, nudge them against the groove rather than directly onto the grid. In DnB, the space around the snare is part of the groove. Let the shuffle breathe between the kick and snare, especially in the first half of the bar.
3. Slice the break and rebuild the groove with fewer layers
Convert the break to Simpler slices or drag it into a Drum Rack and use Slice to New MIDI Track. Now rebuild the pattern using the most useful fragments: kick, snare, ghost snare, open hat, and one or two micro-fills. Don’t rebuild every single transient.
Focus on edit choices that preserve motion with less clutter:
- keep the main snare on beats 2 and 4 or the jungle equivalent backbeat feel
- use ghost notes sparingly to maintain shuffle
- remove any redundant top-end hits that add hiss but not groove
- use short slices for fills rather than adding new cymbals everywhere
A practical starting balance: one main break layer, one tuned kick layer if needed, one snare reinforcement, and one top-loop or shaker layer only if the arrangement still feels empty. The goal is not “more drums.” The goal is “better-shaped drums.”
4. Use Utility and gain staging to protect headroom early
Put Utility first on your drum group and set Gain so the whole drum bus is hitting comfortably below clipping. A good target is that your drum group peaks around -8 to -6 dBFS before bass comes in. If the break is dense, reduce it by -3 to -6 dB before processing.
Then use individual clip gains or track faders to balance layers rather than slamming the group bus later. This is especially important if you add a snare layer or transient-heavy top loop. A small -2 dB trim on the top loop often preserves the vibe while freeing enough space for the bass.
In DnB, headroom is not just technical — it changes the groove. When the low end has space, the shuffle feels faster and cleaner. When everything is overcooked, the swing can feel smaller even if the drums are louder.
5. Shape transients with Drum Buss, not brute-force volume
Put Drum Buss on the drum group. Use Drive very moderately — start around 5–15% — and keep Boom low or off at first. For shuffle edits, the key is transient control, not exaggeration. Too much Boom can cloud the sub relationship and turn the kick into a low-end blob.
Use the Transients control to sharpen the front edge if the break feels too soft, or pull it back if the edited slices are spiky. A small Transients boost around +10 to +25 can help a chopped jungle break cut through without raising peak level too much.
Then add Saturator after Drum Buss if needed. Use Soft Clip on and keep Drive conservative, often between 1 and 4 dB. This gives you density without sending unpredictable peaks into the master. If the shuffle has too much harsh top, tame it before saturation, not after.
6. Build the bass around the drum pocket, not on top of it
Now bring in the bassline — whether it’s a sub-led roller, a reese, or a darker modulated bass. Use Operator or Wavetable for the main bass source if you’re building in Ableton stock. Keep the sub mono and clean, and let the movement live in the upper harmonics.
Practical routing:
- Sub layer: sine or near-sine in Operator, filtered to stay below about 80–100 Hz
- Mid bass layer: separate track with distortion/saturation and movement
- Group them, then use Utility on the group to keep low end mono
Suggested settings:
- Utility Width on the sub: 0%
- EQ Eight on the bass group: high-pass the mid layer only if needed, around 80–120 Hz with a gentle slope
- Saturator on the mid bass: Drive 2–6 dB, Soft Clip on
- Auto Filter for movement: subtle cutoff automation, often just a few hundred Hz of motion
Why this works in DnB: the shuffle occupies a lot of transient space in the 2–12 kHz range, while bass weight lives in the low end and low mids. If your bass is mono, controlled, and phased carefully, the drums can keep their swing without fighting for the same transient territory.
7. Automate the edits to create tension and release
DnB arrangement is often about edits that feel like the track is “rewriting itself” every 4 or 8 bars. Use automation to flip the shuffle without increasing density. Good tools here are Auto Filter, Reverb, Echo, Utility, and track volume.
Try this arrangement move:
- Bars 1–4: full shuffled break, bass restrained
- Bars 5–6: remove the kick layer and leave hats + ghost snare
- Bar 7: automate a high-pass filter on the drum bus for a brief thin-out
- Bar 8: return full drums with a snare fill and bass answer
For the bass, automate a small volume dip or filter-open on the last half of bar 4 or bar 8 so the drums can land harder. Even a -1 to -2 dB bass dip for one beat can make the groove feel bigger without actually adding level.
If you want a more oldskool edit feel, use Beat Repeat very sparingly on one percussion return or top layer, with Interval set to 1/2 or 1 bar and Grid around 1/16 or 1/32. Keep it subtle — the point is texture, not chaos.
8. Control stereo width so the shuffle feels wide, not washed out
A common shuffle mistake is letting every top layer go wide, which makes the drums sound exciting on headphones but unfocused in a club system. Use Utility on the drum group and keep the main break core mostly centered. If you have a separate shaker or top loop, let that be slightly wider, not the entire kit.
Use EQ Eight to clean the sides if needed, or keep the bass group mono with Utility. A useful workflow is:
- center the kick and snare elements
- let only high-frequency percussion have width
- keep sub and lower bass mono
- check the mix in mono regularly
If the shuffled hats disappear in mono, they’re probably too dependent on stereo widening instead of good programming. Rebalance them with level and timing, not just width.
9. Create a drum switch-up using edits instead of new sounds
For the middle 8 or a pre-drop variation, make a switch-up by re-editing the existing break. Duplicate the drum clip, then remove a few transient hits, reverse one short slice, or shift a ghost note earlier/later by a 1/16. That’s enough to make the groove feel fresh without raising the arrangement level.
Try one of these oldskool DnB edit moves:
- mute the kick for the first half of bar 4 and let the snare lead
- chop the last hat before the snare for a tiny anticipation
- replace one bar with just break fragments and FX
- use a snare pickup with a short reverb tail into the drop
This is where editing beats adding. In a good DnB arrangement, the switch-up is often just a smarter rearrangement of the same parts.
10. Finish with a bus check and leave deliberate headroom
Put a limiter only for checking loudness, not as a crutch. If the limiter is shaving more than a couple of dB during the edit stage, the drums or bass are probably too hot. Back off the group levels and rebalance.
Check these points before calling it done:
- the drum group has punch without obvious peak spikes
- the sub still reads clearly when the shuffle gets busy
- the snare dominates the backbeat without harshness
- the master has enough room for later arrangement and mastering
A good working target is to leave at least a few dB of headroom on the master while building. This gives you freedom later for transitions, extra bass modulation, or a final loudness pass.
Common Mistakes
- Fix: remove redundant hits, shorten tails, and use timing choices before fader moves.
- Fix: keep one main break and only one or two support elements. Too many layers kill headroom fast.
- Fix: use mono sub, separate mid bass harmonics, and trim low mids with EQ Eight.
- Fix: start subtle. Drive and Boom can create weight, but they can also erase punch if overdone.
- Fix: keep the core centered. Use width for atmosphere, not for the entire groove.
- Fix: keep some groove timing from the original break. DnB often sounds better when it breathes a little.
Pro Tips for Darker / Heavier DnB
- Keep the sub clean in Operator or a filtered sample. Put color on the harmonics above it.
- That zone can build up fast when shuffle layers and bass overlap. A small EQ dip often restores punch.
- A 1-bar high-pass on the drum bus or a bass low-pass sweep can make the return feel much heavier.
- A tiny snare ghost hit before the main backbeat can imply speed and aggression without increasing loudness.
- Once the groove works, bounce or freeze/flatten to audio and do micro-edits. This makes you commit and often reveals cleaner gain staging.
- If the shuffle is dense, the bassline should usually become more rhythmic, not more harmonically crowded.
- A tiny Room or Hybrid Reverb with short decay can glue jungle drums without pushing the mix back.
- A subtle Auto Filter or Wavetable motion keeps energy high while preserving drum impact.
Mini Practice Exercise
Set a 15-minute timer and do this:
1. Load a 2-bar break loop with shuffle.
2. Trim its gain by 3–6 dB if needed.
3. Slice it to a Drum Rack or edit it directly in audio.
4. Build a loop using only:
- one main break
- one snare reinforcement
- one hat or top loop
5. Add Drum Buss and Saturator lightly.
6. Bring in a simple sub in Operator and keep it mono.
7. Create one 4-bar arrangement:
- bars 1–2 full groove
- bar 3 thin-out
- bar 4 return with a fill
8. Check the master and make sure you still have headroom.
Goal: make the shuffle feel bigger by editing, not by turning it up.

