Show spoken script
First drop layout basics — Beginner
Welcome in. This session is a focused, practical walkthrough for laying out your first drop in Ableton Live for drum and bass. We’re aiming for a hard-hitting 16-bar first drop at 174 beats per minute. I’ll give you an arrangement blueprint, specific stock device chains and parameter ranges, sidechain routing tips, and transition tricks so you can build something that sits in a club or a playlist right away. Ready? Let’s go.
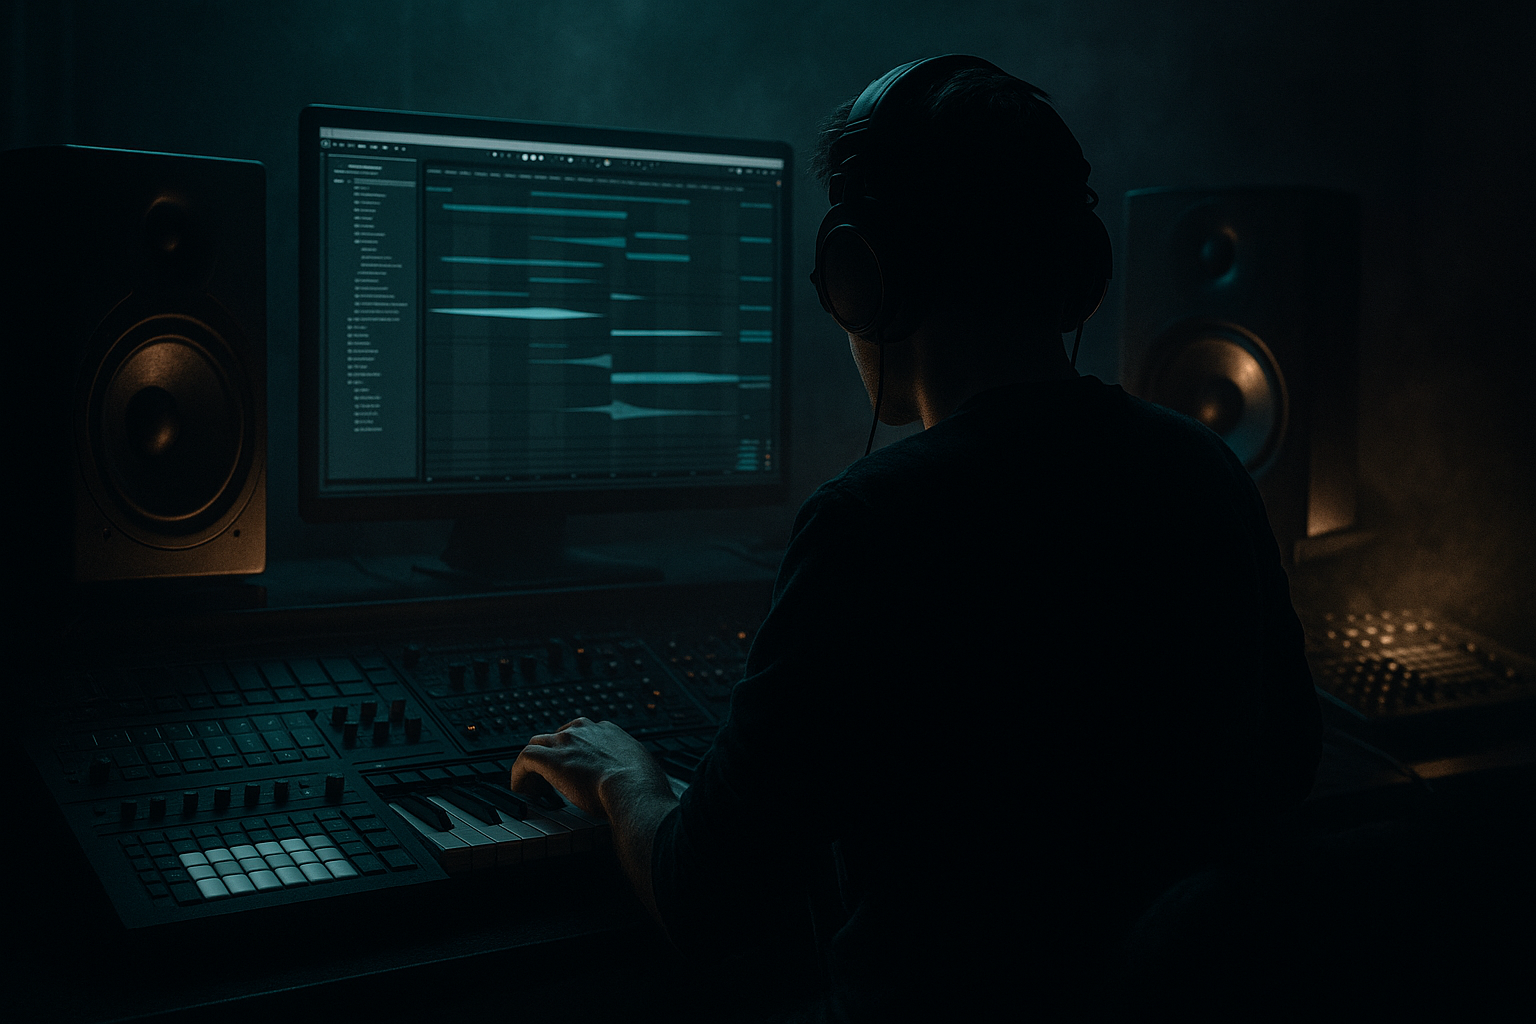
Quick orientation
Set your tempo to 174 BPM. Work in Arrangement view — it’s cleaner for laying out sections and seeing automation. Global launch quantization at one bar makes recording clips easy if you play anything live.
What you’ll build
You’ll create a 16-bar first drop with a punchy rolling drum groove, a two-part bass system made of a mono sub sine and a distorted reese-style mid/high layer, kick-to-bass sidechain for clarity, glue and parallel saturation on the drums, a tight 8-bar build into the drop with risers and snare rolls, and short FX and automation to make the drop hit hard.
Project setup — step one
First, set the tempo to 174 BPM and global launch quantization to one bar. Create these tracks: a MIDI Drum Rack, separate chains or audio tracks for kick, snare and hats/percussion inside that Drum Rack, a Drum Bus group for processing, a MIDI track for Bass SUB using Operator, a MIDI track for Bass MID using Wavetable or Operator for the reese, an FX return for reverb and another for delay, and an Audio track or Return for risers and impacts.
Drum foundation — step two
Load Drum Rack and populate it with a punchy kick sample — something with a tight tail around 40 to 80 milliseconds. Add a big snare or layered clap+snare, a sliced break or Amen loop in Simpler for rolling motion, and a selection of hats and percs mapped across velocity.
On each drum chain use EQ Eight to clean up the extreme lows. High-pass hats and percs around 40 Hz so only the kick and sub own that area. Light compression is fine on snares: try ratio 2:1, attack 5 to 10 milliseconds, release 100 to 200 milliseconds for a touch of glue. On the snare chain you can add Drum Buss with drive at two to four and set Boom to around 20 to 30 and Transient between 10 and 20 to give weight.
Programming ideas: keep the kick mostly on downbeats with tasteful variations — DnB often has quick breaky hits so experiment with a ghost kick on the one-dot-three position. Put strong snares on beats two and four, then add ghost snares or 16th-note ghosting for groove. Chop the break, quantize slices to 1/64 or 1/32 for that rolling feel. Use velocity to humanize hats.
Drum Bus and parallel processing — step three
Group your Drum Rack into a Drum Bus. On the group chain use EQ Eight to gently high-pass below 30 Hz if needed, then add Saturator with 1 to 3 dB Drive in Analog Clip mode for grit. Follow with Glue Compressor set to ratio 2:1, attack about 10 milliseconds, release between 0.1 and 0.3 seconds, threshold around negative six to negative ten dB to taste. Use a Utility after that for gain staging.
For aggression, set up a parallel return track. Send some drum signal to a return with heavy Saturator and another Glue Compressor, then blend in between 10 and 30 percent to keep the transient detail but add bite.
Bass split — step four
We split bass into SUB and MID/HIGH layers so the low end stays solid and mono while the character comes from the mids.
SUB track setup: use Operator with Oscillator A set to a pure sine and set the octave one or two down depending on your root pitch. Make the envelope full sustain for long, steady subs or use a short decay if you want a plucky pulse. Use EQ Eight to low-pass everything above 120 to 160 Hz if you want a very clean sub. Put Utility with Width set to zero percent so the sub is mono. Keep the sub levels peaking around negative six to negative twelve dB while building.
MID/HIGH bass setup: use Wavetable with two saw-based voices, a small detune value between 0.05 and 0.12, and unison of two to four voices for width. Duplicate the bass track and high-pass the duplicate at roughly 120 to 200 Hz so your mid/high lives above the sub. Follow with Saturator, Drive around three to six dB and Soft Clip enabled, then EQ Eight with a high-pass at 100 to 120 Hz and a modest boost between 200 and 800 Hz for presence. Consider Multiband Dynamics if you need to tame mids. Keep stereo width modest under 300 to 400 Hz and use Utility to tighten lower mids.
Arrangement rules: let the SUB play the root on whole bars or half-bars while the MID/HIGH plays rhythmic stabs and gated patterns on 16th and 32nd notes. Slight timing offsets on MIDI notes create groove.
Sidechain and punch — step five
Add an Ableton Compressor after the Saturator on the MID/HIGH bass and enable Sidechain. Select the Kick or Drum Bus as the input. Try ratio 4:1, attack 1 to 5 ms and release 80 to 200 ms. Pull the threshold until gain reduction hits about three to eight dB on kick hits. For the SUB use a gentler sidechain: ratio 2:1, attack 5 to 10 ms, release 150 to 300 ms so it ducks but doesn’t pump excessively.
If you need tighter transient control, experiment with nudging the attack layer by one to three milliseconds or flipping phase temporarily to check punch — small tweaks fix a lot of cancellation issues.
Build and pre-drop techniques — step six
Design an 8-bar build. Automate an Auto Filter on the MID/HIGH bass and open the cutoff slowly, from around 600 Hz to maybe four kilohertz across the build. Add a white-noise riser routed to a long reverb return with decay between two and four seconds and gradually increase the send in the final two bars.
For snare rolls use a snare loop or repeated MIDI note density: increase from 1/8 to 1/16 to 1/32 note density across the second half of the build. You can use Beat Repeat with an interval of 1/32, grid set to 1/32 and chance at 100 percent on the final bar for an intense last-second fill.
On the last bar before the drop, create a short cut-to-drop: mute everything for a quarter or half bar or automate a short silence of 8 to 32 milliseconds on key channels, then slam the drop with an impact sample and the full bass. Another trick is to use a short pitch-rise effect on the impact by transposing a noise or hit upwards over 100 to 400 milliseconds.
Drop layout — step seven
Your 16-bar drop should hit immediately. In the first two bars bring in kick, snare, full bass and your main melodic hook or stab. Keep drums evolving: change hi-hat patterns every four bars and add small percussive fills every eight. For bass movement, automate filter cutoff slightly and try a subtle pitch bend on the first beat or two to make it feel huge.
Layer an impact sample at the start of the drop: a short 50 to 200 millisecond impact plus a low sine hit layered beneath helps the brain register the moment as a big event. Check kick and sub interaction; if the kick has too much low content, apply a gentle high-pass at 30 to 40 Hz to prevent masking.
Mastering in the session — step eight
On the master, use EQ Eight to remove any glaring build-up, a light Glue Compressor for cohesion, and a Limiter with ceiling set to negative 0.3 dB. While producing, aim to leave headroom — don’t push final loudness yet. Keep master peaks around negative six dB to give yourself room for later mastering.
Common mistakes and fixes
If the low end becomes muddy, high-pass your mid/high bass around 100 to 150 Hz and keep the sub mono. Use sidechain on both layers to avoid the bass fighting the kick. Don’t distort the pure sub; distort the mid layer instead. Avoid over-compressing everything; glue should be subtle and parallel processing can add aggression without killing dynamics. Watch stereo width under 300 Hz — keep Utility width to zero percent under 120 Hz.
Pro tips for darker or heavier DnB
Try parallel distortion: send the mid-bass to a return with Redux, Saturator and aggressive EQ, then blend low. Use mid/side EQ on higher frequencies to give creepy atmosphere without adding energy to the center. For classic reese movement, duplicate the mid layer and detune one copy by a few cents and modulate tiny phase or pitch movement with a slow LFO. Add metallic textures with Resonators or Corpus for bell-like top-end that cuts through. For snares, set Drum Buss transient emphasis to plus 20 to 40 to make them bite through heavy lows. When distorting, put the Saturator before EQ so you can sculpt harmonics afterwards.
Quick sound design hacks
Layer a short click or noise transient on top of your sine sub to increase perceived attack without adding low harmonics. When you need a huge drop impact, do a pitch-rise on an impact sample by transposing it up one or two octaves quickly and high-passing it to avoid mud. Resample a short loop of bass and drums, then abuse that audio with saturation, bit reduction or pitch shifting—chop it back into the arrangement as texture or fills.
Mini practice exercise — 30 to 45 minutes
Start a new Ableton Live project at 174 BPM. Build a Drum Rack with a punchy kick, a strong snare, a chopped Amen or break in Simpler, and a closed hat. Program eight bars of drums: strong snares on two and four, kicks anchored on the downbeats with an occasional ghost kick, Amen chops on a 1/32 grid for rolling feel, and velocity variation on hats. Group to a Drum Bus and add Saturator Drive 2, Glue Compressor ratio 2:1, attack 10 ms, release 150 ms. Make a SUB in Operator with whole-note roots and Utility width set to zero. Make a MID in Wavetable with detuned saws, HP at 120 Hz, Saturator Drive 4 and a presence boost around 300 to 600 Hz. Sidechain the MID to the kick with ratio 4:1, attack 2 ms, release 150 ms until you see 3 to 6 dB gain reduction on hits. Arrange an 8-bar build with rising filter cutoff and snare rolls, then place a 16-bar drop with both bass parts. For the transition, mute everything for a fraction of a bar before the drop and slam an impact plus the bass. Mix quickly so the sub sits under the kick and the drums peak around negative six to negative four dB.
Homework challenge and deliverables
Make three different 16-bar first-drop versions in 90 minutes total: one raw and heavy, one dark and spacious, one minimal and punchy. For each, export a short WAV or MP3 of the 16-bar loop and note the three biggest mix decisions you made, like “ducked sub 4 dB with short release” or “parallel redux at 15 percent for mids.” Leave about three to six dB of headroom on your masters and check phase between kick and sub — flip phase or nudge layers by a few milliseconds if transients get thin.
Recap and final coaching notes
Keep your low end separated: mono sub sine under 100 Hz while mid/high carries distortion and character. Use sidechain to give space and impact. Build tension with an eight-bar riser and snare roll and use a short cut-to-drop for maximum slam. Use Drum Rack, Drum Buss, Glue Compressor and Saturator for tight drums, and Operator or Wavetable for bass voices. Make micro-variations every four bars to avoid listener fatigue.
A few practical reminders: check phase relationships with Utility invert and small nudge adjustments, use clip gain instead of turning device gains into the red, and create macro controls for low-cut, saturation and filter cutoff so you can automate dramatic changes quickly. Always A/B against a reference track while producing.
Send me one of your exported drops and your three notes about the mix decisions if you want feedback. Tell me what you used for the kick, sub and mid-bass, and I’ll suggest precise timing, EQ or automation tweaks to tighten the impact. Go build it — make that first drop hit hard.