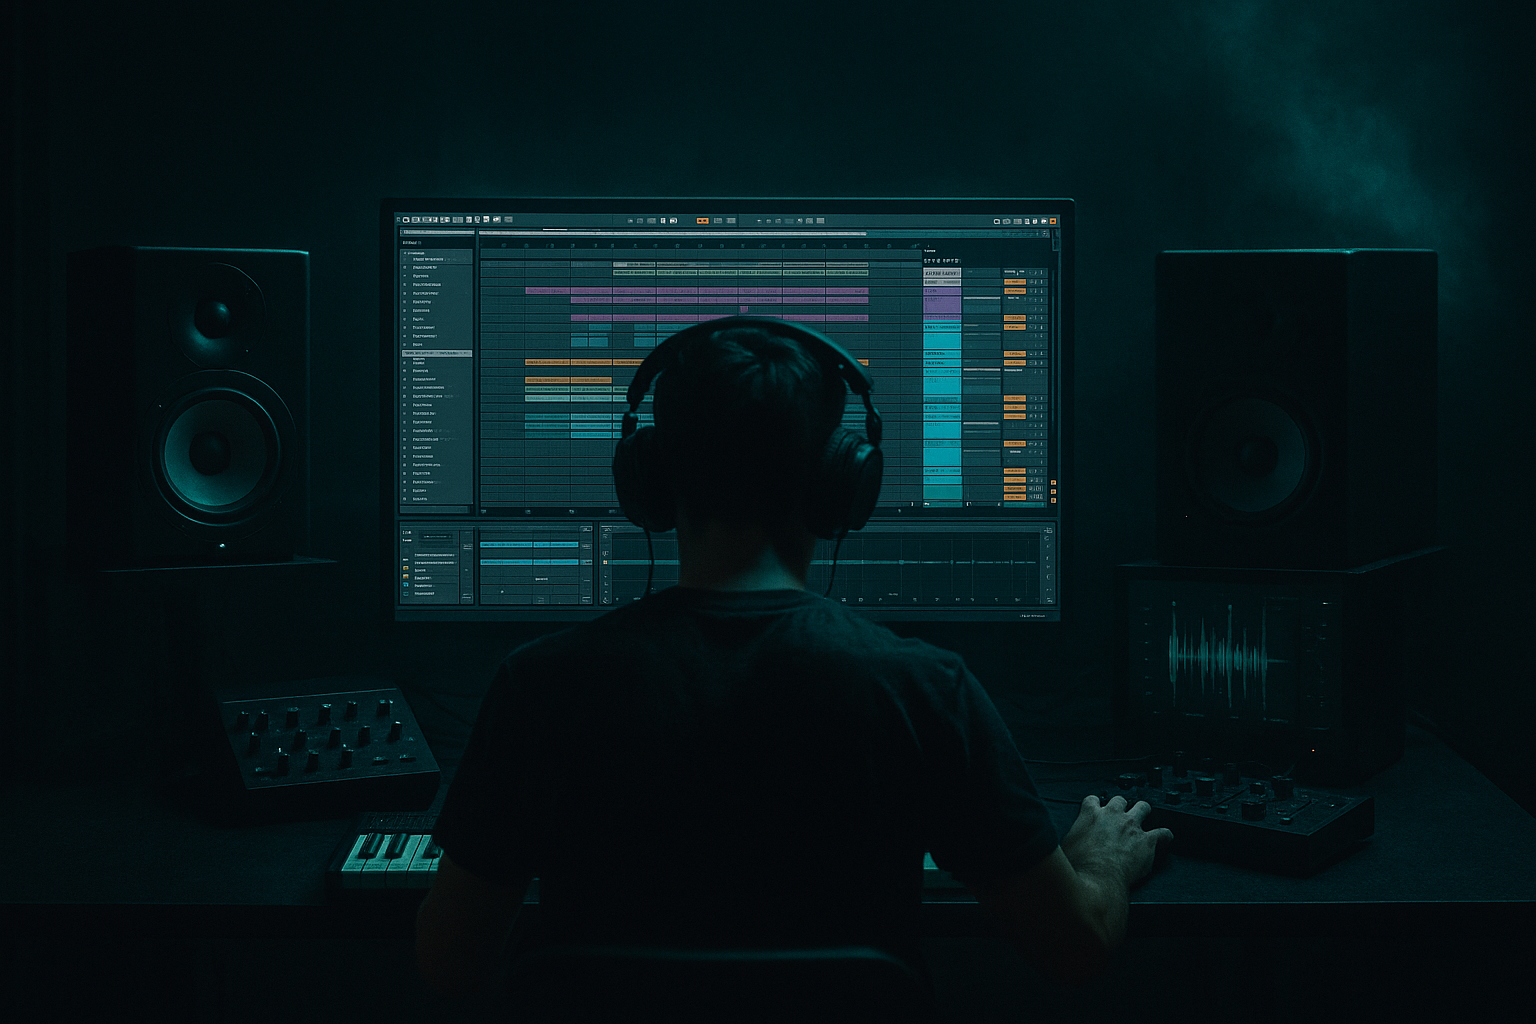
Main tutorial
Lesson Overview
In this lesson, you’ll learn how to create a jungle / oldskool DnB fill in Ableton Live 12 by resampling your own drums and bass movement instead of stacking lots of CPU-heavy devices. The goal is to make a short, energetic fill that lands right before a drop, switch-up, or turnaround, while keeping your project light and easy to work in.
This matters a lot in Drum & Bass because fills are not just decoration — they are arrangement tools. In jungle and oldskool DnB, fills often signal a phrase change, build tension, or “announce” the next 8 bars with chopped breaks, reversed tails, dub sirens, vocal snippets, and bass stabs. If you try to build every fill from scratch with multiple live devices running at once, your session can get messy and CPU-hungry fast. Resampling solves that.
The core idea is simple:
- make a short fill using your existing drums, bass, and FX
- record it to audio
- cut it up, automate it, and reshape it into a tighter, more playable fill
- use minimal devices after resampling so the project stays efficient
- jungle fills with break edits and ragga-style energy
- oldskool DnB fills with classic stab resets and tape-like transitions
- rollers that need subtle movement before a drop change
- darker bass music fills that feel gritty, punchy, and controlled
- chopped break hits and ghost notes
- a bass stab or rewind-style bass movement
- a short FX sweep or reverse tail
- simple automation for filter, volume, and reverb send
- a clean, low-CPU audio clip you can reuse anywhere in the arrangement
- bars 7–8 into a drop
- bar 15 into a second 16-bar phrase
- the last bar before a snare fill or bass switch
- a classic “pull back then hit hard” moment
- Making the fill too busy
- Resampling before the groove works
- Leaving too much sub in the fill
- Using too many live devices after resampling
- Not aligning the fill to the phrase
- Over-widening the fill
- Use call-and-response inside the fill: let the break hit, then answer with a bass stab or reversed snare. This adds tension without overcrowding the mix.
- Print a slightly distorted version and a clean version: duplicate the resampled clip and process one with more Saturator drive, then blend it lower underneath the clean fill for extra weight.
- Automate a low-pass filter in reverse: dark at the start, brighter at the end. That opening motion is classic in jungle and darker rollers.
- Keep the lowest kick/bass moment centered: use Utility to keep the foundation mono. This helps the fill stay powerful on systems with heavy low-end pressure.
- Use break micro-edits: tiny slices of amen-style or half-time break movement can make a fill feel authentic even if the source is very simple.
- Add a short delay throw only on the last hit: use Echo or Simple Delay very lightly, then automate it on for the final stab or snare. That gives a dubby tail without washing out the groove.
- Let silence do some work: pulling the bass out for even half a beat before the fill can make the return feel much heavier. In DnB, negative space is part of the arrangement.
- Resampling is a fast, CPU-friendly way to make DnB fills in Ableton Live.
- Build the fill from your existing drums, bass, and FX, then print it to audio.
- Use automation on filter, volume, and reverb to create movement before the drop.
- Keep the fill short, phrase-aware, and tied to the arrangement.
- Shape the resampled audio with only a few stock devices like EQ Eight, Saturator, Auto Filter, and Utility.
- In jungle and oldskool DnB, a great fill is all about tension, space, and impact — not complexity.
This is especially useful if you’re making:
Why this works in DnB: fast music needs fast decisions. A resampled fill gives you a single audio source that can be chopped, warped, reversed, filtered, and automated without keeping five instruments active at once. That means more CPU headroom for your main drums, bass, and mix bus. 👍
What You Will Build
By the end of this lesson, you’ll have a 1-bar or 2-bar resampled fill that can sit before a drop or phrase change in a Drum & Bass track. It will sound like a proper jungle / oldskool transition, using:
Musically, the result will feel like:
You’ll also learn how to keep the fill lightweight by using one audio track for the resample, then only a few stock effects for shaping.
Step-by-Step Walkthrough
1. Set up a simple DnB source section first
Start with a small loop that already feels like your track. For this lesson, use:
- a breakbeat loop or programmed drums
- a sub or reese bass
- one short FX hit or vocal stab if you have it
Keep it basic. You do not need a full arrangement yet. A great beginner setup is:
- drums on one group
- bass on one track
- FX on one audio track
If you’re using Ableton stock devices, a solid starting point is:
- Drum Rack for your break slices or one-shot drums
- Simpler for chopped break hits
- Operator or Wavetable for bass
- EQ Eight on the bass to control low end
- Saturator for grit
Make sure your loop is already working in the groove. A fill sounds best when it comes from something musical, not random noise.
2. Automate a small change before the fill
Before you resample, create movement in the original loop. In DnB, fills work better when they feel like a response to tension you already built.
Try automating one or two things for the last half of the bar:
- a low-pass filter closing on the bass
- drum reverb send increasing slightly
- a beat repeat-style cut using clip duplication, not a heavy effect
- a bass volume dip in the last beat
- a delay send on a stab or FX hit
If you’re using stock devices:
- on bass, automate Auto Filter cutoff around 200 Hz to 1.5 kHz, depending on the sound
- on drums, automate Reverb send from 0 dB up to about -12 dB
- on a bass stab, automate Utility gain down by 2–4 dB right before the fill
Why this works in DnB: the ear loves contrast. A short reduction in energy makes the fill feel louder and more dramatic when it lands.
3. Create a dedicated resample audio track
Make a new audio track called something clear like RESAMPLE FILL. In the track’s input section, set:
- Audio From: Resampling
- monitor to In if you want to record immediately, or Auto if you prefer to arm and capture only when playing
This is the key CPU-saving move. Instead of keeping lots of processing live, you’ll print the moment to audio.
Keep the track clean:
- no extra plugins
- no heavy device chains
- just recording and maybe a simple Utility if needed later
If your source loop is 2 bars long, loop those 2 bars and make sure the section before the drop is ready to record.
4. Record the fill performance in real time
Press record and play through the section where the fill happens. Don’t aim for perfection on the first pass — aim for energy.
While recording, perform one or two simple automations:
- mute the bass on the final hit
- open a filter on a snare tail
- bring in a reverse cymbal or noise sweep
- let one break chop ring out longer than normal
Beginner-friendly rule: keep the performance simple and musical. A fill in jungle or oldskool DnB often works best when it feels like a quick DJ-style transition, not a complicated sound design showcase.
If needed, record a few takes. One take might have a cleaner drum stutter, another might have a better bass tail. Pick the one with the strongest feel.
5. Warp and tighten the resampled audio
Once you have your recorded audio, double-click the clip and inspect it. Turn on warping if needed so the fill stays locked to the grid.
For a beginner, use simple warp choices:
- Beats for drum-heavy resampled fills
- Complex only if your fill has more mixed content and needs smoother audio
- keep transients clear, especially on snare hits and break chops
Useful starting settings:
- set transient envelope a little higher if the break sounds too soft
- keep Preserve short if you want punchy drum edits
- adjust the clip so the fill lands exactly before the next downbeat
A good DnB fill is usually 1 bar or 2 bars max. If it feels too long, trim it. If it feels too early, shift it so the last hit lands right before the drop.
6. Cut the audio into a repeatable fill pattern
Now make the resampled audio more intentional. Duplicate the clip to a new lane or slice it into smaller pieces.
Good beginner slice choices:
- cut on 1/8 notes for a rolling jungle feel
- cut on 1/16 notes for a tighter modern fill
- keep one longer tail at the end for impact
In Ableton Live 12, you can work directly with the clip view and duplicate slices. If you prefer a more creative approach, drag the resampled audio into Simpler or Drum Rack after recording:
- use Simpler to play the fill as a one-shot
- use Slice to New MIDI Track if you want each transient on its own pad
- then trigger the slices with MIDI for quick rearrangement
This is where automation becomes powerful: instead of creating new sounds, you automate the playback behavior of the same printed audio. Small pitch or filter changes on the resampled clip can make the fill feel alive without loading more synths.
7. Shape the fill with stock effects only
Keep the processing lightweight and focused. A simple chain on the resampled audio is enough:
- EQ Eight
- cut unnecessary sub below 30–40 Hz
- reduce muddy low mids around 200–400 Hz if needed
- Saturator
- drive around 2–6 dB for gentle crunch
- use Soft Clip if the fill needs more edge
- Auto Filter
- automate cutoff from dark to bright across the fill
- try opening from 300 Hz to 6–10 kHz on the final hit
- Reverb or Echo
- keep dry/wet low, around 5–15%, if you just want tail movement
- Utility
- use Width carefully if the fill is too wide; keep low-end elements mono
Important beginner advice: do not overdo the effects. The fill should support the drop, not steal the whole moment.
If the fill has a bass hit inside it, keep the lowest frequencies under control. A resampled fill with too much sub can clash with the drop bass.
8. Automate the fill so it feels like a proper DnB transition
This is the automation lesson inside the lesson. Use automation to make the fill feel purposeful.
Try automating:
- track volume down by 1–3 dB just before the fill, then back up on the drop
- filter cutoff opening during the final 1/2 bar
- reverb send increasing on the last snare or stab
- Utility width narrowing slightly before impact, then opening after
- clip gain on the fill’s final hit for extra emphasis
A classic jungle-style move is:
- bar 7: full groove
- bar 8 beat 3: bass cuts out
- bar 8 beat 4: break chop + FX fill
- drop on bar 9 with full drums and bass
That silence or near-silence before the drop makes the fill hit harder. In DnB, the groove often feels bigger when you leave a little space.
9. Place the fill in the arrangement like a real DnB record
Don’t just loop the fill randomly. Put it where it serves the arrangement.
Good DnB placements:
- at the end of every 8 bars for oldskool movement
- at the end of every 16 bars for a more modern roller structure
- before a bass switch or drum variation
- before the second drop section in a longer track
Example arrangement context:
- Intro: DJ-friendly drums and atmos
- 8-bar groove: main break and bass
- 1-bar fill: printed resampled fill with filter opening
- Drop 2: bass returns harder with a new pattern
Keep the fill short enough that a DJ could still mix it sensibly. Even if you’re not making club DJ tools, the arrangement should still feel like it could live in a set.
10. Freeze your decision and keep the project lean
Once the fill works, commit to it. That is the whole advantage of resampling.
Helpful workflow:
- rename the clip clearly, like Fill_A_1bar_Resampled
- color-code it
- consolidate the audio if needed
- mute or deactivate the original heavy source tracks if they are no longer needed for that section
If the fill is doing its job as audio, you do not need a huge live chain running behind it. This is how you keep CPU low while still sounding creative and detailed.
Common Mistakes
If every beat is filled with a new sound, the drop loses impact. Fix: keep one main event, one drum edit, and one FX gesture.
If the base loop is weak, the fill will be weak too. Fix: get the break and bass feeling good first.
Low-end clutter makes the transition muddy. Fix: use EQ Eight to remove sub below 30–40 Hz and keep the drop bass clean.
That defeats the CPU-saving point. Fix: print the moment, then use only a small shaping chain.
A good fill in DnB usually leads clearly into the next section. Fix: place it at the end of 4, 8, or 16 bar phrases.
Wide effects can sound exciting, but they can also blur the punch. Fix: keep low frequencies mono and use width sparingly.
Pro Tips for Darker / Heavier DnB
Mini Practice Exercise
Spend 10–20 minutes making one resampled fill using this exact workflow:
1. Build a 2-bar loop with drums and bass.
2. Automate the bass filter or volume so the final half-bar gets lighter.
3. Record a resampled version onto a new audio track.
4. Cut the audio into 1/8 or 1/16 chunks.
5. Add one EQ Eight and one Saturator to shape it.
6. Automate the filter opening on the last hit.
7. Place the fill at the end of an 8-bar phrase in your arrangement.
8. Compare it with the original loop and decide whether the fill makes the drop feel stronger.
Challenge version: make two different fills from the same resample — one more jungle chopped, one more dark roller — and choose the one that works best in the track.

