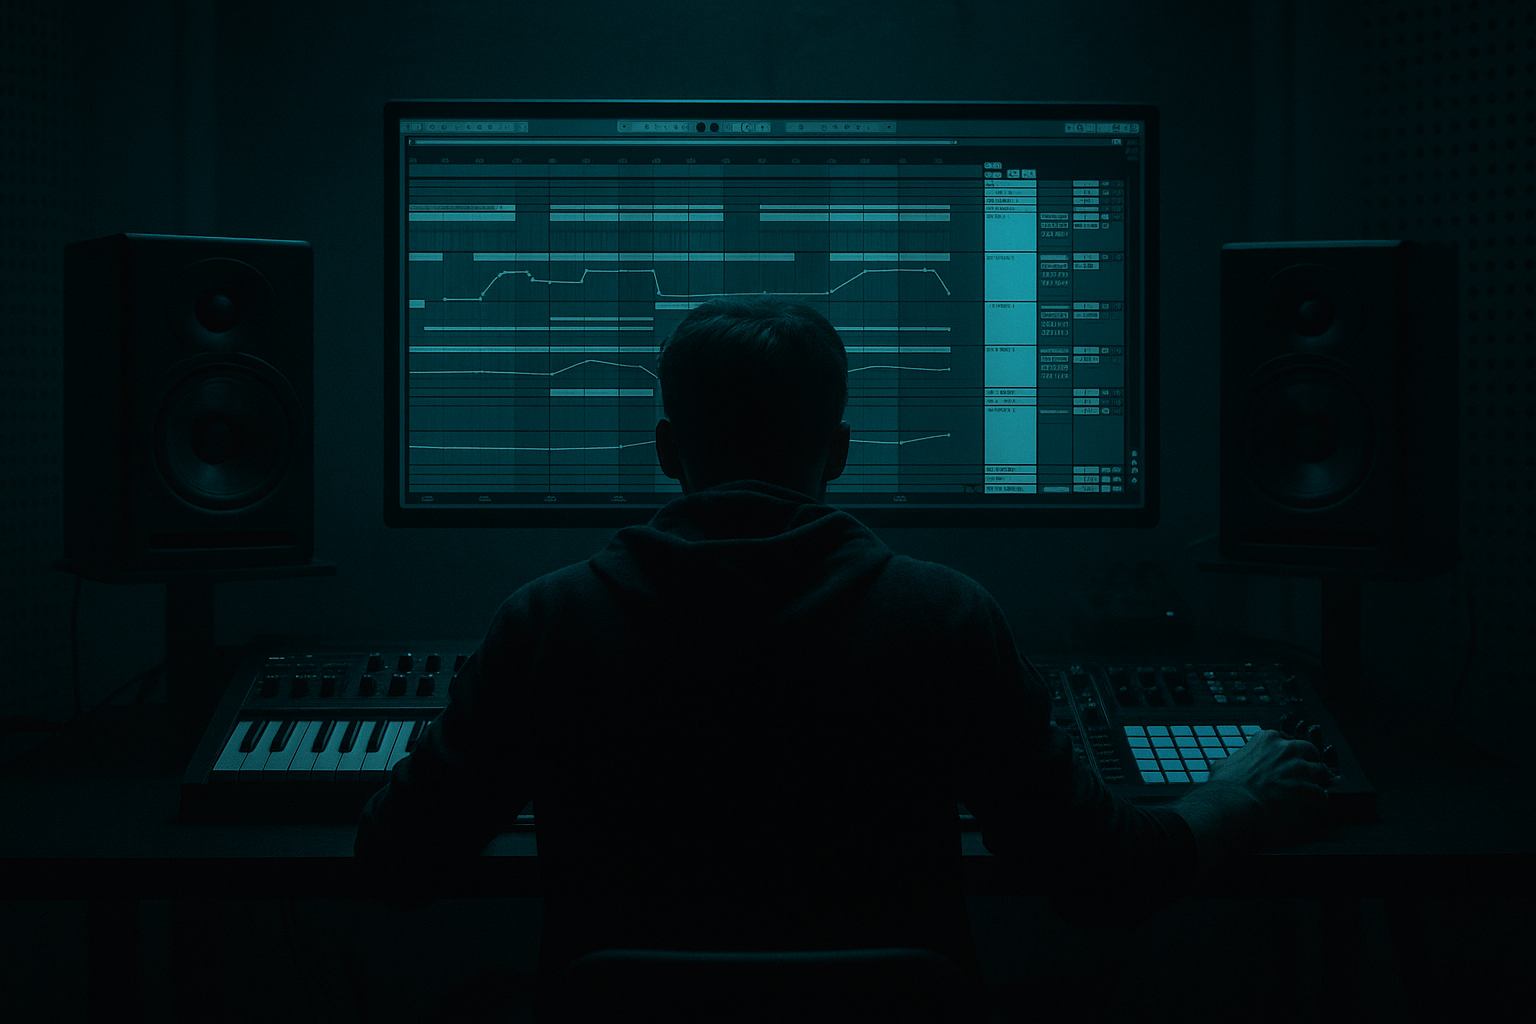
Main tutorial
Edit in Ableton Live 12: Swing It From Scratch for Jungle / Oldskool DnB Vibes 🥁⚡
1. Lesson overview
In this lesson you’ll build a swing-heavy drum edit from scratch in Ableton Live 12 that captures the feel of jungle and oldskool drum and bass—not the clean, grid-perfect modern style, but the loose, human, break-driven energy that makes those records move.
We’re focusing on edits: chopping, nudging, re-grooving, and re-sequencing breakbeats so they feel alive. The goal is not just to “add swing,” but to shape the timing, velocity, and micro-detail so the drums bounce in a way that supports roller basslines, chopped amens, and dark atmospheres.
You’ll learn how to:
- choose and prep a break
- extract a groove from audio
- apply swing without killing the break’s identity
- build a jungle-style drum loop with tension and motion
- use Ableton Live 12 stock tools to create realistic, punchy edits
- make your edit sit properly in a DnB arrangement
- a chopped breakbeat foundation
- swing pulled from a real break
- a ghost-note-heavy snare structure
- tight kick placement
- variation every 2–4 bars
- a drop-ready edit that can sit under a Reese, reese stab, or dubwise bassline
- late-90s jungle shuffle
- Amen / Think-style movement
- slightly unstable, human timing
- enough swing to breathe, but still heavy and controlled
- Warp
- Slice to New MIDI Track
- Drum Rack
- Simpler
- Groove Pool
- MIDI Note Velocity
- Ghost Clip/duplicate-based editing
- Drum Buss
- EQ Eight
- Saturator
- Glue Compressor
- Auto Filter
- Utility
- optional: Roar for aggression in Live 12
- clear kick/snare transients
- ghost notes
- slight room sound or vinyl character
- enough transient definition to chop cleanly
- Amen-style breaks
- Think-style breaks
- Funk breaks with swing
- dusty hip-hop or soul breaks with strong snare
- the break already feels great
- you want detailed micro-timing control
- you want a more “sampled” feel
- you want to re-sequence hits freely
- you want to add extra ghost notes or layer your own snare/kick
- you want a more production-friendly workflow for arrangement
- audition the slices in a Drum Rack
- create a custom swing pattern
- rearrange the break into a new phrase
- kick on the downbeat or slightly before it
- snare on 2 and 4, often layered or duplicated
- ghost snares before or after the main snare
- syncopated kick pickups
- small fills at the end of bar 2
- 1/16 for core placement
- switch to 1/32 for ghost-note detail
- Bar 1 beat 1: kick
- Beat 1.3 or 1.4: light break hit or ghost
- Beat 2: snare
- Beat 2.3/2.4: quick drag or ghost note
- Beat 3: kick or break punch
- Beat 4: snare
- last 1/8 or 1/16 of bar 2: small fill
- Timing: 55–65%
- Random: 0–10%
- Velocity: 10–25%
- Base: 1/16 or 1/8 depending on the break
- offbeat hats
- ghost notes
- some percussion
- selected kick pickups
- keep main kicks/snare hits tight
- apply swing more heavily to ghost notes and percussion
- use clip envelopes or note-by-note nudging to push certain hits late
- move some ghost notes slightly late
- push certain kick pickups slightly early
- leave a few break slices just behind the grid
- vary the velocities on repeated snare ghosts
- nudge a few 1/16 notes by 5–15 ms
- place a ghost snare slightly before the main snare for drag feel
- place a tiny percussion hit slightly behind the beat for pocket
- Early hits = urgency, drive, tension
- Late hits = weight, swagger, lilt
- early kick pickups for propulsion
- late ghost snare or hat for swing
- main snares should be the loudest anchor
- ghost snares should be significantly lower
- repeated hats should alternate in volume
- kick accents should not all be equal
- Main snare: 110–127
- Ghost snare: 35–75
- Main kick: 95–120
- Supporting kick: 70–95
- Hats/percussion: 40–90
- bar 1 slightly calmer
- bar 2 slightly more intense
- final 1/8 of bar 2 rises in velocity to lead into the next section
- your sliced or edited break loop
- a dry snare sample on 2 and 4
- use Simpler or Drum Rack
- short kick or sub-kick
- keep it tight and mono
- hats from the break or separate samples
- automate or alternate for movement
- attitude
- swing
- texture
- impact
- clarity
- mix control
- controlled distortion
- midrange bite
- aggressive texture
- remove the first kick in bar 4
- add a snare flam before the downbeat
- mute a hat for one bar to create space
- add a quick two-hit fill in the last 1/16
- reverse one slice into the next section
- double a snare ghost for tension
- make a main 2-bar loop
- duplicate it across 16 or 32 bars
- edit each 4-bar phrase with one small change
- strip the drums back for 1/2 bar
- let a snare roll or break fill carry the transition
- bring the full edit back on the downbeat
- Are snares clipping unpleasantly?
- Are ghost notes muddying the main snare?
- Is the kick fighting the bass?
- Is the break too wide or too stereo-heavy?
- Use EQ Eight to carve low-end mud
- Use Utility to narrow stereo below the crossover area
- Use Transient shaping with Drum Buss
- Use Clip Gain or sample gain for balance before compression
- nudge some ghost notes late
- keep the main snare firm
- let percussion “lean” behind the beat
- a very short room reverb
- low wet amount
- high-pass the reverb return
- saturate it
- compress it harder
- blend it under the clean drums
- Saturator
- Roar
- subtle EQ Eight shaping
- establish the groove
- keep it relatively simple
- use one ghost snare and one kick variation
- add one extra chopped hit
- slightly increase velocity on a hat or ghost note
- remove one element to create space
- shift one percussion hit late by a few milliseconds
- add a fill or snare drag
- set up a strong return to bar 1
- no more than 12 MIDI notes in the first bar
- at least 3 velocity differences per bar
- one groove template or manual timing offset applied
- one processing chain on the drum bus
- one arrangement variation every 4 bars
- start with a break that has real character
- slice it and rebuild it in MIDI for control
- use Groove Pool or manual micro-timing for swing
- keep main anchors solid and swing the detail notes
- shape velocities like a drummer
- layer and process the drums carefully
- make small arrangement changes every few bars
- preserve movement, grit, and space for the bass
- a Live 12 session template
- a bar-by-bar MIDI example
- or a DAW-specific workflow for Amen / Think breaks
This is advanced territory, so we’ll assume you already know how to navigate Ableton Live, slice audio, and work with clip view, MIDI, and arrangement.
---
2. What you will build
By the end, you’ll have a 2-bar jungle / oldskool DnB drum edit with:
Target feel
Think:
Stock Ableton tools you’ll use
---
3. Step-by-step walkthrough
Step 1: Start with the right source material
For authentic jungle feel, begin with a break that has:
Good break types:
Practical workflow
1. Drag a break into an audio track.
2. Set the project tempo somewhere in the 160–174 BPM range.
3. Warp the break so the downbeat is aligned, but don’t over-tighten it yet.
4. If the break has natural swing you like, preserve it. If it feels stiff, you’ll impose swing later.
Important:
For oldskool DnB, don’t flatten the break completely to the grid. You want the character of the original timing to survive.
---
Step 2: Decide whether to edit in audio or MIDI
There are two good approaches:
#### Option A: Audio clip editing
Best if you want to preserve the natural texture of the break.
Use this if:
#### Option B: Slice to MIDI
Best if you want total control over rearrangement and layering.
Use this if:
Recommended approach for this lesson
Use Slice to New MIDI Track so you can:
#### How to do it:
1. Right-click the audio clip.
2. Choose Slice to New MIDI Track.
3. Slice by transients.
4. Choose a slicing preset like Built-in > Transients or a minimal drum rack preset if available.
Now you have each break hit mapped into a MIDI rack. This is your edit playground 🎛️
---
Step 3: Build the main edit skeleton
Start by programming a 2-bar loop.
For jungle/oldskool DnB, a strong skeleton usually includes:
Suggested starting grid
Set the MIDI editor grid to:
Example skeleton idea
Practical tip
Don’t start with too many hits. Build the groove in layers:
1. main kicks and snares
2. ghost notes
3. syncopated fill elements
4. velocity shaping
5. swing/groove refinement
---
Step 4: Extract swing from a real break
This is the heart of the lesson. The best jungle swing often comes from a groove template rather than a generic swing knob.
In Ableton Live 12:
1. Select the original break audio clip.
2. Open the Groove Pool.
3. Drag a groove from the clip if it has a nice feel, or use an extracted groove if available from the clip.
4. Apply that groove to your MIDI drum rack pattern.
If you don’t want to rely on groove extraction, you can manually emulate the feel by nudging notes.
Suggested swing settings
In the Groove Pool, experiment with:
Key point:
For jungle, the swing should usually affect:
You often want the main snare anchors to remain more stable so the track still hits hard.
Advanced method: selective groove application
Instead of applying the groove to everything:
This gives a much more authentic feel than blanket swing.
---
Step 5: Humanize the edit with micro-timing
Oldskool DnB breathes because not every hit is identical.
Do this:
In practice
Look at the MIDI editor and:
Rule of thumb
For jungle, combine both:
---
Step 6: Shape velocities like a drummer, not a machine
This is where the edit starts to feel real.
In the MIDI editor:
Suggested velocity ranges
Advanced trick
Use velocity patterns to create phrase movement:
This matters a lot in edits because DnB arrangement relies on constant motion.
---
Step 7: Layer your edited break with reinforcement
Oldskool DnB drums often sound big because the break is supported by extra drum elements.
Build a layer stack
In Ableton, try these layers:
#### Layer 1: Main break
#### Layer 2: Clean snare layer
#### Layer 3: Kick reinforcement
#### Layer 4: Hat/percussion layer
Why this works
The break gives you:
The layers give you:
---
Step 8: Process the drum bus for punch and grit
Route your drums to a group and process them together.
Suggested stock chain on the drum bus
1. EQ Eight
- high-pass anything unnecessary below 25–35 Hz
- gentle cut around muddy low-mids if needed
2. Drum Buss
- Drive: subtle to moderate
- Crunch: low to medium
- Boom: use carefully; it can make breaks floppy if overdone
3. Saturator
- Soft Clip on
- Drive: 1–4 dB depending on material
4. Glue Compressor
- Attack: 10–30 ms
- Release: Auto or 0.3–0.6 s
- Aim for light glue, not pumping unless that’s intentional
5. Utility
- check mono compatibility
- narrow the low end if needed
If you want heavier, darker edge
Add Roar lightly after Drum Buss or Saturator for:
Keep it subtle if the break already has a lot of character.
---
Step 9: Add arrangement variation like a real DnB tune
A jungle edit should not loop unchanged for too long.
Build variations every 2 or 4 bars
Ideas:
Arrangement workflow
In Arrangement View:
This creates momentum without overcrowding the mix.
Strong jungle arrangement move
Before a drop or phrase change:
That contrast is classic.
---
Step 10: Tidy the transient relationships
For oldskool DnB, the transients need to hit in a way that feels energetic but not brittle.
Check:
Fixes
Pro workflow
Always get the drum edit sounding good before bass design.
In DnB, the bass often follows the drums, not the other way around.
---
4. Common mistakes
1. Over-swinging everything
If every note gets the same swing amount, the groove becomes floppy or cartoonish.
Fix: apply swing selectively. Keep core snare anchors solid.
2. Quantizing too hard
Perfect timing kills oldskool energy.
Fix: leave some hits slightly off-grid and use groove templates instead of full quantize.
3. Too many break slices
If you chop every transient, the pattern can lose identity.
Fix: preserve a few recognizable break phrases or ghost-note clusters.
4. Ignoring velocities
A flat velocity map makes the edit feel robotic.
Fix: vary velocities aggressively, especially ghosts and hats.
5. Overprocessing the drum bus
Too much compression or distortion can crush the groove.
Fix: keep movement intact; use smaller amounts and reference against original break feel.
6. Not leaving room for bass
A crowded drum edit will fight your sub and Reese.
Fix: carve space early and make sure the kick/snare interaction is controlled.
---
5. Pro tips for darker/heavier DnB
Tip 1: Make the groove slightly lopsided
Dark DnB often feels heavier when the edit is not symmetrical.
That creates menace and groove at the same time 😈
Tip 2: Use a short room or vinyl ambience
A tiny room layer or dusty ambience can glue the break together.
Try:
Tip 3: Layer with a subby kick only where needed
For heavier rollers, reinforce only select kicks, not every kick.
This keeps the pattern from becoming too EDM-like.
Tip 4: Distort the parallel drum layer, not the whole kit
Create a parallel return or duplicate group:
This gives weight without losing transient detail.
Tip 5: Use silence as a weapon
A half-beat dropout before the snare return can make the groove hit harder than adding more notes.
Tip 6: Darker edits love midrange texture
A bit of crushed break texture around 1–4 kHz helps the drums cut through thick basslines.
Use:
---
6. Mini practice exercise
Exercise: Build a 4-bar jungle edit
Use a single break and create a 4-bar phrase with these rules:
#### Bar 1
#### Bar 2
#### Bar 3
#### Bar 4
Constraints
Goal
When you loop all 4 bars, it should feel like a real jungle drum performance, not a copied loop.
---
7. Recap
To swing it from scratch for jungle / oldskool DnB in Ableton Live 12, remember:
If your edit makes you want to nod your head before the bass even comes in, you’re on the right track 🔥
If you want, I can also turn this into:

