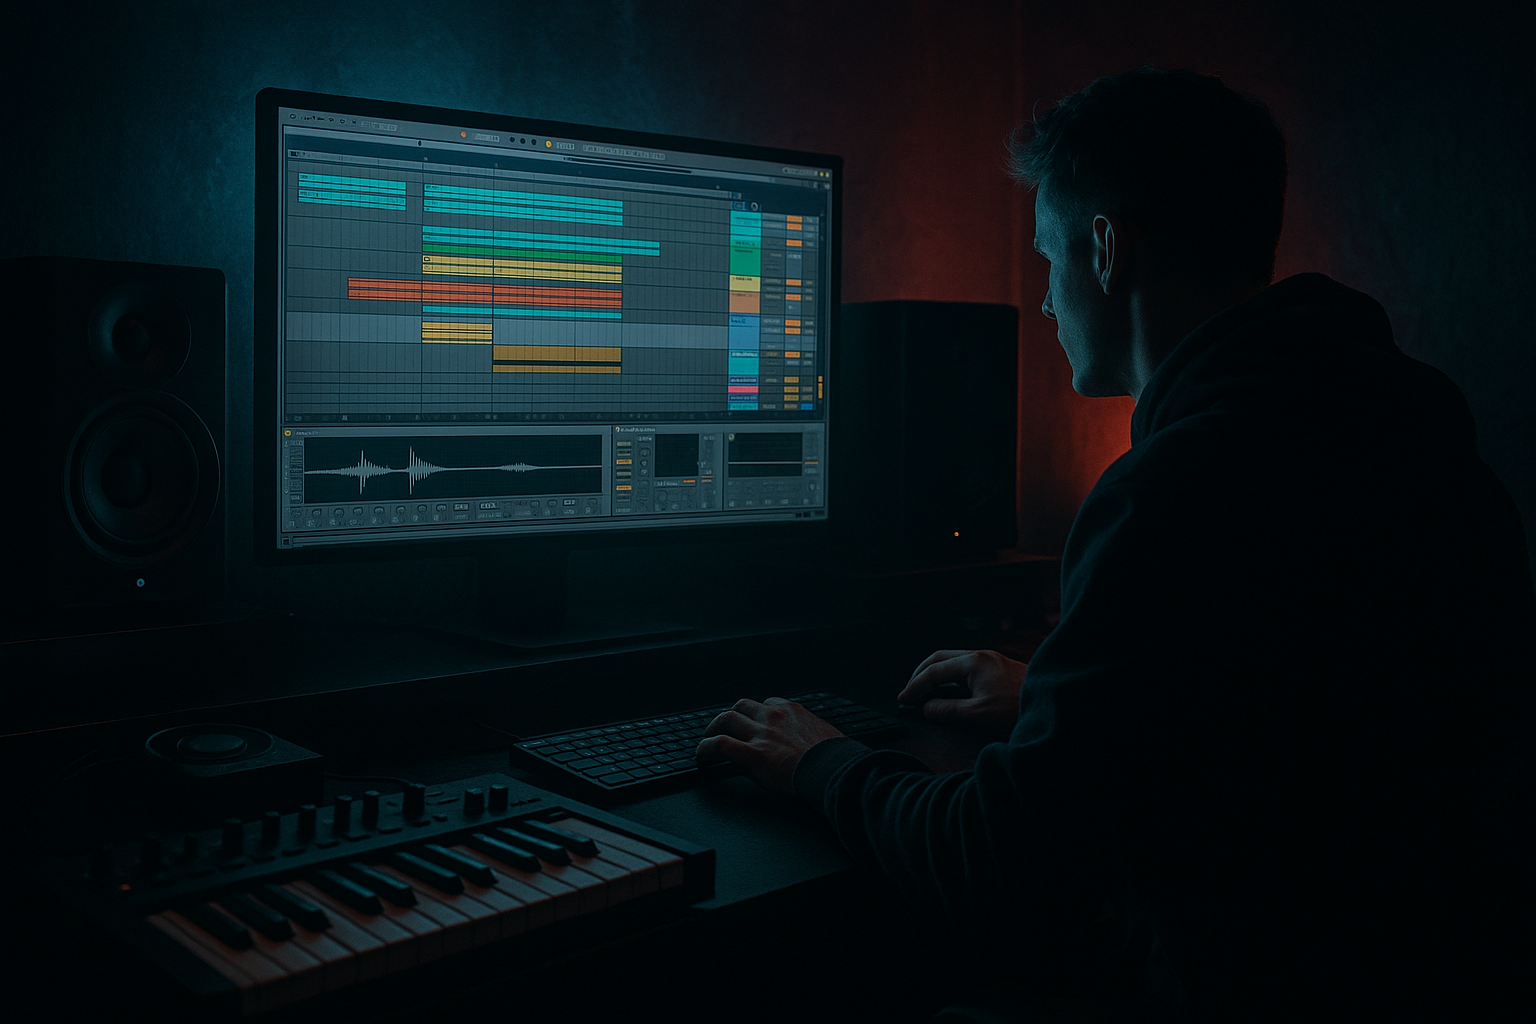
DNB COLLEGE

Drum & Bass Ableton Live 12 Tutorials

LESSON DETAIL

Edit in Ableton Live 12: resample it with breakbeat surgery (Intermediate)

An AI-generated intermediate Ableton lesson focused on Edit in Ableton Live 12: resample it with breakbeat surgery in the Drums area of drum and bass production.

Back to lessons
Edit in Ableton Live 12: resample it with breakbeat surgery (Intermediate) cover image

Narrated lesson audio

The voice track includes the tutorial plus extra teacher commentary.

Open audio file

Main tutorial

Edit in Ableton Live 12: Resample It with Breakbeat Surgery (DnB Focus) 🥁⚔️

1) Lesson overview

In drum & bass, the break is often the groove engine—and the fastest way to get a unique, rolling drum identity is to surgically edit a breakbeat, then resample it into a new, tighter, heavier loop.

In this lesson you’ll use Ableton Live 12 tools (warp modes, slicing, Drum Rack, resampling, transient shaping, saturation, and buss processing) to turn a raw break into a modern DnB-ready loop that still feels human.

You’ll learn:

  • How to prep and warp a break properly at DnB tempos (170–176 BPM)
  • How to slice with intent (not random chopping)
  • How to layer kicks/snares while keeping the break’s swing
  • How to resample “your version” and re-edit for tightness + character
  • How to build a clean drum bus chain using stock devices
  • ---

    2) What you will build

    A 16-bar DnB drum section featuring:

  • A 2-bar “surgically edited” break loop (main groove)
  • Layered kick + snare (modern punch)
  • A resampled “crushed” variation for fills
  • A call-and-response arrangement (A/B drum energy)
  • A drum bus chain that hits hard but stays controlled
  • Think: jungle heritage + modern rolling weight. 😈

    ---

    3) Step-by-step walkthrough

    Step 0 — Session setup (quick but important)

    1. Set tempo to 174 BPM (good default).

    2. Create tracks:

    - Audio Track: `BREAK RAW`

    - MIDI Track (Drum Rack): `BREAK SLICE`

    - Audio Track: `RESAMPLE PRINT`

    - Audio Track: `DRUM BUS` (optional for routing)

    Workflow tip: Color code: raw (grey), sliced (blue), resampled (orange), bus (red). Keeps you fast.

    ---

    Step 1 — Choose and warp the break properly

    1. Drop a breakbeat audio file into `BREAK RAW`.

    2. In Clip View:

    - Turn Warp ON

    - Set Seg. BPM roughly correct (doesn’t need to be perfect yet)

    - Choose Warp mode:

    - Beats for most breaks (tight, transient-friendly)

    - Set Preserve: Transients

    - Start with Envelope: 40–60 (higher = tighter/less tail)

    3. Right-click the clip → Warp From Here (Straight) at the true downbeat (bar 1 beat 1).

    4. Find the end of a clean loop (often 1 or 2 bars):

    - Set loop braces to exactly 2 bars (common for DnB)

    - Right-click → Set 1.1.1 Here on the start marker if needed

    - Nudge warp markers only when necessary (don’t over-warp or you kill feel)

    Goal: The break loops seamlessly at 174, with transients aligned enough to slice cleanly, but still breathes.

    ---

    Step 2 — “Surgery” pass: slice the break to a Drum Rack

    You want control: separate kick/snare/ghosts, rearrange hits, and tighten groove.

    1. Right-click the warped break clip → Slice to New MIDI Track

    2. Settings (good starting point):

    - Slice By: Transient

    - Create one slice per: Transient

    - Slicing preset: Built-in (or Empty if you want total control)

    This creates a Drum Rack with each transient mapped to a pad.

    Immediate cleanup (high impact):

  • In the new `BREAK SLICE` track:
  • 1. Open Drum Rack → click a few pads

    2. For pads that are clearly kick or snare, rename them (Kick, Snare, Ghost, Hat, etc.)

    3. For messy slices with clicks:

    - Open the Simpler on that pad

    - Use Fade In very small (e.g., 1–5 ms) to remove clicks

    - Adjust Start slightly forward if needed

    ---

    Step 3 — Rebuild the groove with intent (not random chops)

    Now you’ll create a 2-bar DnB pattern using the break’s DNA.

    1. In `BREAK SLICE`, create a 2-bar MIDI clip.

    2. Start by placing:

    - Snare on beat 2 and 4 (classic DnB backbone)

    - Then place a few ghost notes and hat slices around it (from the break)

    Fast technique:

  • Copy the generated MIDI from slicing (Ableton often creates a clip) and edit it:
  • - Delete weak/washed hits

    - Keep groove-critical ghosts

    - Move a few hits by +/- 5 to 20 ms (feel surgery)

    Groove control:

  • Add Groove Pool (Live’s grooves):
  • - Try a groove like Swing 16 style lightly

    - Apply with Timing 10–25%, Velocity 5–15%

    - You want roll without flammy chaos

    ---

    Step 4 — Layer modern kick + snare while keeping break character

    Break gives movement; layers give weight.

    1. Add a new Drum Rack track called `KICK/SNARE LAYERS`.

    2. Choose punchy one-shots:

    - Kick: short, sub-controlled

    - Snare: crisp transient + body around 200 Hz + crack 2–6 kHz

    3. Program a simple DnB backbone:

    - Kick: often on 1, plus a syncopated extra (varies by style)

    - Snare: 2 and 4

    Glue them to the break:

  • On the break track (`BREAK SLICE`), use EQ Eight:
  • - High-pass around 30–50 Hz (remove rumble)

    - If your layered kick is strong: dip 80–120 Hz slightly in the break

  • On the snare break slices (if too boxy):
  • - Dip 250–500 Hz a couple dB

  • Keep the break’s high end movement (that’s the vibe).
  • ---

    Step 5 — Create a Drum Bus chain (stock devices that slap) 🔥

    Route both drum tracks to a group or a return bus.

    Option A: Group them

  • Select `BREAK SLICE` + `KICK/SNARE LAYERS` → Group (`Cmd/Ctrl+G`) → name `DRUM BUS`
  • Suggested DRUM BUS chain (in order):

    1. EQ Eight

    - HP at 25–30 Hz (gentle)

    - Small dip if harsh: ~7–10 kHz (only if needed)

    2. Drum Buss

    - Drive: 5–15%

    - Crunch: 0–10 (careful—goes fizzy)

    - Boom: 0–20% around 50–60 Hz (only if it helps)

    - Transients: +5 to +20 for snap

    3. Glue Compressor

    - Attack: 3–10 ms

    - Release: Auto or 0.1–0.3 s

    - Ratio: 2:1

    - Aim for 1–3 dB gain reduction (DnB likes control, not squish)

    4. Saturator

    - Mode: Soft Sine or Analog Clip

    - Drive: 1–4 dB

    - Turn on Soft Clip

    5. Limiter (only as safety)

    - Catch peaks, don’t smash

    Goal: More density + punch without losing transient clarity.

    ---

    Step 6 — Resample your drums (print the magic) 🎛️➡️🎚️

    This is the secret weapon: commit to audio, then edit again.

    Method (clean and repeatable):

    1. Create an audio track: `RESAMPLE PRINT`

    2. Set its input to:

    - Audio From: your `DRUM BUS` (or group)

    3. Arm `RESAMPLE PRINT`

    4. Record 8–16 bars while you tweak bus settings and small variations (mutes, fills)

    Now you’ve captured a performance print.

    ---

    Step 7 — Second surgery: edit the resample for variations & fills

    This is where DnB turns pro: micro-edits + fills without reprogramming everything.

    1. Consolidate good sections:

    - Select a clean 2-bar best loopConsolidate (`Cmd/Ctrl+J`)

    2. Duplicate it out to build a phrase:

    - Classic: 8 bars A + 8 bars B (with variation)

    Create variations quickly:

  • Reverse a small snare/hat tail (single slice) before bar transitions
  • Add 1/8 or 1/16 stutters at the end of bar 8/16
  • - Use Split (`Cmd/Ctrl+E`) + duplicate tiny bits

  • Make a “pull-up” moment:
  • - Silence the last 1 beat before drop (or filter it)

    Warp + tighten (again, lightly):

  • Set resampled clip Warp mode to Beats
  • Preserve Transients, Envelope around 30–50
  • If there are flams, nudge a few warp markers—but only where it matters.
  • ---

    Step 8 — Arrangement ideas for rolling DnB

    Here’s a reliable 32-bar drum arc:

  • Bars 1–8 (Intro groove):
  • - Break only (filtered a bit)

    - Light hats, no heavy layers yet

  • Bars 9–16 (Main groove A):
  • - Add kick/snare layers

    - Full bus chain engaged

  • Bars 17–24 (Groove B):
  • - Swap to resampled variation

    - Add extra kick ghost or snare drag

  • Bars 25–32 (Fill + impact):
  • - 1-bar fill at bar 32

    - Drop to the cleanest, punchiest 2-bar loop after

    Automation that works:

  • Auto Filter on breaks (HP sweep down into the drop)
  • Reverb throw (Return track) on a snare hit only (automate send)
  • ---

    4) Common mistakes

  • Over-warping the break: too many warp markers kills swing and makes it robotic.
  • Slicing too granular without cleanup: tiny noisy slices = clicks, phasey hats, and mess.
  • Layering without EQ separation: kick fights break low end → weak punch.
  • Bus compression too heavy: 6–10 dB GR will smear transients and remove DnB snap.
  • No resample stage: you miss the “commit and re-edit” power that creates signature loops.
  • ---

    5) Pro tips for darker/heavier DnB 😈

  • Parallel destroy channel (in-group Return):
  • - Add a Return inside the drum group:

    - Saturator (Analog Clip, Drive 6–12 dB)Redux (light) → EQ Eight (shape) → Compressor

    - Blend at 5–20% for grit without losing punch.

  • Pitch down micro-fills:
  • - Take a 1/16 snare slice, pitch down -3 to -7 semitones (Simpler or Clip Transpose) for a brutal “drag.”

  • Dark top control:
  • - If hats are harsh, use Multiband Dynamics gently:

    - Tame highs above 6–8 kHz with small downward compression.

  • Transient focus:
  • - On Drum Buss, push Transients up before adding lots of saturation.

  • Space with restraint:
  • - Use Hybrid Reverb very short rooms on snare only, high-passed return (HP at ~300 Hz). Keep the low end dry and lethal.

    ---

    6) Mini practice exercise (20 minutes) ⏱️

    1. Pick one classic-style break (any will do).

    2. Warp it at 174 BPM using Beats / Preserve Transients.

    3. Slice to Drum Rack by Transient.

    4. Build two 2-bar clips:

    - Clip A: faithful groove, just tightened

    - Clip B: 4 edits (one reverse, one stutter, one ghost kick move, one hat swap)

    5. Layer kick/snare one-shots.

    6. Resample 8 bars of A→B performance.

    7. From the resample, make:

    - One clean 2-bar loop

    - One 1-bar fill (end of bar 16)

    Deliverable: a 16-bar drum arrangement with A (bars 1–8) and B (bars 9–16).

    ---

    7) Recap

  • Warp the break cleanly (Beats mode, transient-preserving) so it loops right at DnB tempo.
  • Slice to Drum Rack, then perform surgical MIDI edits to tighten groove and enhance roll.
  • Layer modern kick/snare while EQ-splitting responsibilities.
  • Build a stock Drum Bus chain for punch and cohesion.
  • Resample your processed drums and do a second surgery pass for pro-level variations and fills.

If you want, tell me your target vibe (liquid roller, techy minimal, or heavy jungle-core) and I’ll suggest a specific slicing map + bus settings for that style.

Ask GPT about this lesson

Chat with the lesson tutor, get follow-up help, or use quick actions.

Bigup 👽 Ask me anything about this lesson and I’ll answer in context.

Narration script

Show spoken script
Welcome back. This is an intermediate Ableton Live 12 lesson for drum and bass, and we’re going to do something that instantly levels up your drums: breakbeat surgery, then resampling.

The whole idea is simple. A raw break has attitude, swing, and little human imperfections that feel alive. But modern DnB also wants punch, control, and consistency. So we’re going to surgically edit the break, layer modern kick and snare underneath, print the result to audio, and then do a second round of editing on the resample. That “commit, print, re-edit” loop is where signature drums happen.

By the end, you’ll have a 16-bar drum section built from a two-bar main groove, plus a crushed variation for fills, with a clean drum bus chain using stock Ableton devices.

Let’s set up the session first.

Set the tempo to 174 BPM. That’s a great default in the 170 to 176 pocket.

Now create four tracks.
First, an audio track called BREAK RAW. That’s where your original breakbeat lives.
Second, a MIDI track that will become your sliced Drum Rack, called BREAK SLICE.
Third, an audio track called RESAMPLE PRINT. This is where we record our processed drum bus.
And optionally, a drum bus group track if you like to keep things clean. You can also just group later.

Quick workflow tip: color code these. It sounds silly, but it keeps you fast when the project gets dense. Raw in grey, slices in blue, resample in orange, bus in red. You’ll thank yourself later.

Step one: choose and warp the break properly.

Drag your breakbeat audio file onto BREAK RAW. In Clip View, enable Warp.

Now, warp mode matters. For DnB breaks, start with Beats warp mode. It’s transient-friendly and it keeps the attack of the drums intact.

Set Preserve to Transients. Then set the Envelope somewhere around 40 to 60. If you push Envelope higher, the break gets tighter and shorter, less tail. If you set it lower, you keep more natural decay, but it can get messy at 174. We’ll start around 50 as a middle ground.

Here’s a big “coach note” moment: pick your surgical grid before you start fixing everything.
Ask yourself: do you want this break to feel straight, slightly swung, or a little draggy?
Turn on the metronome, loop two bars, and only correct the snare backbeats first. Get beat 2 and beat 4 sitting right. If those are locked, you can let the hats and ghosts be human. That’s how you keep vibe without getting sloppy.

So, find the true downbeat of the break. Right-click exactly where bar one beat one should be, and choose Warp From Here, Straight. Then find a clean loop length, usually one or two bars. For DnB, two bars is a sweet spot because it gives you enough variation to feel alive.

Set your loop braces to exactly two bars. If the start marker is off, use Set 1.1.1 Here at the proper downbeat.

Now, resist the temptation to over-warp. If you put warp markers on every transient, you’ll kill the feel. Only nudge what actually needs correction, and mainly focus on the backbeat.

Your goal: the break loops seamlessly at 174, transients are aligned enough to slice cleanly, but the groove still breathes.

Step two: slice the break to a Drum Rack.

Right-click the warped clip and choose Slice to New MIDI Track.

Set Slice By to Transient. Create one slice per Transient. And choose the built-in slicing preset, or Empty if you want total control. Built-in is fine for now.

Ableton will create a Drum Rack with each transient mapped to a pad. This is where the “surgery” becomes fun, because now you can edit the break like a kit.

Immediate cleanup, high impact.

Click through a few pads and identify the obvious roles: kicks, snares, hats, little ghost notes, maybe some room noise. Rename a few key pads: Kick, Snare, Ghost, Hat. You don’t need to label everything, but label the stuff you’ll touch constantly.

Now listen for clicks. If a slice starts abruptly, open Simpler on that pad and add a tiny Fade In, like 1 to 5 milliseconds. If it’s still clicky, nudge the Start point slightly forward.

And here’s another pro cleanup move for tops: slice-length management to avoid hat smear.
On hat or ride slices inside Simpler, set Voices to 1. That prevents overlapping tails turning into a wash. If you want really tight hats, try Gate mode. If you want natural decay, keep One-Shot but shorten Length or use a tiny Release instead of EQ-ing the life out of it.

Step three: rebuild the groove with intent. Not random chopping.

Create a two-bar MIDI clip on BREAK SLICE.

Start with the DnB backbone: put your snare on beat 2 and beat 4. Always. That’s home base.

Then pull in ghost notes and hat slices from the break to create the roll. A fast method: when you slice a break, Ableton often generates a MIDI clip that represents the original rhythm. If you’ve got that, copy it and edit it, instead of drawing from scratch.

Now do “feel surgery.”
Delete weak or washed hits.
Keep groove-critical ghosts.
And here’s the important part: when you micro-nudge timing, do it in clusters, not single hits. If you move one ghost note by itself, you can break the gesture. Try moving a pair, like the lead-in ghost plus the hat next to it, together.

Timing rule of thumb: plus or minus 3 to 8 milliseconds is polish. Plus or minus 10 to 20 milliseconds is a noticeable groove change. Use the smaller range first.

If you want extra control over feel, use the Groove Pool. Pick a light swing groove, and apply it subtly: Timing around 10 to 25 percent, Velocity around 5 to 15 percent. The goal is roll, not flammy chaos.

Step four: layer a modern kick and snare while keeping the break’s character.

Create a new Drum Rack track called KICK/SNARE LAYERS.

Pick a punchy kick one-shot that’s short and sub-controlled. And pick a snare with a crisp transient, some body around 200 hertz, and crack somewhere in the 2 to 6k range.

Program a simple DnB backbone: kick on 1, and then add one syncopated kick depending on style. Keep it simple at first. Snare on 2 and 4.

Now we glue the layers to the break with EQ separation, so they don’t fight.

On the break slices track, add EQ Eight. High-pass around 30 to 50 hertz to remove rumble. If your layered kick is providing the real weight, dip around 80 to 120 hertz in the break a little so the kick owns that space.

If the snare slices from the break feel boxy, dip 250 to 500 hertz a couple dB. But don’t kill the break’s high end movement. That top motion is the vibe.

Quick phase sanity check, because this is a common “why is my kick suddenly weak” moment.
If you layer a kick and it loses chest, it’s often phase. Put a Utility on one kick layer and try inverting polarity. Pick the setting that gives more focused low end. Then, if needed, fine-tune with tiny track delay adjustments or by nudging sample start in Simpler.

Step five: build a drum bus chain that hits hard but stays controlled.

Group BREAK SLICE and KICK/SNARE LAYERS together. Name the group DRUM BUS.

Now add a stock chain in this order.

First, EQ Eight. High-pass gently at 25 to 30 hertz, just to clean sub-rumble. If the top gets harsh, do a small dip around 7 to 10k, but only if it actually hurts.

Next, Drum Buss. This is one of the quickest ways to get “record-like” density.
Set Drive around 5 to 15 percent. Crunch at 0 to 10, because it can get fizzy fast. Boom at 0 to 20 percent around 50 to 60 hertz only if it genuinely helps. And for DnB, Transients are your friend: push Transients plus 5 to plus 20 for snap before you go crazy with saturation.

Then Glue Compressor. Keep it subtle. Attack around 3 to 10 milliseconds, Release on Auto or around 0.1 to 0.3 seconds, Ratio 2 to 1. Aim for 1 to 3 dB of gain reduction. If you’re seeing 6 to 10 dB, you’re probably smearing your transients and losing that DnB snap.

Then Saturator. Soft Sine or Analog Clip, Drive 1 to 4 dB, Soft Clip on. This is where you get density without turning everything into fuzz.

Finally, a Limiter as safety. Catch peaks, don’t smash.

Your target sound: more punch, more cohesion, more density, but the transients still feel sharp.

Optional but powerful: set up a parallel destroy channel inside the drum group.
Create a Return inside the group, put Saturator in Analog Clip with Drive 6 to 12 dB, then maybe a tiny bit of Redux, then EQ Eight to shape, then a compressor. Blend it low, like 5 to 20 percent. This gives you grit without losing the main punch.

Step six: resample your drums. Print the magic.

Create or use the audio track called RESAMPLE PRINT.

Set its input to Audio From your DRUM BUS group. Arm RESAMPLE PRINT.

Now record 8 to 16 bars while you perform the drums: tweak the bus slightly, mute a hat slice for a bar, maybe switch between two MIDI clips if you made an A and B groove. This is a big mindset shift: you’re printing a performance, not just exporting a loop.

Once recorded, you’ve got a “drum print” that already sounds like a record.

Step seven: second surgery. This is where it turns pro.

On the resampled audio, find the cleanest two-bar section. Select it and consolidate with Command or Control J. That becomes your main loop.

Duplicate it out and build a phrase: eight bars of A, eight bars of B is a classic call-and-response structure.

Now create variations fast, directly on audio.

Try reversing a tiny snare or hat tail right before a transition. Not the whole hit, just a little tail or a small chunk to create that sucking-into-the-next-bar feeling.

Add stutters at the end of bar 8 or bar 16. Split with Command or Control E, grab a 1/8 or 1/16 piece, duplicate it a couple times, and add tiny fades so you don’t click.

Do a “pull-up” moment: silence the last beat before a drop, or filter it and leave just the tops. Less can hit harder than more.

And if you want a subtle time-feel trick: the mid-bar brake.
Grab a quarter-bar chunk near the end of the phrase, often the last quarter before beat 4. Move it slightly late by a few milliseconds and add a tiny fade. It creates a pull without sounding like a glitch edit.

If you need to tighten the resample, warp it lightly. Set warp mode to Beats, preserve transients, envelope around 30 to 50. Only add warp markers where you actually hear flams. Don’t grid-lock everything.

Step eight: arrange it into a rolling DnB arc.

Here’s a reliable 32-bar drum energy plan you can steal.

Bars 1 to 8: intro groove. Break only, maybe with a high-pass filter so it’s lighter. No heavy kick layers yet.

Bars 9 to 16: main groove A. Bring in the kick and snare layers. Full bus chain engaged.

Bars 17 to 24: groove B. Swap to your resampled variation. Maybe add an extra ghost kick, a snare drag, or a little call-and-response texture hit.

Bars 25 to 32: fill and impact. Put your best one-bar fill at bar 32, and then after that, drop back to your cleanest two-bar loop. That contrast feels huge.

Two automations that basically always work:
An Auto Filter high-pass sweep down into the drop on the break elements.
And a reverb throw on one snare hit only, using a return track, so you get space without washing your whole drum bus.

Before we wrap, quick common mistakes to avoid.

Don’t over-warp the break. Too many warp markers kills swing.
Don’t slice too granular without cleanup. Tiny noisy slices create clicks, phasey hats, and mess.
Don’t layer without EQ separation, or your kick will fight the break low end and you’ll lose punch.
Don’t over-compress the bus. Heavy gain reduction smears transients.
And don’t skip resampling. The print-and-edit stage is where your loop becomes yours.

Now a quick 20-minute practice challenge to lock this in.

Pick one classic-style break. Any will do.
Warp it at 174 in Beats mode, preserve transients.
Slice to Drum Rack by transient.
Build two two-bar clips: Clip A is faithful and tightened. Clip B has four edits: one reverse, one stutter, one ghost kick move, one hat swap.
Layer kick and snare one-shots.
Resample an eight-bar performance switching from A to B.
From the resample, make one clean two-bar loop and one one-bar fill at the end of bar 16.
Deliverable: a 16-bar drum arrangement with A in bars 1 to 8 and B in bars 9 to 16.

Recap.
Warp cleanly so the break loops right at DnB tempo.
Slice to Drum Rack and do surgical MIDI edits for tightness and roll.
Layer modern kick and snare while EQ-splitting responsibilities.
Use a stock drum bus chain for punch and cohesion.
Resample, then do a second surgery pass on audio for variations and fills.

If you tell me the vibe you’re aiming for, like liquid roller, techy minimal, or heavy jungle-core, and which break you picked, I can suggest a specific slice role map and an A versus B bus contrast that fits that style.

mickeybeam

Go to drumbasscd.com for +100 drum and bass YouTube channels all in one place - tune in!

Generating PDF preview…