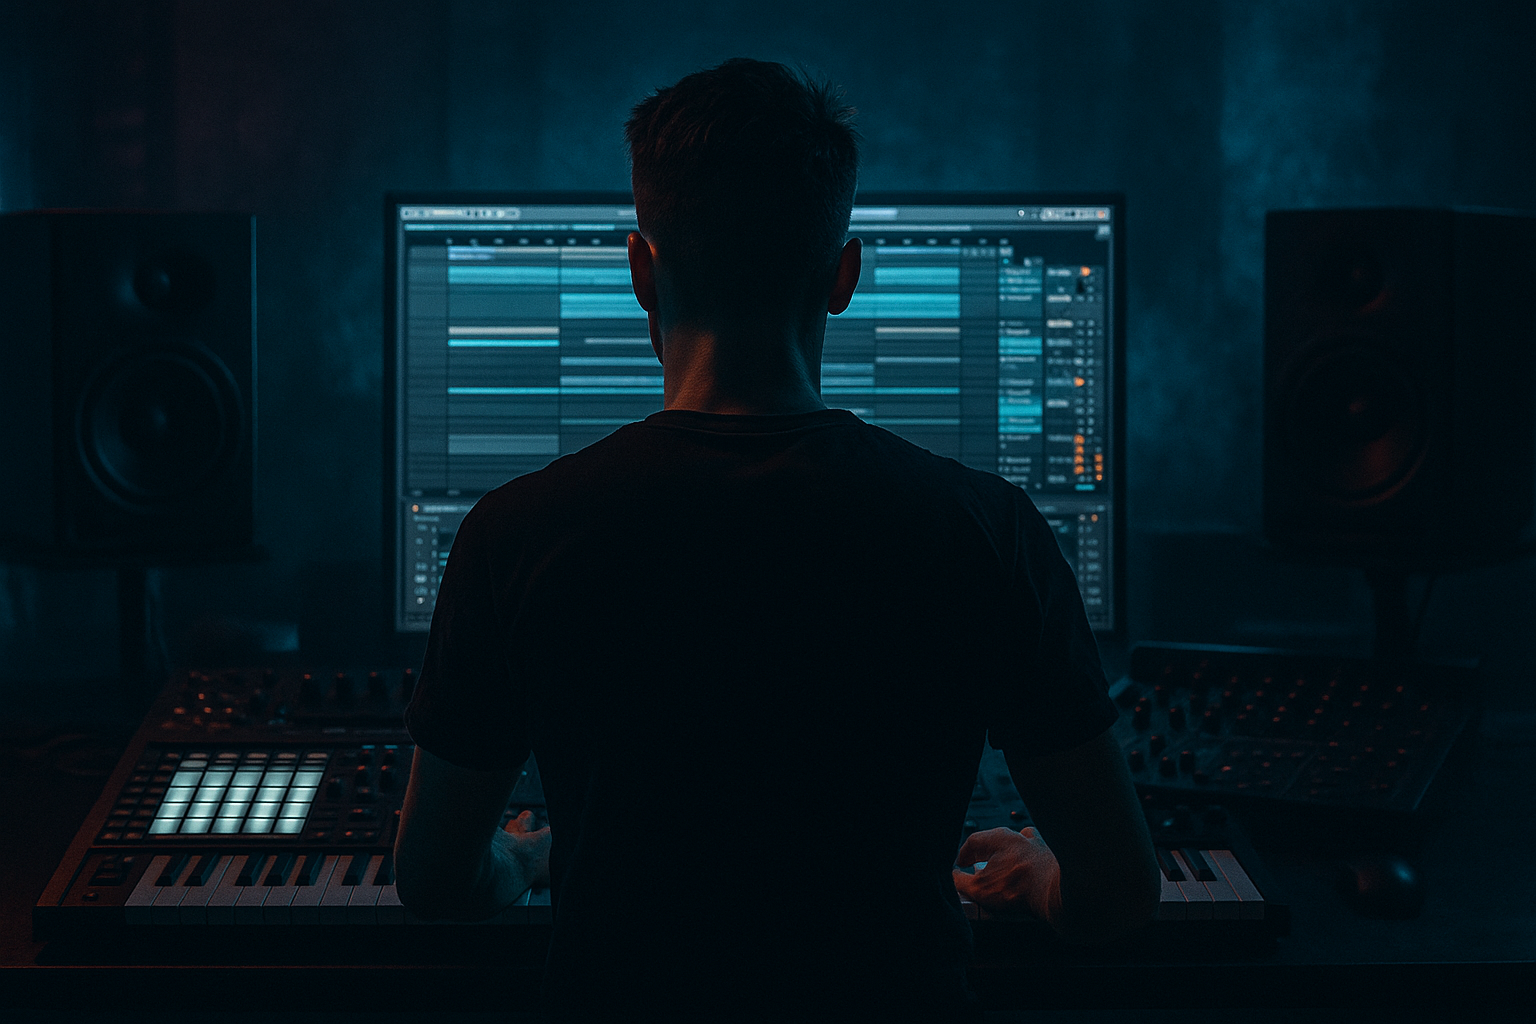
Main tutorial
Lesson Overview
A dubwise jungle reese patch is one of the most useful bass sounds in Drum & Bass because it sits right between musical movement and raw pressure. In this lesson, you’ll learn how to build a simple Reese-style bass patch in Ableton Live 12, then stack, control, and arrange it so it works like a proper DnB bassline in a track — not just as a sound design exercise.
This matters because in DnB, bass is rarely just “a cool sound.” It has to do several jobs at once:
- hold the low-end with a solid sub
- create midrange motion and attitude
- leave space for drums
- work in loops, breakdowns, and drop phrases
- keep the track moving with call-and-response, fills, and automation
- a mono sub layer that follows your root notes cleanly
- a detuned Reese mid layer with movement and dubby character
- a simple rack structure so you can edit the bass quickly
- a short 8-bar arrangement idea for a drop or half-drop
- automation for filter, delay sends, and movement
- a version that works in a DnB context with breakbeats, kick/snare placement, and DJ-friendly phrasing
- Making the Reese too wide in the low end
- Trying to use one bass layer for everything
- Overusing distortion until the bass loses pitch
- Writing bass notes that compete with the drums
- Too much echo or reverb in the drop
- Not checking mono compatibility
- Slight detune = more menace
- Automate the filter in long phrases
- Use short silence for impact
- Layer one subtle noisy texture
- Drive the mid layer, not the sub
- Work with call-and-response
- Use echoes like punctuation
- Build the bass from two parts: clean mono sub + detuned Reese mid layer.
- Keep the Reese high-passed so the sub stays powerful and clear.
- Write short, intentional DnB phrases with space for the drums.
- Use filter automation, delay throws, and subtle saturation for dubwise character.
- Arrange in 8-bar phrases with variation, tension, and release.
- Save the result as an Ableton Rack so you can reuse it fast in future DnB tracks.
A dubwise jungle reese is especially useful in rollers, jungle, darkstep, and heavier neuro-influenced DnB, because it can feel spacious and hypnotic while still sounding aggressive. The “dubwise” part comes from space, echo, and movement. The “jungle” part comes from syncopation, broken phrasing, and bounce. The “reese” part is the stacked detuned tone that gives the bass its signature width and tension.
We’ll use Ableton stock devices, keep the patch beginner-friendly, and focus on the arrangement side: how to turn one bass sound into a usable drop section with intro, main phrase, variation, and transition moments.
Why this works in DnB: a Reese bass with a clean sub and controlled stereo midrange gives you the classic contrast DnB depends on — weight below, motion above. That separation helps the drums punch through while the bass still feels huge.
What You Will Build
By the end, you’ll have a practical Ableton Live 12 bass setup made of:
Musically, the result will sound like a dark, rolling bassline that can work under a 170 BPM break pattern, with notes that answer the drums rather than fighting them. Think of a section where the bass hits on the off-beat, leaves gaps for the snare, then opens up for a call-and-response phrase before the next 8-bar turn.
Step-by-Step Walkthrough
1. Set up a clean bass track and pick your working BPM
Start a new Ableton Live set and set the tempo to 170 BPM for a classic DnB feel. Create one MIDI track called Reese Bass.
Load Wavetable if you have Live 12 Suite/Standard with it available; if not, Analog also works, but Wavetable is easier for this lesson.
Keep your project organized from the start:
- one track for sub
- one track for reese mid
- one group for bass bus processing
This matters in DnB because bass control is mostly about layer management. If everything lives in one chain with no separation, you lose the ability to control the sub independently from the movement layer.
2. Build the basic Reese sound with two detuned oscillators
In Wavetable, set:
- Oscillator 1: sawtooth
- Oscillator 2: sawtooth
- Detune Osc 2 slightly against Osc 1, around 8–18 cents
- Voices: 1 or 2 for a tight, focused bass
- Unison: keep low, around 2 voices max if used, so it doesn’t get too wide and messy
Add a low-pass filter and start with:
- Filter type: LP24
- Cutoff: around 120–250 Hz for a dark starting point
- Resonance: 10–20%
Then add movement with an LFO:
- LFO rate: 1/8 or 1/4 synced
- Modulate filter cutoff slightly
- Keep depth subtle at first, roughly 5–15%
You are not trying to make a giant wobble bass. You are making a rolling Reese that can sit in a DnB arrangement and move without sounding random.
3. Create a separate sub layer for proper low-end weight
A common beginner mistake is trying to force the Reese itself to carry the sub. Don’t do that. In DnB, a clean sub keeps the low end stable and readable.
Duplicate the MIDI track or create a second track called Sub and use Operator or Wavetable with a basic sine wave:
- Oscillator: sine
- No unison
- No width
- Keep it mono
On the sub track, add:
- Utility and set Width to 0%
- Optional Saturator with Drive around 1–3 dB if you need slightly more audibility on small speakers
Keep the sub simple and follow the same MIDI notes as the Reese mid layer. This is one of the key habits in modern DnB: sub = simple, mid = character.
4. Write a short dubwise bass phrase instead of a full melody
In the MIDI clip, create a very short phrase — start with 1 or 2 notes per bar, then build toward a loop of 2 bars or 4 bars.
A good beginner-friendly DnB starting shape:
- note 1 on beat 1 or the “and” after beat 1
- note 2 before the snare hits, or after the snare to create reply
- a short gap for the kick/snare pocket
- one longer held note near the end of the bar for tension
Example context: if your drums are a classic half-time DnB pattern with snare on 2 and 4, let the bass answer the snare. Put a short Reese hit after the snare on bar 1, then another on the off-beat before bar 2. That creates the push-pull feel you hear in jungle and rollers.
Keep note lengths short to medium:
- short notes for rhythm and bounce
- longer notes only when you want the filter movement to bloom
Why this works in DnB: the bassline doesn’t need to fill every moment. In fact, space makes the groove feel heavier because the drums can breathe and the bass hits feel more intentional.
5. Shape the Reese into a dubwise tone with saturation and stereo discipline
On the Reese mid track, add these stock devices in this order:
- Saturator
- EQ Eight
- Utility
Suggested starting settings:
- Saturator Drive: 2–6 dB
- Soft Clip: On
- EQ Eight: high-pass gently around 90–140 Hz to keep the Reese off the sub region
- Utility Width: reduce slightly if needed, or keep stereo managed and wide only in the mid/high range
If the Reese is too plain, add a touch of Chorus-Ensemble very lightly:
- Amount low
- Dry/Wet around 5–15%
Or use Echo for dub flavor:
- Delay time: 1/8 or 1/4
- Feedback: 15–30%
- Filter the echo so it doesn’t cloud the low end
- Dry/Wet kept subtle, around 5–12%
For a dubwise jungle sound, you want the bass to feel like it’s moving through space, but not washing out the groove. Keep the sub mono and keep the Reese’s wide energy mostly above the low-end area.
6. Group the bass layers and control them as one unit
Select the sub and Reese tracks and group them into a Bass Group. This is where your arrangement becomes easier.
On the Bass Group, add:
- Glue Compressor with light compression
- EQ Eight if you need a final cleanup
- Utility for mono-checking the low end
Good starting Glue Compressor settings:
- Ratio: 2:1
- Attack: 10–30 ms
- Release: Auto or around 100–200 ms
- Gain reduction: only 1–2 dB
The goal is not to squash the bass. It is to make the layers behave like one instrument.
If the low end feels messy, do a quick check:
- solo the bass group
- listen in mono with Utility
- reduce any stereo widening below the low-mid area
In DnB, a stable mono low end is non-negotiable because the kick and sub need to lock together tightly.
7. Arrange the bass into 8-bar phrasing
Now move from sound design into arrangement. This is where a beginner can make the patch feel like a real track.
Build a simple 8-bar drop layout:
- Bars 1–2: main bass phrase, sparse and confident
- Bars 3–4: repeat the idea with a small variation
- Bars 5–6: add a fill or an extra note for energy
- Bars 7–8: strip back or open the filter for a transition into the next section
Use copy-paste for speed, then edit only a few notes each time. That’s very DnB-friendly because repetition is part of the genre’s hypnosis.
Try this musical arrangement idea:
- first 2 bars = restrained dubwise pulse
- next 2 bars = same phrase with filter opening
- bars 5–6 = extra pickup note before the snare
- bars 7–8 = drop out one hit to create space for a fill or crash
This creates a proper loopable drop section and avoids the “one-bar sound design loop” problem.
8. Automate filter movement and delay throws for tension
DnB arrangement becomes much stronger once you automate a few simple changes.
On the Reese mid track, automate:
- filter cutoff opening slightly over 4 or 8 bars
- resonance for a moment of tension before a drop or switch
- Echo send amount on the last note of a phrase
Practical automation ideas:
- Cutoff starting around 120 Hz and opening to 250–400 Hz
- Delay send only on the last hit of bar 4 or bar 8
- Small volume dip on the sub during a transition, then slam it back in
Keep the automation musical, not constant. In dubwise jungle, one or two well-placed echoes can do more than a nonstop effect layer.
If you want a stronger transition, add:
- Reverb on a send
- short noise riser from Operator or Wavetable noise
- Reverse cymbal or break swell before the next phrase
The key is to use automation to make the bassline feel like it’s breathing with the arrangement.
9. Add drums around the bass, not the other way around
For beginner DnB arrangement, it’s smart to lock in the drums after the bass idea is working.
Use a simple breakbeat pattern with:
- kick on the strong pulse
- snare on 2 and 4, or a half-time style placement depending on the subgenre
- ghost notes and break edits for movement
If your bass and drums clash, reduce bass note length or move the note so it doesn’t hit directly on the drum transient.
In jungle and rollers, the bass often works best when it feels like it is interlocking with the break instead of sitting on top of it. That means a short bass hit can answer a snare, and a longer note can hold under a break fill.
When you hear the kick disappear, check the sub and kick relationship first. Often the fix is:
- shorter bass note
- less low-mid saturation
- slight EQ dip around the kick fundamental region
- simpler MIDI rhythm
10. Save the patch as a reusable Ableton Rack
Once you’ve got a usable sound, save it as an Instrument Rack so you can reuse it across tracks.
Map a few macro controls:
- Filter Cutoff
- Reese Detune
- Saturation Amount
- Echo Send
- Stereo Width
- Sub Level
That gives you fast control later when writing new DnB ideas. A good workflow in Ableton Live 12 is to keep one rack for:
- dark rollers
- dubwise jungle
- harder reese drops
This saves time and makes it easier to stay creative without rebuilding the same sound every session.
Common Mistakes
Fix: keep the sub mono and high-pass the Reese layer around 90–140 Hz.
Fix: separate the sub and the mid Reese. That gives you cleaner control and a more professional DnB balance.
Fix: use Saturator gently and keep the sub clean. If you need more bite, add it to the mid layer only.
Fix: leave space around snare hits and edit note lengths so the groove breathes.
Fix: keep dub effects subtle in the main section and save heavier FX for transitions, fills, or breakdown moments.
Fix: hit Utility, switch the bass to mono for a quick check, and make sure the groove still works.
Pro Tips for Darker / Heavier DnB
A small detune spread on the Reese can create tension without making the sound sloppy. Keep it controlled.
Slow movement over 4 or 8 bars often feels darker and more expensive than fast repetitive modulation.
A tiny gap before a bass hit can make the next note feel way heavier. In DnB, absence is power.
Add a very quiet noise layer or filtered top layer to make the bass feel more alive, especially in darker arrangements.
Let the Reese get rough with Saturator or subtle overdrive, but keep the sub clean so the track still hits hard on big systems.
A bass hit after a snare, then a reply after a break fill, creates that classic underground DnB conversation between drums and bass.
A delay throw on the last note of a phrase can give you that dubwise atmosphere without cluttering the whole drop.
Mini Practice Exercise
Spend 10–20 minutes making a mini 8-bar DnB bass loop.
1. Set Ableton to 170 BPM.
2. Build a sub track with a sine wave and a Reese mid track with two detuned saws.
3. Write a 2-bar MIDI phrase with only 2–4 notes total.
4. Duplicate it into 8 bars.
5. Change one note in bars 3–4 and another in bars 7–8.
6. Add a small filter automation sweep over 8 bars.
7. Add one echo throw only on the last note of the phrase.
8. Put a simple breakbeat underneath and listen for how the bass leaves space for the snare.
9. Check the whole bass group in mono.
10. Export or save the rack as a preset.
Goal: make the loop feel like a real drop section, not just a sound demo. If it feels heavy, clear, and repeatable, you’re on the right track.

