Main tutorial
Lesson Overview
A dubwise fill swing playbook is all about making your Jungle / oldskool DnB drums feel like they’re leaning back in the pocket while the bass and atmospheres roll forward with emotion. In a sunrise set context, this matters because the track needs to feel warm, nostalgic, and uplifting without losing that authentic breakbeat pressure. 🌅
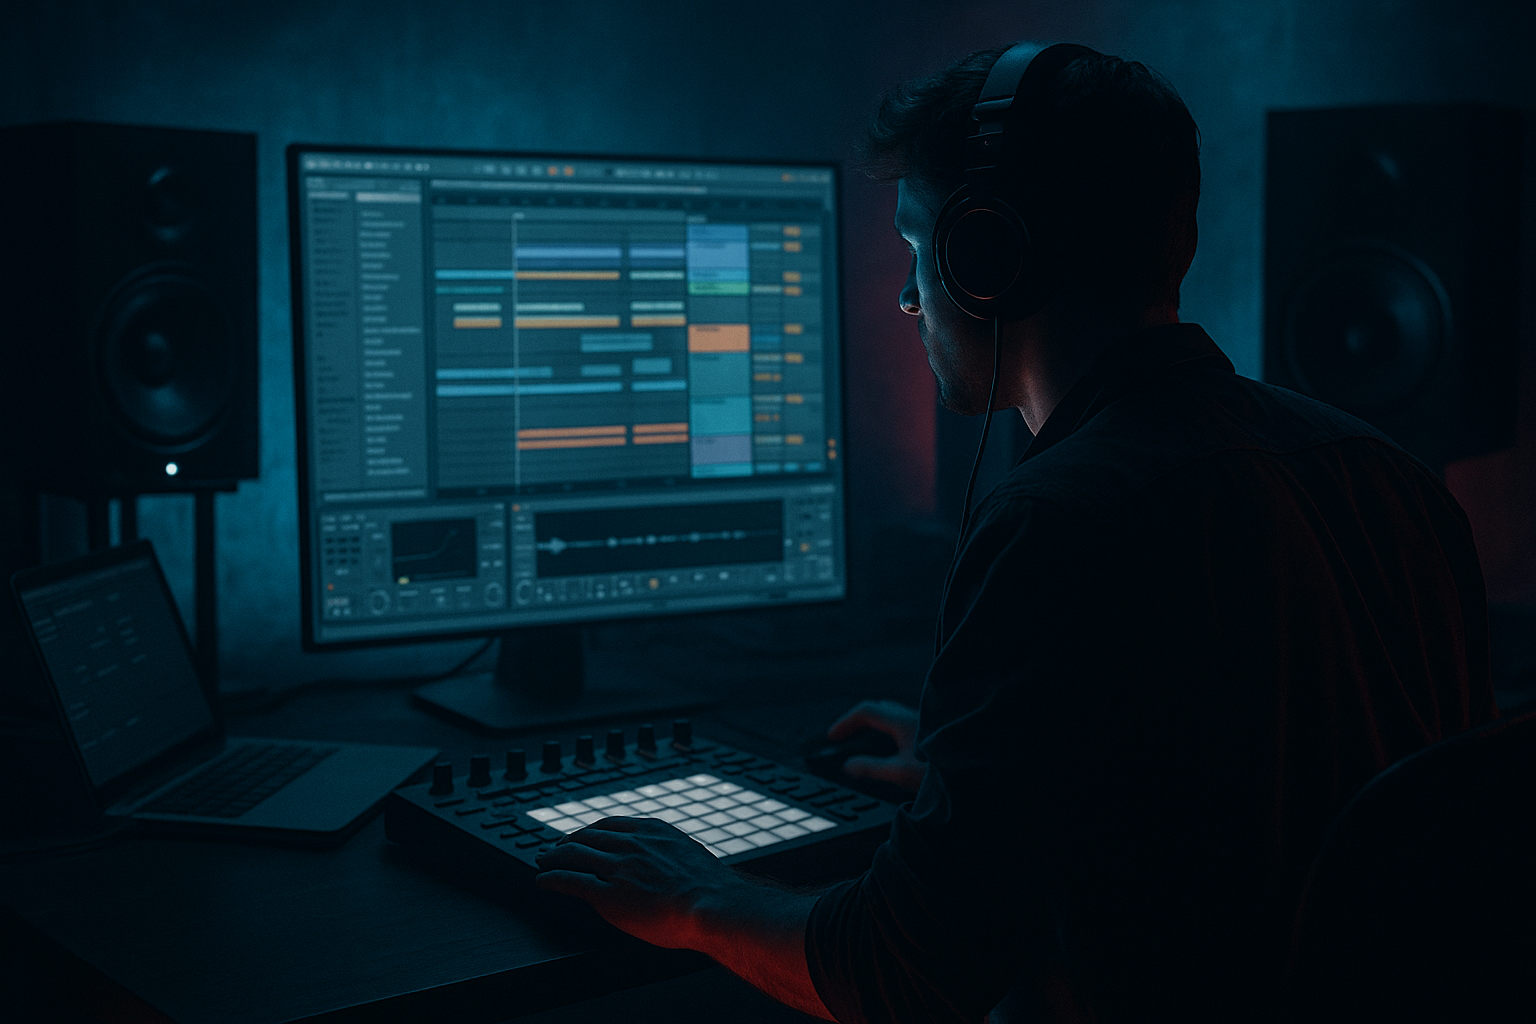
In Ableton Live 12, you’ll use sampling to chop a classic break, shape the timing with swing, and build small dub-style fills that feel human and intentional. Think of it as the difference between a straight, rigid loop and a moving, breathing rhythm section that gives the listener that “early morning rave / foggy balcony / last tune before the sun fully comes up” feeling.
This lesson fits best in:
- Intro-to-drop transitions
- 4/8/16-bar phrase endings
- Call-and-response sections with bass
- Breakdowns leading into a final lift
- DJ-friendly arrangement sections where drums stay alive without overcrowding the mix
- A sampled jungle break loop with swing-based groove
- A dubwise fill rack using chopped break hits, toms, rimshots, and reverse textures
- A simple call-and-response drum phrase that leaves space for sub-heavy bass
- A sunrise-style arrangement section that moves from tension to release
- A clean, usable drum bus with enough grit for oldskool flavor but still mixed clearly
- A rolling 160–174 BPM jungle foundation
- Ghost-note fills that dance around the kick/snare grid
- Dub echo accents that bloom at the end of phrases
- A bassline that can answer the drums without stepping on them
- A warm, emotional sunrise atmosphere rather than a brutal peak-time assault
- Making every bar a fill bar
- Swinging the whole track too hard
- Letting bass overlap the fill too much
- Using too much low end in atmospheres and delays
- Overcomplicating the break edit
- Ignoring transient balance
- Add subtle distortion to the break bus with Saturator or Drum Buss to make the groove feel more urgent.
- Resample your fill through Echo and print the tail. Then chop the printed audio for a nastier, more original transition.
- Use stereo discipline on the low end: keep kick and sub mono, but let tops, shakers, and delays spread wider.
- Automate a low-pass filter on the drum group during transitions, then open it sharply on the drop for impact.
- Layer a muted reese stab under the fill for a darker answer phrase, but keep it short and filtered.
- Use ghost notes with slightly different velocities so the break feels played, not copied.
- Try tiny note nudges on rimshots and percussion: late by a few milliseconds can sound more human and dubby.
- For heavier energy, put a gentle Glue Compressor on the drum bus and aim for only 1–2 dB of gain reduction. More than that can flatten the swing.
- Start with a strong sampled break and a simple groove.
- Put swing mainly on ghost notes and fills, not the whole track.
- Keep bass out of the fill’s way so the transition breathes.
- Use Ableton stock tools like Drum Rack, Simpler, Groove Pool, Drum Buss, EQ Eight, Saturator, Auto Filter, Echo, and Glue Compressor.
- Arrange fills at the ends of 8- or 16-bar phrases for authentic DnB movement.
- Resample your best fill to create a signature transition sound.
Why it matters in DnB: oldskool jungle relies on break edits, groove, and tension/release. If your fills are too busy or too straight, the track loses dancefloor bounce. If they’re too random, the groove falls apart. The goal here is a tight, dubwise swing that sounds like a real producer made deliberate choices—not a loop pasted in and forgotten.
What You Will Build
You’ll build a small but powerful DnB drum-and-fill system inside Ableton Live 12:
Musically, the result will feel like:
Step-by-Step Walkthrough
1. Set the tempo and start with a simple empty drum group
Open a new Ableton Live set and set the tempo between 166 and 172 BPM. For sunrise jungle vibes, a sweet spot is often 170 BPM: fast enough for urgency, slow enough for emotion.
Create a Drum Rack on a MIDI track. Inside it, load:
- One kick
- One snare
- One classic break loop or break slices
- One rimshot or percussion hit
- One short tom or bongo
- One reverse hit or noise swell
Keep it beginner-friendly: don’t build a huge kit yet. You only need a few ingredients.
Why this works in DnB: the genre thrives on economy. A small set of well-chosen drum samples will feel stronger than a huge kit fighting for space.
2. Find or import a break and make it groove first
Drag in a classic break sample into Simpler or onto an audio track. Good starter breaks have clear transients and enough character to chop, such as old funk or amen-style material.
If you use Simpler, set it to:
- Classic mode for easy slicing
- Snap on if you want cleaner edits
- Warp only if needed; don’t overprocess the break at first
Try placing the break on a 1-bar loop and listen to where it naturally feels good. Now add a bit of swing:
- In Live’s Groove Pool, try a subtle swing groove such as MPC-style 55–58%
- Apply it to the break loop with Timing around 20–40%
- Keep Random low, around 0–8%
Use the break as the pocket, not as a rigid metronome. Your fills will make more sense once the loop already moves.
3. Chop the break into playable parts
Right-click the break and choose Slice to New MIDI Track. For beginner workflow, slice by:
- Transient
- Or 1/8 notes if the break is very busy
Now you can trigger slices from MIDI clips. Build a basic 1-bar pattern:
- Strong hits on the main snare points
- Ghosty shuffles between them
- A few off-grid moments for swing feel
Don’t try to make the full tune here. Just aim for a loop that feels like a moving, breakbeat phrase.
Add Simpler to the slice chain if you want to shape hits:
- Transpose some slices down slightly for weight
- Shorten tails if the break gets messy
- Use the Filter slightly closed for a darker oldskool tone
4. Create the “dubwise fill” as a separate 1-bar variation
Now make a second MIDI clip that acts as your fill. This is the secret sauce.
Start with the last beat of a 4-bar phrase or the last bar before a drop. In that fill clip, place:
- One rimshot or snare ghost
- One tom hit
- One delayed break slice
- One reverse swell or noise hit before the downbeat
Keep the fill sparse and intentional. A good beginner fill idea:
- Beat 3: small ghost hit
- Beat 3 and a half: tom or slice
- Beat 4: snare flam or accented break hit
- Just before 1: reverse crash, tape-stop, or filtered noise
Put the fill in the last bar of every 8 bars or every 16 bars if you want it to feel more special.
Musical context example: in a sunrise roller, you might use this fill right before the bass returns after a breakdown. The drums momentarily open up, the echo trails into space, and then the kick/snare returns with emotional lift.
5. Use swing strategically, not everywhere
Swing is powerful, but too much makes DnB drag. For this style, keep the main kick and snare mostly solid, and apply swing more to:
- Ghost notes
- Percussion hits
- Break slices
- Fill elements
In Ableton, you can do this in a few ways:
- Apply groove to only the fill clip
- Nudge notes slightly late by a few milliseconds
- Use Groove Pool timing values around 15–35% for the fill
- Leave the main drum backbeat more locked
A useful beginner rule:
- Main groove: 0–20% swing influence
- Fill groove: 20–45% swing influence
This keeps the track driving forward while the fill feels dubwise and human.
6. Shape the drums with stock Ableton devices
Add a few stock devices to make the kit feel like oldskool DnB instead of raw audio.
On the Drum Bus or drum group:
- Drum Buss:
- Drive: 5–15%
- Crunch: low to moderate
- Boom: very subtle, or off if it conflicts with your sub
- EQ Eight:
- Cut unnecessary low mud around 200–400 Hz if the break is boxy
- Trim harshness around 5–8 kHz if cymbals bite too much
- Saturator:
- Drive around 1–4 dB for gentle glue
- Use Soft Clip if the drums need a bit of edge
- Glue Compressor:
- Ratio around 2:1
- Very light gain reduction, about 1–2 dB
For individual slices, use Auto Filter to make fills more dubby:
- Sweep a low-pass down before the drop
- Open it on the downbeat for release
- Try resonance around 10–25% for a subtle speaking quality
This keeps the sound vintage and tactile while still clean enough for modern playback.
7. Build call-and-response between drums and bass
The dubwise feel gets stronger when bass and drums answer each other. Create a simple bassline using Operator, Wavetable, or even a sampled bass one-shot if you want to stay beginner-friendly.
Keep the bass minimal:
- A deep sub note on the root
- A short reese or mid-bass stab on off-beats
- Leave space around the fill
Two useful bass settings:
- Sub layer: mono, low-passed, no stereo widening
- Mid reese layer: filtered around 120–800 Hz, with mild movement
Then automate the bass to duck slightly during the fill. You can do this by:
- Lowering bass volume for 1 bar
- Shortening note lengths
- Automating an Auto Filter or volume envelope
Why this works in DnB: the ear hears the fill more clearly when the bass briefly steps back. That creates the classic tension/release that makes the drop feel bigger.
8. Add dub echo and atmosphere to the fill, not the whole loop
This is where the “dubwise” part really comes alive.
Put Echo or Delay on a return track or directly on the fill channel. Use it sparingly:
- Delay time around 1/8 dotted or 1/4
- Feedback around 20–35%
- Filter the delay so it doesn’t muddy the low mids
- Use a bit of Dry/Wet automation only on the fill hits
Add a very subtle atmosphere layer:
- Vinyl hiss
- Rain texture
- Reversed room tone
- Soft pad tail
Keep these atmospheric elements high-passed so they don’t compete with the kick and sub. They should sit behind the drums and bass, adding sunrise mood without washing out the groove.
9. Arrange it like a real DnB track
Build your section in 8- or 16-bar phrases. A simple beginner arrangement could be:
- Bars 1–8: stripped intro with break groove
- Bars 9–16: bass enters, fills stay small
- Bars 17–24: add a more active dubwise fill every 8 bars
- Bars 25–32: tension section with filtered drums and a delayed fill
- Bars 33–40: drop opens up with full groove and brighter atmospheres
For DJ-friendliness, make sure the intro and outro have:
- Clear kick/snare markers
- Not too many fills every bar
- Enough steady rhythm to mix in and out
Keep fills as events, not constant decoration. In jungle, space makes the edits hit harder.
10. Resample your best fill and turn it into a reusable weapon
Once you find a fill that works, solo it and resample it internally:
- Create a new audio track
- Set input to Resampling
- Record the fill with its echo tail and atmosphere
Then you can:
- Reverse it
- Slice it
- Pitch it down slightly
- Reuse it before different drops
This is a classic sampling workflow that gives your track identity. Instead of random preset fills, you get a signature move that belongs to your tune.
Common Mistakes
Fix: use fills only at phrase ends or key transitions. The groove needs space.
Fix: keep the main backbeat tighter and push swing mainly into ghosts and fill details.
Fix: shorten bass notes or drop bass volume briefly before the fill lands.
Fix: high-pass all echo, noise, and ambience layers so the kick/sub stay clean.
Fix: start with 2–4 strong slices and a couple of ghost notes. Simpler often sounds more authentic.
Fix: if a fill feels weak, use a little saturation or level adjustment instead of adding more notes.
Pro Tips for Darker / Heavier DnB
Mini Practice Exercise
Spend 15 minutes building one complete 8-bar sunrise DnB phrase:
1. Pick one break sample and slice it.
2. Make a 1-bar loop with a simple oldskool groove.
3. Duplicate it across 8 bars.
4. Turn bar 8 into a fill bar with:
- one tom
- one rimshot
- one reverse hit
- one delayed break slice
5. Add Groove Pool swing only to the fill clip.
6. Add a short Echo throw on the final hit.
7. Automate a filter opening into bar 1 of the next phrase.
8. Resample the fill and keep it as a reusable audio clip.
Goal: by the end, you should have one loop that feels like it could sit in a real jungle / rollers track, not just a drum exercise.
Recap
If you keep the drums tight, the swing selective, and the atmosphere controlled, you’ll get that dubwise sunrise emotion that feels classic, danceable, and properly DnB.

