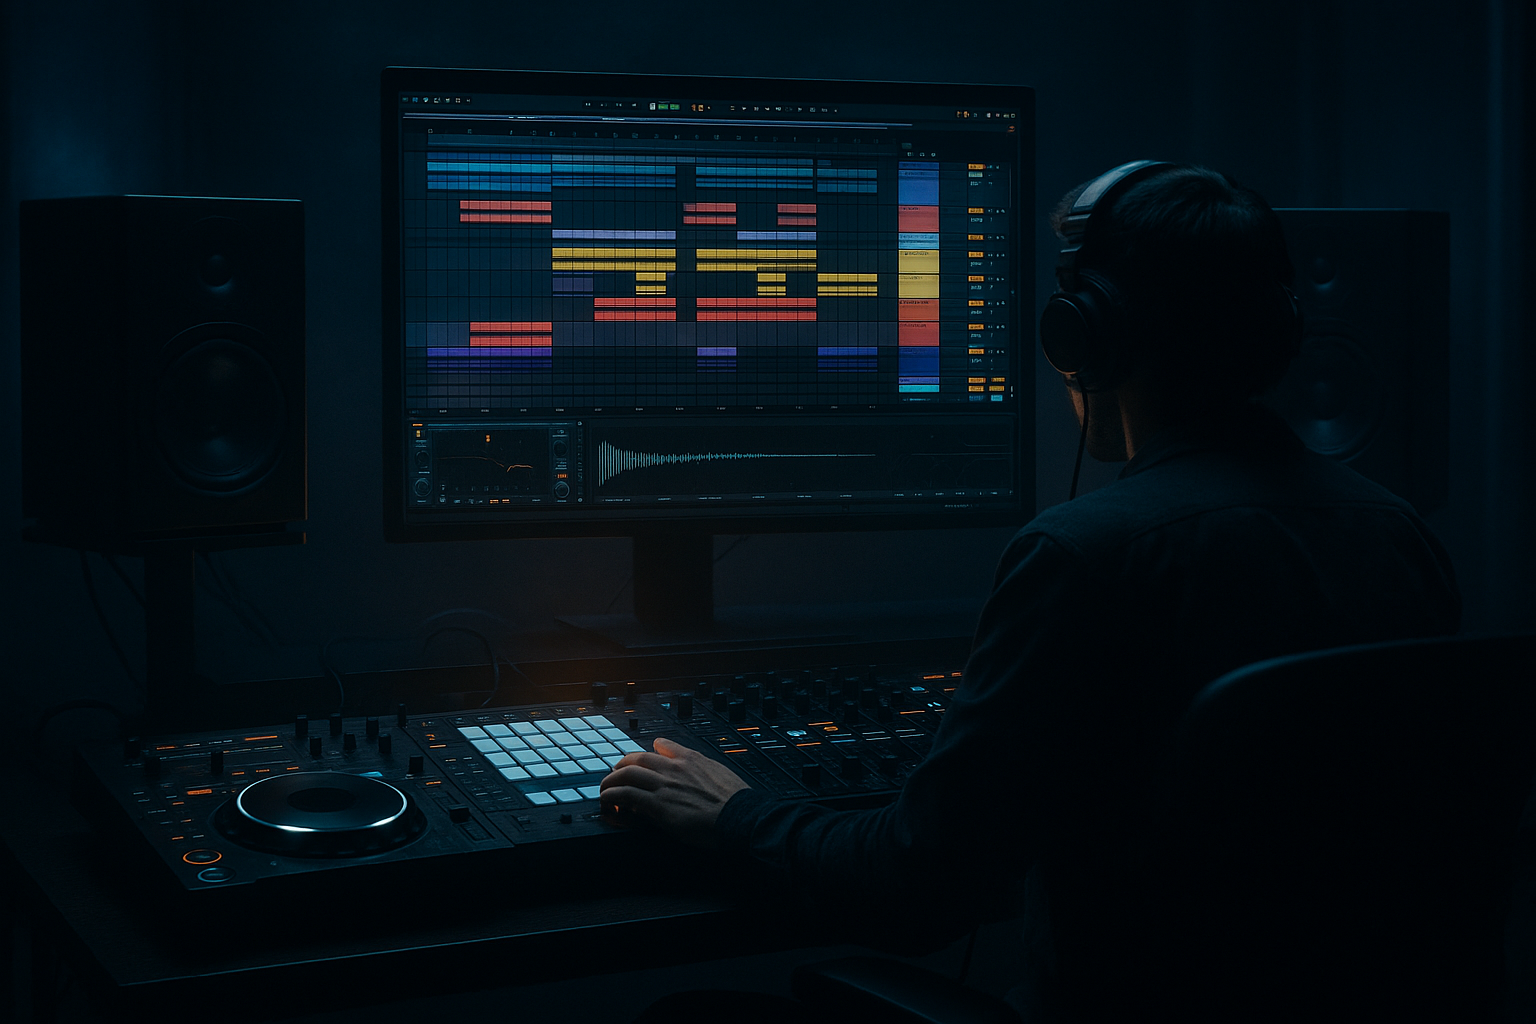
Main tutorial
Lesson Overview
This lesson is about giving an oldskool DnB breakbeat that dubwise, modulated, jungle-weighted treatment inside Ableton Live 12 so it feels alive, unstable in the right way, and still clean enough to drive a proper club mix.
The goal is not to turn a break into a random effect loop. The goal is to make a classic break feel like it’s being played through a dub system: filtered, delayed, destabilised, then re-tightened so it still hits like jungle. This technique lives right at the intersection of drums, FX, and mix control. In a real DnB track, it usually sits in the intro, first drop, switch-up, breakdown, or second-drop variation — anywhere you want movement without losing the identity of the break.
Why it matters musically: oldskool breaks already carry swing, attitude, and history. Dubwise modulation gives them a haunted, smoked-out motion that instantly reads as jungle or darker DnB when handled with restraint. Why it matters technically: once you start modulating filters, delays, saturation, and width, you can easily destroy transient clarity, low-end phase, and DJ usability. The skill is knowing how to create movement while keeping the kick/snare hierarchy intact.
By the end, you should be able to build a breakbeat that feels like it’s breathing and mutating across bars, with obvious groove, controlled grit, and enough mix discipline to sit under a bassline instead of fighting it. A successful result should sound like an old skool break being pushed through a dub tunnel: spacious, tense, rolling, and intentional — never washed out, never flimsy.
What You Will Build
You will build a jungle-leaning oldskool break loop with dubwise modulation, using Ableton stock tools to shape the break into something tense, wet, and weighty.
Sonically, it should have:
- a recognisable break identity
- delayed or echoed ghost motion in the gaps
- filtered movement that opens and closes in phrases
- controlled saturation and grit on the mids/highs
- solid punch in the snare and kick accents
- mono-safe low-end behaviour if you’re keeping the kick/bottom end inside the break
- swung and propulsive, not grid-perfect
- like the break is answering itself across 2, 4, or 8 bars
- like the ghost notes and delay tails are part of the groove, not decoration
- work as a main drum loop, intro texture, or transition layer
- be mix-ready enough to leave space for bass
- survive repetition by evolving in small ways
- feel polished but still rough-edged, like a proper jungle tool
- Use the dub motion mostly on the break’s upper harmonics, not the full spectrum. A band-pass around roughly 300 Hz to 6 kHz can give you smoke without stealing the sub foundation.
- If the tune is darker and more modern, let the movement layer be more restrained in the first drop and more aggressive in the second drop. That contrast makes the track feel intentional, not repetitive.
- A short, gritty Echo repeat at low wetness often sounds heavier than a huge wash. In club DnB, weight comes from precision as much as size.
- Try a tiny timing offset on sliced ghost hits before the snare. Even a few milliseconds can create that loose, human, dub-system push without sounding sloppy.
- If the break is too clean, print it through Saturator or Drum Buss and then re-edit the transients by hand. Resampling gives you a darker, more committed texture than live tweaking.
- Keep the kick and snare mono-centred, then allow the delayed atmospherics to widen above them. That separation makes the break sound bigger while protecting punch.
- For menace, automate the filter to close slightly right before the snare lands, then open after it. That small inhale/exhale gesture adds tension and makes the snare feel like a release.
- Use one break loop only.
- Use only Ableton stock devices.
- Keep the low end of the movement layer high-passed.
- Print the modulated result to audio once.
- An 8-bar loop with a dry core break, a dubwise movement layer, and at least one automated filter phrase change.
- One edited resampled bar that includes a reverse hit or delayed fill.
- Does the snare still cut through clearly?
- Does the break feel more alive on bar 8 than bar 1?
- Does the loop still hold up in mono?
- Can you hear movement without the drums turning to mush?
- preserve the groove first
- separate the clean core from the modulated layer
- filter the delay so the low end stays solid
- use saturation for grit, not destruction
- resample once the motion feels right
- arrange the phrase so the break evolves across bars
- always check the break against bass and in mono
Rhythmically, it should feel:
Functionally, it should:
In plain terms: you’re making a break that feels smoked-out and alive, but still punches hard enough to carry the tune.
Step-by-Step Walkthrough
1. Start with the right break and commit to a loop that already grooves
Drag in a classic-feeling breakbeat with clear snare hits, enough top-end detail, and a bit of natural room or grit. In Ableton Live, warp it so the groove stays intact without flattening the swing. For oldskool/jungle, avoid over-snapping everything to the grid — preserve the break’s original pocket.
Practical move:
- Set Warp Mode to Beats for crisp drum material.
- Use transient preservation if the break needs sharper edges.
- Trim the loop to 1, 2, or 4 bars so you can hear phrase movement quickly.
What to listen for: the snare should still feel like it “leans” into the beat rather than landing like a sterile sample. If the groove suddenly feels stiff after warping, you’ve over-corrected it.
Why this matters in DnB: the break is the character. If the original swing disappears, the dubwise treatment becomes generic FX on top of lifeless drums. Keep the DNA first.
2. Clean the break into layers before you modulate anything
Split the break into at least two roles: the core drum layer and the movement layer. You can do this with duplicate tracks in Ableton, or by resampling one loop and editing the copy. One track should stay relatively solid; the other can be the dub-modulated version.
A very practical split:
- Core layer: keep kick/snare/body intact, maybe just mild EQ and compression.
- Movement layer: high-pass or band-pass, then add delay/modulation/saturation.
Suggested stock-device chain for the core layer:
- EQ Eight: high-pass gently below 25–35 Hz if needed, and notch any ugly ring around 200–400 Hz if the break is boxy.
- Drum Buss: light drive, maybe around 5–15%, with a controlled boom amount if the break is thin.
- Glue Compressor: subtle 1–2 dB gain reduction at most, just enough to hold the hits together.
Suggested stock-device chain for the movement layer:
- Auto Filter: band-pass or low-pass depending on flavour
- Echo or Delay: for dub tails
- Saturator: for grit and density
- Utility: to manage width and mono checks
Stop here if the break already feels good dry. If the clean loop isn’t working on its own, the dub treatment will only disguise the problem.
3. Decide your flavour: A or B
This is the first real artistic fork.
A — Deeper dubwise, smoked and spacious:
- Use a lower low-pass or band-pass on the movement layer.
- Let delay feedback breathe.
- Keep the modulations slower and more obvious.
- This suits intro atmospheres, dark rollers, and half-shaded jungle tension.
B — More urgent oldskool jungle:
- Keep more top-end and transient attack.
- Use shorter echo repeats.
- Modulate faster and with smaller depth.
- This suits drop sections, high-energy switch-ups, and sample-heavy jungle pressure.
If you’re unsure, choose A for darker rolling tracks and B if the tune needs more bite and forward drive.
4. Build the dub motion with Auto Filter and Echo, then automate the phrase
Put Auto Filter first on the movement layer and use it like a dub mixer filter. Start with a low-pass around 1.5–6 kHz or a band-pass if you want the break to feel like it’s emerging from fog. Then feed it into Echo.
Reasonable starting points:
- Auto Filter resonance: modest, not screechy
- Filter frequency automation: sweep over 2 or 4 bars
- Echo time: sync to 1/8, 1/8 dotted, or 1/4 depending on density
- Feedback: around 15–35% to start
- Dry/Wet: keep lower than you think; often 10–25% is enough for a movement layer
Automate the filter so it opens on key hits — typically into the snare or at the end of a 2-bar phrase. That way the break feels like it’s inhaling before a hit.
What to listen for:
- The delay tail should feel like it “answers” the snare, not smears over it.
- When the filter opens, you should hear excitement and reveal, not a sudden harsh jump.
If the tail starts cluttering the groove, shorten feedback or reduce wetness. In jungle, a couple of well-placed repeats often beat a constantly busy wash.
5. Add saturation for grime, but control where the weight lives
Put Saturator after the delay on the movement layer, or use it on the core layer lightly if the break feels too polite. The point is to add harmonics that help the break cut through on smaller systems and give the modulated tail more presence.
Useful settings to try:
- Drive: subtle to moderate, roughly 2–8 dB depending on source
- Soft Clip: on if the break needs a firmer edge
- Output level: trim back after driving so you’re not fooled by loudness
- If using Drum Buss instead, keep the transient and drive controlled rather than smashing it flat
Why this works in DnB: jungle and oldskool breaks often need a slightly exaggerated midrange bite to stay audible against sub-heavy bass. Saturation makes the ghost motion read on club systems without needing too much volume.
Watch the snare decay carefully. If the saturation turns the snare into white noise, back off drive or move the saturator after a filter so only the useful band is being pushed.
6. Tighten the low end and keep the modulation out of the kick’s way
If the break contains kick energy or low tom resonance, manage it before the dub FX start creating phasey mess. Use EQ Eight or Utility to keep the bottom end disciplined.
Practical thresholds:
- High-pass the movement layer somewhere around 120–250 Hz, depending on how much low drum content you actually need
- If the core layer carries the kick, leave its low end cleaner and more mono
- Use Utility to narrow width on anything below the crucial drum body region if needed
In mono-compatibility terms, this matters a lot. Dub delay and widened modulation on low frequencies can collapse your kick punch or make the break wobble when summed. Keep the low end of the break stable, and let the movement live in the mids and highs.
What to listen for:
- Does the kick still land with authority when you sum to mono?
- Do the snare and hats still feel focused, or do they smear sideways?
If the low end starts wandering, commit the movement layer to audio and trim it harder. Sometimes the cleanest fix is simply removing more low frequency from the effect path.
7. Resample the modulated break and edit it like a real jungle performance
Once the motion sounds good, print it to audio. In Ableton Live, resampling lets you turn the evolving break into something you can chop, reverse, mute, and rearrange like a proper jungle edit rather than a static loop.
Commit this to audio if the modulation already has the energy you want. This is an efficiency move as much as a creative one: printed audio is easier to arrange, easier to slice, and less likely to drift into endless tweaking.
After resampling:
- Cut the phrase into 1-bar or half-bar chunks
- Mute or reverse specific slices before the snare
- Pull a delay tail into the gap before the drop
- Duplicate a single snare hit and let the echo bloom into the next bar
This is where the modulated break becomes musical, not just textural. You’re now arranging tension and release, not just running a loop.
8. Check the break against drums, bass, and arrangement context
Bring in the bassline — even if it’s just a placeholder sub and a midbass stab. This is essential. A dubwise break that sounds huge solo can become muddy or annoying once the bass enters.
Check three things:
- Is the snare still the loudest and clearest accent in the midrange?
- Does the break leave room for the sub between hits?
- Do the echo tails sit behind the bass, not on top of it?
A useful arrangement example:
- Bars 1–8: filtered modulated break intro with sparse bass hints
- Bars 9–16: full break and bass first drop
- Bars 17–24: strip the movement layer down and bring back a cleaner version
- Bars 25–32: second drop with extra resampled fills and more aggressive filter automation
This is where the technique earns its place: the break can evolve across sections without changing the track’s identity.
9. Shape the phrase so it feels like a track, not a loop
Give the break some bar-based narrative. For example, over 8 bars, let the filter gradually open in bars 1–4, let a dub delay bloom in bars 5–6, then strip the movement back for bars 7–8 so the drop lands harder when it repeats.
Concrete phrasing idea:
- Bars 1–2: low-passed, almost hidden
- Bars 3–4: slightly more top end, first obvious delay answer
- Bars 5–6: widest and wettest point
- Bars 7–8: pull back the wetness and leave space for the return
This keeps DJs and listeners engaged because the loop is changing in a controlled way. In DnB, subtle phrase evolution often matters more than constant variation.
What to listen for: when the phrase repeats, it should feel like it is deepening or escalating, not simply looping again. If the second pass sounds identical, add one resampled fill or one automation change per 4 bars.
10. Balance the mix so the effect supports the break, not the other way around
Set the dry core drum layer first, then bring up the movement layer until you can feel it more than hear it. That is usually the sweet spot. The dubwise layer should create atmosphere and propulsion, not steal the front edge from the kick/snare.
Practical mix moves:
- Keep headroom on the drum bus so the modulation doesn’t trigger harsh limiting later
- Use EQ Eight to carve a little room around 2–5 kHz if the delay tail competes with the snare crack
- If the break gets too crispy, gently soften the top with a narrow high shelf or reduce saturation drive
- If the groove loses punch, reduce Echo wetness or shorten the feedback before reaching for more compression
A useful rule: the modulated layer should be obvious in headphones, but in a club it should mostly be felt as depth, motion, and attitude.
Common Mistakes
1. Over-warping the break into a rigid grid
Why it hurts: oldskool breaks live on micro-swing and tiny timing imperfections. Flattening that removes the jungle feel.
Fix in Ableton: use a less aggressive Warp approach, keep transient placement natural, and avoid over-quantising sliced break hits unless a specific hit truly needs tightening.
2. Putting full-range delay on the entire break
Why it hurts: low-end delay creates mud and phase issues fast.
Fix in Ableton: high-pass the movement layer before Echo or use a separate filtered send-style layer so the delay only affects mids and tops.
3. Driving saturation until the snare turns into noise
Why it hurts: the break loses its hierarchy and starts sounding like fuzz instead of drums.
Fix in Ableton: reduce Drive, move the Saturator after a filter, or split the break so only the ghost layer is being pushed hard.
4. Making the modulation too fast and too obvious
Why it hurts: constant motion can cancel the groove and make the break feel nervous rather than hypnotic.
Fix in Ableton: slow the filter automation over 2–4 bars, reduce feedback, and let the phrase breathe before changing again.
5. Widening the entire break without checking mono
Why it hurts: the kick and snare can weaken in club playback and on summed systems.
Fix in Ableton: keep low frequencies centered with Utility, narrow the movement layer, and check the track in mono before you commit.
6. Letting the effect tail fight the bassline
Why it hurts: the track loses clarity and the groove feels crowded.
Fix in Ableton: EQ the movement layer harder, shorten the Echo feedback, or carve a small midrange pocket around the bass’s main energy.
7. Using the dub layer without a clean core layer underneath
Why it hurts: the whole drum part becomes abstract and lacks punch.
Fix in Ableton: always keep a dry or lightly processed anchor break, then blend the dubwise layer over it.
Pro Tips for Darker / Heavier DnB
Mini Practice Exercise
Goal: build one 8-bar dubwise oldskool break that can sit under a jungle/darker DnB drop.
Time box: 15 minutes.
Constraints:
Deliverable:
Quick self-check:
Recap
The job is to keep the oldskool break’s identity while giving it dubwise motion.
Remember the essentials:
If the result feels like a smoky jungle break with depth, swing, and a stable punchy centre, you’re in the right zone.

