Main tutorial
Lesson Overview
In this lesson, you’ll build a dubwise vocal texture blueprint in Ableton Live 12 using resampling-first workflows to create that cracked, haunted, tape-worn jungle / oldskool DnB atmosphere that sits beautifully over breaks, sub, and Reese basslines. The goal is not to create a clean lead vocal — it’s to turn a simple voice line into a musical texture system: stabs, whispers, echoes, chopped motifs, and pitch-shifted call-and-response phrases that can drive tension before a drop or add character in a breakdown.
This approach matters in DnB because vocals are often most effective when they feel like part of the rhythm section, not a pop feature. In jungle and dubwise rollers, a vocal texture can:
- add identity to an otherwise functional arrangement,
- create movement and anticipation without cluttering the low end,
- bridge the gap between breakbeat energy and dub techno / sound system atmosphere,
- and give you reusable audio assets that can be re-edited like drums.
- a short vocal mantra or one-liner chopped into syncopated phrases,
- dub-style delays swarming around the gaps in the breaks,
- a haunted top layer that can answer the snare or clash with the Reese,
- and a resampled audio file you can treat like a break edit — slicing it, reversing parts, and automating filters for oldskool tension.
- in an 8-bar intro with filtered drums,
- under a breakdown before the drop,
- or as a call-and-response accent against the main drum loop and bass riff.
- Too much low end in the vocal chain
- Delay and reverb washing out the drum impact
- Resampling only once and stopping there
- Making the vocal too legible in the drop
- Ignoring mono compatibility
- Overcrowding the arrangement
- Use Shifter subtly on a resampled ghost layer and automate it only on key phrases. A few semitones down can make the vocal feel more like a cursed broadcast than a lead line.
- Try Redux after Saturator for a rougher, early-digital edge. Keep it mild; too much can destroy definition.
- Put Echo before Reverb, then resample that chain. The printed tail often sounds more organic than a live insert chain.
- For heavier neuro-leaning tension, process the vocal through Auto Filter + Saturator + Compressor and then resample a tightly gated version. The result can act like a rhythmic top-layer complement to a Reese.
- Use a band-pass filtered vocal chop in the 1–3 kHz area to cut through dense drums without stepping on the sub.
- If your bassline is busy, keep the vocal phrase short and syncopated — let it answer the bass rather than compete with it.
- On drops, try muting the vocal for the first 2 bars, then bringing it in as a switch-up. That contrast makes the return feel bigger.
- For jungle flavor, pair the vocal with break edits and let the vocal reverb trail into a snare fill or amen fill. That creates that classic sound-system smear.
- Build vocal character by processing, resampling, and re-editing rather than trying to keep one live chain perfect.
- Use Echo, Reverb, Saturator, Auto Filter, Shifter, and Redux to create dubwise texture.
- Slice resampled audio like a drum break and place it rhythmically around the snare and kick.
- Keep vocals out of the sub region and check mono compatibility.
- Resample again after automation to print a final, arrangement-ready texture.
- In DnB, the best vocal textures support the groove, build tension, and leave room for the drums and bass to hit hard.
The key technique here is resampling: you process a vocal chain, record the result back into audio, then cut, warp, reverse, pitch, and reprocess it. That gives you more character than trying to keep everything live and “perfect.” In darker DnB, imperfection is often the vibe. Dust, hiss, modulation drift, and micro-timing variation all help vocals feel embedded in the tune.
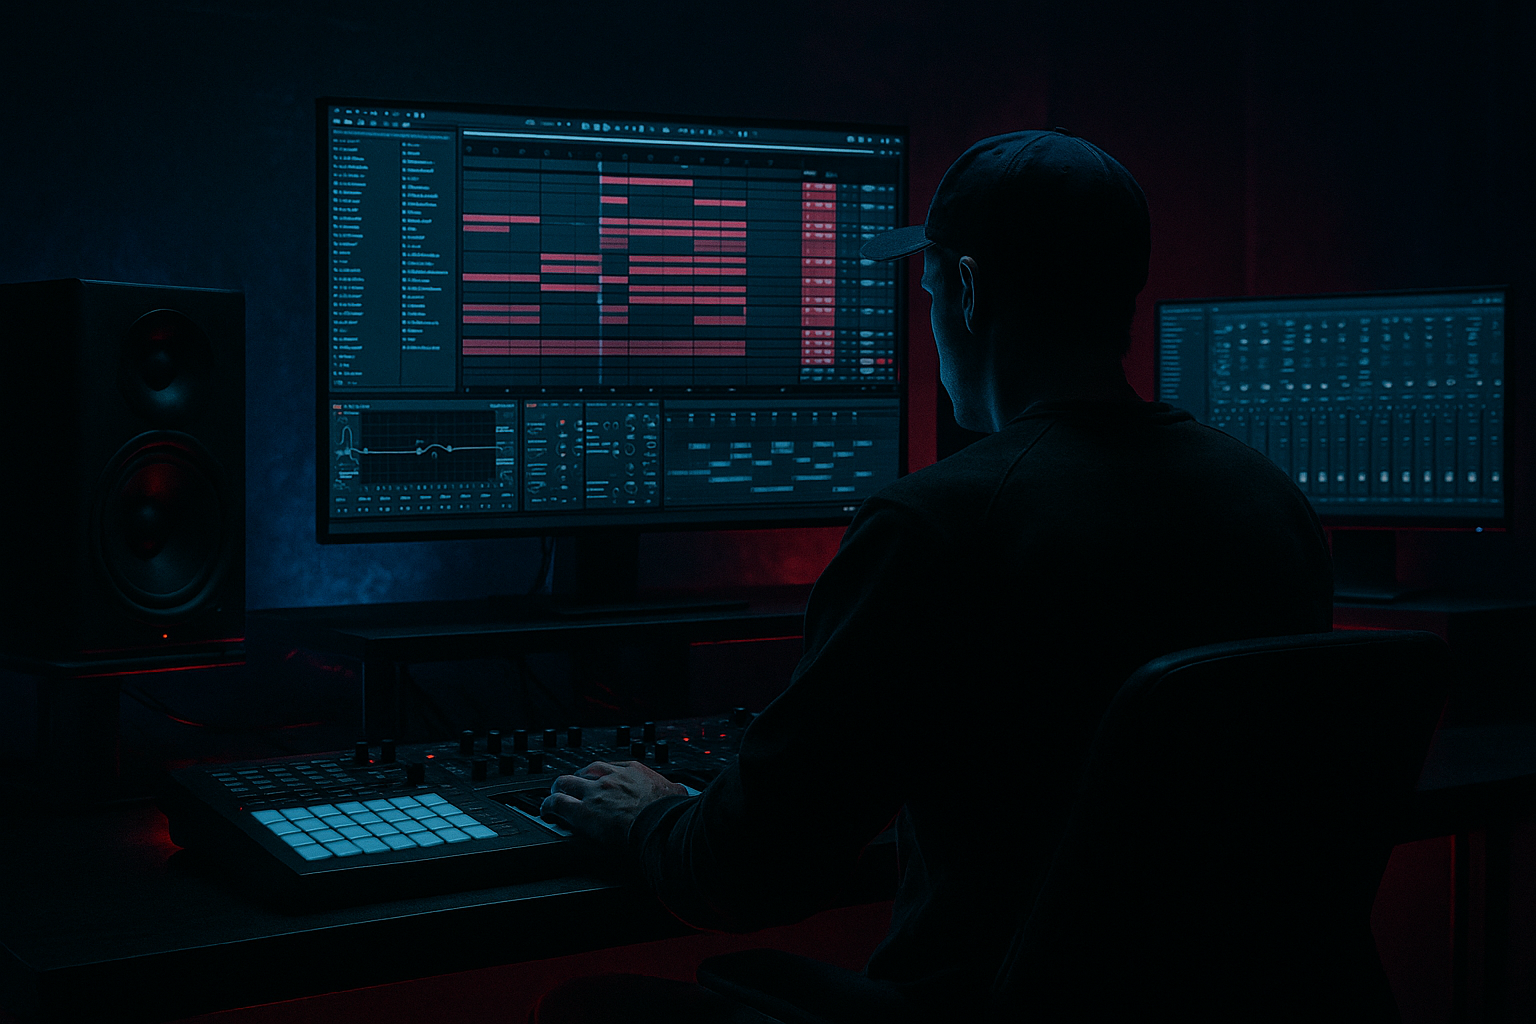
We’ll use Ableton Live stock devices throughout: Simpler, Sampler, Echo, Delay, Reverb, Saturator, Redux, Filter Delay, Auto Filter, Utility, EQ Eight, Compressor, Glue Compressor, Shifter, Grain Delay, Corpus, and resampling via audio tracks. The result will be a flexible vocal texture rack you can drop into intros, breakdowns, pre-drops, switch-ups, and DJ-friendly outro sections.
What You Will Build
You’ll create a 4-part dubwise vocal texture system from a single vocal phrase or spoken word line:
1. Clean root phrase for the core message.
2. Dub echo throw with long feedback and filtered tails.
3. Resampled chopped texture that acts like a rhythmic percussive layer.
4. Pitch-shifted ghost layer for eerie atmosphere and tension.
Musically, this will sound like:
By the end, you’ll have a vocal palette that can sit:
Step-by-Step Walkthrough
1. Choose a vocal phrase that works like a rhythmic hook
Start with a short phrase, ideally 1–3 seconds long. For jungle and oldskool DnB, the best material is usually:
- spoken word fragments,
- ragga-style shouts,
- one-line phrases,
- or a single repeated word with attitude.
Keep it rhythmically simple. Something that can be chopped into 1/4, 1/8, or offbeat placements works best. If your source is too melodic, pitch it down or reduce the formants later.
In Ableton:
- Drop the vocal onto an audio track.
- Turn off unnecessary comping/edits for now.
- Set the clip warp mode to Complex Pro if the vocal has sustained tones, or Beats if it’s mostly sharp speech.
- If it’s already in time, leave it fairly loose; we’re going to resample it into new material anyway.
Why this works in DnB: a short vocal phrase behaves like a rhythmic motif, which is crucial in fast music where long phrases can get swallowed by drums and bass.
2. Build a dub vocal processing chain on a return or insert track
Create a dedicated audio track for the “source voice” and build a processing chain that encourages space and grime. Keep it modular so you can resample each version later.
Suggested chain:
- EQ Eight: high-pass around 120–180 Hz to keep the vocal out of the sub region.
- Saturator: Drive 2–6 dB; Soft Clip on if needed.
- Echo: 1/8 or 1/4 note sync, Feedback 35–65%, Filter ON, low cut around 250 Hz, high cut around 4–8 kHz.
- Reverb: Decay 1.5–4.5 s, Pre-delay 15–30 ms, Low Cut 200 Hz, High Cut 6–9 kHz.
- Auto Filter: band-pass or low-pass for movement.
- Optional Redux: downsample lightly for lo-fi grit, around 10–12 bit feel via gentle reduction.
- Optional Delay instead of Echo if you want a more obvious oldskool digital-dub feel.
Keep the vocal fairly dry at first, then automate sends or device mix controls later. Don’t drown it yet — we want a few different stages of resampled material.
3. Set up a resampling track and capture the processed voice
Create a new audio track called something like Vox Resample. Set its audio input to Resampling. Arm it for recording.
Now play the vocal phrase through your processing chain and capture a few passes:
- one pass with only light delay,
- one pass with heavier feedback,
- one pass with filter automation moving slowly,
- one pass where you perform mutes or device on/off changes live.
Record 8–16 bars each pass if possible. You don’t need long takes — a few clean phrases and tail fragments are enough.
Important workflow move:
- While recording, automate or manually move Echo feedback, Reverb decay, and Auto Filter cutoff.
- Try muting the source vocal at the end of a phrase so the delay tail continues into empty space.
- Capture at least one version where the vocal tail overlaps the next bar.
This is the core of the technique: once audio is printed, you can treat it like source material rather than a live effect. In DnB, that gives you more control over arrangement and less CPU pressure.
4. Slice the resampled audio into playable textures
Take the resampled recording and work it like a break edit.
Two practical options:
- Right-click the clip and choose Slice to New MIDI Track.
- Or manually drag the audio into Simpler and use the Slice mode if you want more performance control.
Recommended slicing approach:
- Slice by transients if the vocal has clear syllables.
- Slice by 1/8 or 1/16 if you want a more grid-based drum-like feel.
- Map slices to MIDI for quick rearrangement.
Then create patterns such as:
- answer phrase on beat 2,
- chopped pickup before the snare,
- stuttered 1/16 repeats in the last half of a bar,
- reverse slices leading into a drop.
Useful Simpler settings:
- Warp mode: try Classic or Texture depending on the source.
- Envelope: short decay for stab-like behavior.
- Filter: low-pass around 6–10 kHz if the chops feel too sharp.
- Voices: raise if you want overlap; keep lower if you want tighter chops.
This gives you a vocal layer that feels like a drum edit, which is very natural in jungle and oldskool DnB.
5. Create a ghost layer with pitch and formant movement
Duplicate the resampled audio or render another pass with a darker treatment. This is where the “dubwise haunted system” tone comes from.
On the new layer, use:
- Shifter for subtle pitch movement: try -3 to -7 semitones for darker depth, or +3 to +7 for eerie tension.
- Auto Filter with a slow cutoff sweep.
- Utility to keep stereo discipline tight; collapse low mids if needed.
- Echo with lower feedback and more filtering.
- Reverb with a longer tail for atmosphere.
If the phrase gets too intelligible, reduce it until it becomes more like texture than lyric. That’s often the right move for darker DnB, where the vocal should enhance the mood without competing with the snare and bass.
For a more vintage feel, try resampling this layer again after the processing. A second-generation render often sounds more “printed,” which is exactly what you want for oldskool character.
6. Shape the vocal rhythm against the drum break
Now place the vocal textures in relation to your drums, not as an isolated sound design exercise. This is where the lesson becomes proper DnB.
Build or use a classic break context:
- a chopped Amen or Think-style break,
- layered with a tight kick/snare or ghost snare reinforcement,
- sub underneath, and maybe a Reese or mid-bass element.
Arrange the vocal so it interacts with the groove:
- Put a vocal stab in the gap after the snare.
- Let a delay throw land just before the next downbeat.
- Use short vocal chops as call-and-response with the snare or ride pattern.
- Add a reversed slice into the last 1/2 bar before the drop.
Example arrangement context:
- Bars 1–8 intro: filtered break + distant vocal texture + low-pass sweep.
- Bars 9–16 build: more chopped vocal replies, delay feedback increasing.
- Drop: vocal becomes tighter and more percussive, with shorter tails so the drums punch through.
- 8-bar switch-up: bring back the ghost layer alone with a filtered bass variation.
Why this works in DnB: fast drums need negative space. A vocal chop placed between kick and snare events can make the groove feel deeper without adding clutter.
7. Process the resampled vocal like a drum bus
Once the chops are arranged, treat the vocal group like part of the rhythm section.
Group the vocal tracks and apply:
- EQ Eight: high-pass around 150–250 Hz to protect the sub.
- Small dip around 2.5–4.5 kHz if the vocal fights the snare crack or bass presence.
- Glue Compressor with light gain reduction, about 1–3 dB, slow attack, medium release.
- Saturator or Drum Buss for added density if it needs to cut through break layers.
- Utility to check mono compatibility, especially if Echo/Reverb made the layer wide.
Keep low-end discipline tight. The vocal should not steal energy from the kick, snare, and sub. If it does, filter harder and shorten the tail.
8. Automate for tension, then print one final performance pass
This is where the blueprint becomes a finished texture system rather than a loop.
Automate:
- Echo feedback up on the last hit before a transition.
- Reverb dry/wet rising in breakdowns, then snapping back down on the drop.
- Auto Filter cutoff opening over 4 or 8 bars.
- Shifter only on a few selected words or slices for impact.
- Track volume to create ghost-like entrances and exits.
Then do one more resampling pass of the whole vocal group during a moment of performance. Record the automation movement into a fresh audio file. This final printed version can be edited like an atmospheric FX stem and placed anywhere in the arrangement.
This is especially effective in darker DnB where you want transitions to feel authored and not just automated. Printing the move gives you a single coherent texture that already contains the energy curve.
9. Turn the final resample into arrangement utility
Don’t leave the vocal as a one-off decoration. Use it structurally.
Good uses:
- Intro hook: filtered and wide, teasing the drop.
- Build tool: chopped, band-passed, with rising delay.
- Drop accent: short, dry stab on bar 1 or bar 9.
- Outro texture: reversed tails and filtered repeats.
- Switch-up: isolate one resampled ghost phrase for 4 bars to reset the ear.
Keep one version more rhythmic and another more atmospheric. That contrast is very DnB-friendly: one layer can drive the groove, while the other builds scene and depth.
Common Mistakes
Fix: high-pass earlier. Start around 120–180 Hz and go higher if the arrangement is dense.
Fix: shorten feedback, use filtering inside Echo, and automate wetness only in gaps.
Fix: print multiple generations. First pass for character, second pass for texture, third pass for final arrangement use.
Fix: reduce intelligibility with filtering, chopping, or pitch shift so the drums and bass remain the focus.
Fix: check with Utility and keep the core vocal chop centered if it needs to survive club systems.
Fix: in DnB, vocals often work best as brief, purposeful events. Leave space around snare hits and sub phrases.
Pro Tips for Darker / Heavier DnB
Mini Practice Exercise
Spend 10–20 minutes making one usable vocal texture loop:
1. Find a short spoken phrase or shout.
2. Build a chain with EQ Eight, Saturator, Echo, and Reverb.
3. Resample one 8-bar pass while automating Echo feedback and filter cutoff.
4. Slice the resample into 4–8 chops.
5. Arrange those chops over a break loop so they answer the snare.
6. Render a second ghost layer pitched down by 3–5 semitones.
7. Make an 8-bar loop where the vocal is:
- sparse in bars 1–4,
- denser in bars 5–8,
- and filtered or delayed in the last bar for transition.
Goal: finish with one loop that could sit in a jungle intro or a dark DnB switch-up without needing more processing.

