Main tutorial
Lesson Overview
A proper rewind moment is one of the most effective tension tools in Drum & Bass. It’s that crowd-moving point where the track “stops,” the energy snaps backward, and the listener feels like the drop got so rude it had to be played again 😈
In a DnB track, this usually happens at the end of a drop phrase, before the second drop, or as a DJ-friendly performance tool in a club edit. The goal is not just to make a cool tape-stop effect. The goal is to design a rewind that feels musical, intentional, and heavy enough to justify the reset. In dubwise and darker rollers especially, the rewind should feel like a sound-system reaction: bass pressure, delay wash, break chaos, then a clean snap back into the groove.
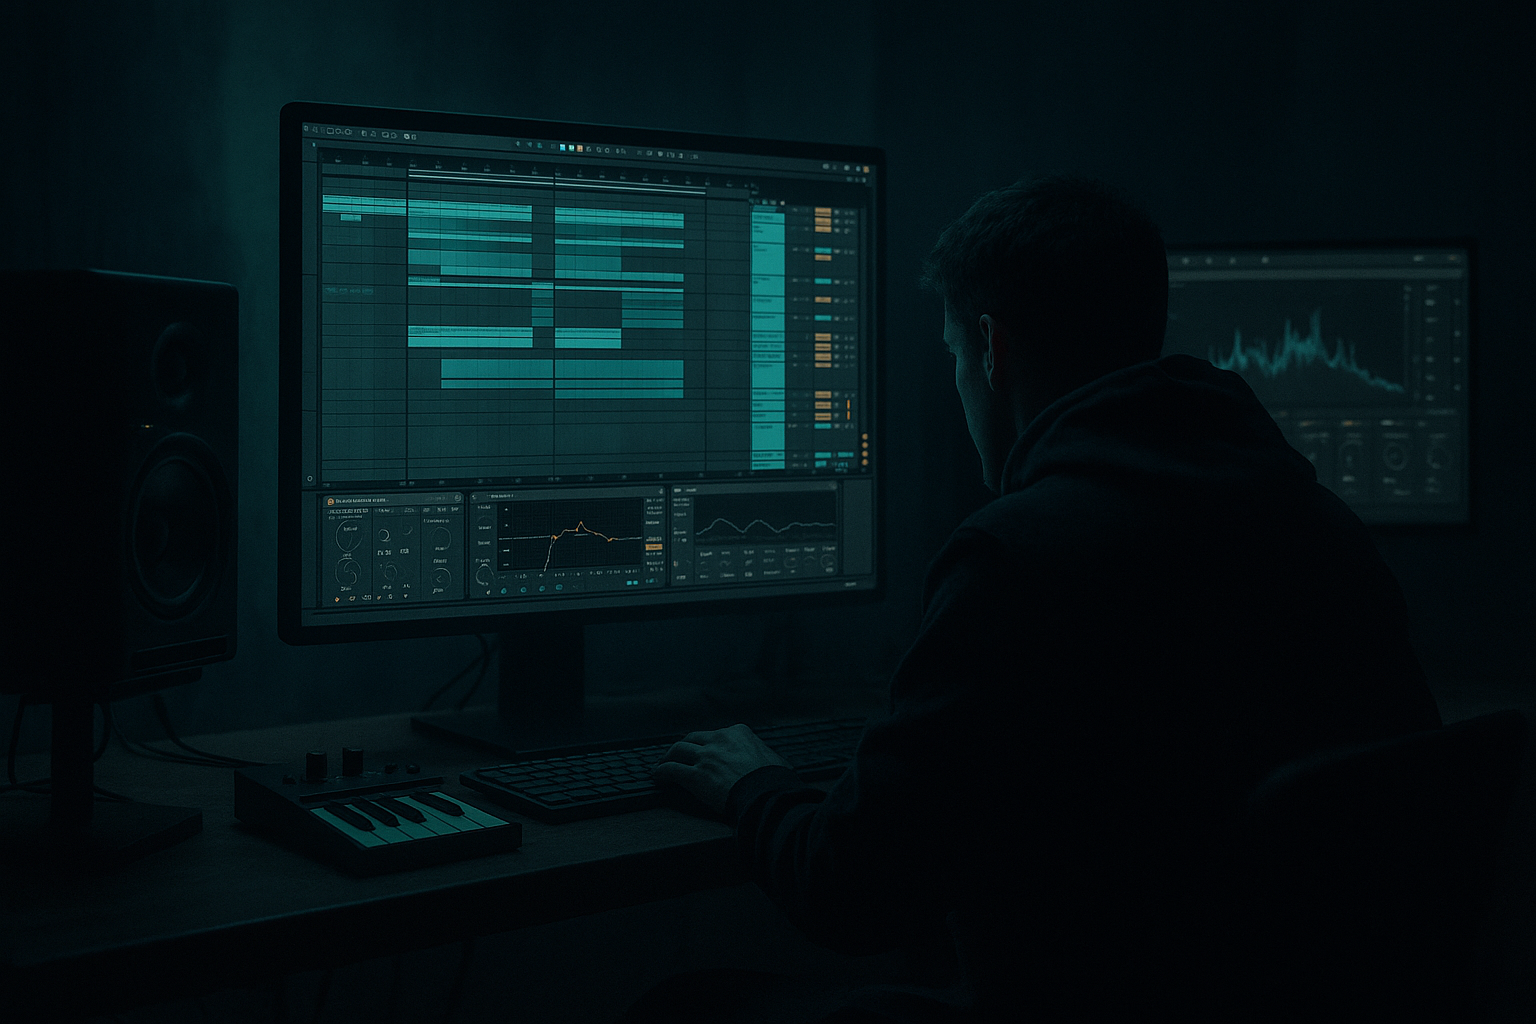
In Ableton Live 12, you can build this using stock devices only: pitch automation, Echo, Filter Delay, Hybrid Reverb, Reverb, Saturator, Drum Buss, Utility, and careful arrangement moves. The real skill is not the effect itself, but how you control the transition so it lands like a live moment rather than a gimmick. This lesson shows you how to design, arrange, and mix a rewind moment that works in modern DnB, from half-time tension into full reload energy.
What You Will Build
You’ll build a 4-bar rewind section for a 174 BPM DnB track that includes:
- A hard stop or tension dip at the end of an 8- or 16-bar phrase
- A dubwise delay tail that blooms before the rewind
- A reverse/rewind movement on the drums and bass
- A controlled pitch-down or time-stretch drag using Ableton stock tools
- A bass call-and-response that makes the rewind feel like part of the arrangement, not just FX
- A return into the drop with tighter drums, wider atmospheres, and a stronger sub restart
- Bar before rewind: fill up the drums or bass with extra ghost hits
- Final 1/2 bar: leave room for the rewind FX tail
- Rewind bar: strip down to atmosphere, delay, or a single hit
- 16th-note ghost hats at low velocity
- One extra snare flam just before the rewind
- A short kick pickup into the stop
- Time: 1/4 or 1/8 Dotted
- Feedback: 35–60%
- Filter: High-pass around 150–250 Hz, low-pass around 6–9 kHz
- Modulation: subtle, just enough movement to avoid a static slapback
- Saturation: 5–15% if the tail needs more attitude
- Decay: 1.2–2.5 s
- Pre-delay: 10–25 ms
- Dry/Wet: automate from 0 to 15–25% on the send or return
- Reverse the clip in Clip View
- Warp carefully if needed, but don’t over-process the feel
- If you want a “tape drag,” stretch the tail slightly so the transient smear increases
- One reversed dry version
- One normal version with the volume fading out
- One filtered version with Auto Filter sweeping down
- Auto Filter cutoff: sweep from 12 kHz down to 300–800 Hz over the rewind
- Utility gain: fade down 3–8 dB over the final half-bar to make the stop feel deeper
- Fine: 5–20 Hz
- Dry/Wet: 10–30%
- Automate the shift amount down into the rewind
- Frequency: 200–600 Hz
- Pitch: -5 to -12 semitones for brief moments
- Dry/Wet: 10–25%
- Phrase A: full bass movement
- Phrase B: a gap or single answer note
- Rewind bar: silence or a filtered sustain
- Re-entry: full sub and mid-bass hit together
- Low-pass the mid-bass from 8 kHz down to 2.5–4 kHz
- High-pass the tail slightly if you want the sub to disappear first
- Use Utility to mono the sub layer fully and narrow the mids just before the rewind
- A filtered ambience
- A reverse cymbal
- A distant snare echo
- A sub pickup note or low tom
- More open hats
- Slightly shorter kick tail
- Extra sub emphasis on the first bar
- A different bass accent or ghost note pattern
- Echo feedback down to 0% right before the drop returns
- Reverb dry/wet pulled back to 0–5% for clarity
- Bass filter reopened from 300–800 Hz back to full range
- Drum Buss Drive increased 1–3% on the return hit only
- Overdoing the rewind effect: If every rewind sounds like a cartoon tape-stop, the moment loses impact. Use pitch drag, delay, and reverse motion selectively.
- Leaving too much low end in the tail: Dubwise delay on sub frequencies will muddy the reset. High-pass your Echo return, usually above 150–250 Hz.
- Rewinding off the phrase grid: If the stop lands awkwardly, the crowd won’t feel the reset. Keep it aligned to 8- or 16-bar phrasing.
- Too much reverb before the stop: Big reverb can smear the transient and weaken the punch. Automate it with intention, and pull it back before the drop re-entry.
- Forgetting the bass arrangement: A rewind works best when the bass has already said something. If the bass is too static, the reset sounds random.
- No contrast after the rewind: If the restart is identical, the rewind loses purpose. Change at least one element: drum density, bass phrasing, or FX texture.
- Use a mono sub layer that disappears just before the rewind, then returns on the first hit after the reset. That contrast makes the drop feel physically heavier.
- Automate Saturator on the bass bus very subtly into the rewind, then back off on the restart. Try Drive around 2–6 dB with Soft Clip on for controlled grit.
- For a more underground feel, let the Echo return distort slightly through Drum Buss or Saturator rather than keeping it pristine.
- Use reverse snare layers with very short fades, then tuck them under a filtered ambience. This gives the rewind a darker “inhaled” feel.
- In neuro-adjacent material, automate a resonant filter sweep on a mid-bass layer down to 500–1,000 Hz just before the stop. That can create a nasty suction effect without killing the groove.
- Keep the top end disciplined. If the rewind has too much 10 kHz+ content, it can feel glossy rather than heavy. Use EQ Eight to tame harshness before the reveal.
- Try a silent pre-drop gap of 1/16 or 1/8 before the reset hit. In a club context, that tiny void can make the reload feel huge.
- For jungle or break-heavy tunes, chop one break slice and reverse only the last snare or ghost hit. That keeps the rewind rooted in drum culture rather than pure FX design.
- Put the rewind on a strong phrase boundary, usually 8 or 16 bars.
- Build tension first with drums, bass phrasing, and a controlled delay tail.
- Use Ableton stock tools like Echo, Reverb, Auto Filter, Utility, Saturator, Drum Buss, and reverse audio editing.
- Keep the sub controlled and mono; let the mids and top create the rewind drama.
- Make the restart different enough to feel like a true reload, not just a repeat.
- In DnB, the rewind works because it weaponizes contrast: pressure, space, then impact.
The final result should feel like a classic reload moment in a dark roller or dubwise neuro-adjacent tune: the energy pulls back, the space opens up, then the next hit comes back with more weight.
Step-by-Step Walkthrough
1. Define the rewind point in the arrangement
Start by placing the rewind at a musically logical boundary. In DnB, the strongest spot is usually the end of a 16-bar section or the last bar of an 8-bar phrase. If your first drop is 32 bars, test the rewind at bar 24 or 32 depending on how much momentum you want before the reset.
In Ableton’s Arrangement View, make a locater at the rewind point and work backwards from there. Keep the previous 1–2 bars a little more active than normal, so the rewind feels earned. For example:
Why this works in DnB: the listener is locked into phrase-based tension. If you rewind on a clean phrase boundary, the reset feels like a system response, not an interruption.
2. Build the “pre-rewind” pressure with drums and bass
Before you do any special FX, make the last bar hit harder. Duplicate the last kick/snare pattern and create a mini-fill using break edits, snare drags, or a quick tom pattern. If you’re working with a chopped amen or breaklayer, slice your break to MIDI and use the final bar to add:
Use Drum Buss on the drum group with Drive around 5–10%, Crunch 10–20%, and Boom either off or very subtle if the low end is already busy. The idea is impact, not clouding the bass.
For the bass group, thin the pattern slightly in the last bar. Pull out the longest bass notes and leave one or two answer notes. If your bass is a reese or distorted mid-bass, automate a low-pass filter down from around 8–12 kHz to 4–6 kHz in the last 1–2 beats so the rewind has a more obvious contrast when it resets.
3. Design the dubwise delay tail on a return track
Create an Audio Effect Return track and load Echo. This is the heart of the dubwise character. Start with:
Send the final snare, a rimshot, a vocal stab, or a bass stab into this return at the end of the phrase. In dubwise DnB, one well-timed echo can carry the whole rewind moment. If you’re using a stab or chord, Echo can be automated to swell into the stop, then spill into the empty bar.
Add Reverb after Echo if you want a larger space, but keep the low end controlled. Hybrid Reverb works well here with a Short Plate or a small room/algorithmic blend:
4. Create the rewind movement with resampling or reverse audio
Now capture the moment. The cleanest method is to resample the phrase tail onto a new audio track. Arm a new audio track and record the last bar, including the delay tail and any drums or bass hits you want to reverse.
Once recorded, cut the clip so the rewind section is isolated. Then:
A very effective advanced move is to duplicate the audio clip and layer:
In Ableton Live 12, keep the clip clean and named clearly, because this kind of transition gets messy fast. Use color coding and group the rewind layers.
Parameter suggestions:
5. Add a controlled pitch drop or tape-style drag
A rewind moment gets extra authority when the pitch shifts down before the reset. Use one of two approaches depending on your source material.
Option A: Clip pitch automation
If the source is an audio stab, drum break, or FX hit, automate Clip Transpose down by 3–12 semitones over 1/2 to 1 bar. This is especially effective on a bass stab, vocal hit, or synth chord.
Option B: Frequency Shifter or Grain Delay-style texture
For more experimental dark DnB, use Frequency Shifter very subtly:
Or use Grain Delay sparingly for a degraded tape-like tear:
Keep this restrained. In DnB, the best rewind effects feel physical, not cartoonish. You want enough pitch drag to telegraph the reset, but not so much that the groove loses authority.
6. Carve the bass so the rewind hits harder than the drop
The rewind is not only an FX moment; it’s a bass arrangement decision. If the bass is too constant, the rewind loses contrast. Use a call-and-response structure:
On your bass group, use Auto Filter or EQ Eight to create a pre-rewind dip. For example:
If you have a layered bass rack, automate only the top layer down while letting a faint sub throb continue for half a beat. That tiny sub hang can make the rewind feel massive when it snaps back.
7. Shape the drum stop and the “empty space” after the rewind
The space after the rewind is just as important as the rewind itself. Strip the grid down hard for one bar or half a bar. In dark rollers, that empty space can be a vocal stab, an atmospheric wash, or a sub pulse. In neuro-leaning material, it can be a synthetic noise burst and a single kick/snare question mark.
Use Utility or fades to make the last hit vanish cleanly. Then introduce:
If you want a proper DJ-rewind feel, leave a moment where the drums are absent but the delay tail is still audible. That negative space helps the listener feel the “return” more strongly when the groove resumes.
Arrangement example: after a 16-bar first drop, use bar 15 for a drum fill, bar 16 for the rewind stop, and bar 17 for a stripped restart with a different snare pattern or bass answer. This creates a live-set style reload inside the track.
8. Automate the return so the drop re-entry feels bigger
The rebuild into the second drop should be tighter than the first one. Use the rewind as an arrangement reset, then return with a slightly changed energy profile:
Automate an increase in width on atmospheric layers using Utility or Chorus-Ensemble, but keep the bass mono. For a cinematic return, automate a Hybrid Reverb send on a stab or vocal one-shot so the tail spreads briefly before the drop lands.
Good return automation:
The return should feel like the track has been “re-armed.”
Common Mistakes
Pro Tips for Darker / Heavier DnB
Why this works in DnB: the genre thrives on contrast between pressure and space. A rewind is basically a micro-arrangement that says, “the last phrase was so strong, we’re hearing it again.” The more disciplined your low end, phrasing, and tail management, the more powerful that moment becomes.
Mini Practice Exercise
Spend 10–20 minutes building a rewind for an 8-bar loop at 174 BPM:
1. Loop your drop section for 8 bars.
2. Choose one hit to send into an Echo return and automate a strong delay tail on the final bar.
3. Record the last bar to audio, reverse it, and place it before the drop reset.
4. Automate a bass filter down over the final 1–2 beats.
5. Add a one-beat drum stop or stripped space before the drop re-enters.
6. On the return, change at least one thing: a different drum fill, a wider atmosphere, or a more open bass note.
7. Bounce a rough version and listen on small speakers and headphones. Check whether the rewind still feels powerful without the sub.
Bonus challenge: make two versions — one dubwise and spacious, one darker and more aggressive — using the same source material.

